201K Views
How to Create a Faux Leather Finish Using Brown Paper

by
Yvette Gray
(IC: homeowner)
Easy
This tutorial will walk you through the steps to create a faux leather look simply by using brown craft paper, glue and paint or stain. This treatment can be used on furniture,walls, book covers and even floors!
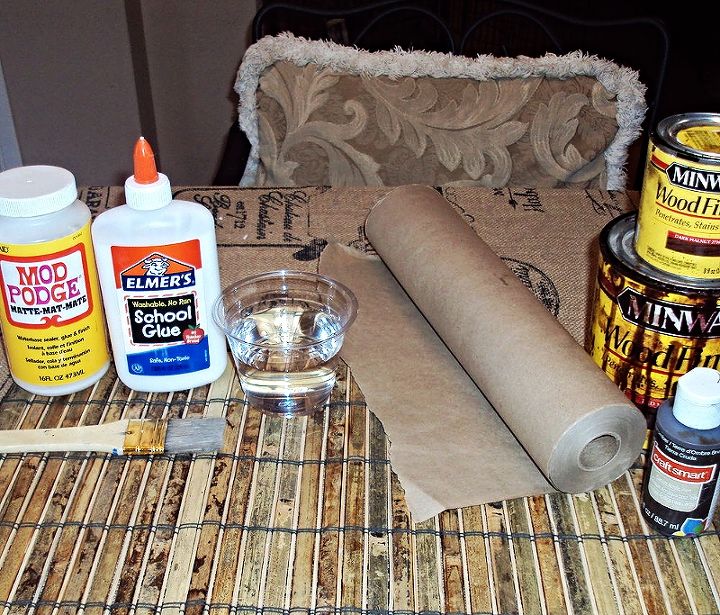
Supplies you'll need: Elmer's Glue and water (or Matte Mod Podge), brown craft paper (brown grocery or lunch sacks can also be used), paint brushes, paint or stain of your choice.
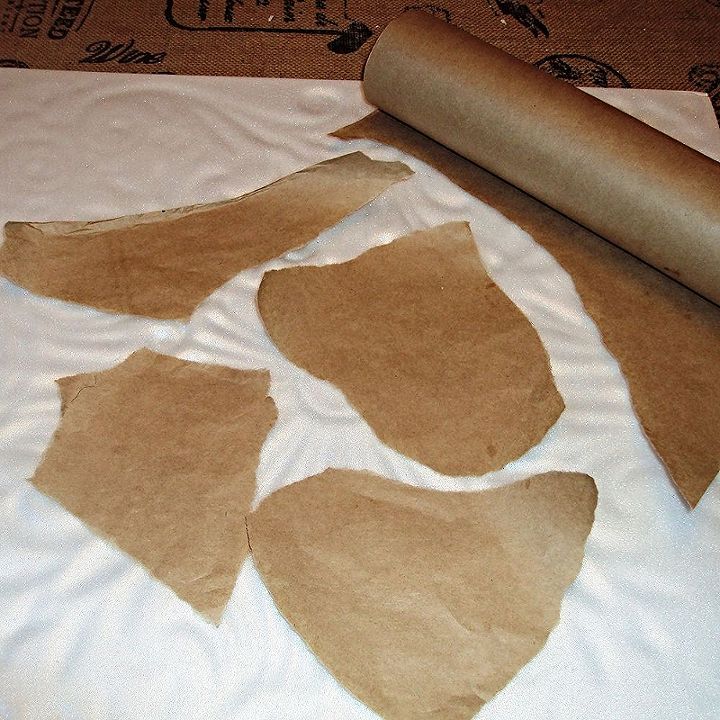
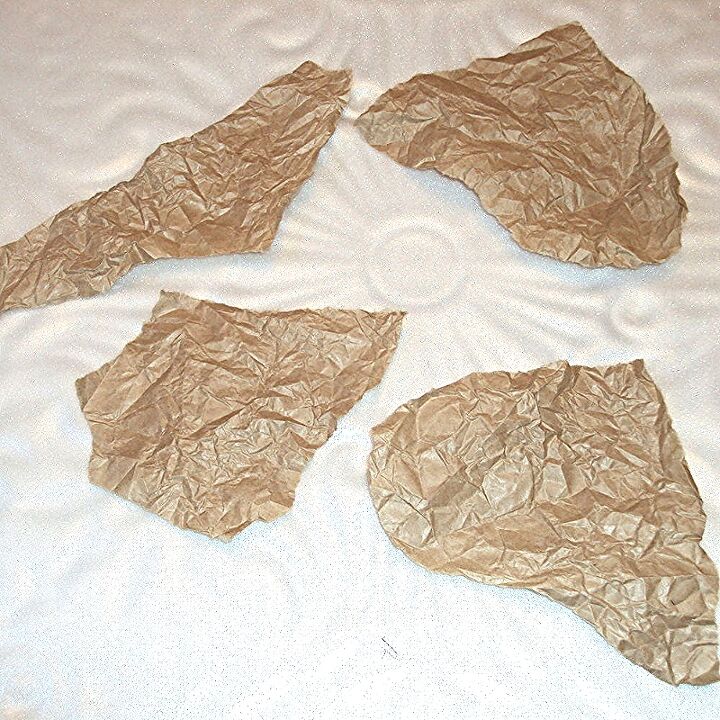
Tear your craft paper into the sizes of your choice. Do not use scissors to cut the paper as you want irregular borders. Only use straight edged pieces on the straight edges of your project. Irregular pieces look more natural.
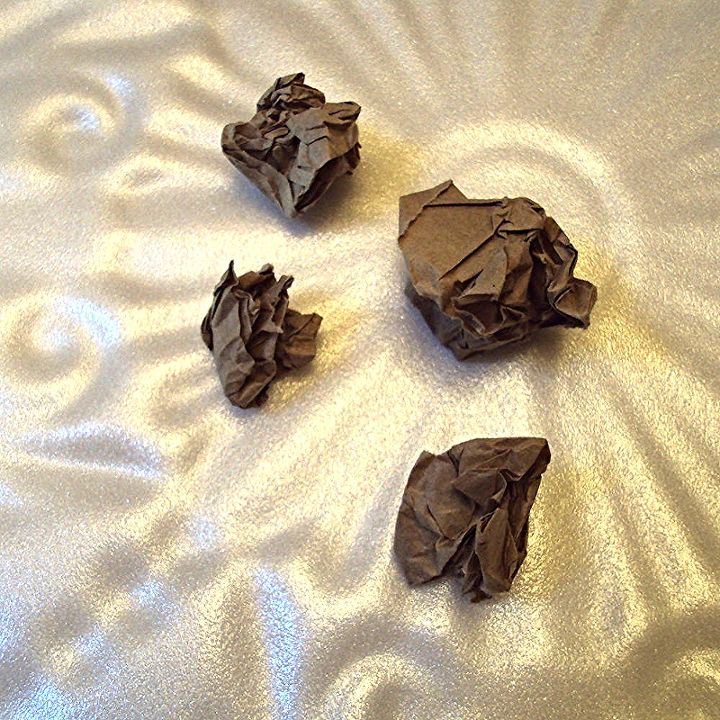
Then crumple your pieces into tight balls. You want to create lots of wrinkles in your paper. (Note, the roll of masking paper I used in this project was purchased from Home Depot for about $3. It can be found in the paint department.)
Now flatten your pieces out and set them aside.
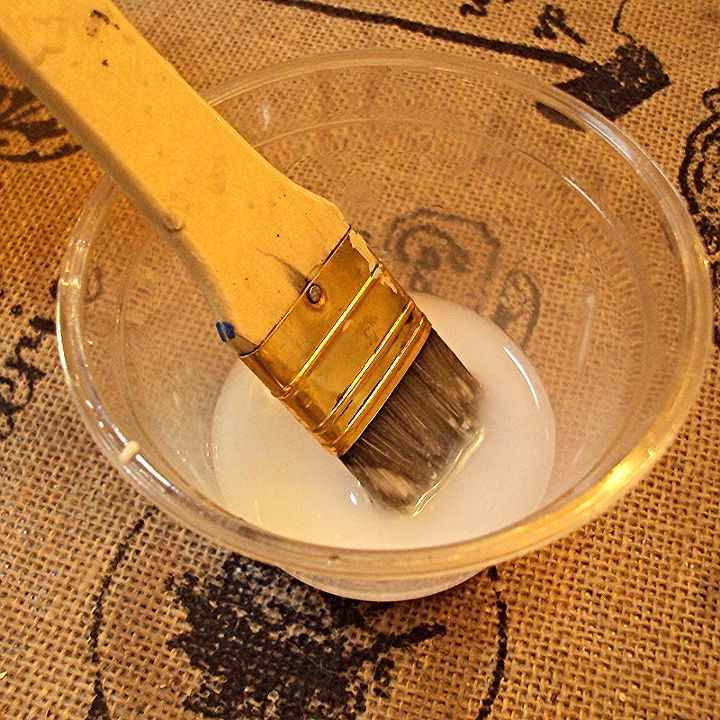
Mix 1 part regular Elmer's School Glue with 2-3 parts water. You don't want your glue too watery or too sticky, but you want to be able to spread it easily over your surfaces. (I haven't tried using Mod Podge for this project yet.)
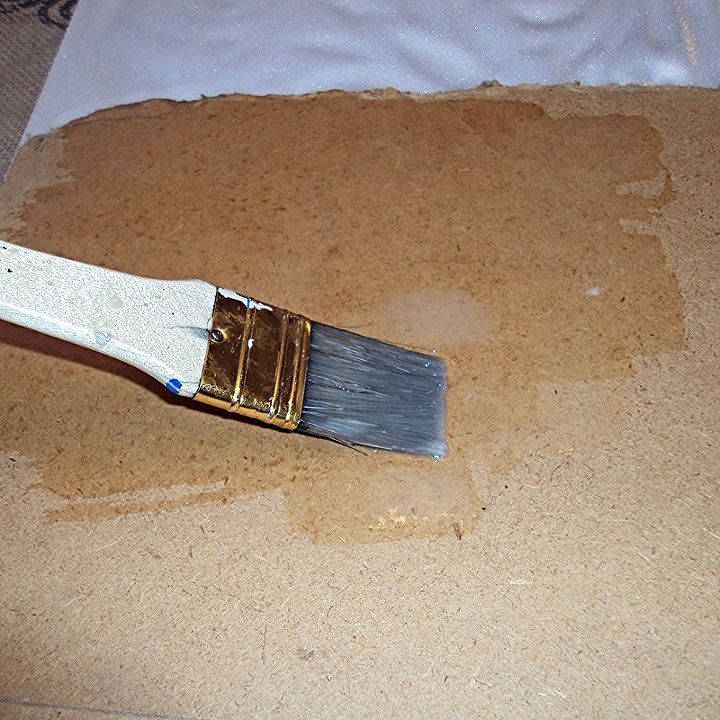
Brush your glue/water mixture onto your surface. (Note: If you have a slick or glossy surface, you'll need to prime or lightly sand it first so your glue has something to stick to. Otherwise, your paper may not adhere to it properly.)
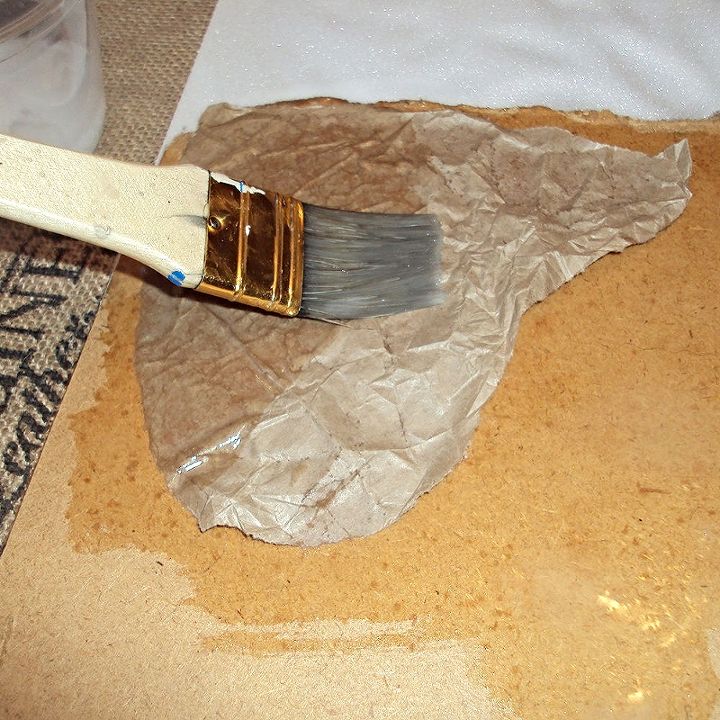
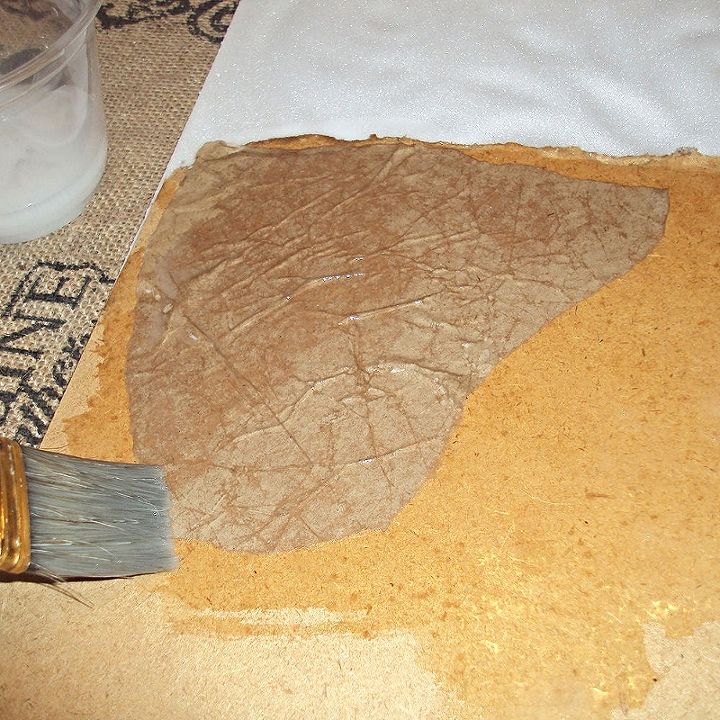
Then lay one of your pieces on your prepared surface and brush your glue mixture on top of your paper to adhere it to your surface. You’re basically decoupaging your pieces to the surface.
Be careful to not saturate your paper or apply too much pressure. You don't want to brush out the wrinkles or tear your paper.
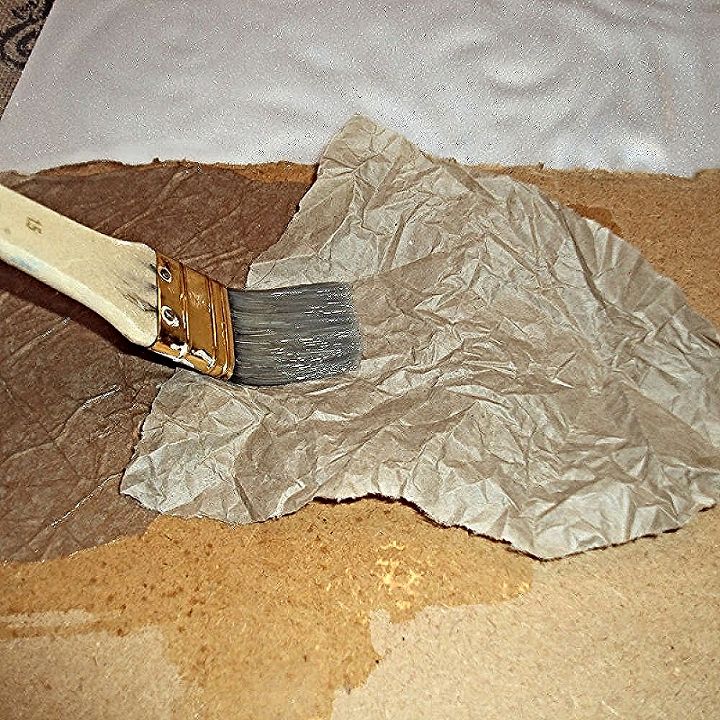
Now add your next piece, slightly overlapping the prior piece so you don't have gaps. Try to use pieces that match the edges of your prior piece. It's sort of like putting together a puzzle.
Then brush your glue/water mixture over your piece as you did the prior piece. Continue doing this until you've covered your project. Make sure to fold your pieces over any edges if possible.
If you develop any air bubbles, gently smooth them out, being careful to not tear your paper.
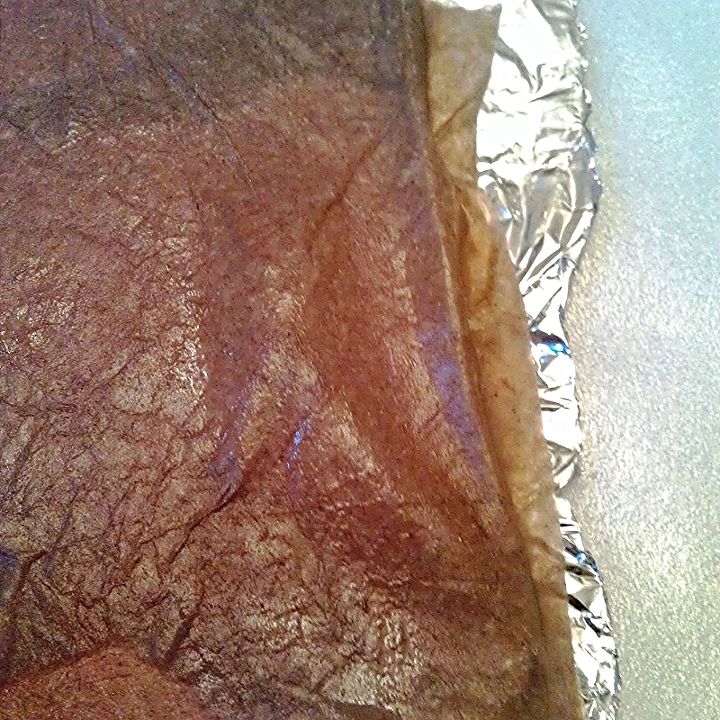
When your project is completely covered, let it dry.
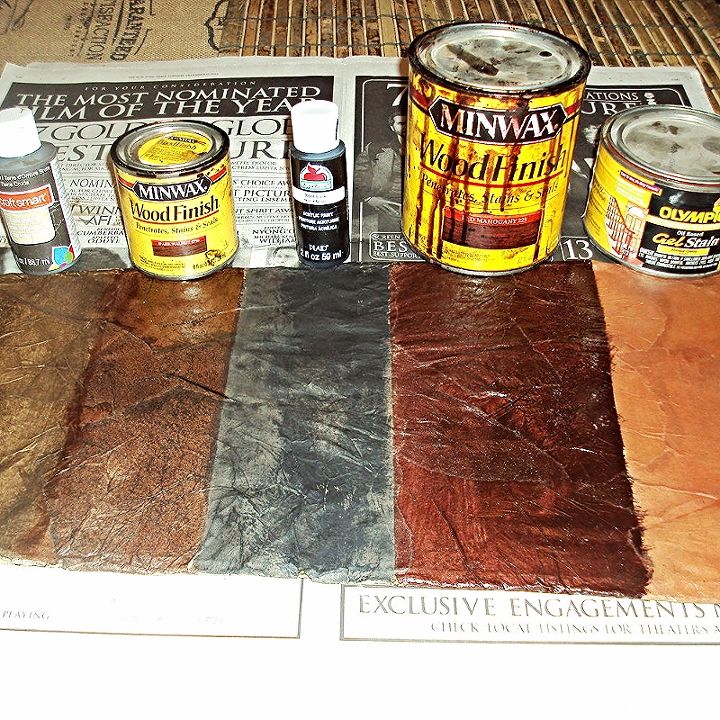
Once your project is dry, you can apply paint or stain depending on the look you are trying to achieve. Here are some examples from L-R: Raw Umber craft paint; Dark Walnut stain, black paint; Red Mahogany Stain; Antique Cherry stain.
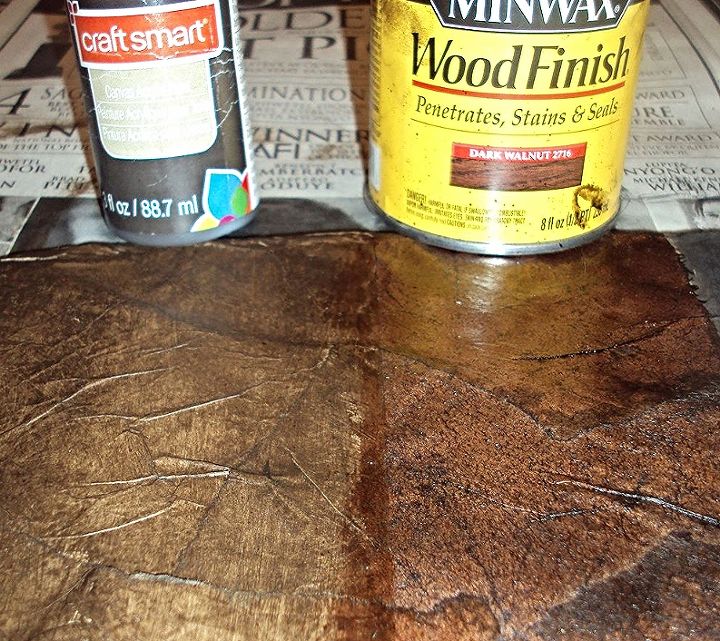
Here is a closer look at the Raw Umber Craft Paint (L) next to the Dark Walnut Stain (R). (Note, the black paint in the prior example was diluted with water and will need another coat once dry. The samples were still wet in the photo.)
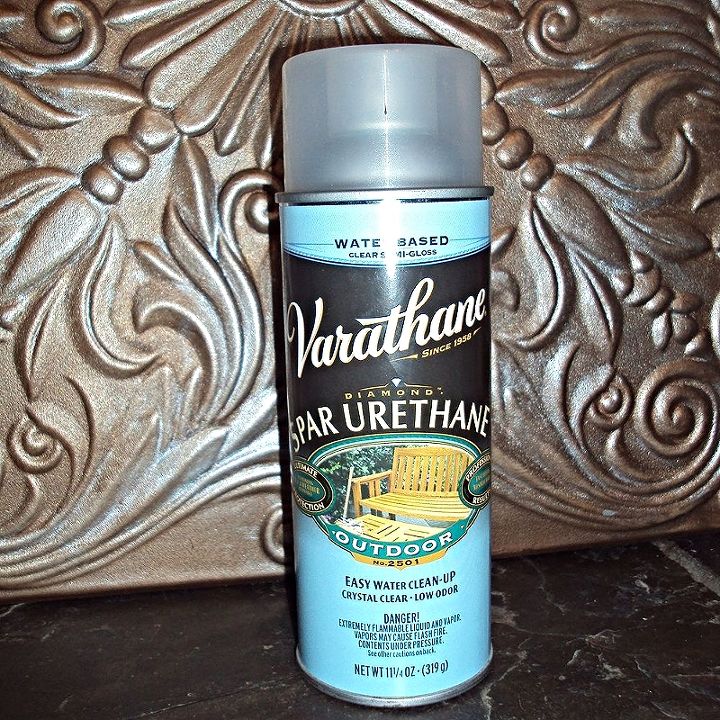
Depending on your project, you can either leave it alone after it has dried, or seal it with a polyurethane. This is optional unless your project is going to need protection from heavy use or traffic. Polyurethane comes in many forms.
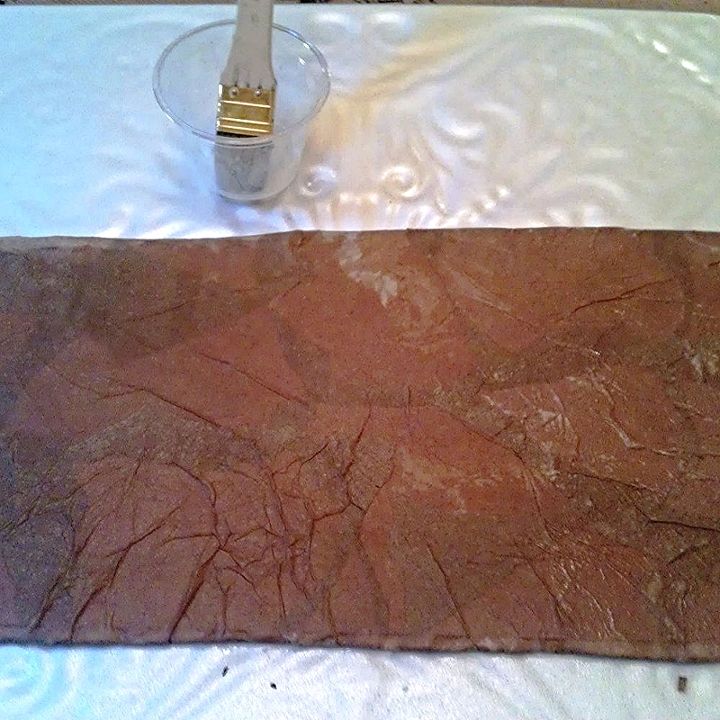
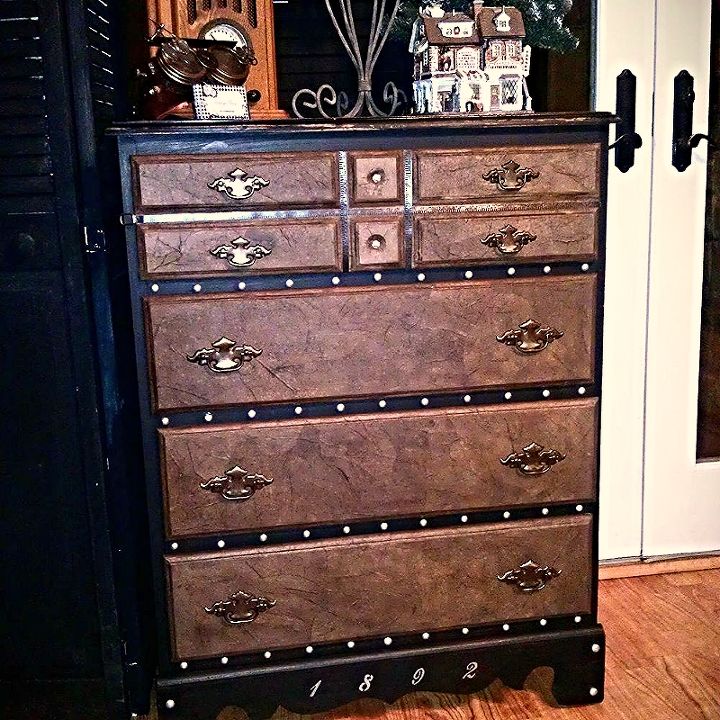
And there you have it! A faux leather finish that is simple and inexpensive to create. I hope you found this tutorial useful and informative. (Note, the finish on this piece was created using Raw Umber acrylic craft paint.) Good luck!
Enjoyed the project?
Published March 10th, 2014 2:40 PM
Comments
Join the conversation
3 of 202 comments
-
-
 Tara Austin
on Nov 04, 2020
We use brown paper rolls in a lot of our projects. We don't use a brush to lay it down, we only use a brush to add the poly after its dry. We ball up the paper, dip it into the glue water mixture then spread with our fingers. So easy, we've done small items, frames, a floor and a 40ft bar top... Don't be afraid of this technique, it's simple and inexpensive
-
 Tara Austin
on Nov 04, 2020
Easy

-
-






Frequently asked questions
Have a question about this project?
I bought a leather look ,potion bottle on Etsy and would love to know how it was made,I know crinkled paper was applied.Do you know what to use to get the spear to stick. What kind of primer to use or how to rough up the glass ? Thank you
Will it create a fungus over time?
I've always lived this look..we bought a 120yr house and they put paneling up to hide faults in the wall im guessing..hate it...I want to do this half way up..should I follow the same as instructed or is there another way...I was also going to buy brown paper store bags..5c each guessing that cost $1 or $1.50 plus $6 for glue