


How to Remove Furniture Finish

So you’ve found your perfect piece of furniture to either flip or transform into your very own family heirloom. Congratulations!!
Now, what do you do?
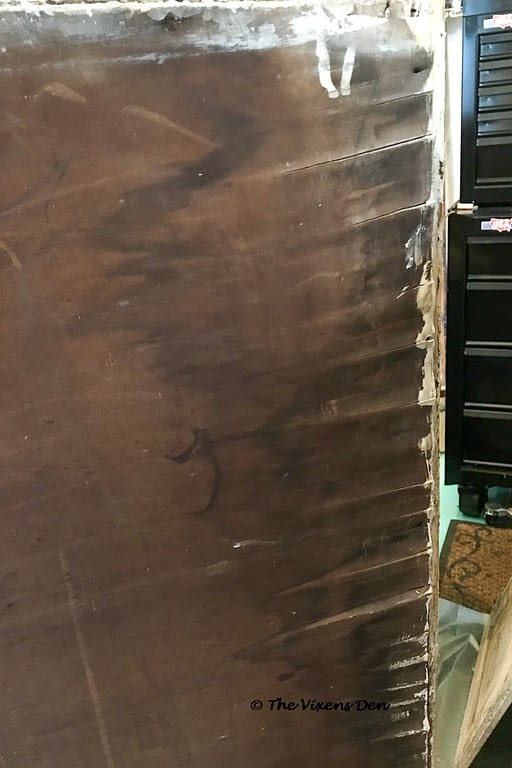
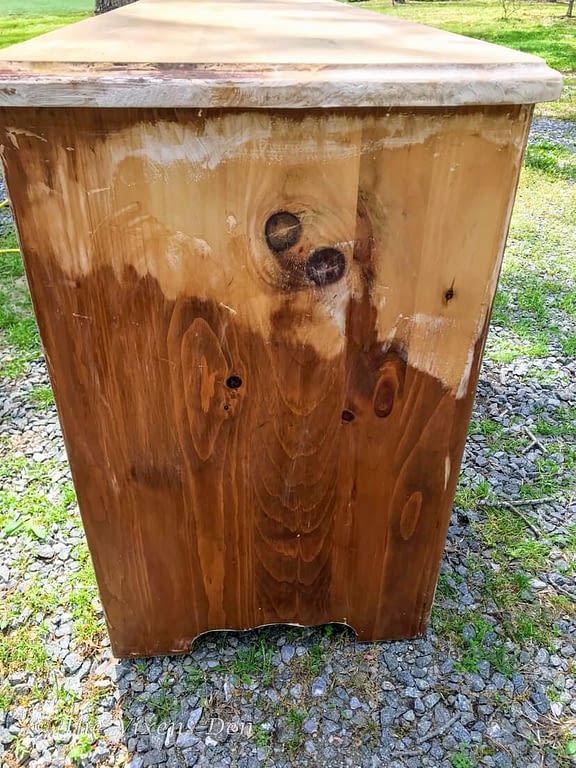
You know that you need to remove the current finish. Maybe it’s scratched all to pieces, or flaking off. Maybe it’s covered in crayon or it’s just oh-my-goodness-what-were-they-thinking. Either way, it’s got to go!
There are two primary options for you average DIYer.
- Sand the finish off
- Strip the finish off
Personally, I’m ALWAYS going to advocate stripping the furniture first. That’s because you never really know what the surface looks like until you get all of the surface crud off.
It’s possible that you may be perfectly happy sanding your piece down to a smooth finish.
But it’s also possible that you discover along the way that the top is veneered and you’ve over sanded so that now the wood underneath is peeking through. Or, maybe you find some neat identifying stamps, carved initials, indentations, or ink stains that you decide you want to keep.
I adore the character and stories that old furniture reveal. Stamps and markings from the shop or warehouse where your piece was created can tell you a lot about how it was made. This can also help you decide whether you want to try to restore your piece or just paint it.
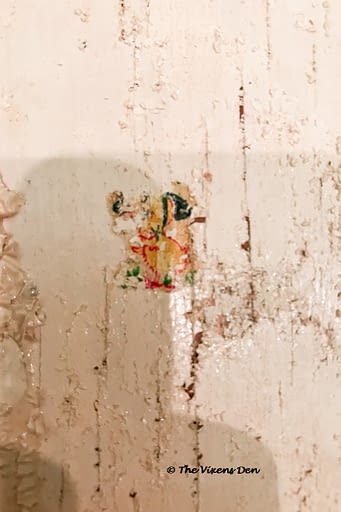
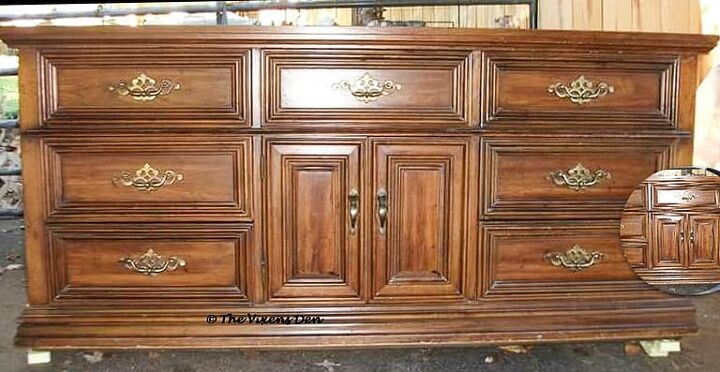
As I was stripping down a cabinet, I actually came across some of the original paint designs on the front of the doors. This helped me to verify the exact original style and “model” of this cabinet. If I were performing a full restoration instead of a makeover, this would allow me to recreate the original design.
So, if you start your process by stripping the finish with a chemical finish remover, then you have more options. And don’t worry, you’ll have plenty of opportunities to sand later. You just won’t go through quite as many sanding pads along the way. (Or eat nearly as much sawdust. *cough*)
Assuming that I’ve convinced you, let’s get started!
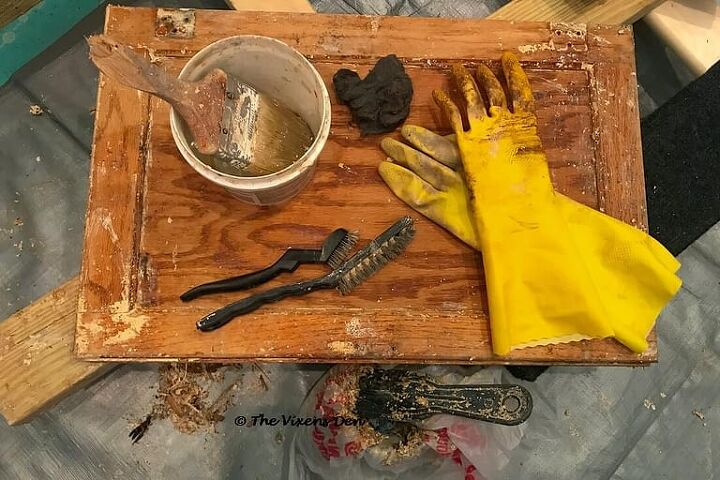
- Screwdriver – phillips and flat head
- Two metal, plastic or glass containers at least 6 inches in diameter
- Paint brush
- Plastic scraper or
- Metal scraper or
- Paint stripper tool
- Rubber gloves
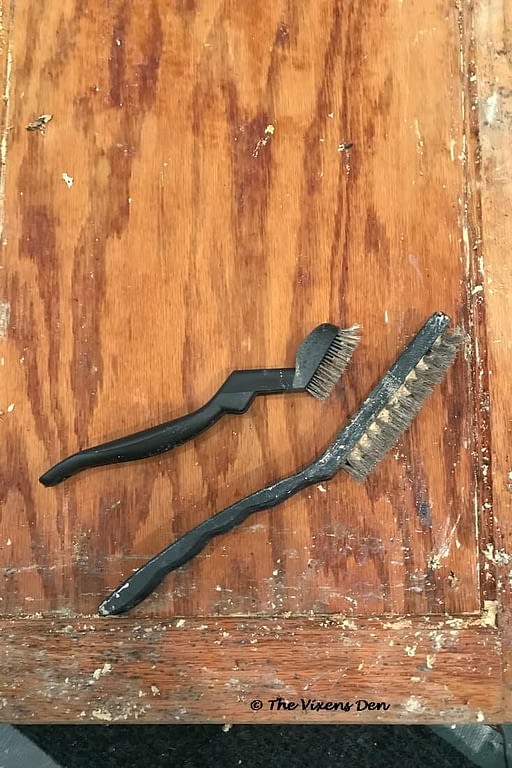
- Nylon bristled brush
- Wire brush
- Metal picks
- Drop cloth or tarp (optional, but recommended)
- Paint and varnish remover
- Disposable plastic grocery bags (optional)
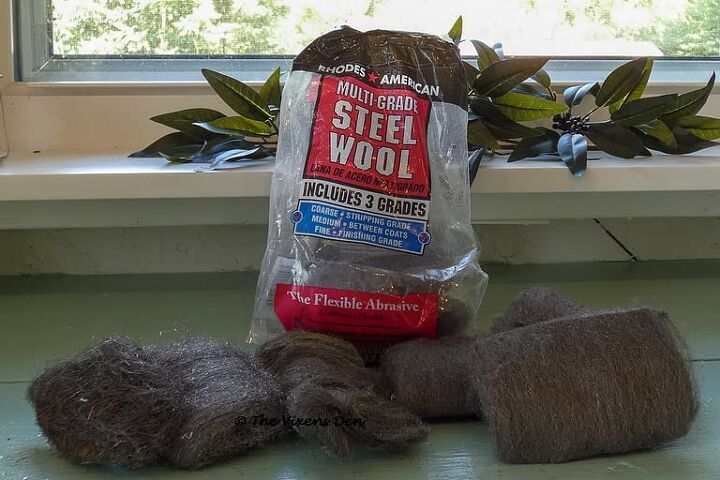
- Steel wool
- Paint stripping pads (optional)
- Mineral spirits
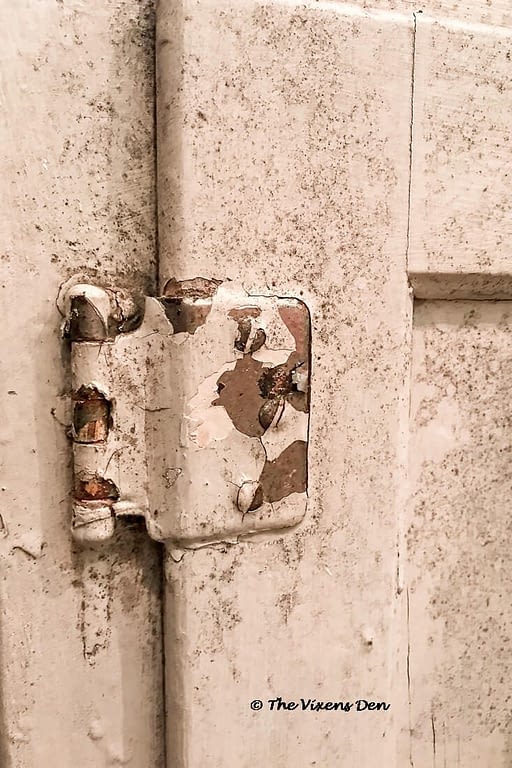
In general, it’s always best to start the finish removal process by first removing all of the hardware. However, if there are layers of paint covering it to the point that you aren’t sure if there are screws or nails holding the hardware in place, then you may have to apply finish remover to the hardware as well.
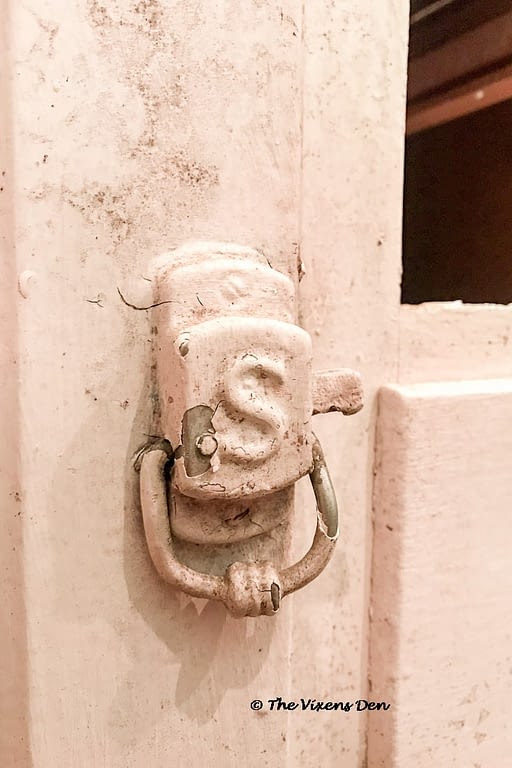
First, use a flat scraper or flat head screwdriver to try to scrape as much of the paint off of the hardware as possible. It’s important to be gentle here because you don’t want to accidentally scratch the hardware or gouge the piece of furniture.
If the finish isn’t budging, then go ahead and slather on a good coat of furniture stripper.
Once the finish remover has had time to work, gently scrape the hardware again. Repeat this process until most of the paint is removed. Once you reach the surface of the hardware, switch from the scraper to a wire brush. Gently scrub the paint away until you can access the screws holding the hardware in place.
I prefer to use a manual screwdriver to remove hardware. I find that I am less likely to strip the screw heads that way.
Less likely, but it still happens. Be prepared to have to replace some of the screws or nails that are holding the hardware in place.
I like to place the screws and nails in Ziploc bags with their corresponding hardware. This helps when it comes time to find replacement screws and nails as well as to reinstall everything at the end.
With the hardware removed, give it a good cleaning. This may require a few more coats of furniture remover, a good clean-up with a metal-specific cleaner, or just a good scrubbing with some dish detergent and a stiff-bristled brush.

It is also possible, that you may need to use a finish remover to get the paint off. Along with the paint, however, there’s also a chance that the finish remover will remove the original plating. You can either replace the hardware, which can be pricey, or you can paint it.
Once the hardware is clean, dry it with a towel and then allow it to fully air dry before placing it in the Ziploc bag. This will help to prevent the metal from rusting until you’re ready to paint or seal it.
Tip: You can also spray the hardware with a clear sealant or sipe it down with a light coating of WD-40 or similar machine oil, to help prevent rusting.
Now that the hardware is removed, take a good look at the back panel and feet of the piece. Decide if you plan to keep them or if they need to be replaced. If they are in good condition and you plan to keep them, then gently remove the panel and feet either by unscrewing them or gently prying them off using a hammer.
If this is an heirloom piece and you are concerned that the wood may be too dry to remove the back and feet without damaging them, then you can leave them in place. Just be aware that the piece will be easier to refinish if these are removed.
In addition, the finish remover may cause glued sections to loosen during the process. This could result in a necessary repair anyway.
If this is an upholstered piece, either remove or cover the upholstery. I recommend using masking tape or painter’s tape to tape plastic drop cloths or trash bags to the existing upholstery.
Now that the initial prep work is out of the way, it’s time to remove that finish!
There are two main methods for chemical stripping:
- Apply a paste or gel
- Bathe or dip in a liquid
If you take your piece to a professional, then they will most likely dip the piece in a bath of stripper. My aunt would actually sit her pieces in a large metal tub and “bathe” them in liquid stripper.
I have used a liquid finish remover, but it dried out too quickly and caused me to have headaches and breathing difficulties, so I don’t use it anymore.
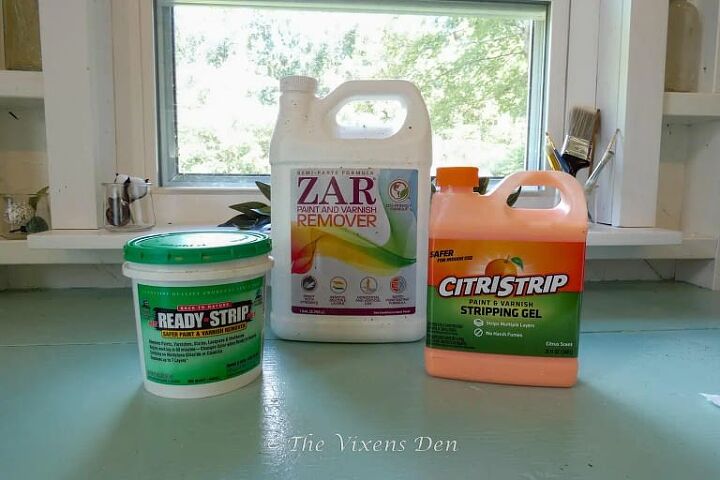
I prefer gel or semi-paste finish removers that are gentler on my lungs. I remove finish indoors most of the time, with cross ventilation from the open windows and door. These finish removers get the job done without causing me to have breathing issues.
Citristrip is a great remover if you’re just starting out and want something extra gentle. It has a pleasant aroma and works well, but I wouldn’t say it’s very fast. I usually have to let the remover sit for an hour or so before the finish begins pulling away from the surface.
Ready Strip is on par with Citristrip in regards to the length of time before you can begin removing the finish and overall effectiveness but without the more pleasant smell.
I discovered Zar at my local hardware store when I was refinishing my deck and I think it works faster than Citristrip. I’m usually ready to start scraping about 15 minutes after applying the remover. It is a little cheaper than Citristrip, but also doesn’t have the pleasant orange smell. I had difficulty sourcing it online for this post, so try your local non-chain hardware stores to see if they may carry it if it’s no longer available through the link.
Gather your supplies so that you have them easily accessible. This is the time to lay out a drop cloth to protect your floor, as this is a very messy process. I always manage to get bits of finish scrapings in the oddest of places.
Put on your kitchen gloves, NOT latex gloves. Although I primarily use the least harmful chemical strippers available, they can still damage your skin and lungs, so use caution. Wear gloves, and only use chemical finish removers in a well-ventilated area.
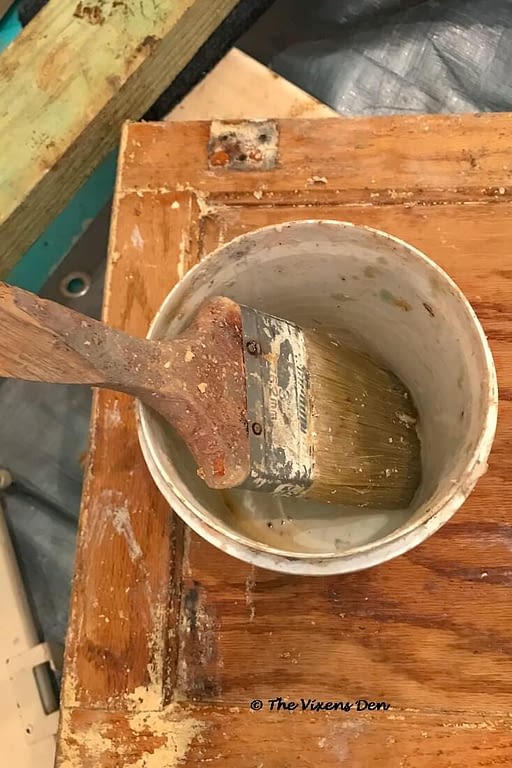
Pour some finish remover into a metal or glass container. I tend to recycle large cans and jars specifically for this purpose. I like to use an old paintbrush or a wide chip brush so that I don’t have to worry about damaging a good brush. Dip the brush into the remover and paint a generous amount onto a section of the furniture.
Tip: Do NOT use a foam sponge for this process. The finish remover will eat right through it. (Ask me how I know…)
At this point, you’re figuring out how long it takes the stripper to activate in your particular climate. If it starts to dry too quickly and the finish hasn’t softened to the point that you can begin scraping it, then apply another coat.
Tip: I’ve heard of a trick where you can coat a piece with Citristrip, cover it in plastic wrap, and then strip all of the finish off the next morning. The one time that I tried it, the process didn’t work for me. I may not have applied enough stripper to the piece, because the next morning everything was a gummy mess and did not remove easily. However, it could work for you. Let me know in the comments below if you give it a try and it works for you!
Check the finish according to the timing listed on the finish remover that you chose, by gently scraping the surface of the piece with a plastic scraper. If a lot of finish is scraping off easily, then go ahead and scrape off what you can. If the finish doesn’t seem to be released, then make certain that the surface still has a wet coat of remover on it. Add additional remover if necessary.
This may take a few tries until you figure out exactly how long the stripper needs to work and when it’s best to start scraping off the finish.
Once the finish begins to release, gently scrape it off of the surface. I tend to collect wide jars and tin cans specifically to use for finish removal. I line a large green bean can with a plastic grocery bag, and then scrape the finish off of the scraper against the edge of the can and into the bag.
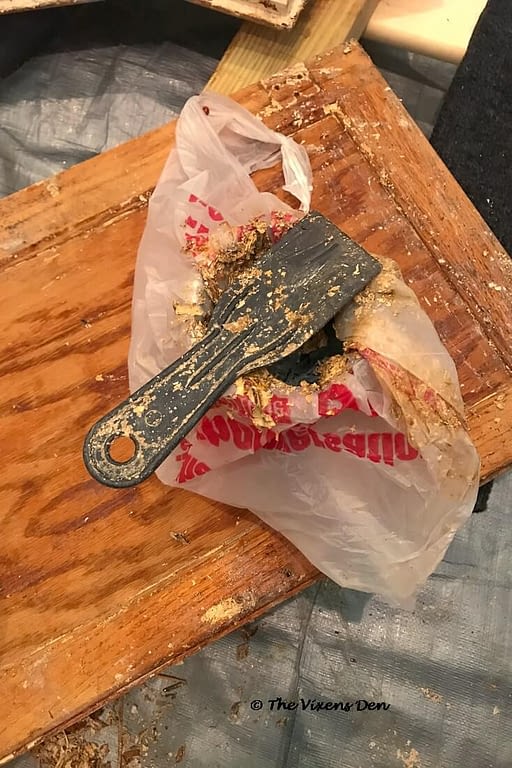
This makes for much easier cleanup. Just tie up the plastic bag and toss it in the garbage when you’re finished.
Continue this process until you have removed as much of the finish as possible. Depending on the number of layers of finish that are on the piece, you have to repeat this process several times.
Once the majority of the finish is scraped off and you just have a few spots and some of the details and crevices left, move to coarse grade steel wool. Unwind the steel wool pad and then refold it to fit your hand. If the remover has begun to dry, then paint a little remover on the steel wool pad. Begin rubbing the surface of the piece in the direction of the wood grain.
Tip: Steel wool is also used to sand and even polish surfaces, so it’s a great product to have on hand.
As the steel wool picks up finish and remover, you can open the steel wool pad and refold it to give you a clean surface to work with.
Tip: I recently discovered stripping pads, which can be used in place of steel wool. These are great because they won’t leave behind little steel fibers that could disappear into the piece until you’ve sealed it, and then reappear as rusted bits later. Personally, I haven’t had too many problems with that, but I have found fibers trapped in some joints before.
Tip: Having said that, I will always have steel wool on hand for the final steps, as I found that the stripping pads were good for removing finish, but didn’t help as much for smoothing or sanding the surface of the wood.
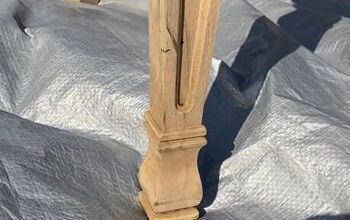
Continue cleaning off the old finish until you can easily see bare wood. Use the corner of your scraper, metal picks, or the wire brush to clean out corners and detailed areas. Be VERY careful if using the metal picks, as they can easily gouge the wood if your hand slips.
For very detailed pieces, like ornate decorations, it may help to use a small wire brush or a toothbrush dipped in finish remover or mineral spirits to remove the surface material. Remember to always brush or rub in the direction of the wood grain when possible.
At this point, you should only have a small amount of finish and goop from the removal process left on the surface of the piece. Now it’s time to clean the surface and see what you have to work with.
Set the coarse grade steel wool aside and pick up a medium grade pad. Again, unwind the pad and fold it to fit your hand. This time, pour a small amount of mineral spirits or fuel alcohol into the steel wool pad. Rub down the piece in the direction of the wood grain, refolding the pad as necessary, until the piece is clean.
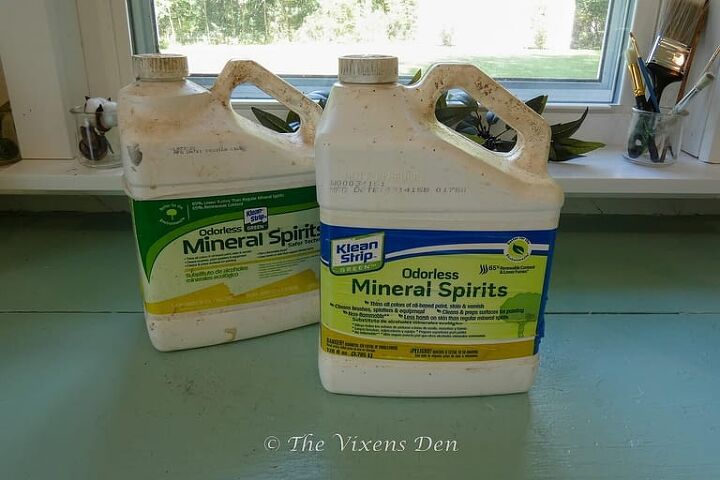
Tip: Mineral spirits help to neutralize the paint stripper as well as clean the piece. This is an important step in the process, so make sure not to skip this and go straight to sanding and applying the new finish.
Now you get to whip out the sander, put the final prep work touches on the surface, and start making your ugly duckling beautiful!

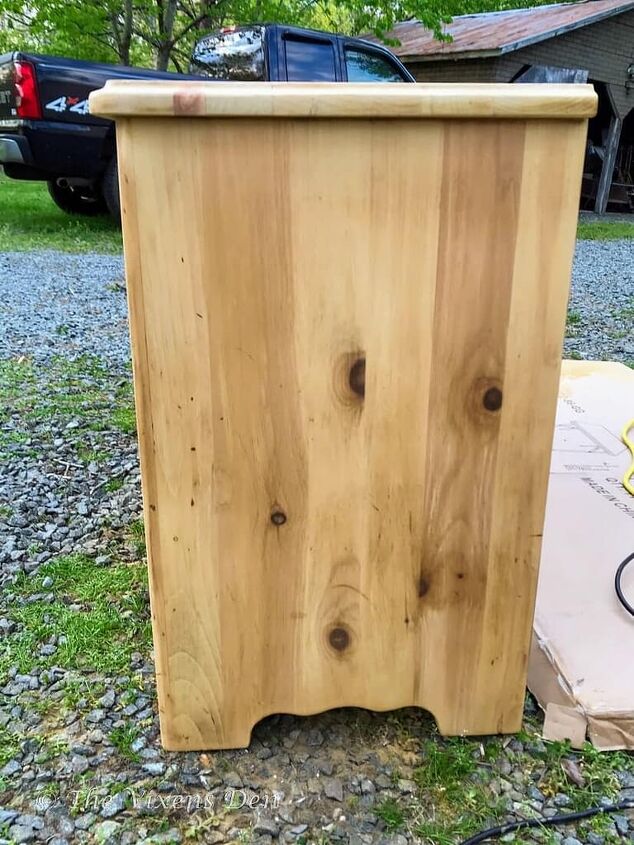
Hopefully, you can see the benefit in removing the surface finish with a chemical stripper before grabbing your electric sander.
- You’re practically guaranteed a more even and stable finish to start your project.
- You get to find fun details that you might miss if you started off sanding.
- You might even get to learn more about your piece and it’s history.
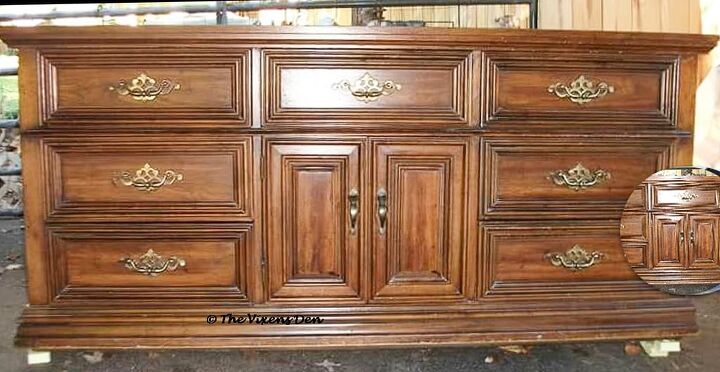
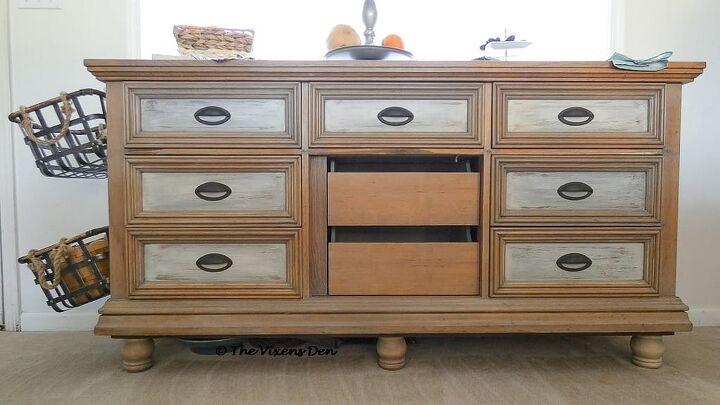
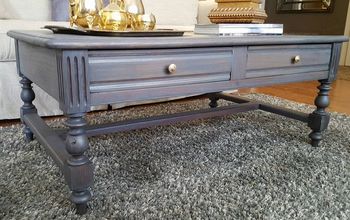
Let me know in the comments if I’ve convinced you. Then, sign up below to make certain that you receive a notification whenever a new post drops. Until then, check out this post where I transformed the old veneer dresser from the beginning of this post into a beautiful farmhouse buffet. Enjoy!
Sign up to hear all of the new misadventures!
Comments
Join the conversation
-
Thank you for your thorough details of the process and comparison of the strippers. I have used Citristrip on my kitchen cabinets to remove their paint. I covered them with plastic garbage bags and let it set overnight. It was disappointing to wait so long only to find that it didn’t much at all. Doing the project that way would have taken forever.
-
Hi Robin! I'm so glad to hear that you found this helpful!


Frequently asked questions
Have a question about this project?