


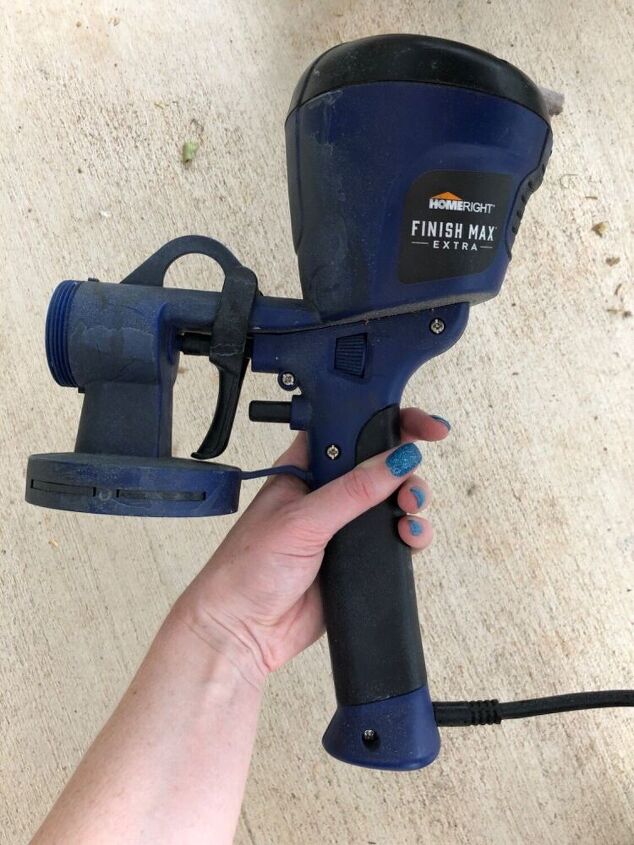
How to Use a Paint Sprayer!

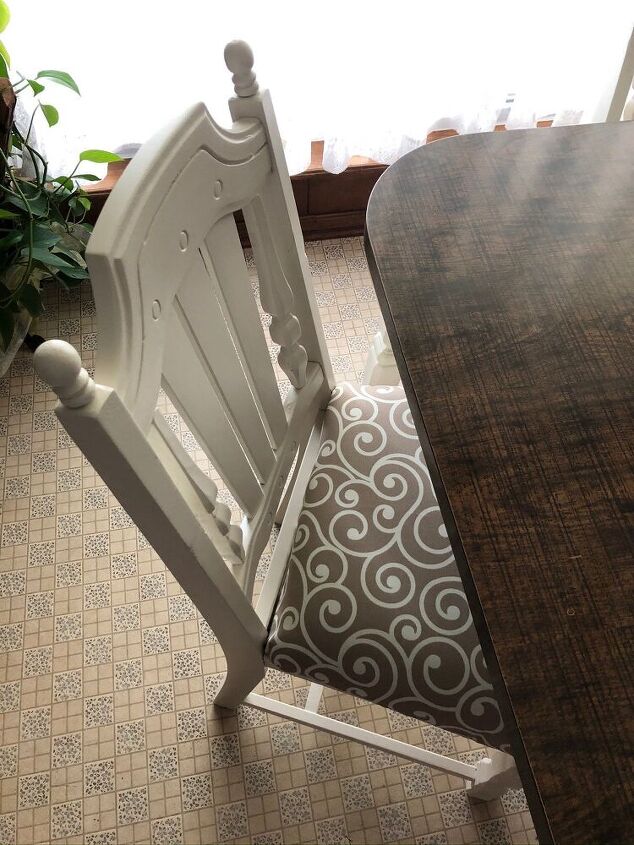
The worst part of painting? The prep work! The best part? Using a paint spray to get a flawless finish AND complete your project in a fraction of the time!! A paint sprayer is an absolute game changer - we use THIS ONE!
Setup for different brands will vary but will be the same idea as below:
First, make sure your paint sprayer is unplugged (safety first!)
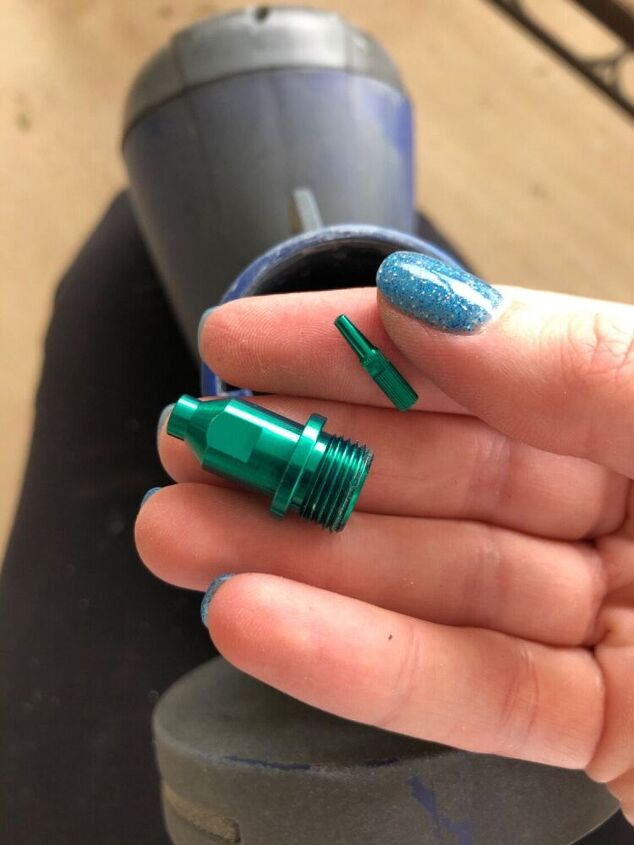
One of the most important parts is the tip and needle! This sprayer has 6 different tips that will allow for spray patterns from 1-12 inches wide! Selecting the correct one will make sure you won't have a ton of overspray!
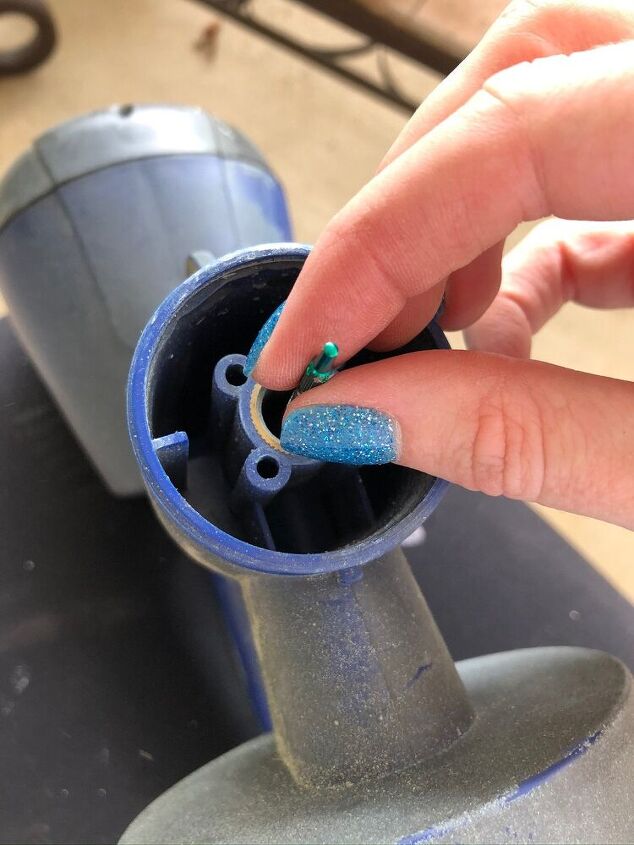
Insert the needle first.
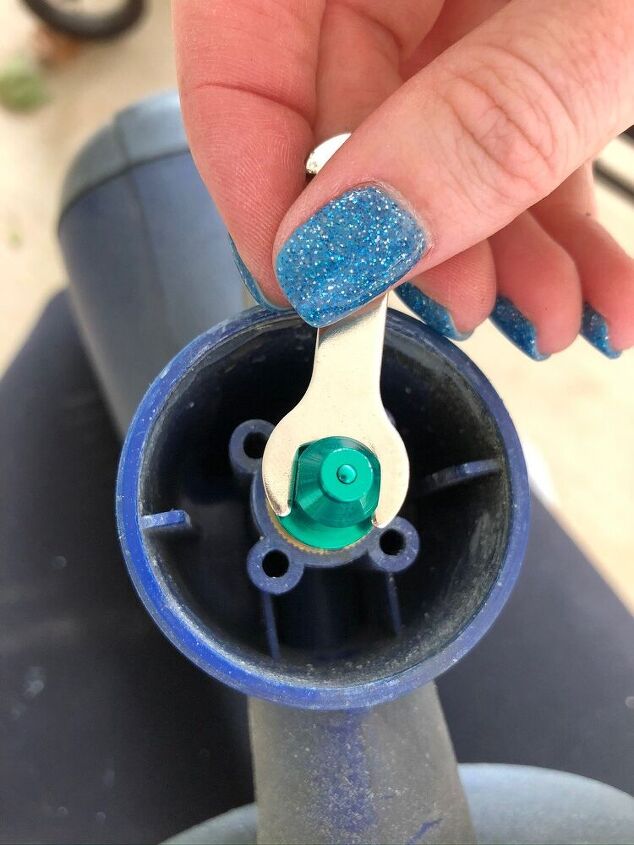
Now use the included wrench to attach the tip.
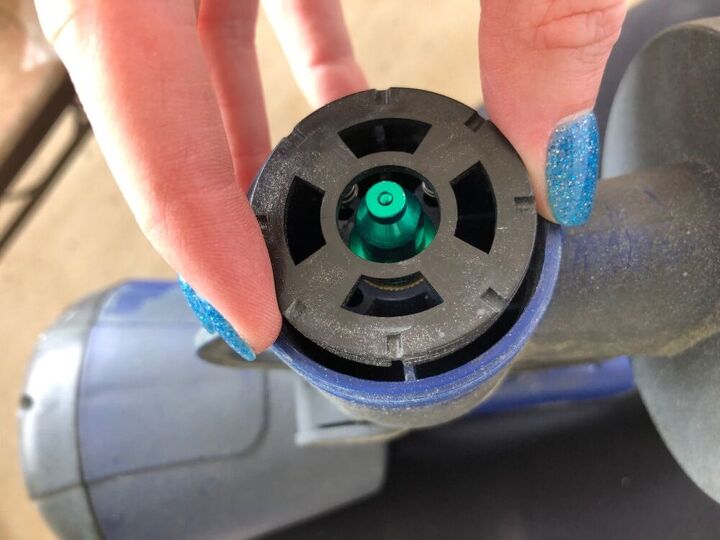
Then put the plastic piece back.
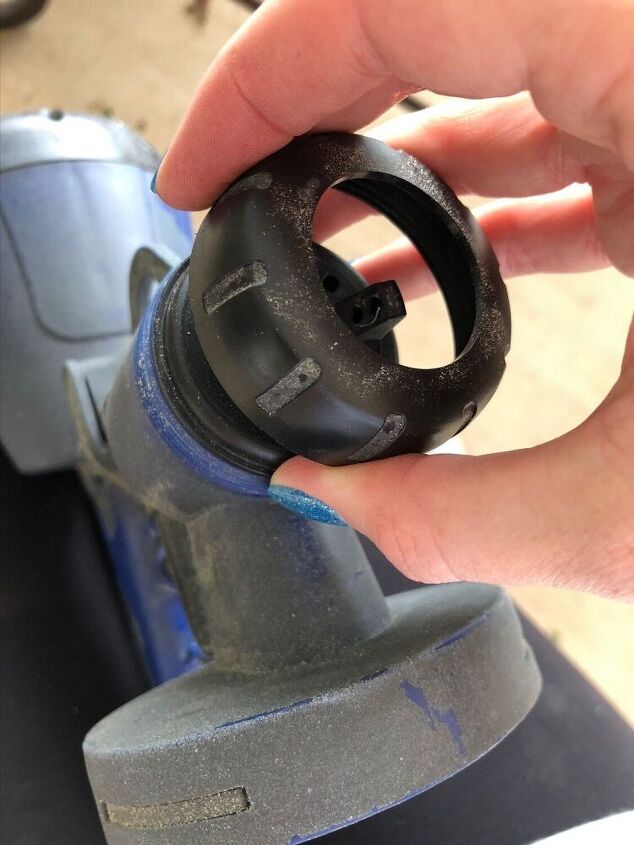
Lastly, reattach the nozzle and the ring that holds in in place. There are 2 different nozzles one is for fine spray patterns and one for wide spray patterns. I've used the fine for painting furniture and the wide when we repainted kitchen cabinets!

Now insert the pickup tube. If you'll be mostly pointed DOWN you want the tube turned toward the front. If you'll be spraying UP you want the tube pointed to the back.
Fill the tub with paint and dilute with water if needed (follow the recommendations of your specific sprayer!)
Now it's time to spray!
Resources for this project:


Frequently asked questions
Have a question about this project?
Did you sand chairs before spraying