


$80 Project: How To Decoratively Paint Concrete Floors
2 Materials
$80
4 Days
Medium
I had unfinished concrete floors in a breezeway that I was planning on turning into a mudroom. Adding a new floor was going to be expensive, so I decided to keep what I had and paint it....and I spent just $80 in supplies! Now it's my favorite part of my room!
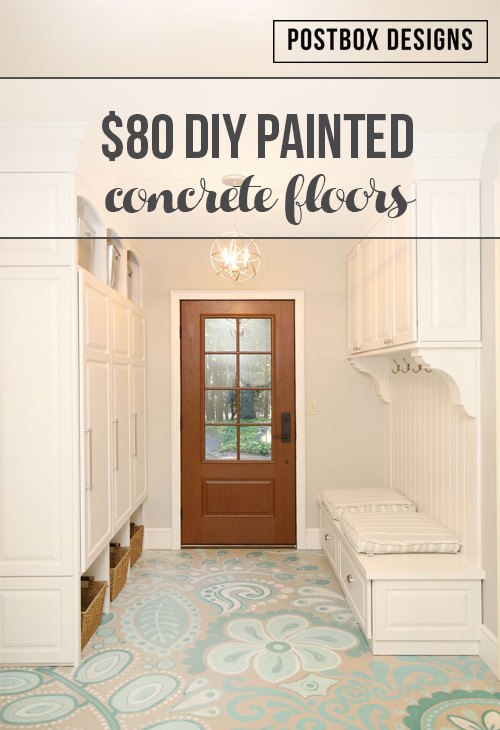
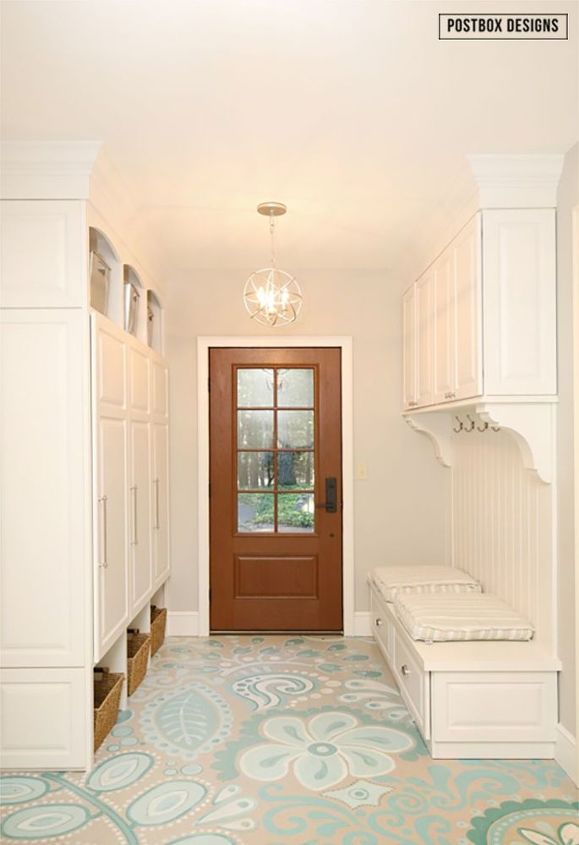
Here is a finished look at how my painted concrete floors turned out! But it didn't start off by looking like this!
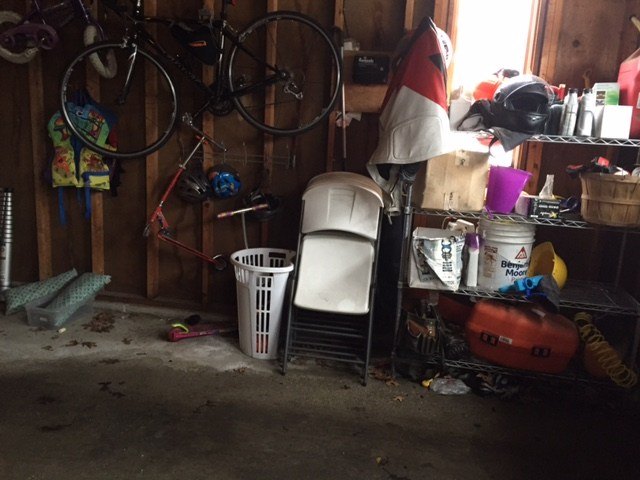
The room started off as an unfinished, unheated breezeway with the original concrete floors. I will say, my floors were a smooth concrete. If your floors have texture, this technique isn't going to work. I started off by cleaning the floors very well, first sweeping than a couple of rounds of mopping. You don't want any dirt or debris in your space. In fact I roped off the whole area for a few days so there was no foot traffic.
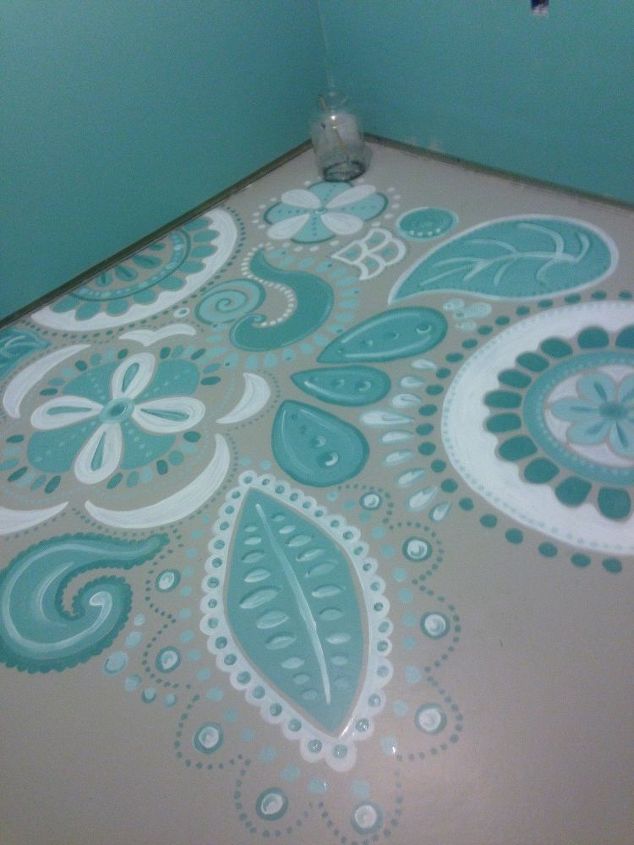
It is really important that you use the CORRECT type of paint. I tried using latex paint, and it will wear right off. So on try I used porch paint. This is meant for interior/exterior use. I started off with two coats of gray porch paint. To save money, I bought only THREE colors of porch paint (white, gray, and turquoise). At most hardware stores, they can custom tint the colors for you. I mixed these colors together to create about six custom shades to give my floor more interest, but without having to buy so many colors. I used Royal Interior/Exterior Porch Paint, Acrylic $29/ea now (mine were on sale for $20/ea).
I simply used craft paint brushes (three different sizes) to paint my design. I free-lanced my floor, painting flowers, leaves, and paisley prints. But you could also use a stencil. Geometric patterns like stripes or diamonds would work well too if you feel less artsy. Use painters tape to create these shapes. I worked from one corner to another, let the paint dry fully.
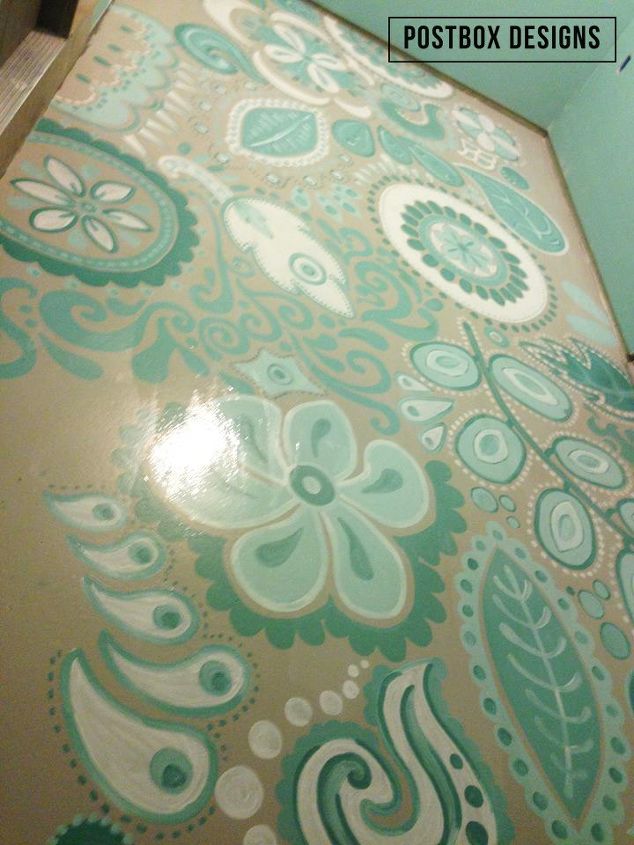
After I was done painting, I cleaned my floors again (with Bona floor cleaner) to get any dirt and debris out. Then I applied two coats of clear sealer to the entire floor. I used Varathane Polyurethane Interior Heavy Use Formula in “Crystal Clear” $14. This is a VITAL step!! Even with porch paint, your design will scratch and wear away with foot traffic. This seals it in and provides a waterproof barrier. I applied mine with a roller, but if you had a smaller area, you could use a brush. Be sure to follow dry time instructions between coats. Then I didn't let anyone walk in the room for 24 hours.

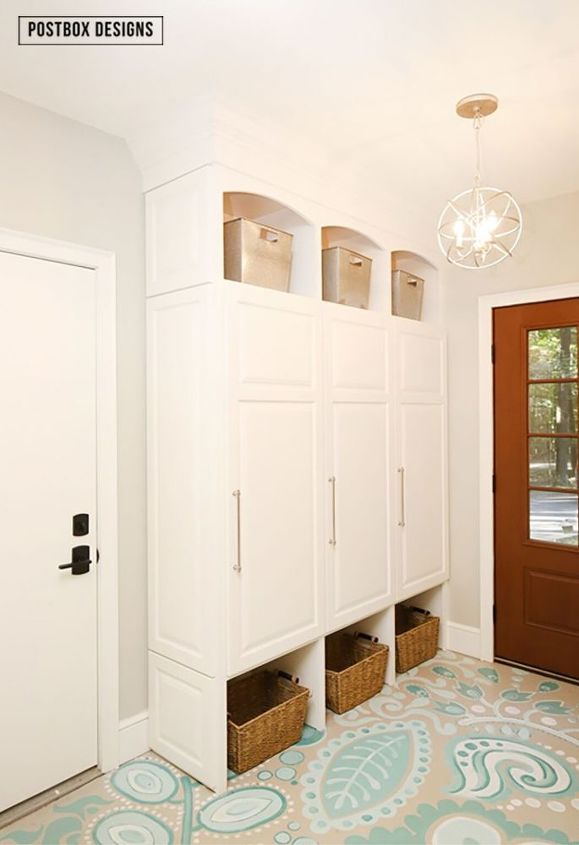
After the floor were finished, we added custom lockers, bench, storage, and a Command Center to the space. We added a total of six lockers (one for each family member!). The space to the right holds off-season storage, hooks for guests, and a bench space. We also added in lighting, heat, drywall, and a new front door. (and removed a window and two sets of sliders to get more wall space).
Here is another shot of the finished space and the flooring! We have had this mudroom for three winters now (in Michigan!), and it has held up fantastically with our three kids and very large dog. This is a high traffic area for sure! It is very easy to clean, simply use a standard floor cleaner to mop (I use Bona). In about another year I will probably add another clear coat to protect it.

Want more details about this and other DIY projects? Check out my blog post!
Comments
Join the conversation
2 of 4 comments
-
so pretty and fresh
-
Love it! I have 2 bedrooms that have ugly old carpeting, but no money to replace the flooring. So i was thinking of painting the concrete. this project just helped me decide for sure. It looks so good!! Amazing!!


Frequently asked questions
Have a question about this project?