


How to Finish Drywall - For Beginners!
$75
1 Week
Medium
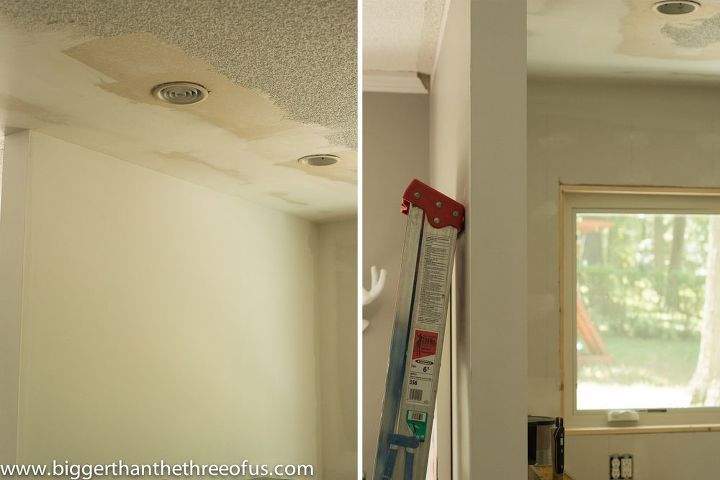
A few weeks ago we shared how to install drywall. I told you then that we would be back for the second portion of that post on How to Mud Drywall and today is the day.
Installing and Finishing drywall doesn't have to be hard. Hopefully, this step-by-step tutorial will push you to try it.
Installing and Finishing drywall doesn't have to be hard. Hopefully, this step-by-step tutorial will push you to try it.
Ready to get to it?
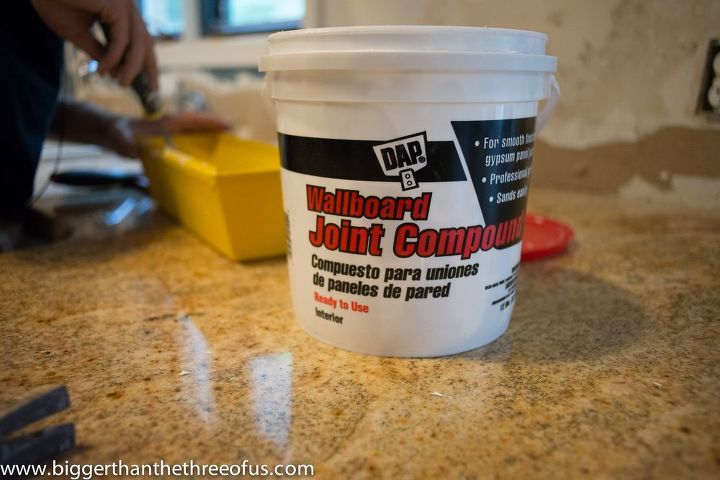
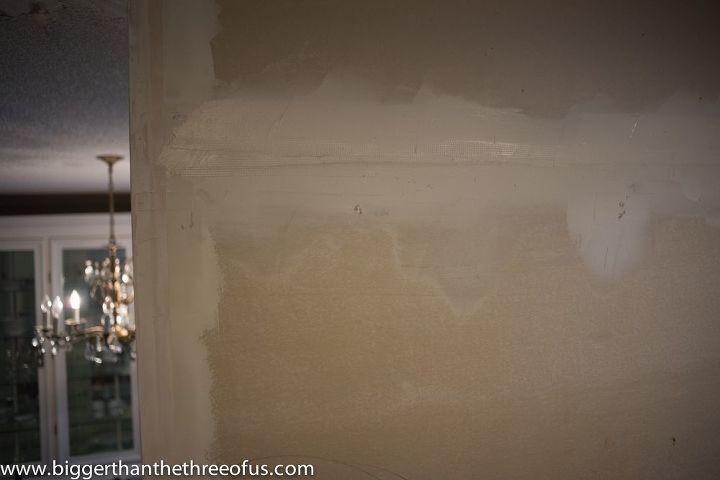
The premixed joint compound costs about $15 and it took one whole bucket to do that above wall (ceiling not included). I think we had to buy about five buckets for the whole room.
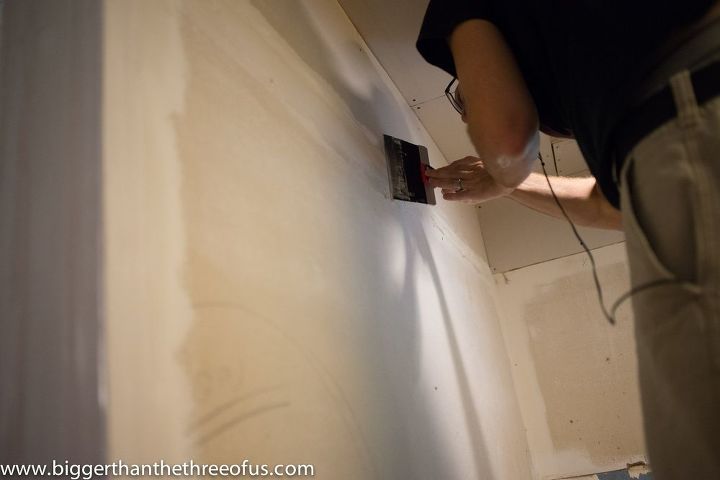
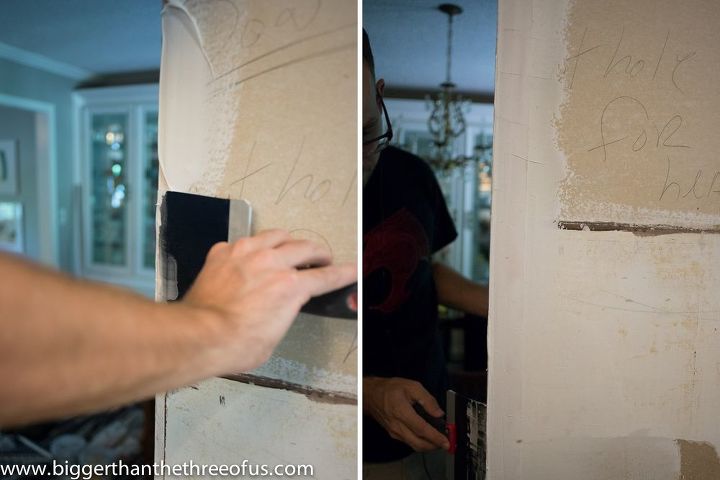
Next, you need to use your 8 knife and spread the joint compound over your seams (work with one seam at a time). The seam should be completely covered with extra built up on top of it.
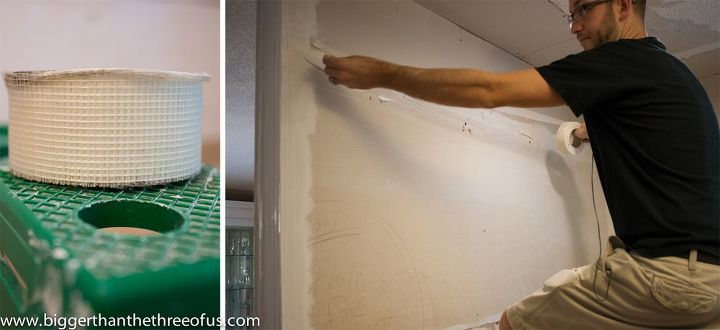
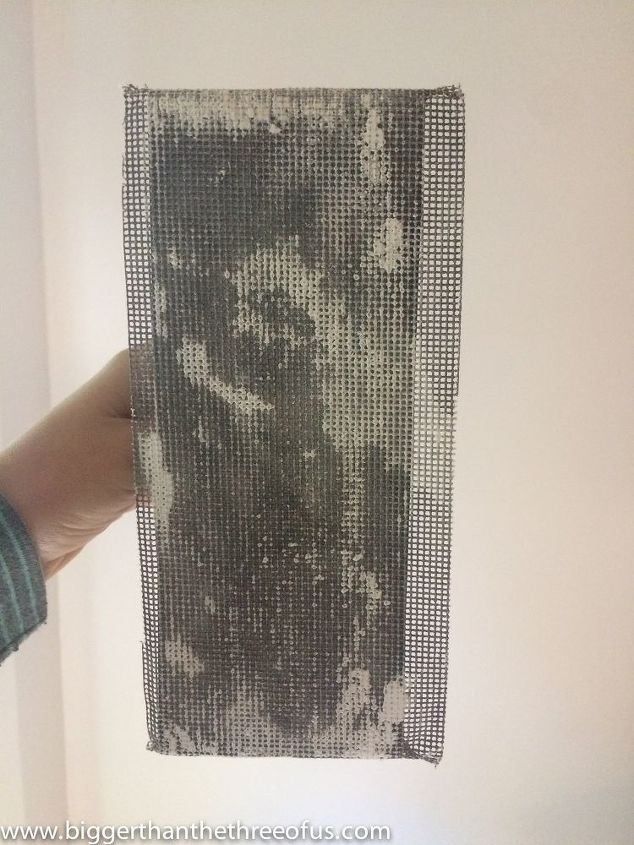
Once you have spread the mud on your seam, follow the mud with the mesh tape.
It usually works best if you focus on setting (pushing in) one end of the tape with your knife and then work from that end down the tape to set the rest of the tape into the mud.
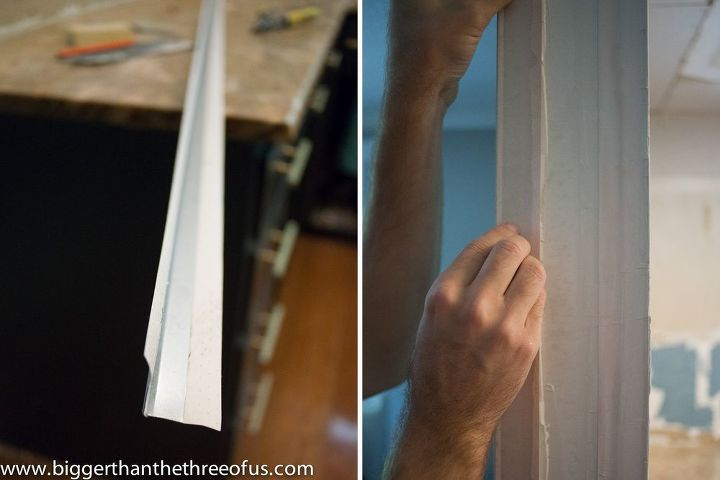
You treat corners a bit differently. Mud the corners and then place a drywall outside corner bead on the corner.
Go back over the corner bead with mud.
After you have sanded, wipe the loose dust off the walls with a large sponge.
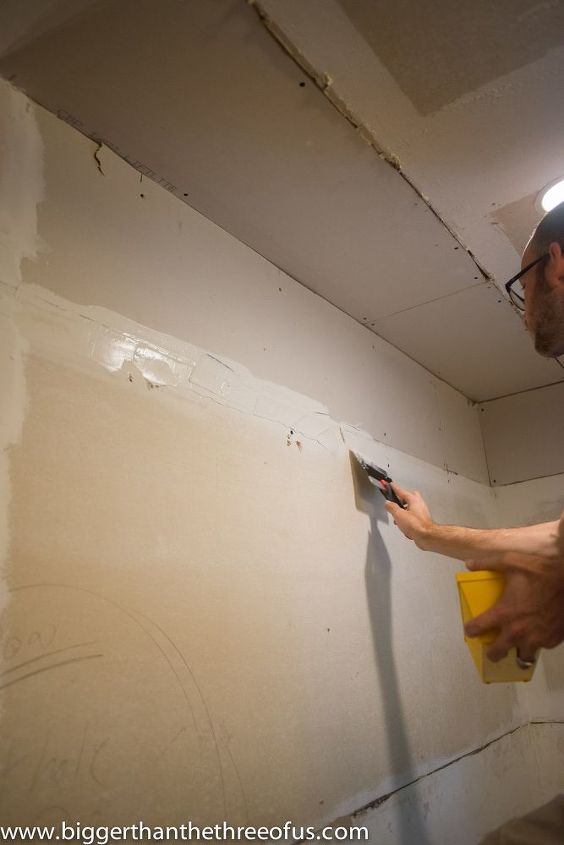
Next, we'll apply the second coat of mud using the 12 knife. All coats after the first are the same. You just start by applying some mud along the seam, and then use the large knife to gently smooth out the seams and widen the mudded area. This helps taper out the drywall so it covers the seam well in the middle and then gets thinner and thinner the farther away from the seam you go.
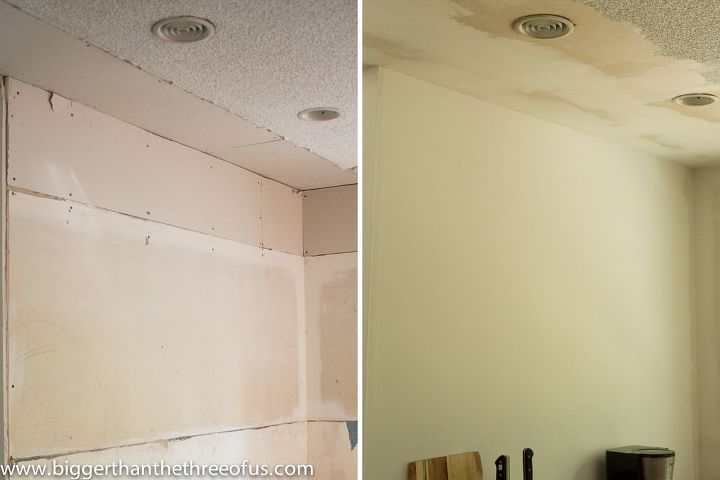
BEFORE/AFTER:

Want more details about this and other DIY projects? Check out my blog post!


Frequently asked questions
Have a question about this project?