


Paint Your Walls Easily . . . and Change the Whole Vibe!
5 Materials
$75
4 Hours
Easy
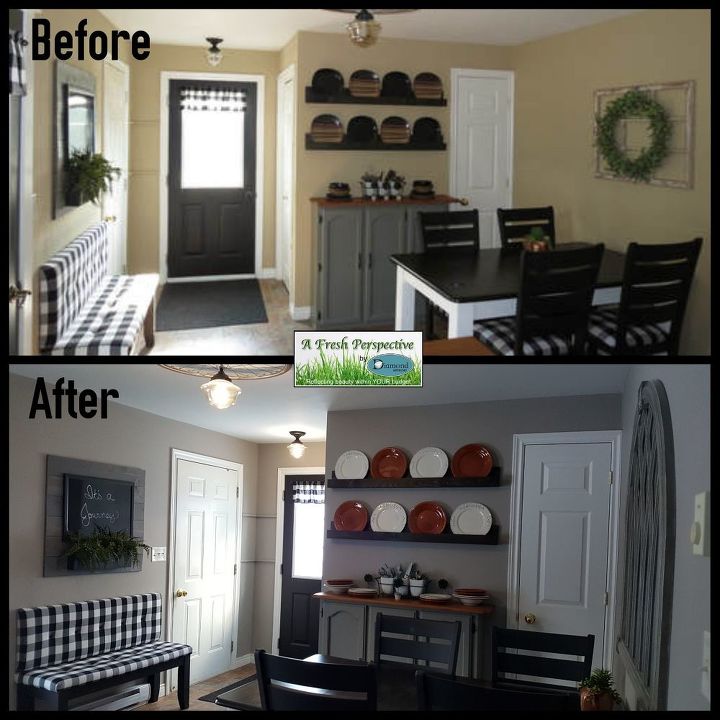
I was thoroughly tired of the beige walls in my kitchen. I chose that colour, Stonehouse by Benjamin Moore, originally to go with my flooring and dinnerware (Bazaar Brown from Walmart). Yes, it matched well. However, I am just beiged out. I have a love affair with grey that could not be ignored any longer!
Here's the 'before' picture:
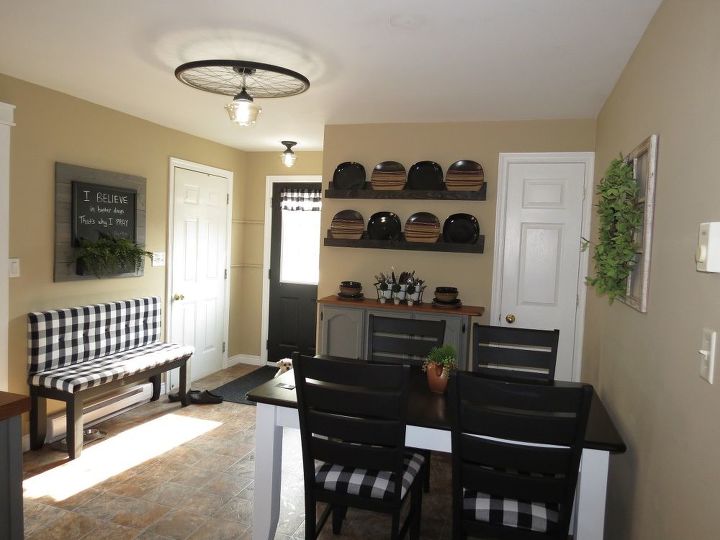
The 'before'
I love to paint. Its so rewarding to see such big changes take place as you brush & roll! Changes that last! When you cook . . . its eaten up quickly. When you do the laundry . . . it piles back up again. When you tidy up and clean . . . that doesn't last long, either. Oh, but when you paint . . . you are DONE! But, I don't just slap on any ole paint with any ole tools. I believe in a job well done.
I use: a sturdy thick nail, hammer, drop cloth, plastic wrap, Handy Paint Cup, Wooster Shortcut brush, a paint tray & liner, and a roller cage and 10mm roller.
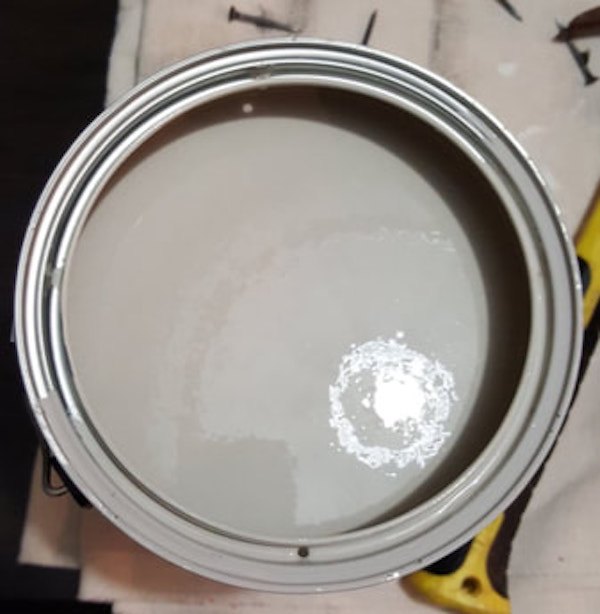
Why a nail? The first thing I do when I open a new can of paint is to nail 4 holes in the inside rim. This way, when I pour paint out into the Handy Cup or paint tray, I am not chasing paint around and around the rim. The paint quickly drops down the holes where it belongs!
This picture is after I poured some out, so you can see how the paint no longer pools in the rim.
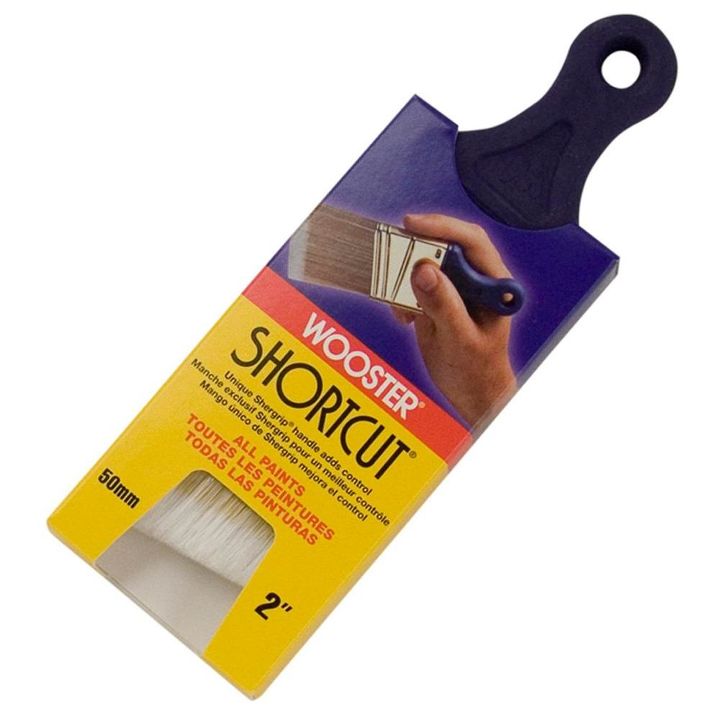
I have tried other brushes and they simply do not do the job like the Wooster Shortcut. This brush holds a good amount of paint and is easy to manipulate eliminating the need for painter's tape. The rubber handle fits nicely in the crook of your hand between the thumb and first finger and I find I don't get a hand cramp because of this flexible handle.
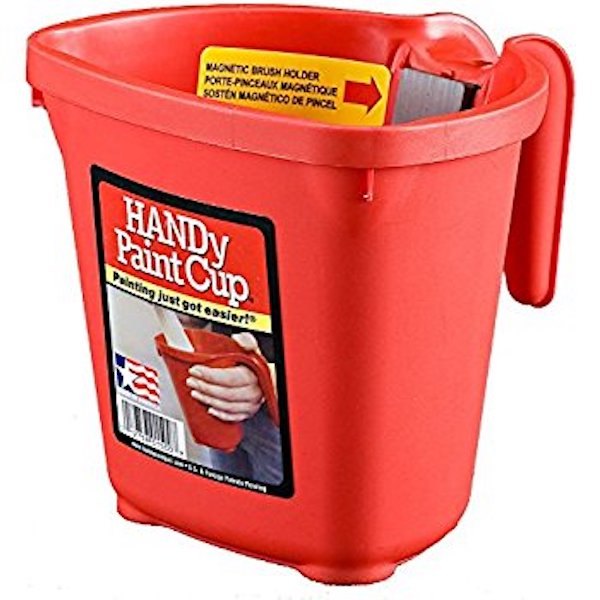
The Handy Paint Cup fits comfortably in my hand and the magnet inside the rim at the top holds the brush in place when climbing up and down the ladder.
Here's a little video showing/explaining the tools mentioned above and showing you how I cut in.
{
"id": "4608734",
"alt": "My painting tools & tips",
"title": "My painting tools & tips",
"video_link": "https://www.youtube.com/embed/7l-GwkCuMcU",
"youtube_video_id": "7l-GwkCuMcU"
}
{
"width": 634,
"height": 357,
"showRelated": true
}
As you seen/heard in the above video, I use flat paint. Why do I LOVE quality flat paint so much? Whether new or old, our homes' walls will have blemishes in the drywall. It could be from patch jobs showing or crap that got in the wet paint at some point in the past, you name it. Blemishes just happen. The more shine you choose in your paint finish, the more those blemishes will show as the bumps catch and bounce the light bringing attention to itself. Thus, flat paint hides these very well. Sheen choices in paint go in order like this: flat/matte, eggshell/velvet, pearl/satin, and semi-gloss.
In the past, flat paint didn't have a good name as it didn't wash well and showed every little fingerprint and washed spot, etc. However, now we are blessed to be able to purchase flat paint that is scrubbable! This is only possible in the top-of-the-line paint.
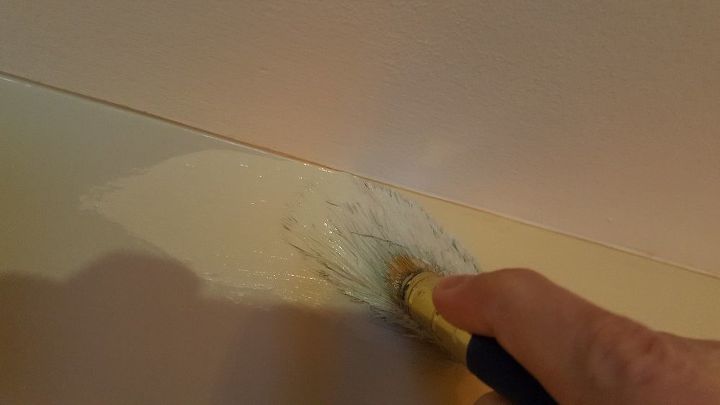
Cutting in with the Wooster Shortcut brush
This next video shows how I do the paint rolling. What I failed to say in the video, though, was WHY I roll that way. If I started rolling right next to the edge, then there would be a ridge of paint near the edge. By starting away and rolling back to the corner, it eliminates that. Going in a zig zag motion prevents roller lines from happening.
Please note: The paint splotches on the ceiling that you see was from previous paint jobs from before the house became mine. I do plan to repaint my ceiling in the near future. That is an upcoming blog post.
Tip alert! If YOU have uneven paint lines between your ceiling and wall from previous paint jobs and don't plan to repaint your ceiling in the near future, it is best to just paint over those with your new paint colour so as not to have lines of different colours up there along the rim. It will be less noticeable to be all the same color. Just brush it off or roll with it. Pun intended! :)
{
"id": "4608737",
"alt": "How I roll",
"title": "How I roll",
"video_link": "https://www.youtube.com/embed/wbhI_yhzwUU",
"youtube_video_id": "wbhI_yhzwUU"
}
{
"width": 634,
"height": 357,
"showRelated": true
}
For more information on the actual brand of paint I used in this project, please visit my website. The link is provided at the end of this post.
Here is my kitchen/dining room with the walls finished! I also changed out my dinnerware and I LOVE how it looks now!
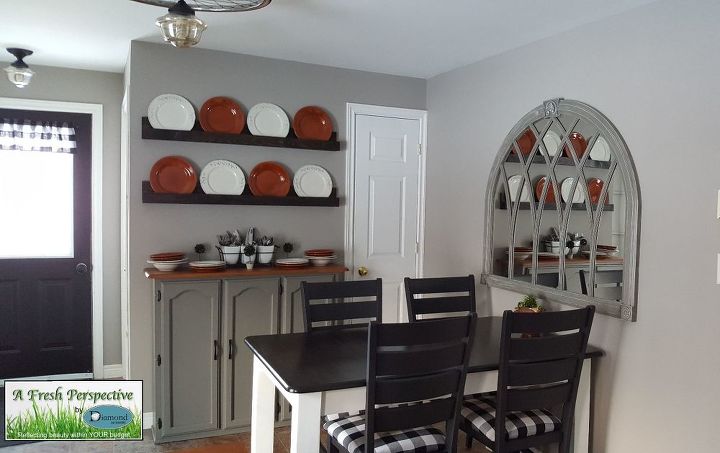
The 'after'
Although my walls did not need any additional prep work, some walls do. Here are some wall problems and their solutions that have worked for me.
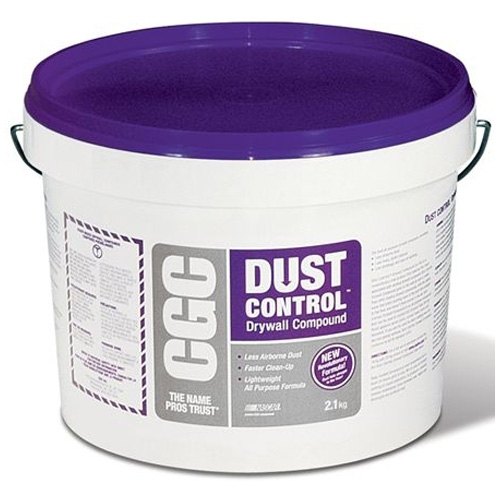
For ANY crackfilling needs on your walls or ceiling, I highly recommend Dust Control Drywall Compound. I used to use that Dap stuff that goes on pink and dries white but this stuff beats that stuff all to pieces, in my opinion! The Dap, and any other drywall compound or crackfiller that I have used, sends dust into the air when you sand. Not Dust Control! With it, the sanding dust just falls directly to the floor! AND, it dries just as quickly and sand very easily and much more smoothly.
What about those walls that are supposed to be smooth but are as bumpy as a toad's back? Well, my parents' house had many walls fitting that description. Regular hand sanding did not do the trick. Those bumps were stuck like cement, it seemed. So, we hooked up my Milwaukee rotary sander to the shop vac and began sanding those walls in a jiffy. Um, you might want to duct-tape the connection between the sander and shop vac before you start. We were sanding away and didn't notice the connection had gotten pulled apart until the dust started flying! LOL. With both machines running loudly and full concentration on the job at hand . . . yeah, best duct-tape it before you start.
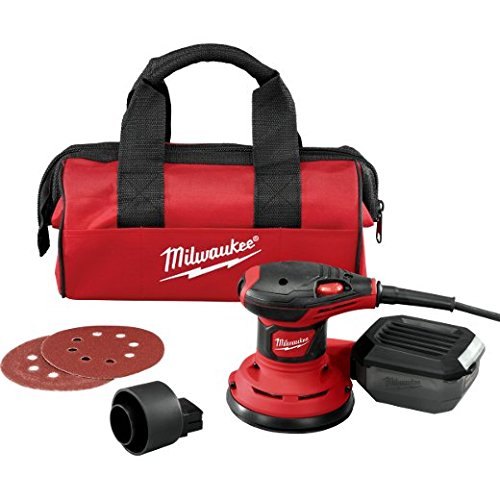
My husband & kids bought me this for Mother's Day 2017. I already had a rotary sander but this one came in a nice zippered bag and had a shop vac attachment. I don't even remember the brand of the other one now as I don't use it at all. This one is awesome!!
Well, I hope I may have saved you some time as well as made your painting something you can can also enjoy! Thanks for reading!
Resources for this project:
See all materials


Any price and availability information displayed on [relevant Amazon Site(s), as applicable] at the time of purchase will apply to the purchase of this product.
Hometalk may collect a small share of sales from the links on this page.More info

Want more details about this and other DIY projects? Check out my blog post!
Comments
Join the conversation
3 of 5 comments
-
Absolutely doing this! Starting tomorrow with my Craft Room
-
Nicely done! And thanks for the tip about the spackle / Drywall compound. We've been using the Dap pink stuff and I hate it!


Frequently asked questions
Have a question about this project?