


How To Install a DIY Mini Split Air Conditioner and Heat Pump
I live in the South where the climate is very hot and humid for more than half of the year. I spend a lot of time in my workshop, so I decided to install a DIY mini split AC and heat pump for temperature and humidity control. The Mr Cool DIY 18,000 BTU 1.5 Ton Ductless Mini-Split Air Conditioner and Heat Pump (model: DIY-18-HP-230A) fit my needs, so I purchased the unit. Keep reading to learn how to install a ductless mini split.
Visit my blog at the end of this post for more information such as mini split cost and sizing.
Check out my video on this project for step by step instructions. Please consider subscribing to my YouTube channel for more DIY Content.
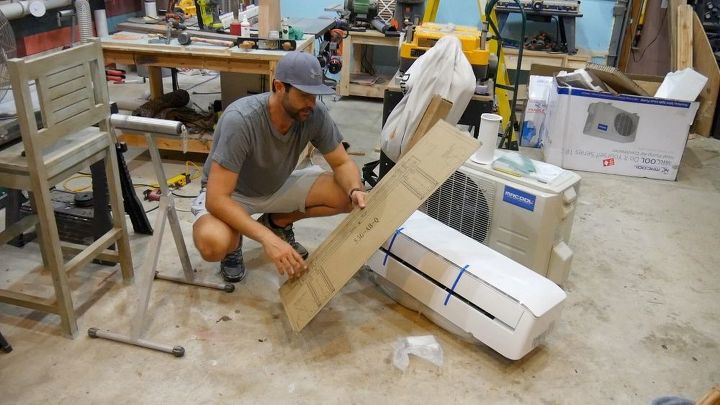
I ordered the Mr Cool DIY mini split online and it arrived in 2 boxes: the outside condenser unit and the inside unit. Both boxes were packaged very well. I inspected each part for damage very carefully. The refrigerant hose is connected to the inside unit and wrapped with a plastic coating and tie wraps.
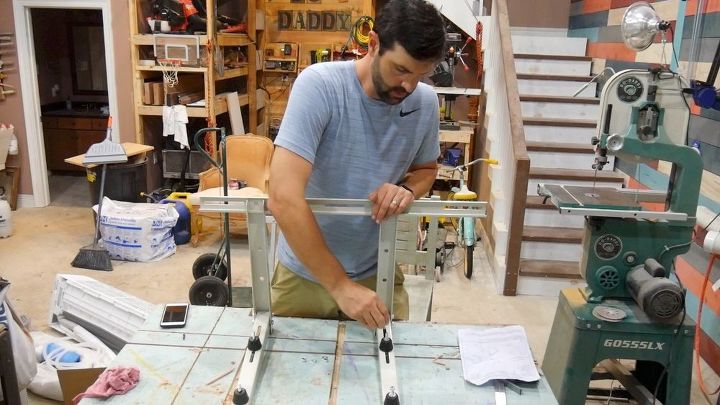
I purchased the wall mount for the outside condenser unit separate. I chose the wall mount option rather than mounting the unit on a slab. It is easier to assemble the wall mount bracket before installation rather than in the middle of the installation.
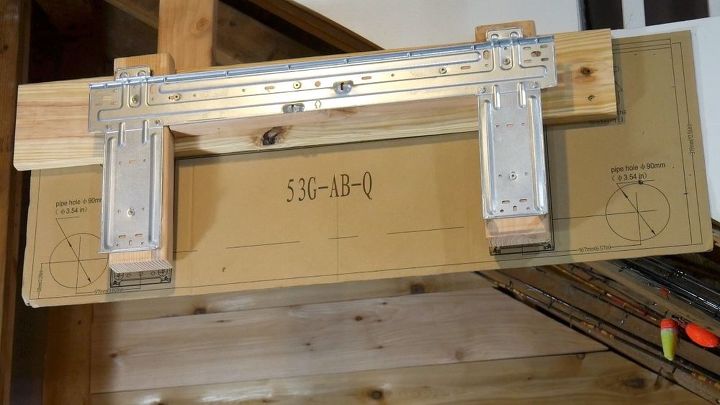
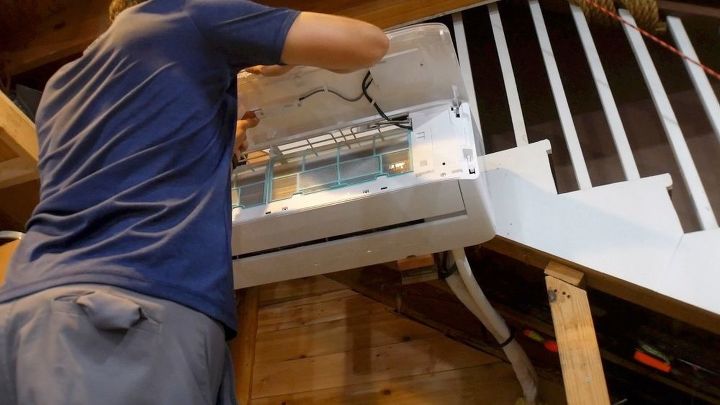
I used the metal bracket and cardboard template to mount the inside unit.
I constructed a wooden support frame that matched the cardboard wall template and securely mounted it to the underside of the staircase.
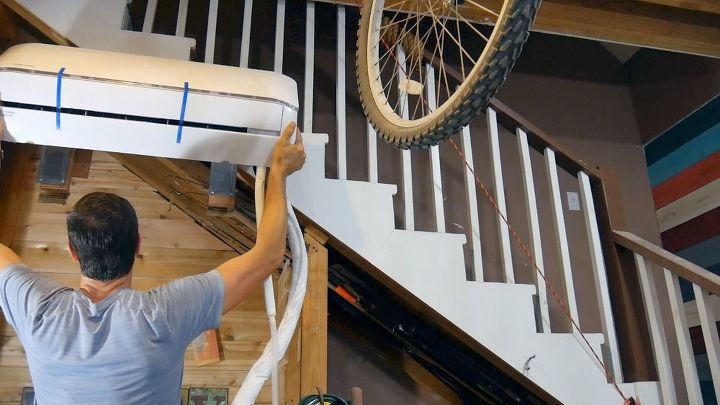
I lifted the unit and set it on the metal bracket.
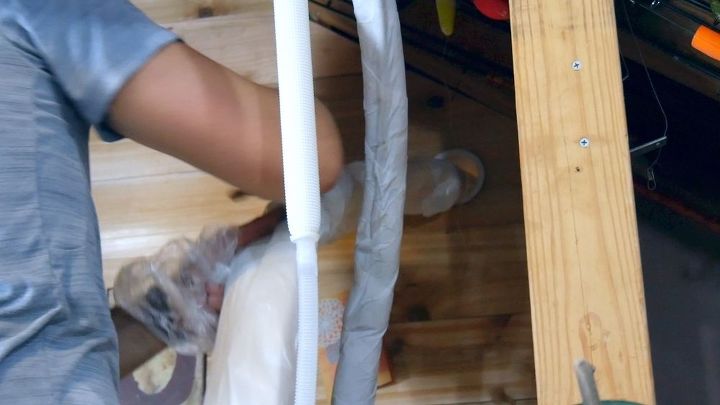
I fed the refrigerant piping through the 3.5" hole. I removed the protective passive wrap after the piping was through the wall.
The outside wall bracket for the condenser unit was easy to mount. I made sure the cross support piece was level and secured it to the wall with screws. Next, I slid the 2 support arms on the cross support piece.
Next, I slid the 2 support arms on the cross support piece.
The outside wall bracket for the condenser unit was easy to mount. I made sure the cross support piece was level and secured it to the wall with screws. Next, I slid the 2 support arms on the cross support piece.
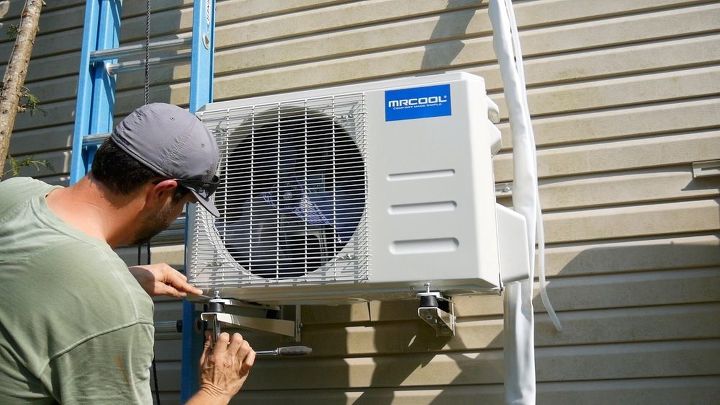
The outside condenser unit weighs 80 pounds. It’s not very heavy, but it is definitely awkward. I placed the unit on the support arms and made sure the rubber feet and bolts were aligned correctly. Next, I tightened them with a wrench and socket.
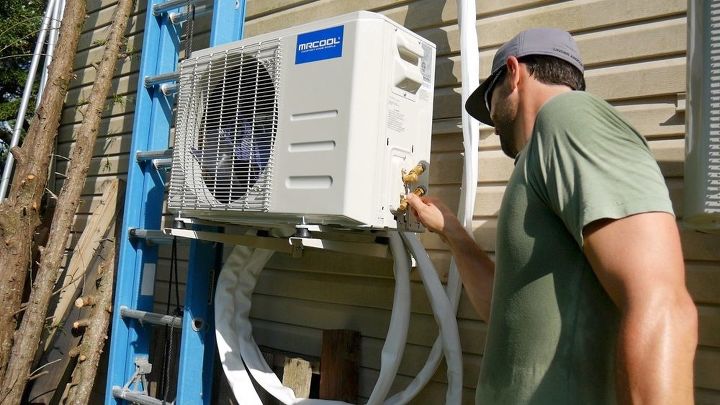
I aligned the refrigerant pipes and made sure they were not stressed. After I tightened each screw connector by hand, I tightened the bottom screw connector and then the top according to the instructions.
The instructions are very specific, so I made sure to read them carefully. The couplings work with tapping rings, so they may leak if the pipes are loosened and reconnected. I removed the cover on the top valve and opened the valve with a 19mm hex wrench counterclockwise. I repeated this process on the bottom valve.
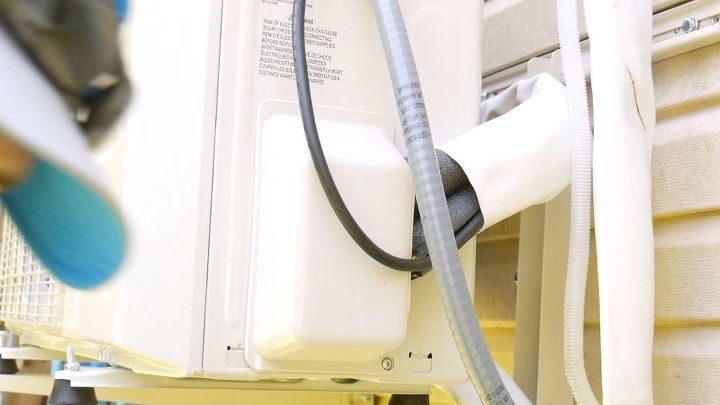
Next, I connected the electrical cable from the inside unit to the outside unit. I made the electrical connections, attached the water box and electrical box, and put pipe installation around the refrigerant pipes.
I’m not including the electrical part of the installation process because I’m simply not qualified to provide this advice to you. I encourage you to call a professional electrician to perform this work because it is not worth the risk.
The USB WiFi adapter was easy to install as well. The port is located on the underside of the door.
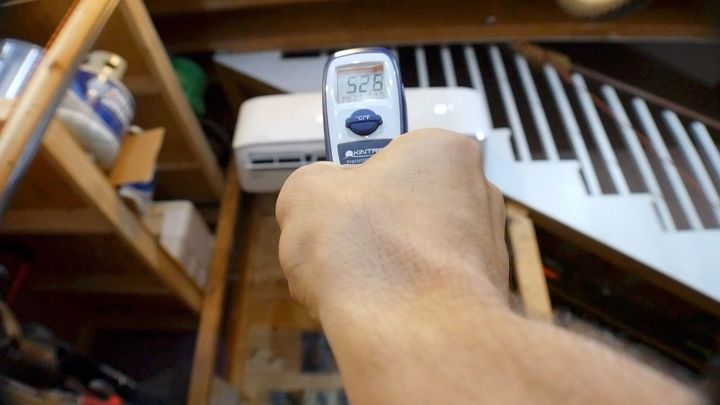
After I connected the unit to my WiFi network, I checked the temperature with my IR thermometer.

I hope this project on how to install a ductless mini split provided you with some value because this is, and always will be, my ultimate goal.
Until next time – Imagine…Create…Share

Comments
Join the conversation
-
Your post seems quite helpful and amazing. It really helps a lot of people. Thanks for sharing such valuable ideas.
-
Hey thanks for the awesome post. Very detailed and informative about installing process.


Frequently asked questions
Have a question about this project?
How can you do a leak test before you have opened the gas, and why do you not purge out the air in the pipes ?