


Eazy Wall Repair Patching DIY

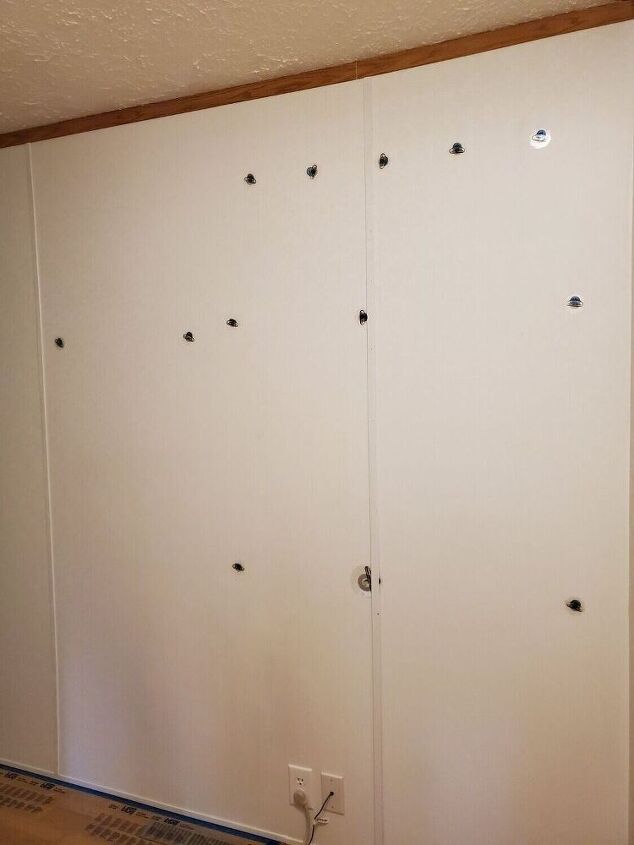
We had a home office set up in one half of the laundry room for years. Once our son's grew up and moved out, I moved the home office to it's own room. We took down the large track shelving system we had for the office area and it left MANY large holes in the wall. 13 to be exact.
I recently decided to start refreshing the laundry room and the first step is to patch the holes in the wall and paint the room. Neither my husband or myself are skilled enough to tackle drywall patching and mudding. So, I found another option. A rapid repair system ANYONE can do! It was easy and repaired in a few hours!

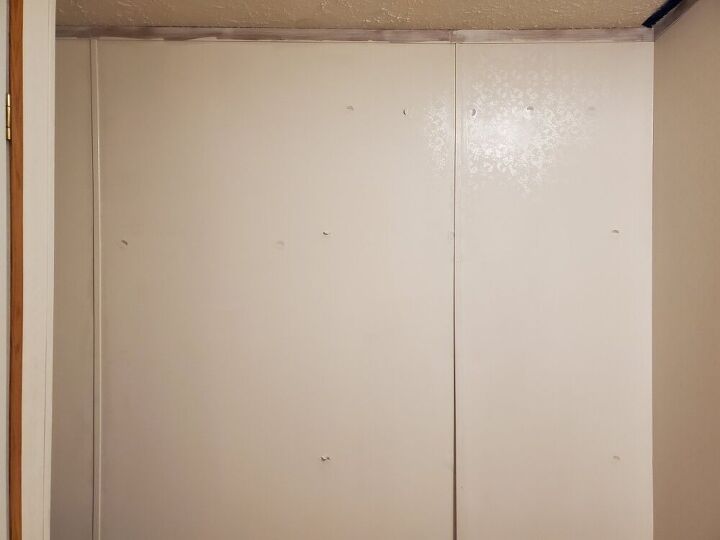
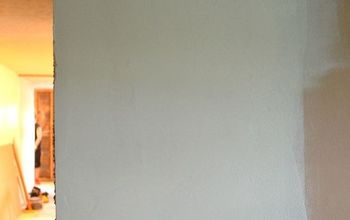
This is the hole filled wall I will be tackling.
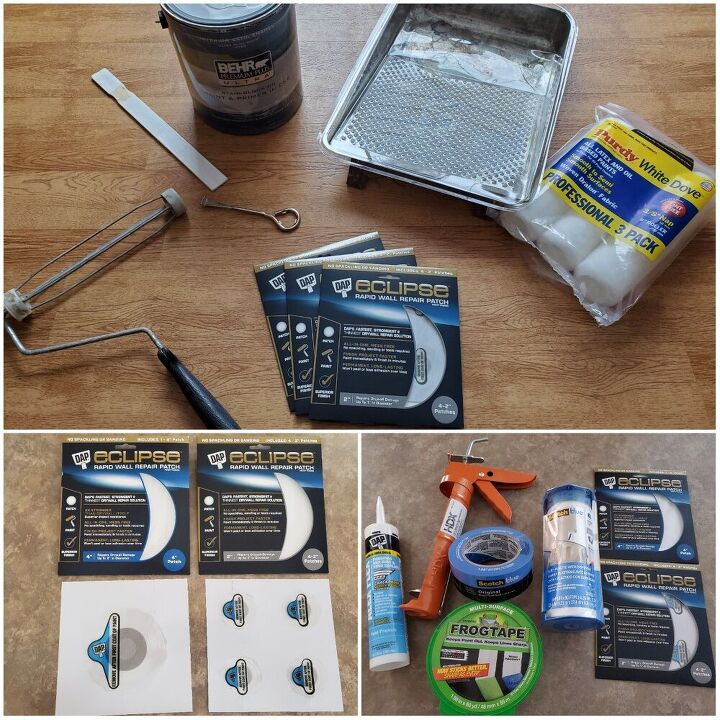
Material List for preping & painting:
- DAP ECLIPSE rapid wall repair patches
- Paint
- Paint roller and cover
- Small brush
- Painter's tape
- Caulk and caulk gun
The cost of this project includes the price of the 13 patches I need for my project. You may not need as many, so your project could cost less.
FYI- Price break down for the patches at my local Home Depot.
DAP 4" patch- $11.98 for 1 patch
DAP 2" patches- $8.98 for a package of 4
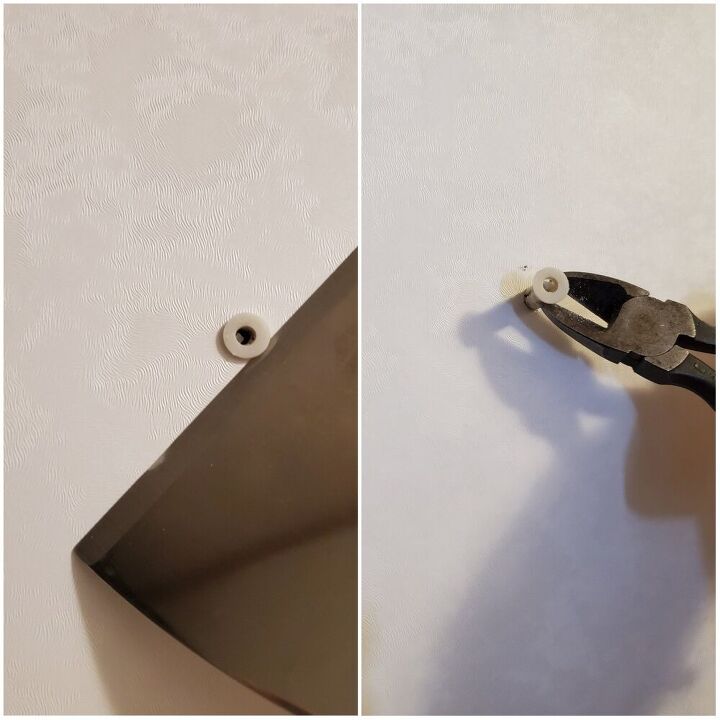
WALL PREP:
Remove any anchors in your wall and make sure your wall is clean and dust free.
Caulk any seams you need to repair before you place the patches on. Most caulk needs at least 30 minutes before you can paint over it.
Using a paint brush cut in any areas needed with paint before placing your patches.
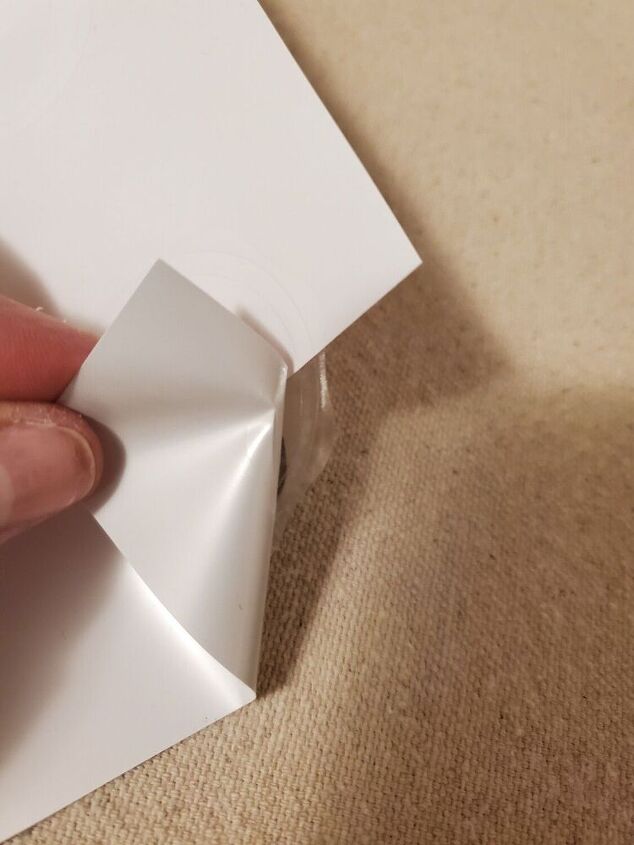
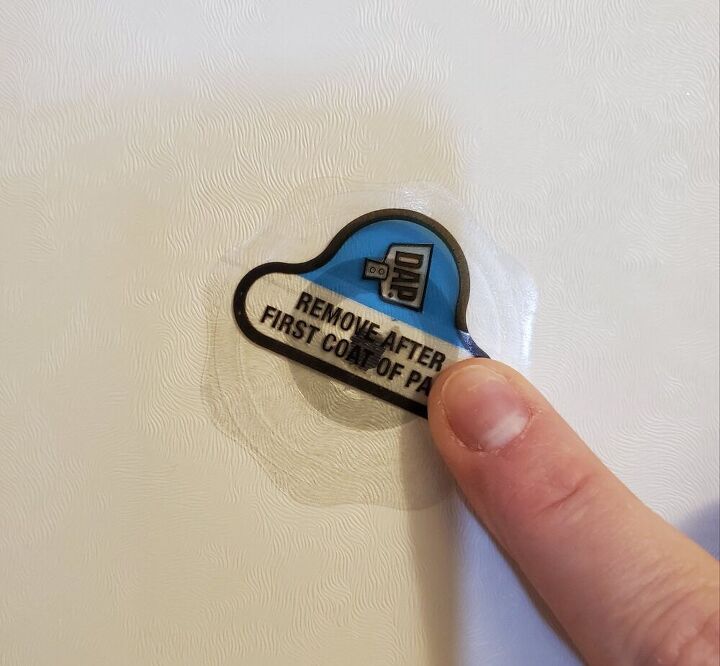
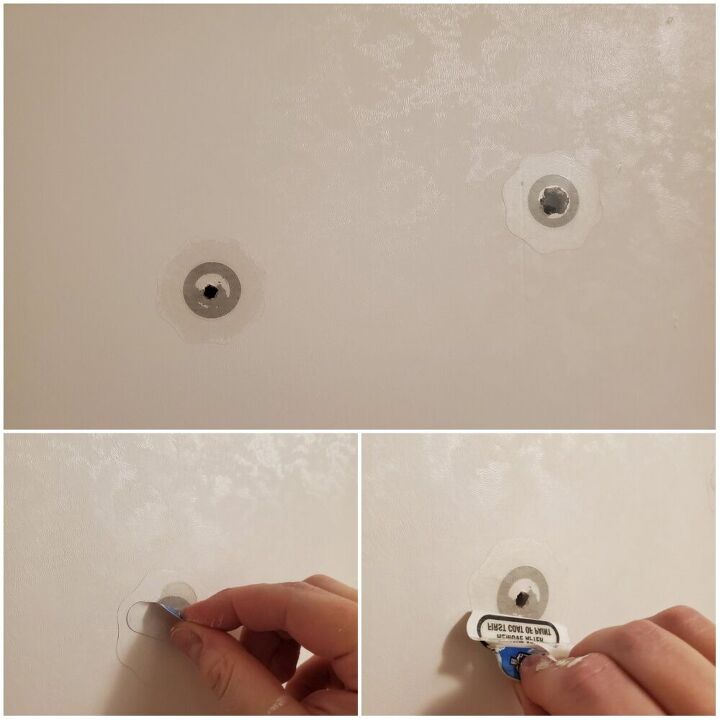
The DAP rapid wall repair patch is like a huge sticker that you remove from its backing. Follow package instructions.
The patches are extremely sticky. Take your time centering the patch over the hole in your wall.
Once the patch has been placed over the hole you need to smooth the patch to the surrounding drywall using your hand.
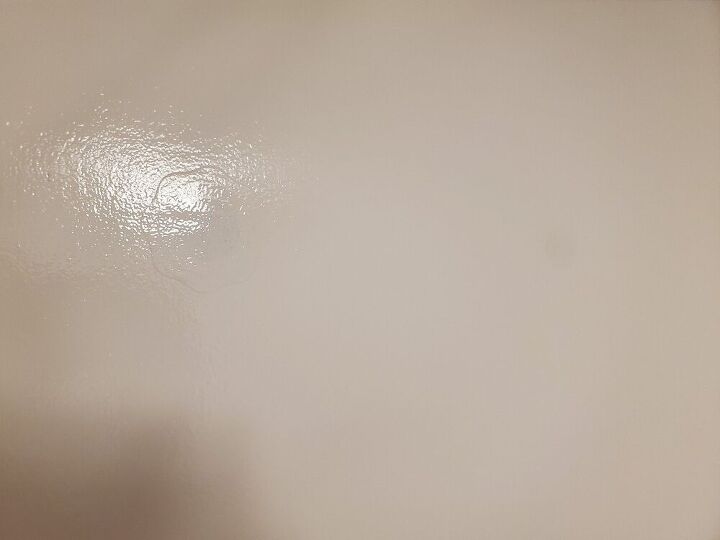
My wall patched up. It took minutes to apply and it was ready to paint.
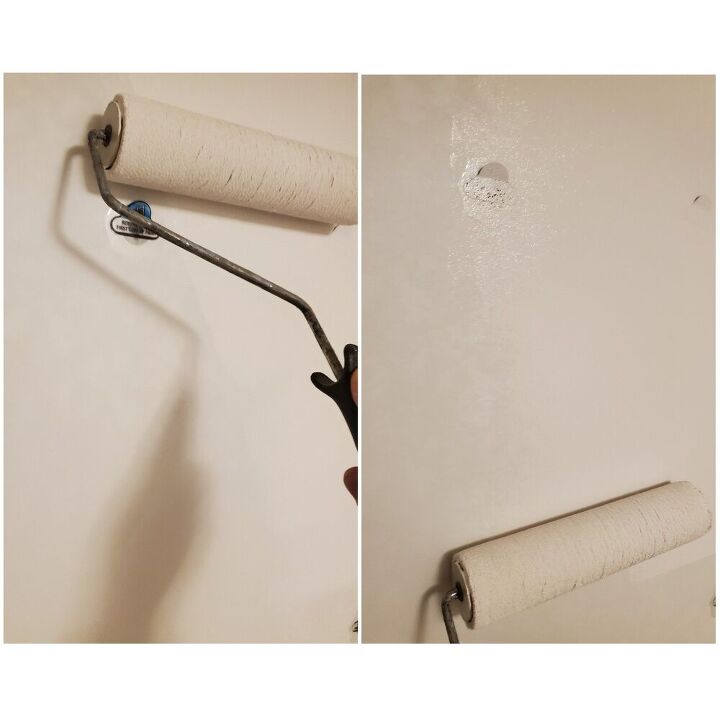
The patch instructions say to paint immediately with a roller after placing the patches. This is why I posted to do all your prep work prior to using the patches.
Close up on the first coat. I used a Behr paint and primer in one.
How the wall looked after 1 coat of paint.
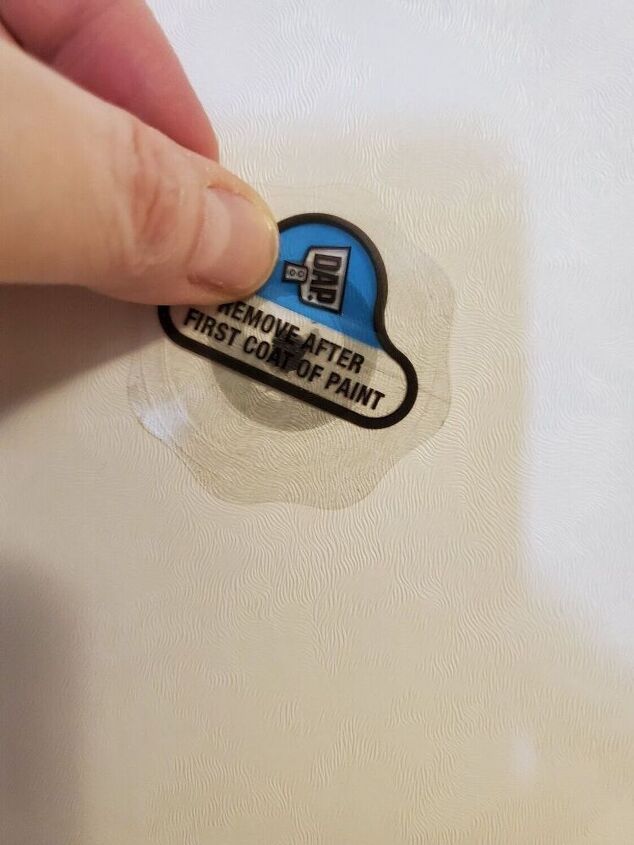
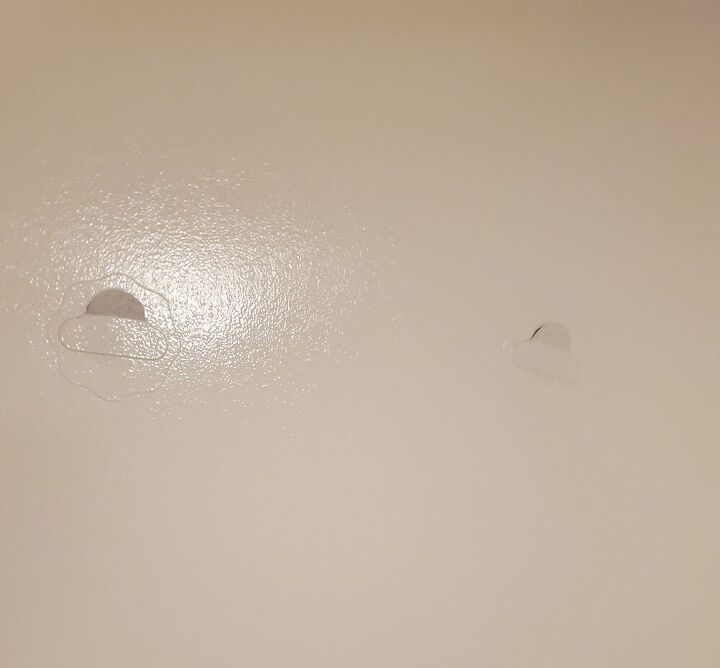
After the 1st coat of paint is dry you pull off the protective layer using the pop-up tabs.

How the wall looks after one coat of paint and all the protective layers removed.
2nd coat of paint (wet).
The patch instructions suggest 3 coats total for a smooth invisible repair.
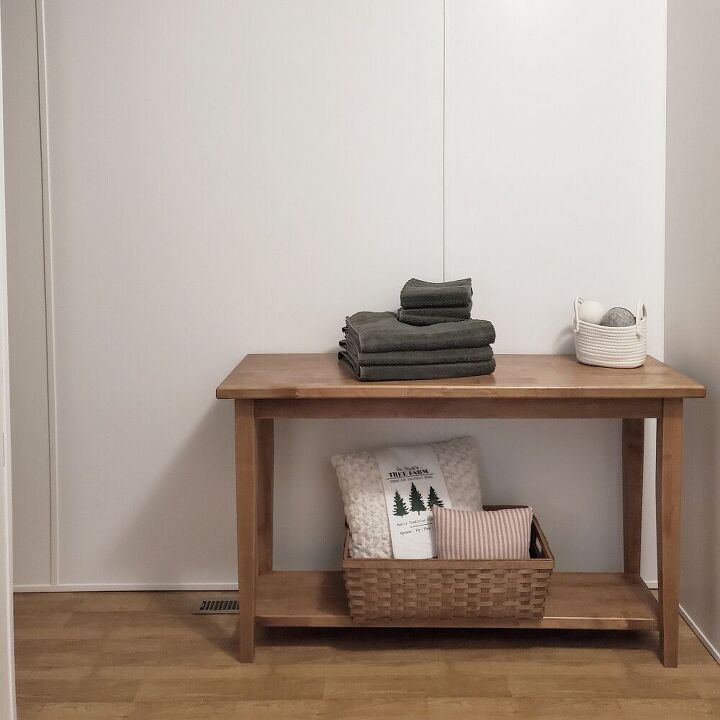
Here is my finished wall after 4 coats of paint. I ended up using 4 coats of paint because my walls are lightly textured and I felt it needed the extra coat.
(FYI- These patches can be used on textured walls and ceilings)
I think it looks great and am happy with the patches.


Frequently asked questions
Have a question about this project?
It looks good from a distance. Are they totally invisible, even close up? If they are, then they are a great product!