


How to Replace the Power Cord on a Miter Saw

Accidents happen! Am I right??
The other day I was working on the dollhouse flip I am in the middle of, and I wasn't paying attention when I cut right through the power cord of my miter saw!! After some minor freaking out, I decided I could figure out how to replace the power cord rather than buy a whole new saw!
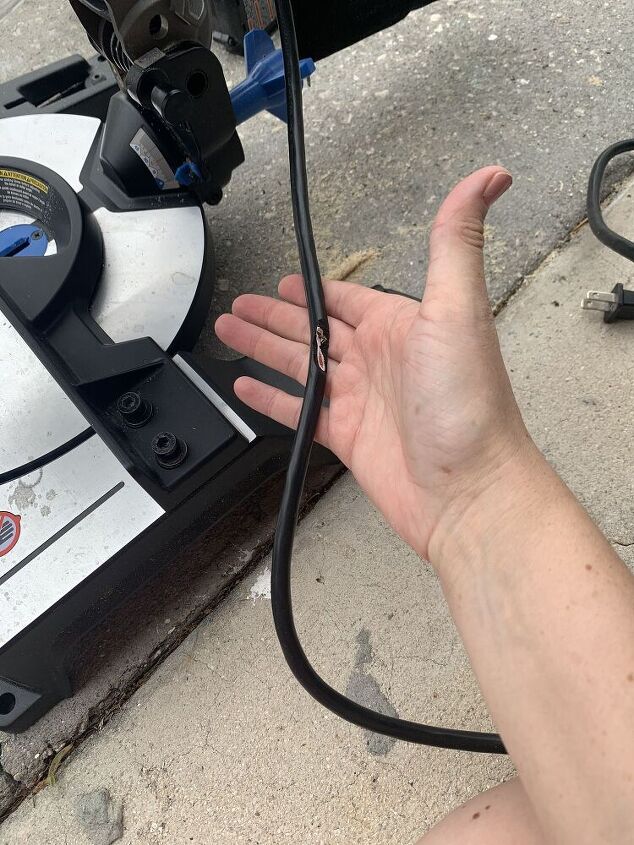
You can see that I cut right through the power. The first thing I had to do was order a replacement cord. Which I found on Amazon for a great price! Be sure to check the requirements for power on your tool so that your new cord has the appropriate rating.
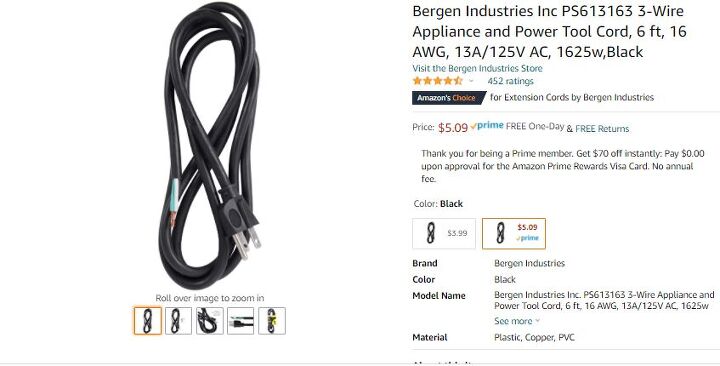
This is the cord that I ordered. Some brands will have brand specific replacement cords, so check your brand first!
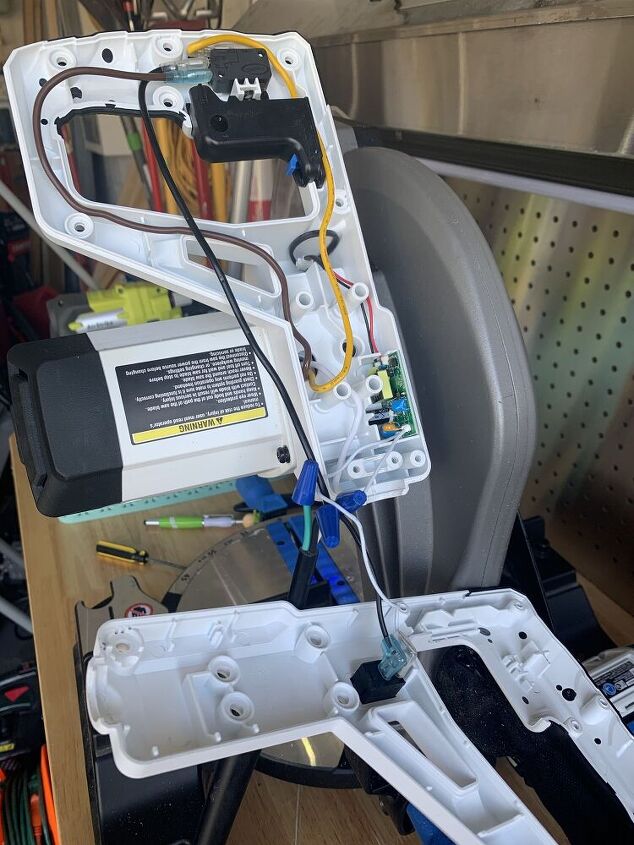
The first thing that you need to do is take the cover off of your handle. All of the power supply is located within. Use a screwdriver to take out all of the screws.
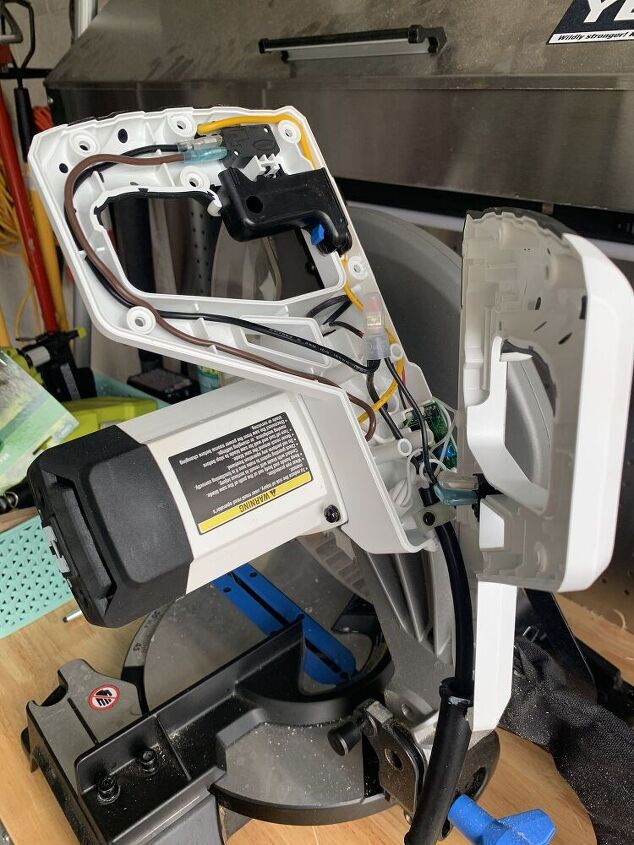
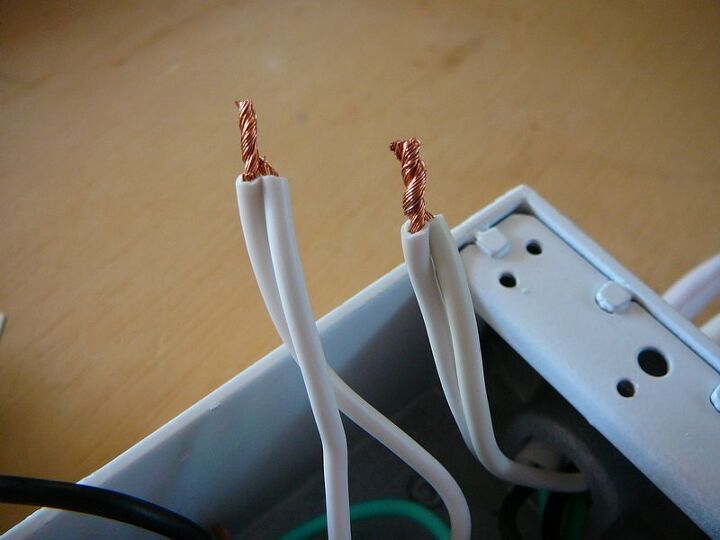
This is what the inside of the handle will look like. If you've ever changed a light fixture, the set up is very similar where the wires are connected using caps. You need to remove those caps first to disconnect the power cord wires from the saw wires. I did have to cut some of the wire, but that is ok because I just used my wire stripper to expose more of the wire.
Once you have disconnected the wires from the old power cord, remove the power cord completely. use wire strippers to expose enough of the wire on your new power cord so that you can twist the two together and cap them again.
You will twist wires of the same color together (the white wire from the new cord and the white wire from the saw power supply) Then twist electrical caps over the connected wires to secure the connection.
You will twist wires of the same color together (the white wire from the new cord and the white wire from the saw power supply) Then twist electrical caps over the connected wires to secure the connection.
You can see where I've capped off my newly connected wires with blue electrical caps.
The next step is to test your connections. I would suggest doing this before you screw the handle cover back on, just in case.
Plug in your newly connected power cord, turn in the tool and test to ensure that it is working. If it is, reattach your handle cover and you are good to go!!
If it isn't working, take off the electrical caps and ensure that your wires are securely connected, then try again!

Once you screw the handle cover back on, you are good to go with a brand new power cord!


Frequently asked questions
Have a question about this project?