


How to Replace Drawer Slides

Having a drawer slide come loose or even split is a pretty common problem. It’s also quite annoying. While it’s not what I’d call an easy fix, it also isn’t terribly complicated. As long as you can remove screws, cut a piece of wood (mostly) straight, and install screws back into the same holes as before, you’ve got this.
We’ll walk through an easy replacement and a scenario that was a little more tricky. It includes an unexpected fix, kind of like the poster putty that I used in this post. (wink)
Tools and Materials
Tools
- Screwdriver
- Measuring tape
- Chopsaw or
- Handsaw
- Ratcheting wrench driver or
- Drill with Angle drill driver
- Drill bits
Materials
- Drawer slides
- Slideez
- Cotton swabs
- Replacement screws
Selecting the Replacement
Drawer slides come in two pieces. One of the pieces mounts to the drawer, and the other mounts directly to the frame of the furniture. The two pieces slide into each other and interlock, allowing the drawer to slide back and forth.
The slides can be made of wood, metal, plastic, or a combination.
Some drawer slides include “stops” that prevent the drawer from opening too far. These stops may be built into the slide (usually found in metal slides) or they could be built into the case frame, usually in the form of a peg or block that hangs down slightly in the path of the drawer to prevent it from pulling all the way out when opened.
(When I use the word “case” I’m referring to the box shape that houses the drawers.)
Most of the drawer slides in my house are either wood “bottom-mount” slides, that sit on the bottom center of the case opening, or metal “side-mount” slides that are installed on both sides of the drawer.
Bottom-mount drawer slides can be installed as a single slide under the center of the drawer or as two slides along the bottom edges.
Side-mount slides come in pairs and can be installed along the top, the bottom edge, or in the middle of the drawer side.
Everything clear as mud and twice as confusing? Awesome! Let’s get started on how to replace drawer slides.
For this post, I am specifically replacing single bottom-mount drawer slides that are made of wood. The principles, and some of the challenges, will be the same regardless of the type of slide you are replacing.

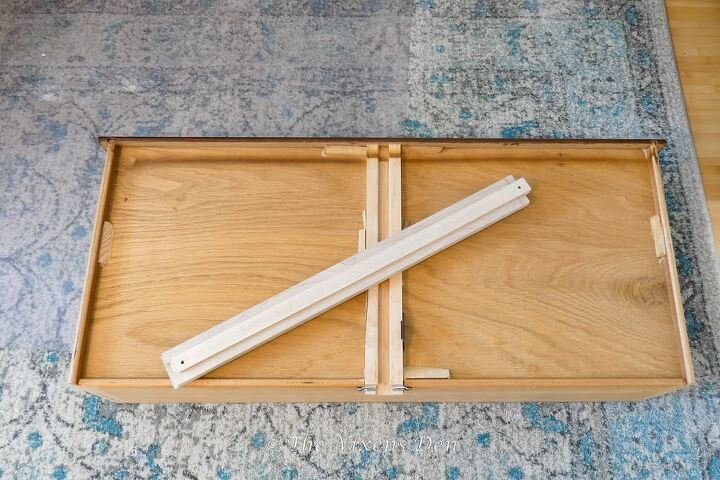
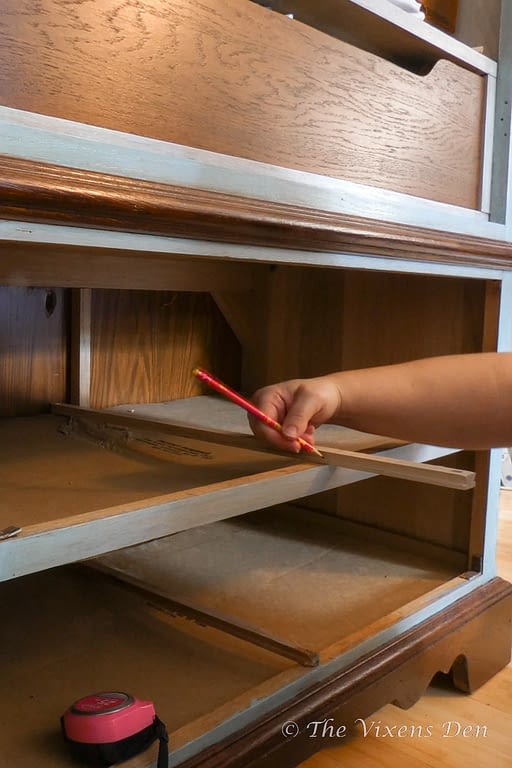
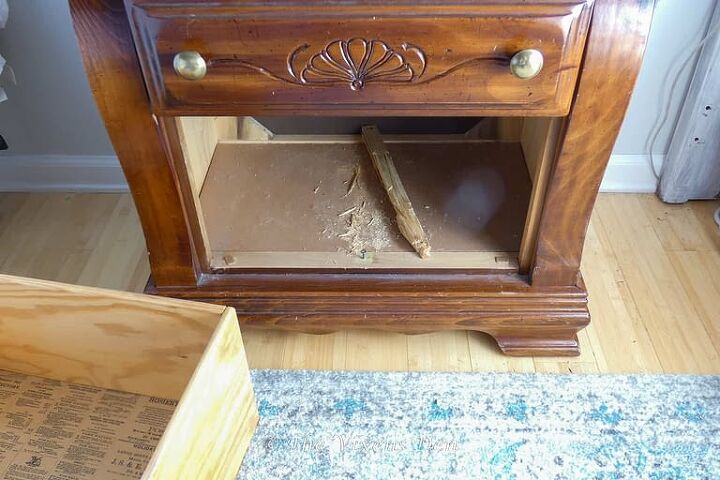
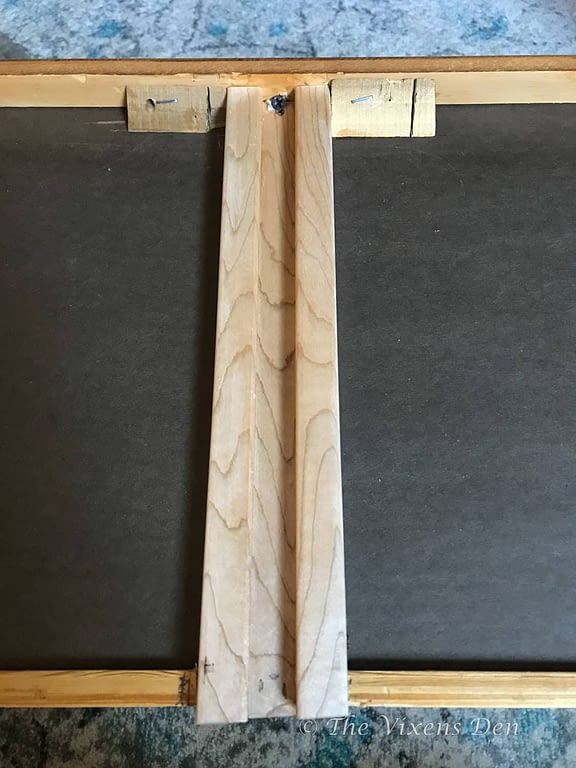
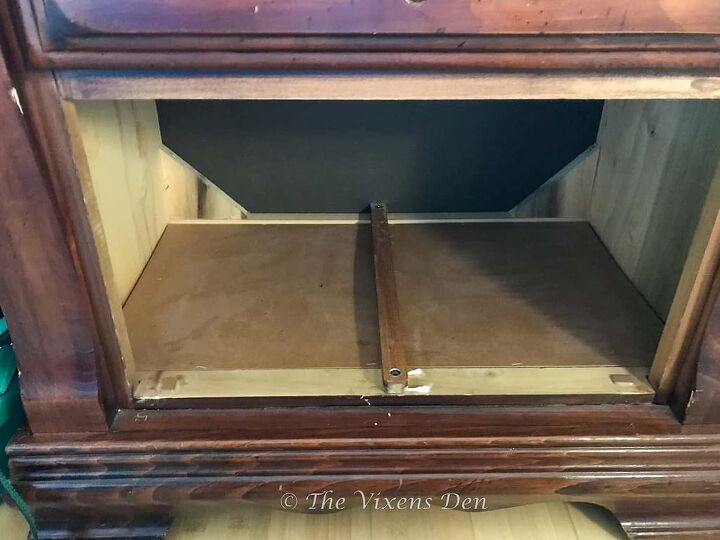
The first repair project was the craft cabinet. To get started on this project, I first used a screwdriver to remove the screws that were holding the existing slide in place. I vacuumed up all of the wood splinters and dust, then measured to see how long the slide needed to be.
The slides that I ordered came pre-drilled and slid together so smoothly. Unfortunately, they were also too long for the craft cabinet. I measured the cabinet depth, from front to back. I measured far enough to the front lip that I had enough space to insert a screw, but not so far that the new slide would hang out past the lip of the frame.
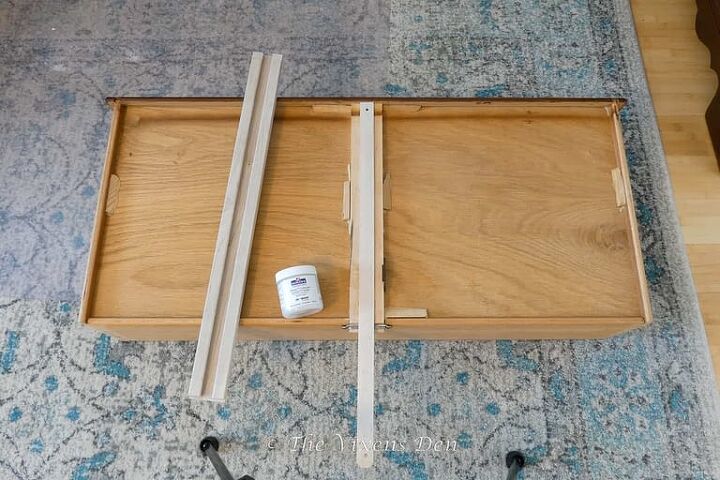
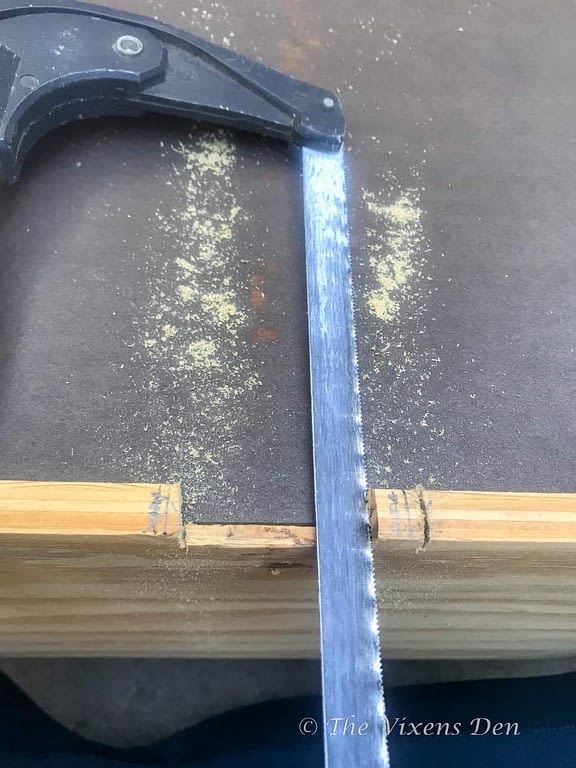
After marking the appropriate length on the case slide, I took it outside and cut it to length with my handy chop saw. If you don’t have a chop saw, you could also use a jigsaw or even a handheld hacksaw, which is a great arm workout!
Once the case slide was cut to the right length, I flipped the drawer over and tested it out to see if the drawer slide would also need to be replaced. It fit and slid perfectly! There wasn’t any wiggle that would eventually cause binding or twisting, and it moved smoothly as butter. This meant that I could reuse the drawer portion of the slide. That was a relief!
Now to reinstall the case slide.
The most challenging factor when installing drawer slides is installing them evenly. If they aren’t even, then there may be gaps around the edges or the drawers may stick when you try to open them. Unfortunately, unless your floors are 100% level, a level won’t be too much help here. Instead, it’s time to pull out the trusty measuring tape and start marking centers.
In this case, however, I chose to line the slide up with the existing holes from the screws. I did have to install a new pilot hole in the cut end of the case slide. I used a drill bit that was about the same size as the shank (long threaded piece) of the screw.

It’s important not to skip this step. Drawer slides are not cheap and they could easily split if a pilot hole isn’t drilled in first. That would be extremely frustrating.
Once the new pilot hole was drilled, I took a larger bit and drilled about 1/16 of an inch into the pilot hole. This provides space for the screw to install below the surface of the slide, also known as “countersinking.”
My drill was too tall to fit into the space, so I used the screwdriver to reinstall the screw in the back of the cabinet. I didn’t fasten the screw all the way to the slide, however, as I wanted a little bit of wiggle room to line up the front.
I lined up the front to the center mark from my measurements and drilled a small pilot hole in the cabinet lip then installed the original screw.
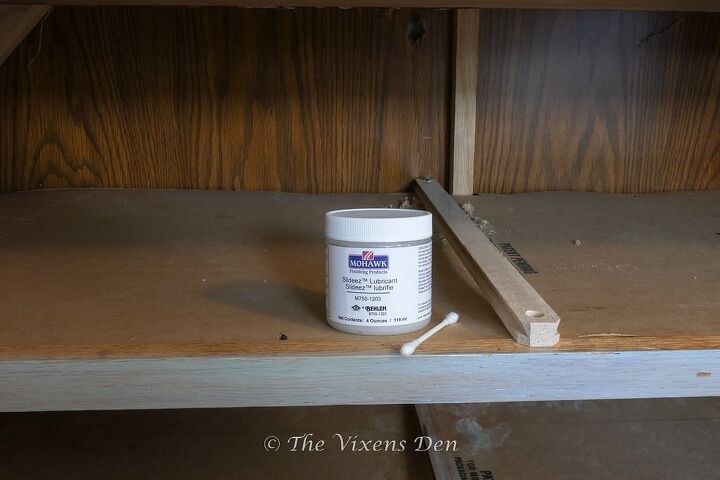
Once the new slide was in place, I coated it with Slideez drawer lubricant. If you don’t have a drawer lubricant, then you can also use wax or bar soap. Just rub it into the crevices to help the drawer glide smoothly.
These drawer slides did not come with hardware, so it may be necessary to purchase screws if your piece doesn’t have all of the original hardware. Check the description in your purchase to be certain.
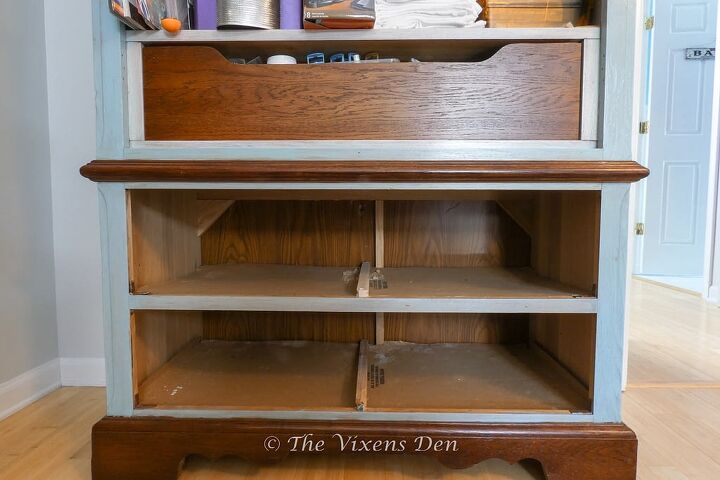
Now that the cabinet slide was installed, I slid the drawer back into place. It slid in smoothly, with only the slightest bit of gap along the right front edge. I imagine this is because I reused the original screw slot in the back of the drawer and then centered the screw in the front. Re-aligning the screw in the back should fix this.
The second repair project was a bit more challenging.
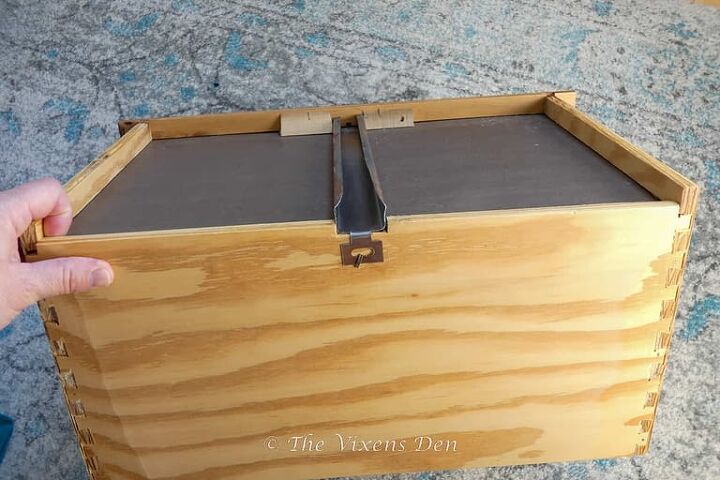
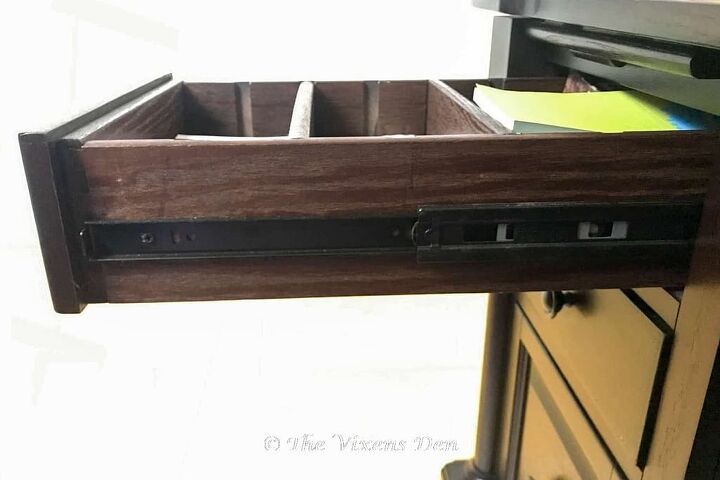
The drawer side of the slide was metal and had become bent and twisted over the years. I considered just trying to bend it back into place, but I felt that over time the metal would probably end up catching and splintering the wood slide again.
I decided to just replace it.
This half of the drawer slide was held in place by a single screw against the drawer front and staples in a flange against the back of the drawer box. After removing those, the slide came out easily.
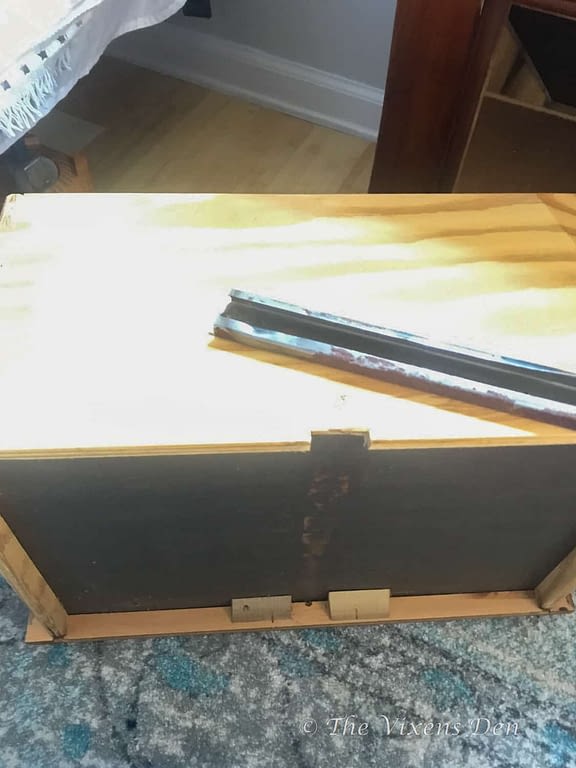
The first challenge arose in the width of the metal drawer slide. It was more narrow than the new wood slide. Not only that, there were two support blocks glued into either side of the metal slide.
To mark the cut points for the new slides, I then found the center of the drawer box and added half the width of the new slide to that measurement. I marked the new locations for the drawer side on the back panel of the drawer box and on the support blocks against the drawer front.
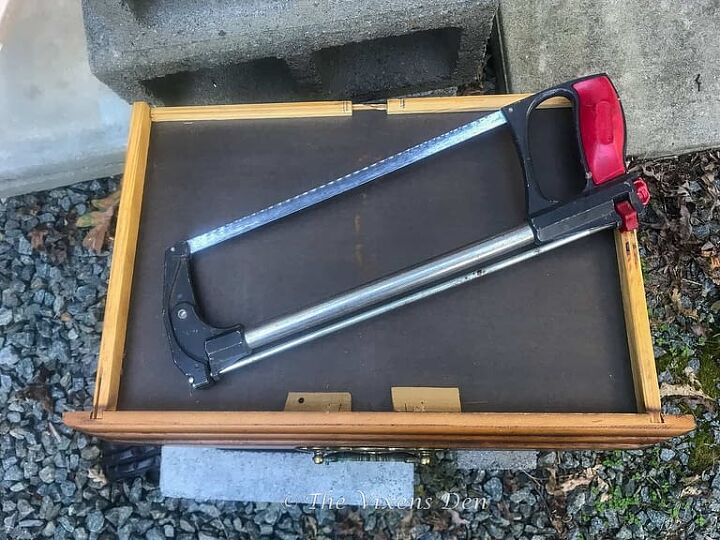
The back of the drawer was an easy fix, I used a hacksaw to saw against the bottom of the drawer and cut the back panel down to size on either side of the drawer slide opening. Stopping at the marks that I made, I then cut down against the drawer bottom, freeing the piece that I had just cut.
Now I needed to open up the space between the support blocks. Since the material for the drawer bottom is a relatively thin luan, my husband pointed out that just trying to pry them off (my initial thought) could cause damage to the bottom of the drawer.
So, we pulled out our multi-function rotary tool and he made some cuts along the marks that I made for him. Then he carefully (because someone here likes to use the bigger hammer for things like this) along the cut lines. The comical moment arrived when the block popped right off under one of his careful taps. lol
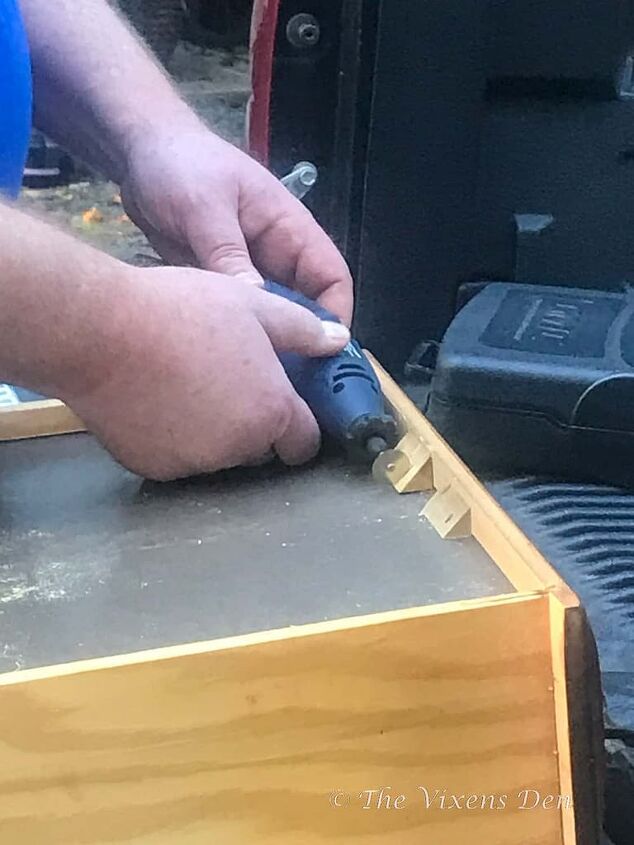
I’m sure the cutting and tapping just loosened it. So, for your piece, I recommend running a craft or box knife under the edges of the support blocks to cut them free from most of the glue, and then gently tap them loose with a small hammer. (wink)
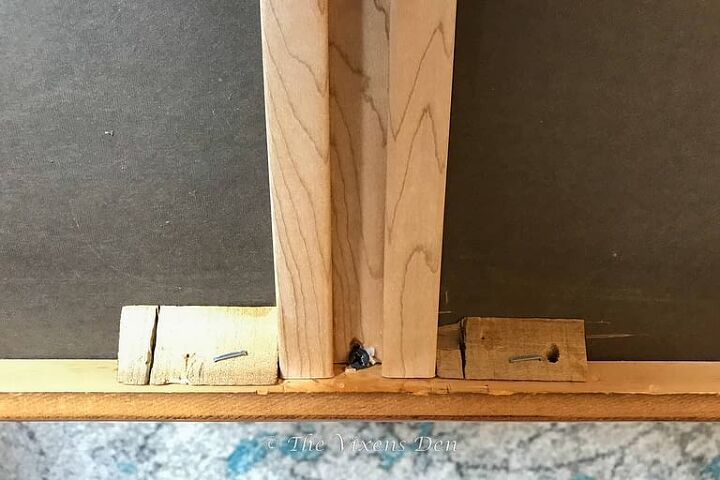
With the opening now large enough for the new drawer slide, I cut it to length and then drilled a small pilot hole for the installation screw against the drawer front. Unfortunately, the screw was right against the edge of the drawer slide, so it still split a bit. If this happens to you, just run a bit of wood glue along the spot and rub it into the split with your finger.
Attaching the slide to the back of the drawer was a bit more of a challenge. Before, there was a flange that was stapled to the back of the drawer box. Since I didn’t have a flange, I used my trusty nail gun and a 1 1/4″ brad nail to fasten the drawer slide to the back panel of the drawer box. If you don’t have a nail gun, then a small hammer and a narrow finishing nail should work just fine.
This is one of those moments where you want to make absolutely certain that you are holding the tool perfectly in line with the back panel. So that you can avoid sending the nail out through the side the way I did in this post.
(Hindsight is 20/20 tip) I also recommend adding a bead of wood glue between the drawer slide and the back panel before you fasten it down with the nail. It just gives it an extra bit of security.
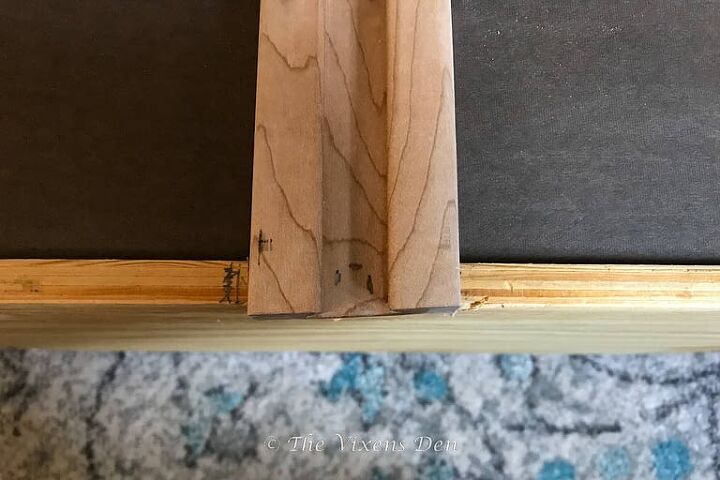
Once the drawer slide was in place, I reattached the wood support blocks using wood glue and my trusty staple gun with 1″ staples.
Now that the drawer slide was fastened, it was time to install the case slide. I used the same process as on the first repair, measuring, cutting to length, predrilling a pilot hole, and a countersink. The original screws were used to install the cabinet slide in place.
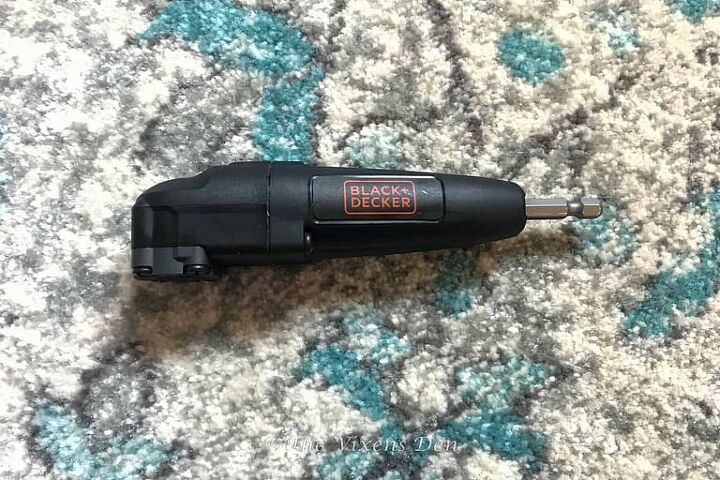
The only difference was that I did have to use one of my favorite tools to install the back screw because it was too tight for the screwdriver and the drill was too tall for the space. If you don’t have one of these angled drill drivers, then I highly recommend adding it to your toolbox.
And just like that, it was installed! Except…it wasn’t quite right.
This time when I slid the drawer onto the case slide, it slid in smoothly until it got halfway into the nightstand. Then it started to stick a little. The bigger hammer pushed it all the way in, determined that it must need a little encouragement. Because that always works. (insert eyeroll here)
I checked the measurements. I added so much Slideez that it was literally scraping off the slides in globs onto the bottom of the nightstand.
It just wasn’t working.
So, I hit pause and stopped to think about it for a moment.
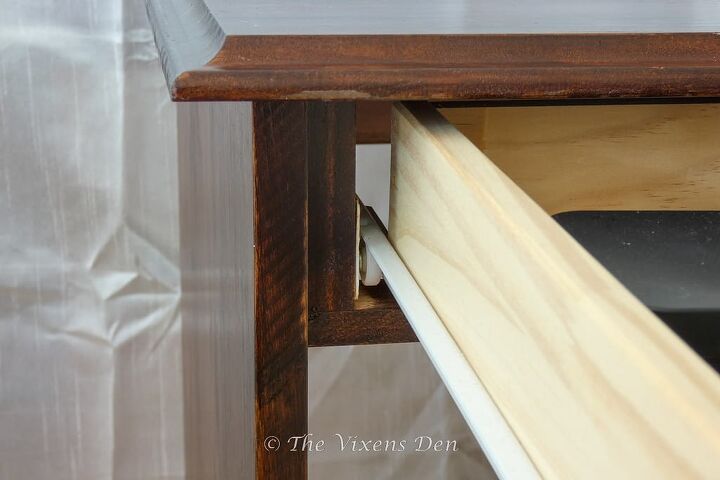
Since the drawer was perfectly aligned from side to side, the only other option was that the upward or downward angle wasn’t working. I watched the bottom edges of the drawer as I pushed it in and noted that it started to bind in the front at the halfway point. So, I needed to raise the front of the case slide.
This is where the creative engineering part comes into play.
Normally, I would have grabbed a shim or small piece of scrap from my collection. But I was working in the bedroom and didn’t want to have to go all the way down to my shop to grab more wood.
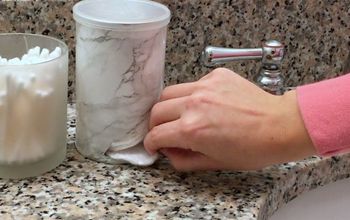
Instead, I grabbed the cotton swab that I was using to apply the Slideez. I backed the screw out just enough to slide the cotton swab between the case frame and the slide. Then I tightened the screw down to hold the swab snugly in place. I pulled the swab tips off and tested out the drawer slide again.
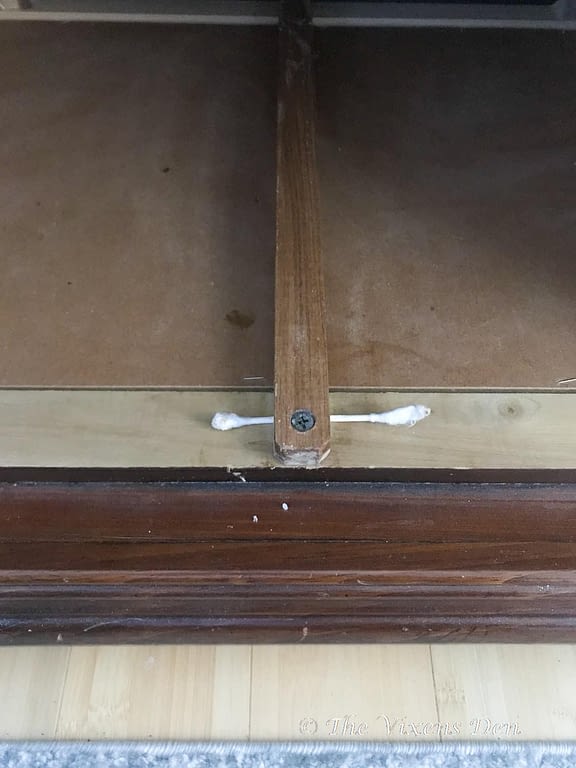
The drawer slid in as smooth as butter on a hot skillet! It was perfect!
Although this may not have been the most fascinating makeover, a little grace and effort truly transformed these pieces from frustrating hassles to fully functional helpers. They bring a spark of joy every time I slide the drawers open on their smoothly gliding slides. It reminds me of the Grace that we have all been given if we just accept it. By removing the damaged parts and adding some love to our lives, how much more of a blessing could we be?
If you enjoy seeing DIY makeovers like this one, be sure to subscribe so that you receive an email when new misadventures are posted. If you like seeing how to replace drawer slides, then you will love seeing the full paint-washed craft cabinet makeover. Enjoy!
Sign up to hear all of the new misadventures!
The process to replace these slides was not overly complex, it just requires some careful measuring and maybe a little creative engineering. (wink) So don’t be afraid to try it out and transform your irritating pieces into daily blessings.
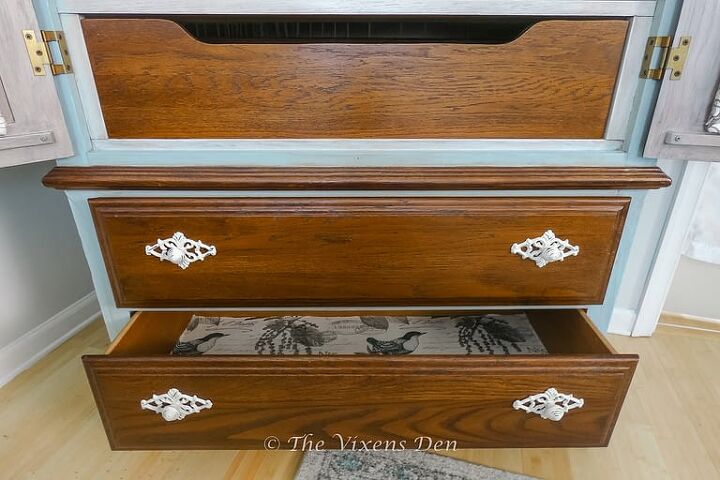
Here’s a final before and after!


Comments
Join the conversation
-
I actually just replaced side mounted slides on my nightstand and everything seemed to be lined up and I thought “ woohoo” but my “wooohooo” was a little to soon because when I try closing the drawer it closes but drags it looks like it’s like a half inch or so to low would you happen to know how I can fix something like that or did I somehow did something completely wrong when I saw your post I was super excited because I was honestly ready to give up but your post gave me some hope that someone might be able to help me figure this out 😊 thanks so much for your post and would appreciate it so much for any advice you could give me 😊
-
Hi Jennifer! I don't have much experience with side drawer slides (yet) but if it were me, I think I'd try bumping them up 1/2" to see if that works. You could also try sanding down the bottom of the drawer frame. It all depends on the shape and design of the drawer box as to which one I would recommend. I hope you find a solution!


Frequently asked questions
Have a question about this project?
Instead of the Qtip why not just use washers under the screw.