


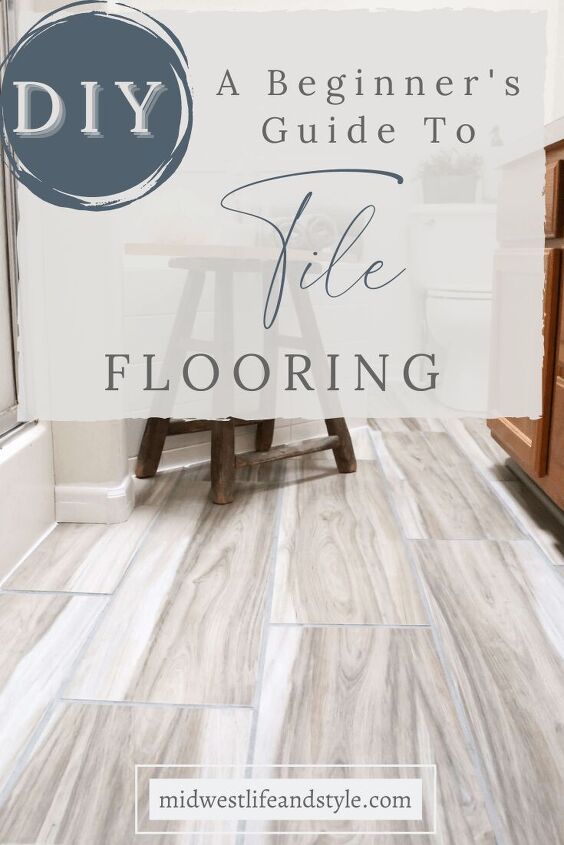
A Beginner’s Guide To Tile Flooring
DIY your way to new tile flooring with my easy beginner’s guide and simple step-by-step tutorial, including a supply list and tips on what not to do!
Note: This post is part of a series about how we transformed our outdated, builder’s grade bathroom from blah to beautiful and how we did it on a budget! Missed a part of the journey? See our bathroom transformation from the beginning by clicking [HERE] here to see part one and [HERE] to see part two of the project.
*This post contains affiliate links. When you make a purchase using these links, I earn a small commission (at no extra cost to you!) To learn more, you may read my Disclosure Policy. Thank you for supporting my blog!
Recently I posted an update about our bathroom reno project, including our plans to replace the tile floor. As part of the update, I shared how my husband and I had arranged for help to lay the flooring waaaaay back last summer. But as luck would have it, our help fell through, and this spring, we finally decided to tackle the tile ourselves!
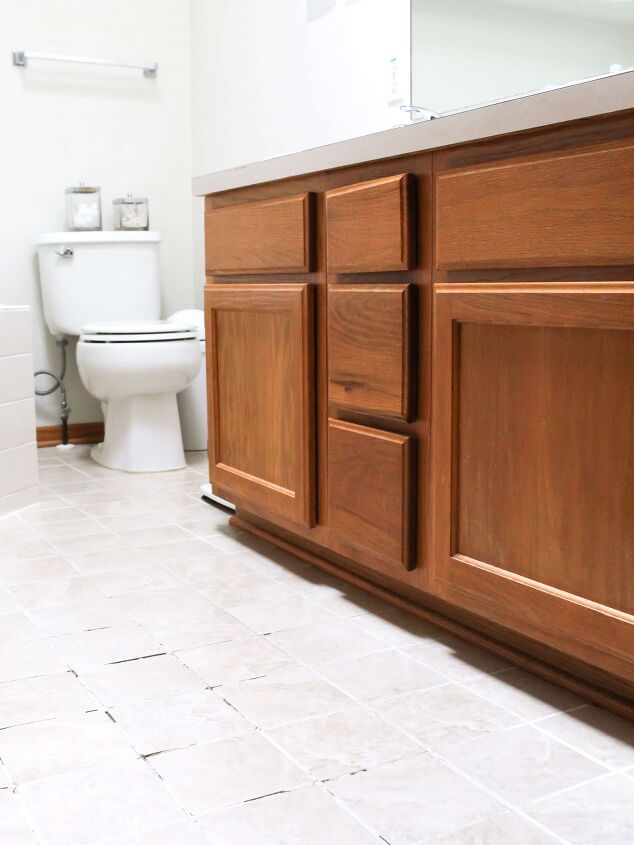
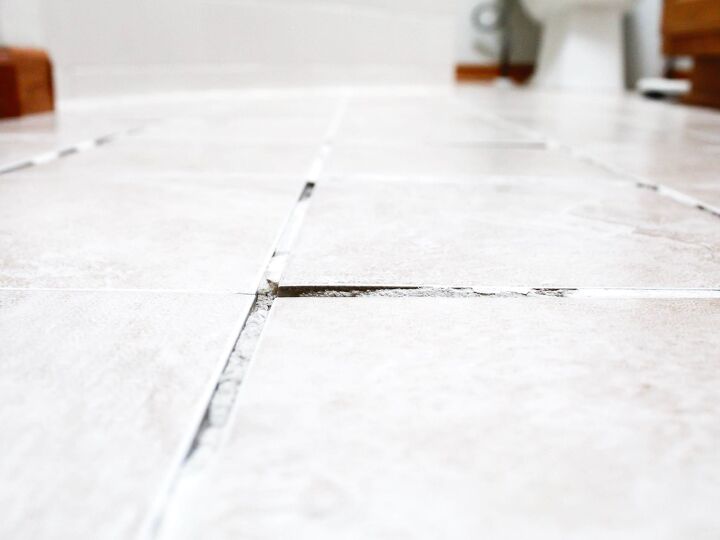
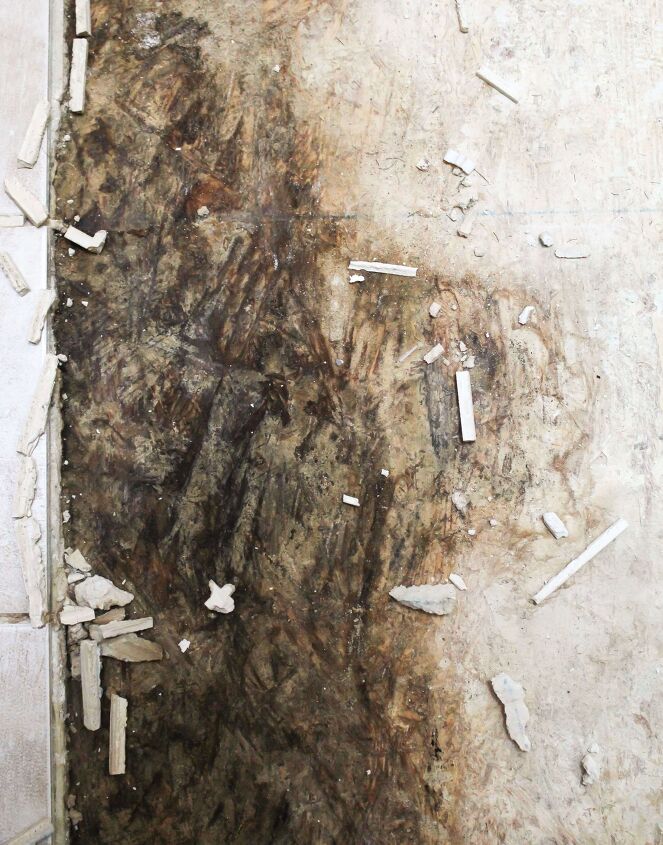
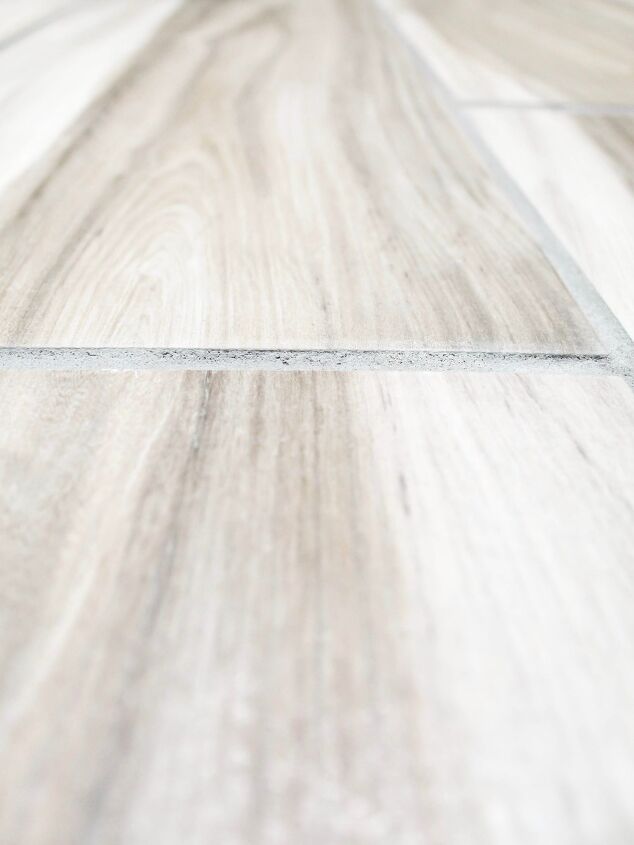
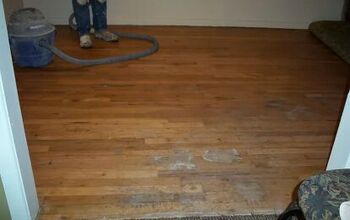
If you missed the latest update, here is a photo of how the old tile looked. The grout was coming up in chunks, and some of the tiles had cracked. Quite simply, the floor had seen better days, and it was time for it to go!
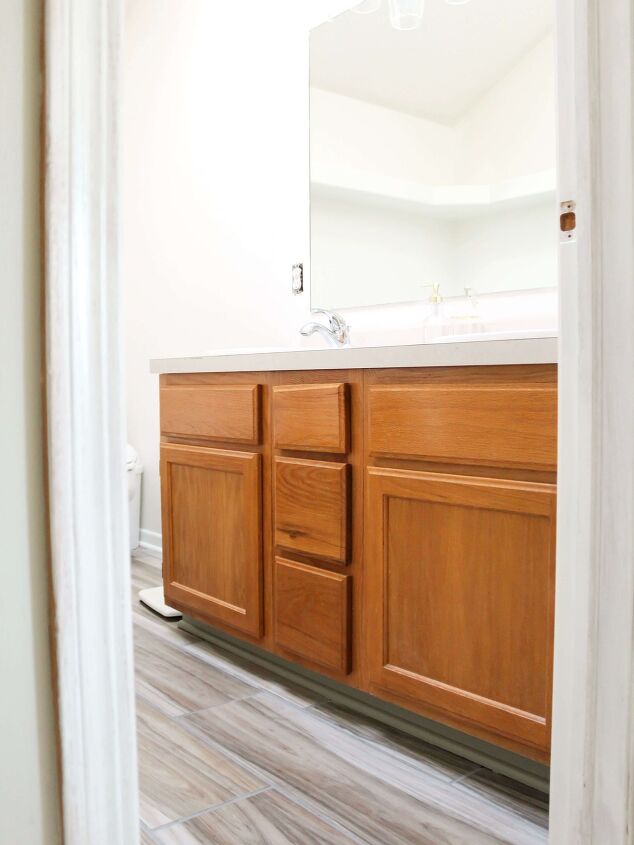
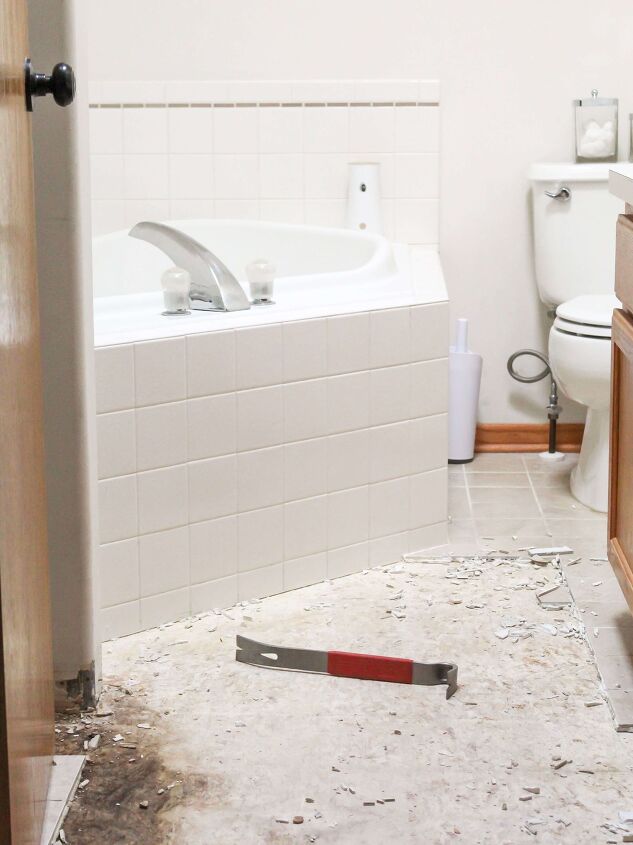
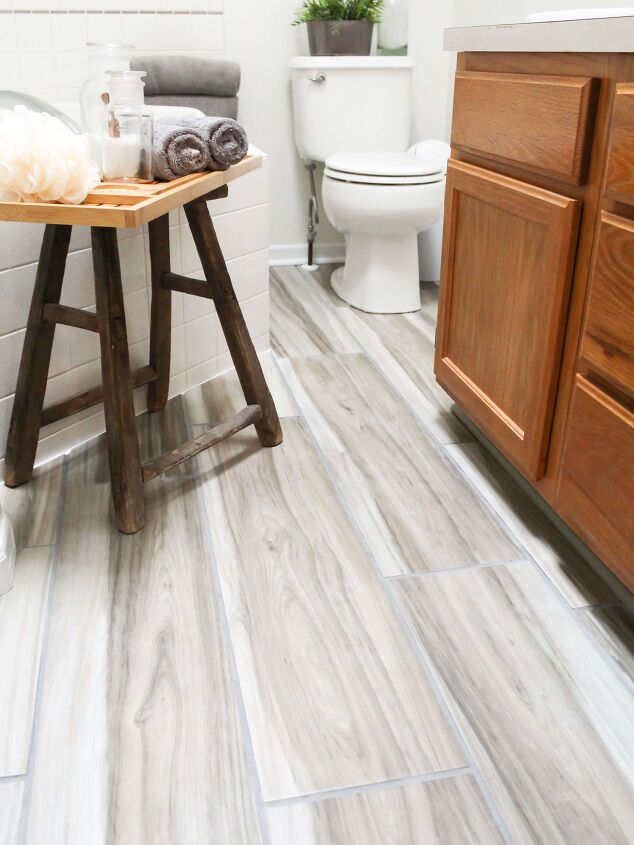
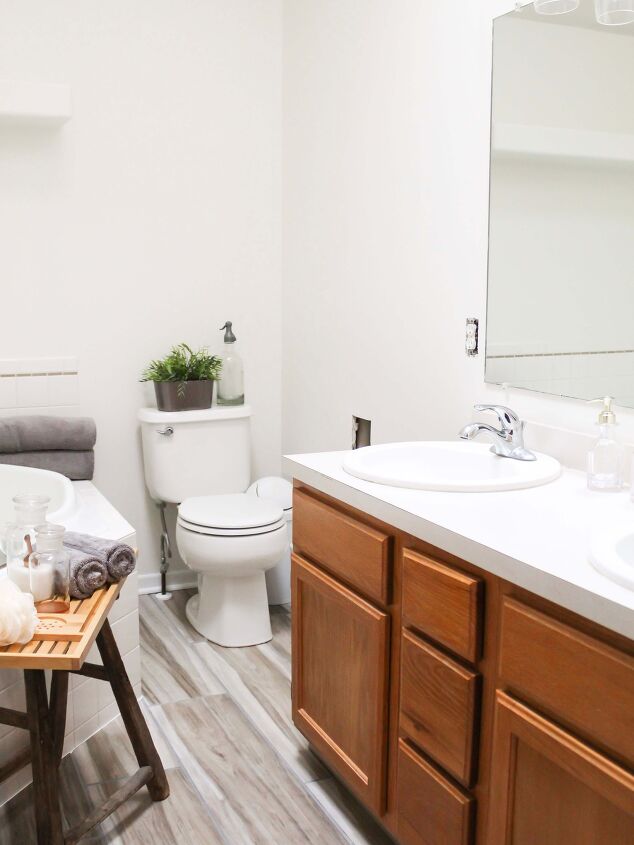
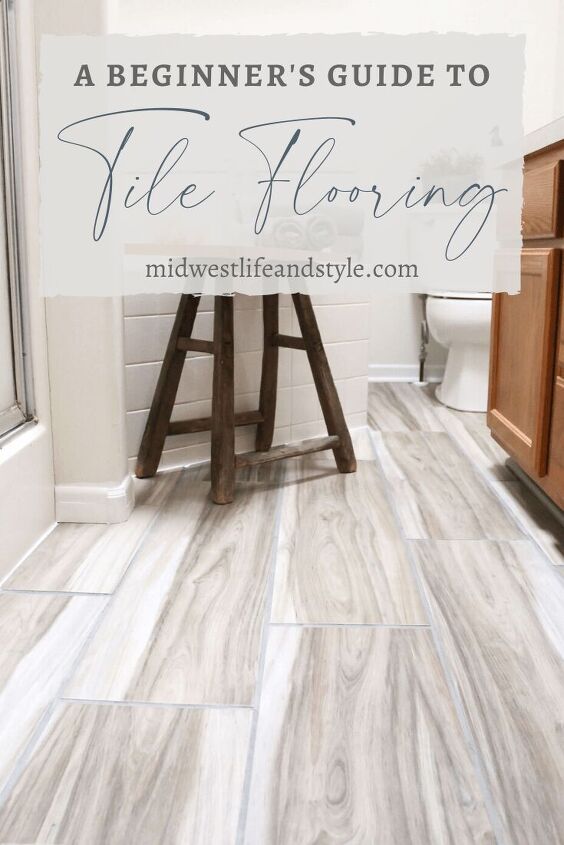
After months (and months) of planning and dreaming, I’m thrilled to say the new tile floor is finally done! Here is what our bathroom floor looks like now.
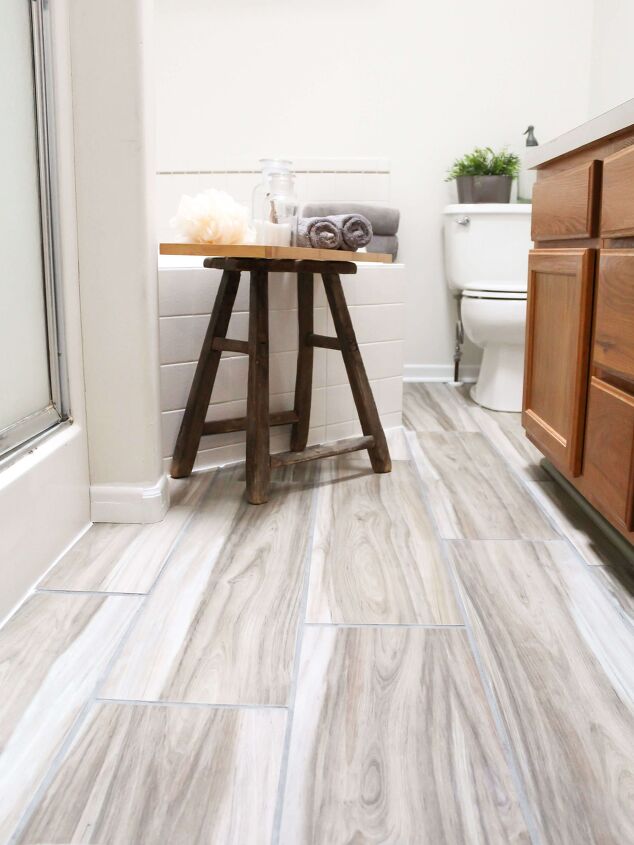
I am in love with the wood look tile we chose, and I am still in awe of how much of an impact the new flooring has made. Our bathroom looks brand new, and we aren’t even finished with the reno yet!
A Beginner’s Guide To Tile Flooring
Now that you have seen the before and after photos of our bathroom tile transformation, I will share how we did it with this beginner’s guide for laying tile flooring. But, before I dive into how we tiled our floor, I have a confession to make.
We. Are. Not. Professional. DIY’ers. (I know you are shocked.)
As much as I love and admire all of the famous HGTV duos, we are no Chip and Jo. In fact, this was our first time laying a real, honest-to-goodness tile floor. My advice? Always do your research and come up with a plan before you start any DIY home improvement project.
The internet quickly became our best friend. We watched ( a lot of) Youtube and read several articles before diving in, and I’m so glad we did! I don’t think we would have even dreamed about tiling ourselves without all of the online resources. (Seriously. What did we do before the internet?)
And now that my little secret is out of the way, it is time for the good news. IF WE CAN lay a tile floor then, SO CAN YOU! Here is a list of everything you will need to get started.
Supplies
To Demo
- Utility Knife
- Crowbar
- Rubber Mallet
- Shop Vac
Shop for Demo Tools
To Tile
- Tile
- Measuring Tape
- Level
- Tile Cutter and Extra Blade
- Grinder with Tile Blade
- Safety Glasses
- Knee Pads
- Tile Spacers
- Floor leveler
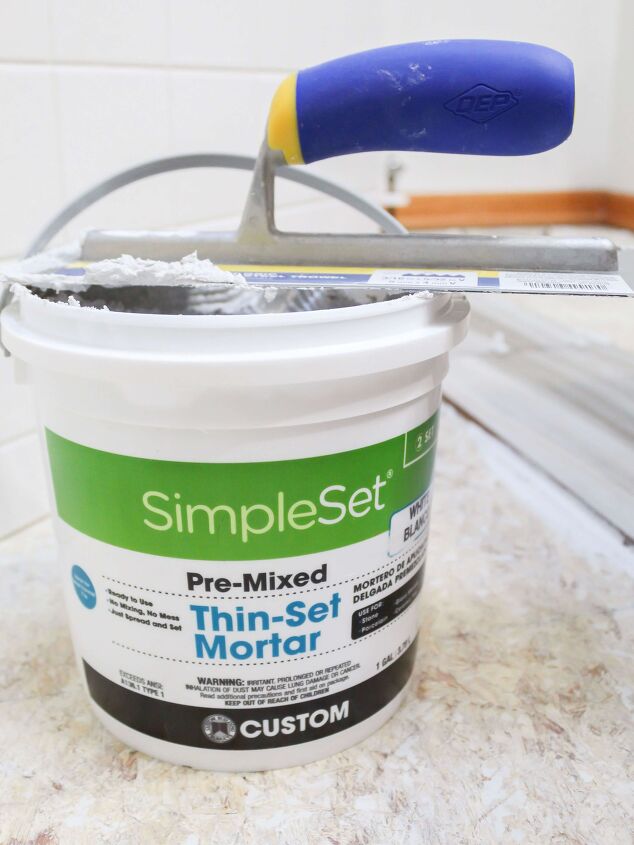
- Thin-set Mortar
- Grout
- Painter’s Tape
- Tile Trowel
- Rubber Grout Float
- Bucket
- Sponge
- Caulk
- Caulk Gun
- Grout Sealer
TIP: When purchasing tile, always buy more than you think you need. Inevitably you will break a tile or two. (Or, in our case, a few more than two.) It is better to have extras than not enough.
Shop for Tile Supplies
Step 1 – Demo Your Floor
Before my husband and I could lay the new tile floor, we had to demo the old stuff. If you are starting with a blank slate, consider yourself lucky and skip ahead to step two. If you have prep work to do as we did, then read on.
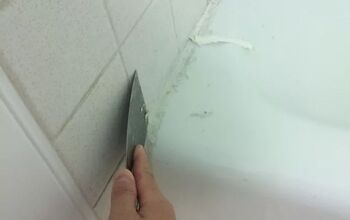
To loosen the old tile, score along the grout line using a sharp utility knife.
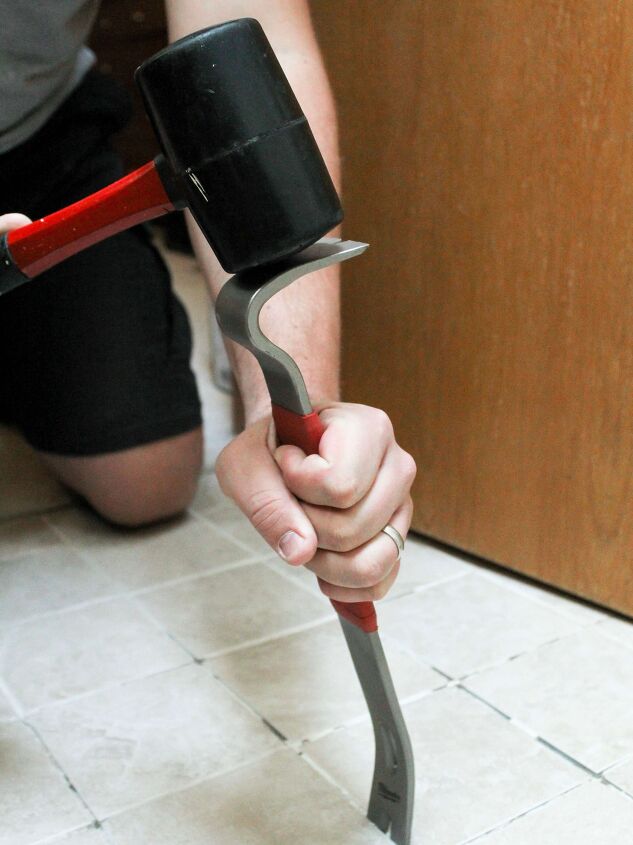
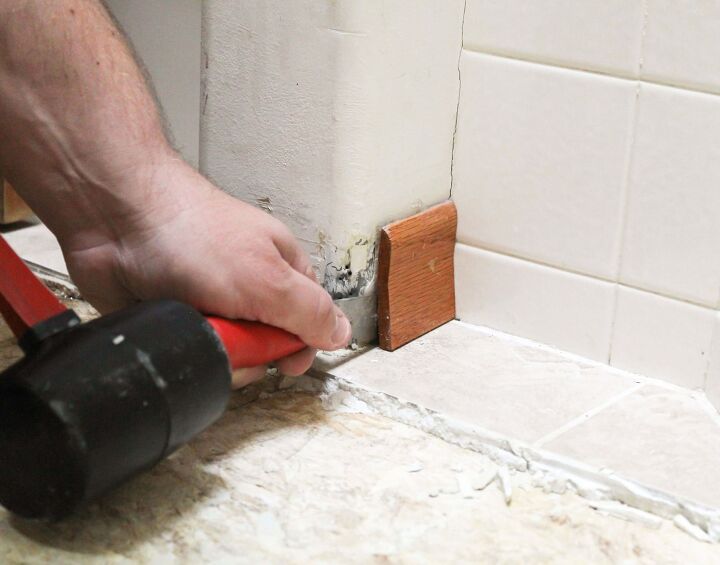
Then use a crowbar and a rubber mallet and carefully pry up the tile. We were prepared for the demo to take several hours. But surprisingly, it was the quickest part of the project.
Since our new tile was thicker than the old tile, we also removed some of the baseboard trim to make installing the new floor easier.
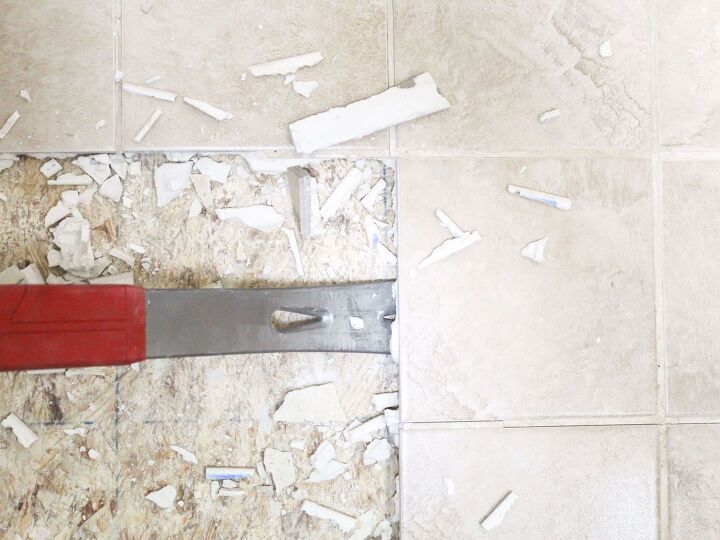
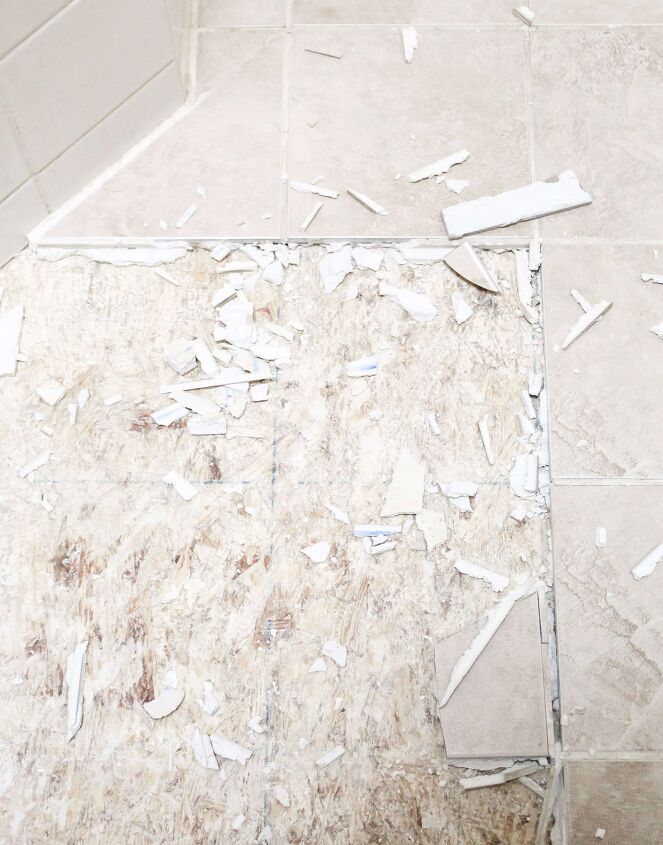
The old tiles came up in large pieces with minimal effort. From start to finish, the entire demo took less than an hour. Even with the occasional pauses to take photos and document our progress!
Another demo time saver, all of the old mortar came up with the tile. We did not need to do any additional sanding or scraping, and our subfloor underneath was level (Or mostly level. More on that in a bit.)
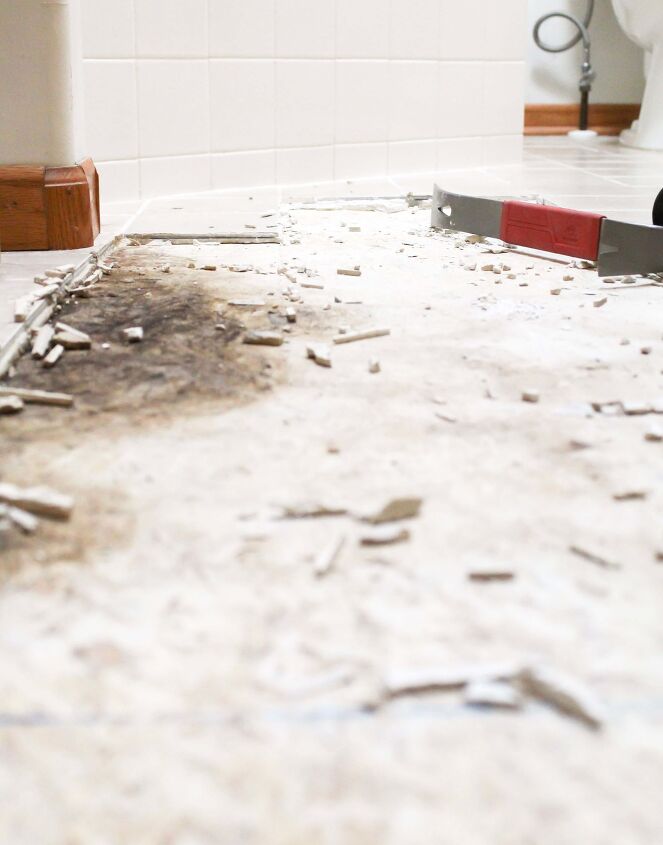
One issue we did run into was a bit of water damage near the shower. It was not entirely unexpected. This area of the old floor was the worst, with the most missing grout and loose, cracked tiles.
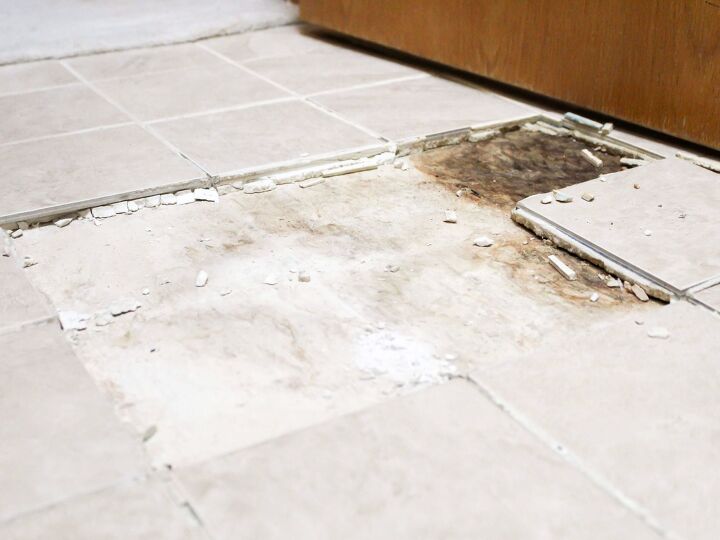
After removing all of the tiles, we used a fan to dry the wet spot for a few hours before laying down the new floor.
Step 2 – Prep Your Floor
Once we removed all of the old tiles, we used a broom and a shop vac to clean up the leftover debris and dirt. It is important that your subfloor is clean, dry, and flat, or your tile will not install properly.
Which brings me to our first little hiccup with this project. Remember at the beginning of the post when I said I would also share what NOT to do? Well, here is your first don’t.
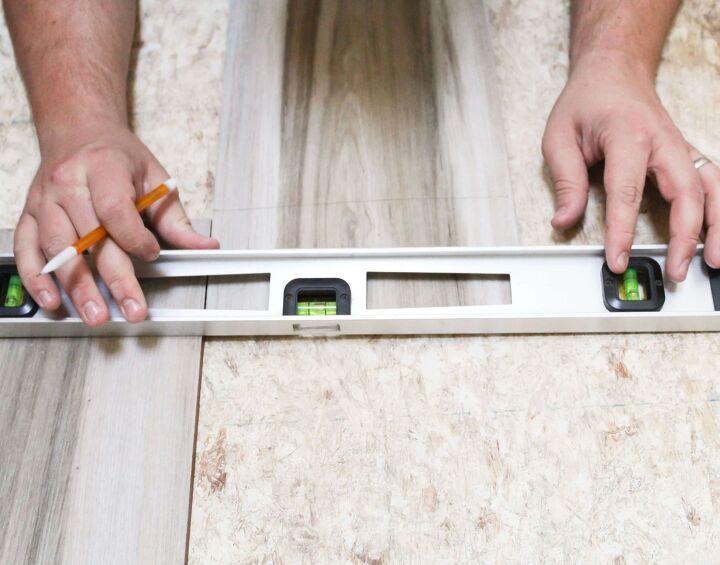
Do not assume sure that your subfloor is level.
That water damage around the shower I mentioned? It caused the subfloor to dip (which we only found out after we started to lay the new tile). We could not tell just by looking at it. If we had used a level to check, as we should have, we could have saved ourselves a lot of time and frustration later in the project.
TIP: Learn from our mistake! Use a level to check that your floor is even, and use a leveling agent or lay backer board if needed before laying down the tile.
Step 3 – Plan Your Layout
Once the demo is complete, it is time to plan the layout of your tile. I originally wanted to create a herringbone pattern. But after some research, I quickly realized that maybe that would not be the best way to start our foray into the world of tiling. Combined with our tile choice, my husband and I agreed that it would not be ideal in a small, narrow space like our bathroom.
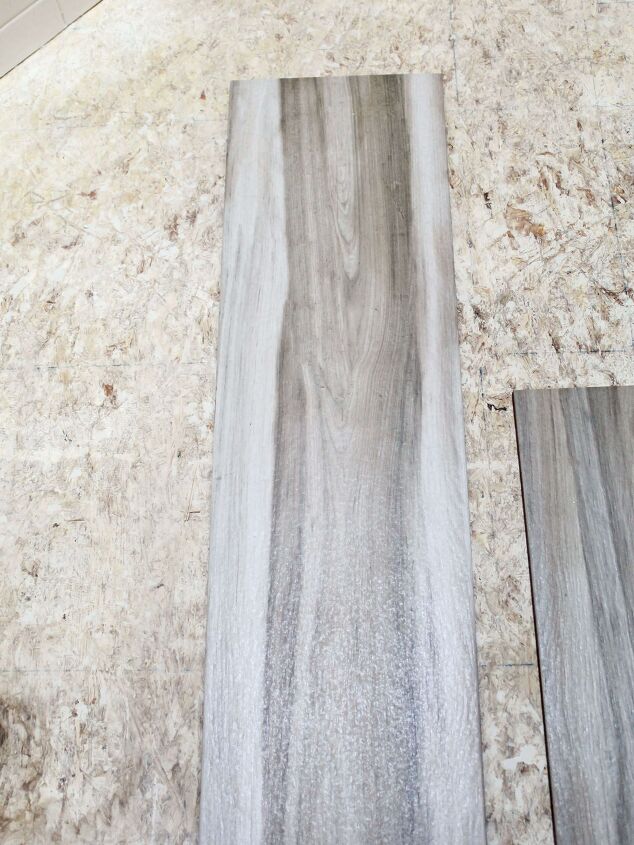
Instead, we opted for a more simple layout. Since we chose wood look tile, we decided that it only made sense for the pattern to match.
To help achieve a wood floor look, we referenced Home Flooring Pros tips for staggering plank flooring. Unlike hardwood flooring, which comes in random lengths, our ceramic tiles were all the same size. Using their measuring tips helped us achieve the look we wanted with our tile while avoiding any weird joint patterns.
With this tile pattern, we could also use the existing chalk lines on the subfloor to plan the new layout, so no extra work was needed. Whoop!
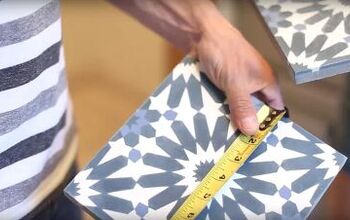
If you do not have an existing guide for your tile layout, you will need to create one. First, find the midpoint of the room by measuring the width and length of your space.
Then use a chalk line to draw your finished design directly onto your subfloor. The layout will show you where to start laying your tiles and ensure the tiles are properly centered in the room when you are ready to lay them.
Step 4 – Lay Your Tile
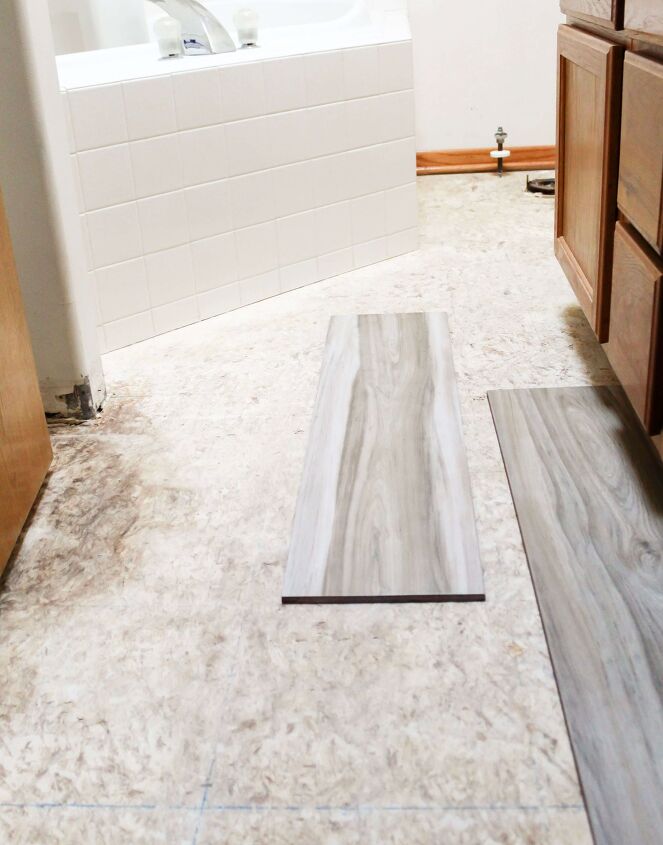
Once you have your design layout drawn on the floor, it is a good idea to do a trial run. Lay your tiles on the bare floor to check your work.
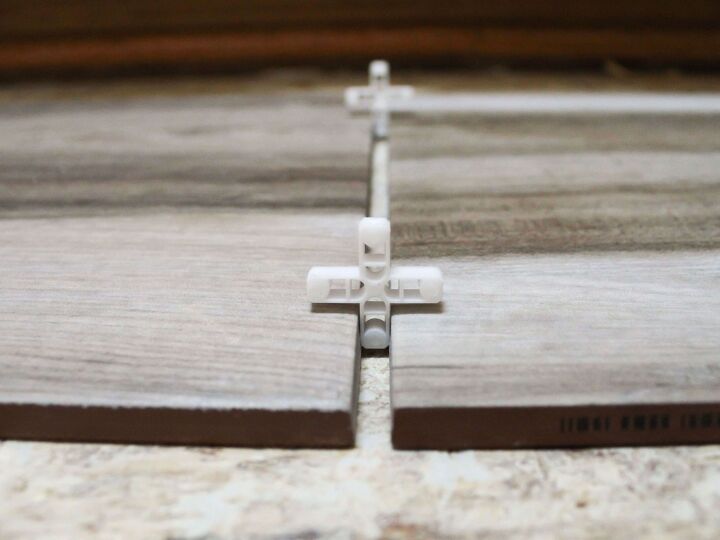
Make sure the tiles are tight against the tile spacers so that you have an accurate measurement. Then, when you have a layout you like, you are ready to cut and lay your tile!

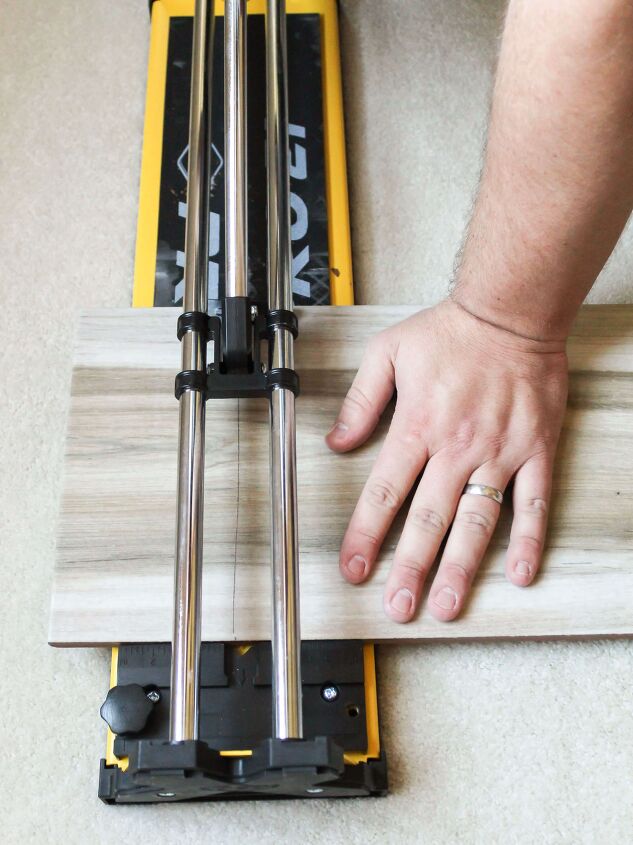
For our bathroom, we started our first row in the middle of the room with a full-length tile. After double-checking our measurements, we cut the tiles using a tile cutter.
We decided to buy one, but you can also rent tile saws from many big box home improvement stores.
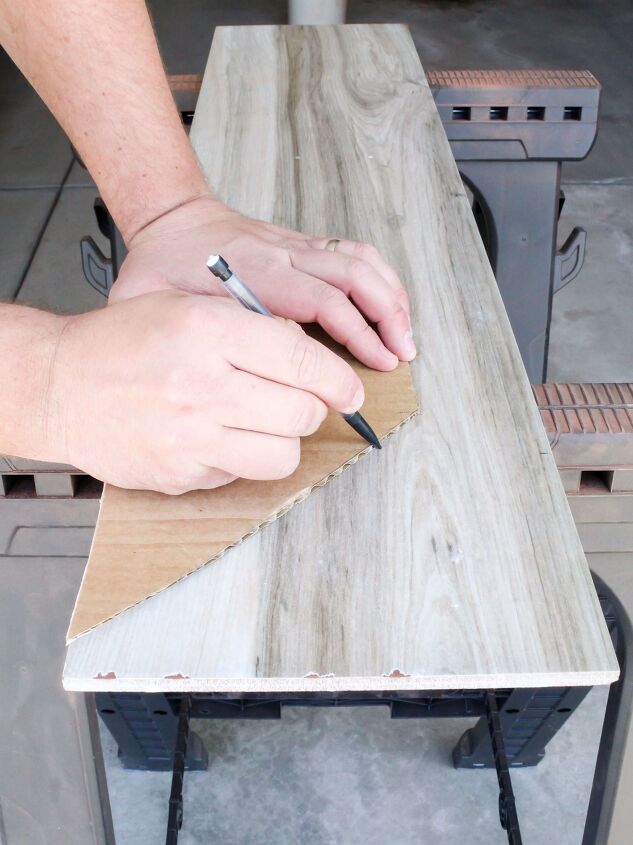
For some of the angled cuts, we made a pattern using a piece of cardboard. The pattern was a big help and made getting those tricky cuts right much easier.
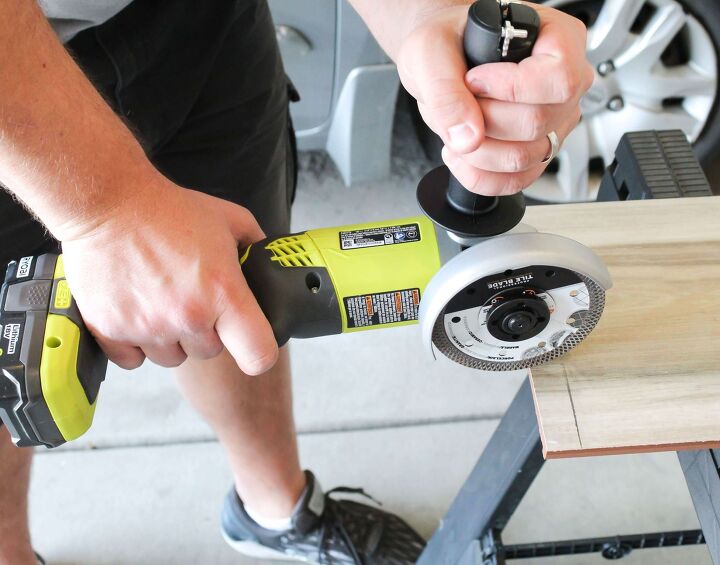
For more intricate cuts, like those around the toilet and the vanity, we used a grinder with a tile blade.
Once all of the tiles were cut, we used our design layout on the floor as a guide and worked our way from the front of the bathroom towards the back wall.
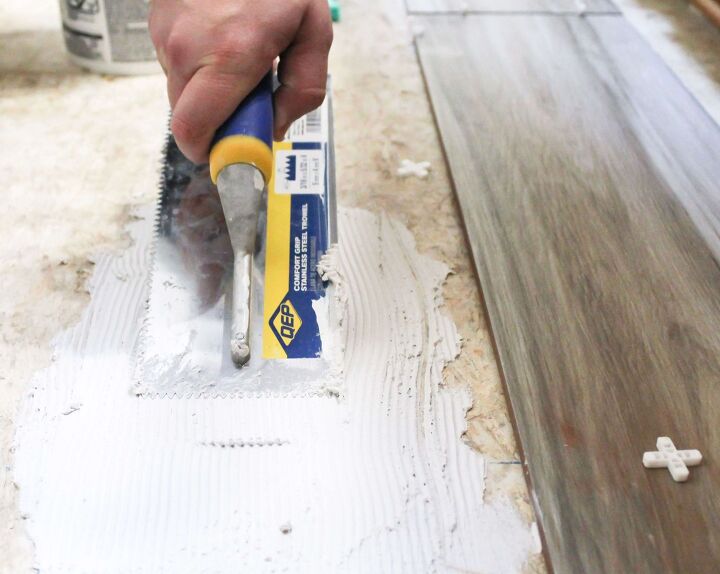
To lay your tile, use a trowel to scoop out some thin-set mortar. Then, use the flat side of the trowel to spread the thin-set onto your floor at a 45-degree angle. This will ensure that the mortar fully adheres.
Do not allow the thin-set to dry out. If it does, remove it and apply a new layer.
Next, comb the thin-set in one direction using the notched side of the trowel. Once you have applied enough thin-set, firmly press your tile onto the mortar. Add your spacers, make sure the tiles fit snug and repeat until all of the tiles are laid.
An Important Lesson Learned
Even with all of the videos we watched and tutorials that we read, we still made a few mistakes along the way. It would not be a DIY project without a few snags, right?
The big thing we forgot to think about when laying our tile? Leaving ourselves a path to get out of the bathroom. Somehow this slipped our minds and made for a little extra work fixing tiles that slid as we walked on them. (Whomp, whomp.)
Which brings me to what not to do number two. Plan your tile pattern carefully so you do not work yourself into a corner…literally!
TIP: After you lay the first row of tile, make sure you continue by tiling from the back of the room to the front. Thin-set mortar should cure for at least 24 hours. By leaving yourself a path to get out, you will avoid stepping on your freshly laid tiles. The tiles will not slip and slide, and you will not mess up all of your hard work.
Step 5 – Grout the Tile
Once all of your tiles are laid, it is time to grout. Before grouting, remove all of your tile spacers and use painter’s tape to protect baseboards and trim (if you did not remove them).
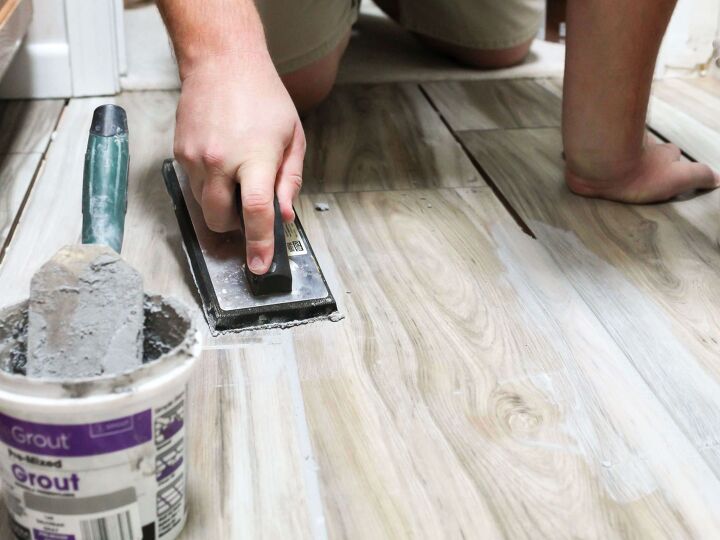
We used pre-mixed grout in a dark gray color, but you can also purchase materials to mix your own. Just mix it according to the directions on the package.
When you are ready to start, spread the grout between the tiles at a 45-degree angle using a rubber grout float. Move diagonally across the tiles to avoid an uneven application. It is best to work quickly and in small sections.
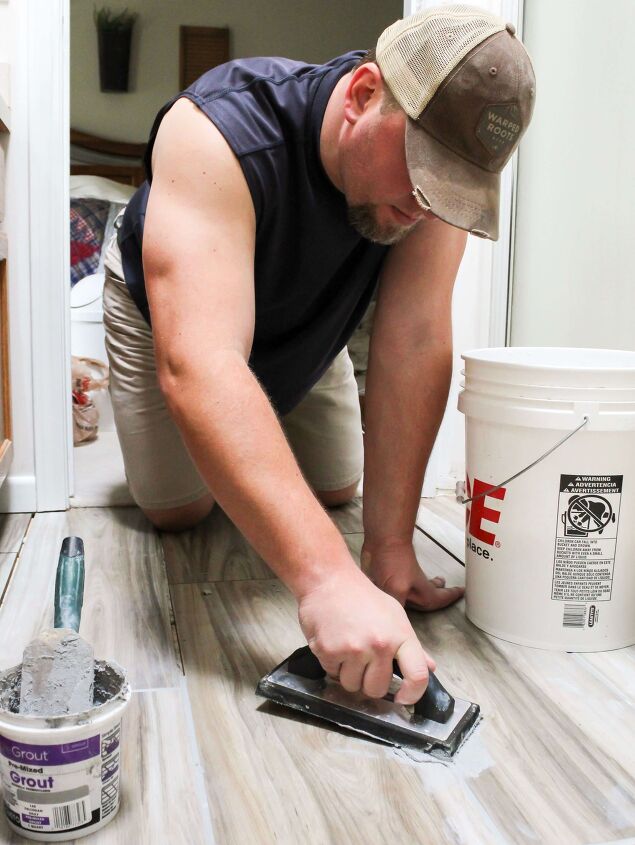
When one section is complete, use a damp sponge to gently wipe off any extra grout. Be careful not to press the sponge into the gaps between the tiles. so you don’t remove more grout than intended. Rinse the sponge in a bucket of clean water as you move from section to section.
TIP: Empty your bucket of water often. Dirty water = dirty tiles = more work for you in the long run.
All of the grout residue will not be cleaned off on the first try. Be patient and repeat this step as often as needed. The drier the grout is on the tile, the harder it is to remove (we learned this the hard way), so be sure to wipe down the tiles until all of the residue is removed. After four hours, you can remove any remaining grout haze by using a soft rag or an old T-shirt. Let the grout fully cure and dry for at least 24 hours before sealing.
Step 6 – Seal the Grout and Tile
The last step in the beginner’s guide to tile flooring is to seal the grout and protect it from stains. This is the sealer we used.
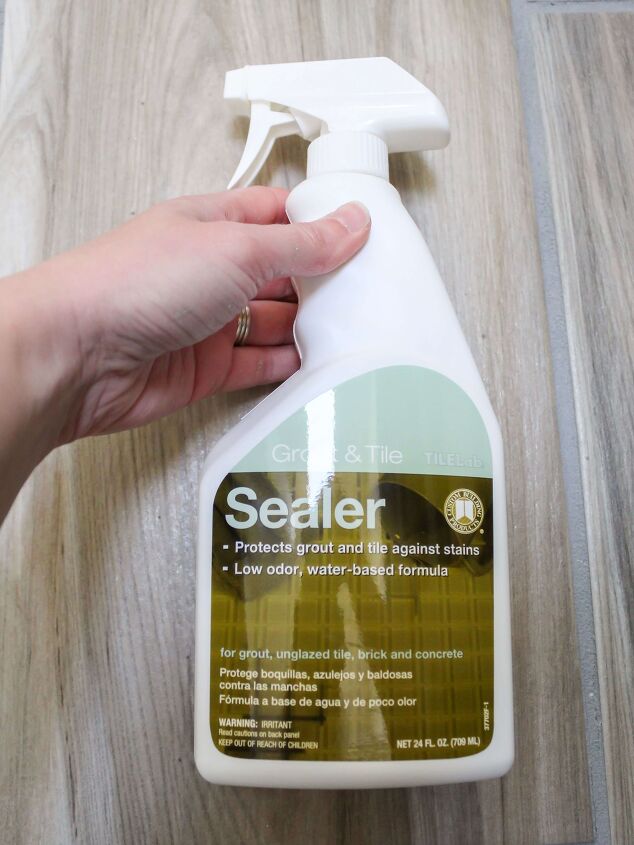
Per the directions on the bottle, we let the grout dry for 48 hours before applying. Then, once the grout had cured, we sprayed the sealer on a small section of the floor to test it. After testing, we applied the sealer all over and then let it dry for two hours.
When you are done with the floor, check for any gaps between the tile and the wall. If there are gaps, be sure to fill the space with caulk to keep water from getting under the tile. We used a waterproof caulk around the shower, tub, and toilet. And we used a paintable caulk around the trim and baseboards.
A Beginner’s Guide To Tile Flooring
I hope you found this beginner’s guide to tile flooring helpful. We learned so much from doing this project. I am already looking forward to our next tiling adventure…although I’m not sure my husband shares the same enthusiasm.
All joking aside, I am so thankful for his willingness to help bring my ideas to life. This project wouldn’t have gotten done without him! And now that the tile is finished, I can work on our bathroom vanity makeover. Stay tuned next week for all of those details, including how to use furniture feet to create a custom built-in look without the built-in price tag!
Thanks for stopping by today!
XoXo,

Did you enjoy this post? PIN it for later!
You may also like: 12 Gorgeous Farmhouse Floor TilesNew Updates On Our Modern Cottage Kitchen MakeoverBudget Bathroom Remodel Part One


Comments
Join the conversation
-
I have been wanting to do this for a long time. Thank you for step by step process. It is beautiful.
One question. Is this waterproof?
-
You did a wonderful job and your tile is beautiful! What a difference it makes!


Frequently asked questions
Have a question about this project?
do you need to remove the toilet first?