


$12 Door Makeover

This post was transcribed by a member of the Hometalk editorial team from the original HometalkTV episode.
You will not believe how easy it is to transform a boring door for next to nothing with just a little plywood.
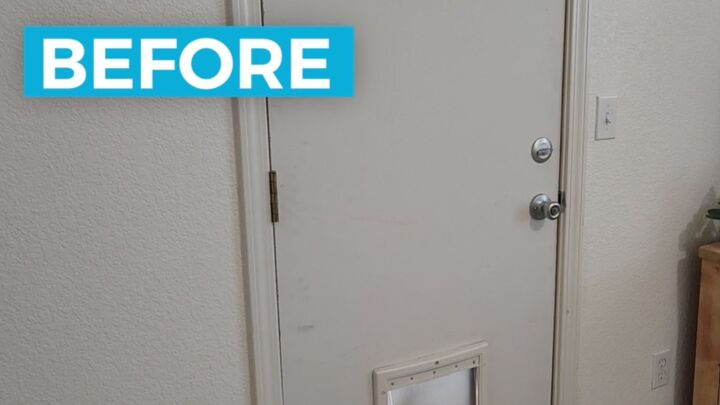
We installed a doggy door in our back door and it was looking kind of boring, but I knew there was an inexpensive way to make it look a lot better without having to get a new door.

The first thing I did was to get some saw horses and put some two-x-fours across them. This will give some strength to the plywood I want to put on top.
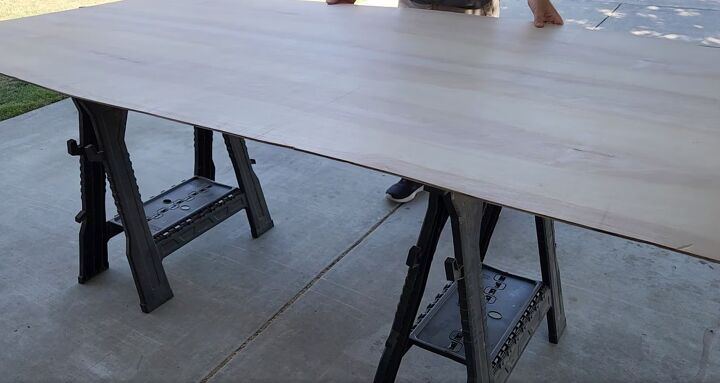
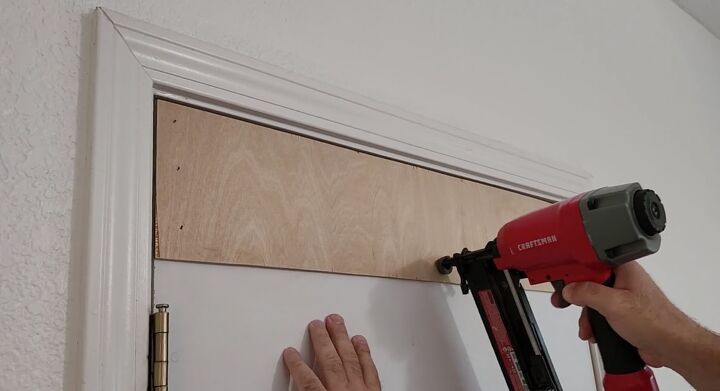
Next, I picked up some really inexpensive one-quarter-inch plywood. As you can see, it's actually really lightweight and it's only a quarter inch thick. It's got some beautiful grain to it if you ever want to do some staining.
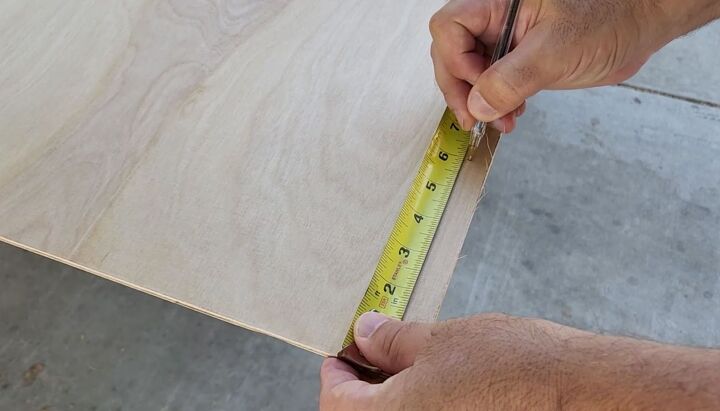
Before cutting the board, I went ahead and marked what I was going to do to the top and bottom of the door.
I'm going to go with six inches on it, but we need to make sure we put some tape down before cutting because this type of plywood will splinter.

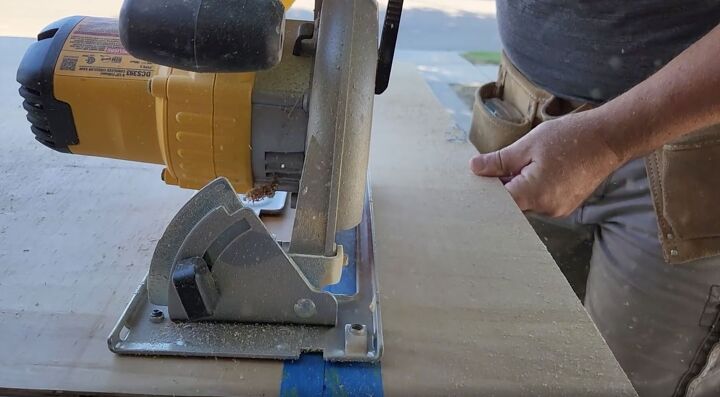
I went ahead and use my saw, just went straight across. Again, you’ve got to make sure you put some tape down. It will save you from splinters and sanding.
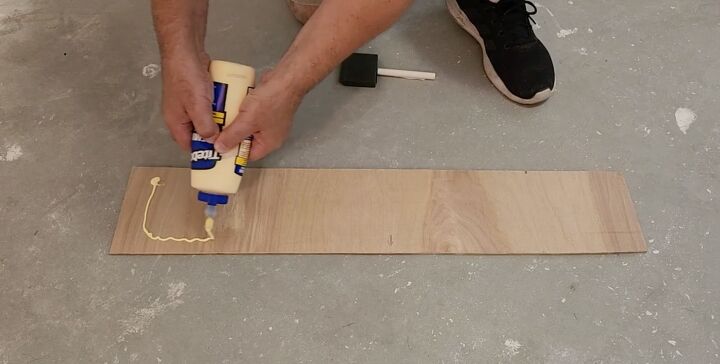
Then I trimmed it to the width of the door and put some glue on it. A lot of people think that you can just use nails, but you can put some good wood glue down and it will hold and secure all along without any bubbles.
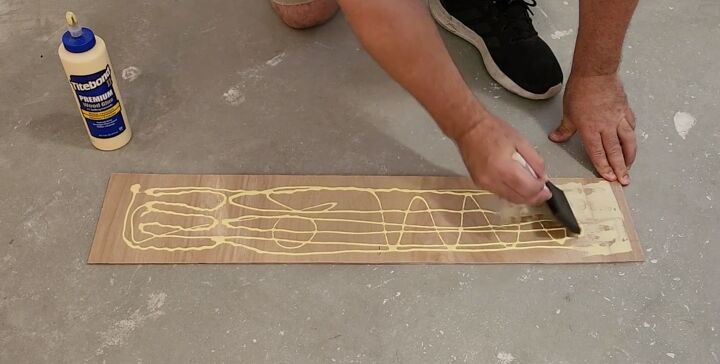
Next, I took a foam brush and I went ahead and just spread the glue.
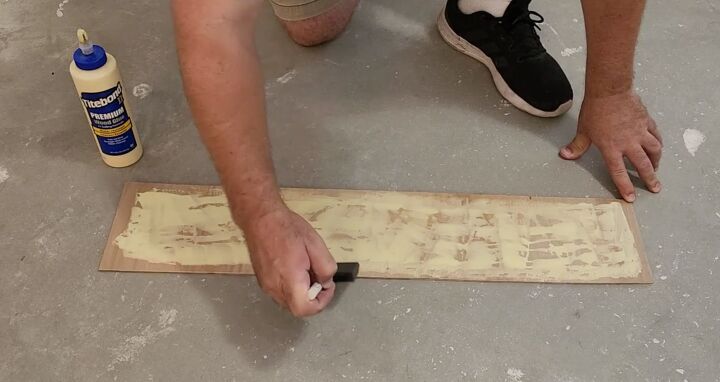
Now what you need to do is get it all over, especially around the edges. That's going to make it hold flat.
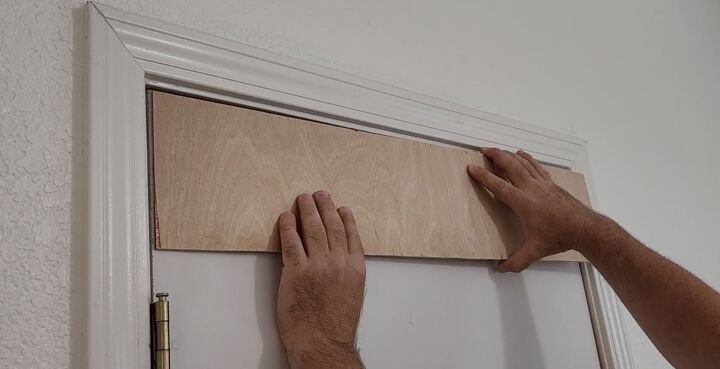
Once you get that done, just go ahead and put it up next to the door.
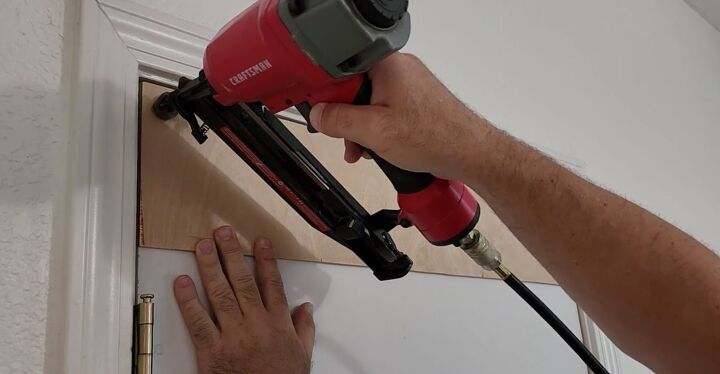
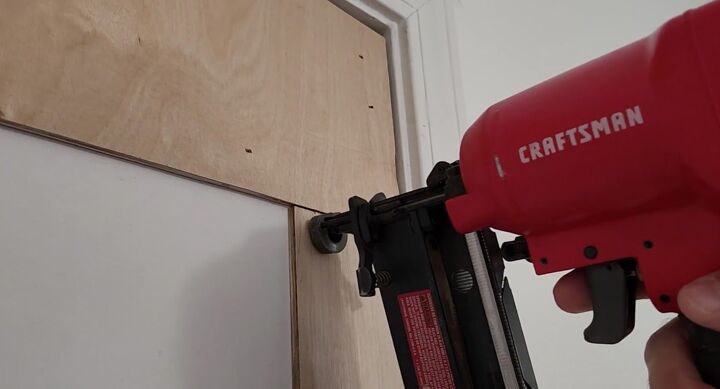
We're going to go ahead and use some really small one-inch brad nails to hold it in place. Since the glue can be a little slippery, I put one nail in one corner, line itup, and go ahead and nail it in.
Don’t overload this board with too many nails. We got to make sure we do just the right amount. That glue is going to be set up in about half an hour so it doesn’t need too many nails.
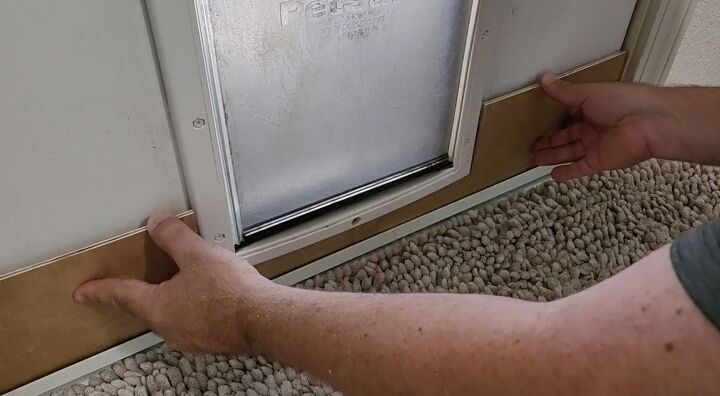
Next, we want to go to the bottom, but we had to go around the doggy door.
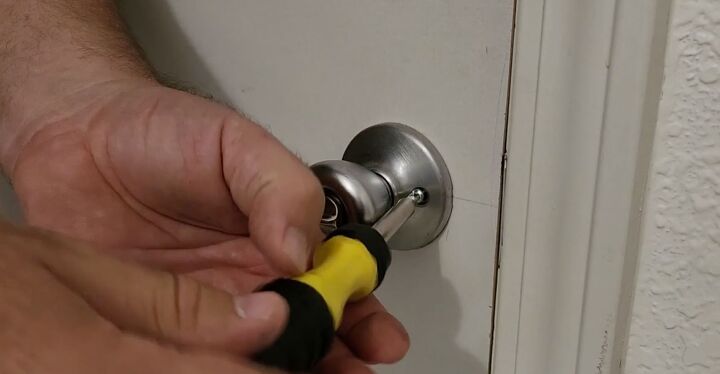
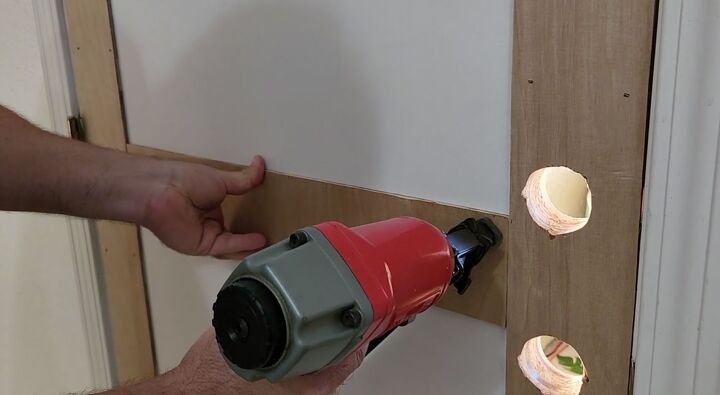
For the next piece, we had to take off the door knobs because we've got toput our trim around the sides.
Six inches along the top, that was the width but on the sides, we're going to go a little bit smaller with four inches.
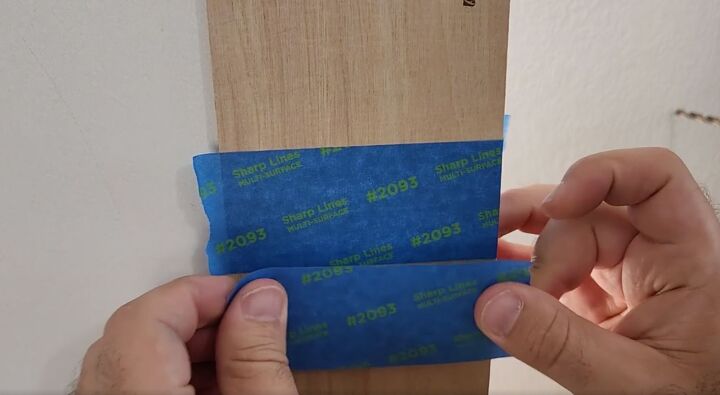
Now it's time to cut out where the door knobs were. Again, we’ve got to use tape.
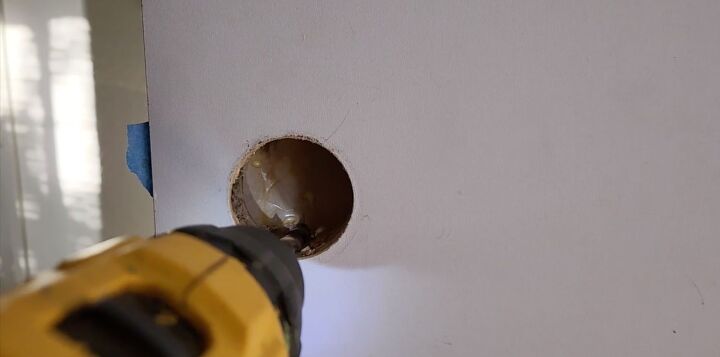
Take a drill bit from the back of the door and go ahead and outline where your doorknob is going to go.

Then, I just went ahead and used my jigsaw and cut out a hole.
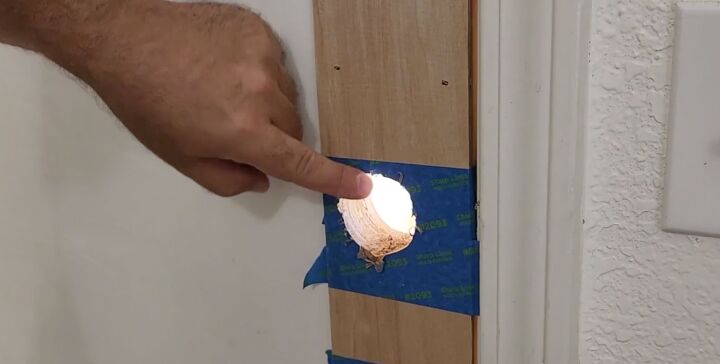
It's going to come right out. If you need to, go ahead and sand it to make it smooth.
Next, it was time for the last piece. Put some glue on it and this one we're going to put right in the middle between the door knobs. Make sure we measure it as straight and perfectly in the middle as possible.
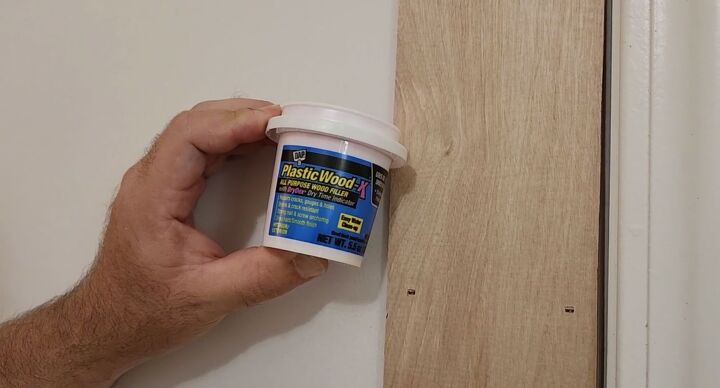
Now we got to cover up the seams and the nail holes. I went ahead and used some DAP plastic wood. It goes on pink, but when it dries, it comes the color of the wood.
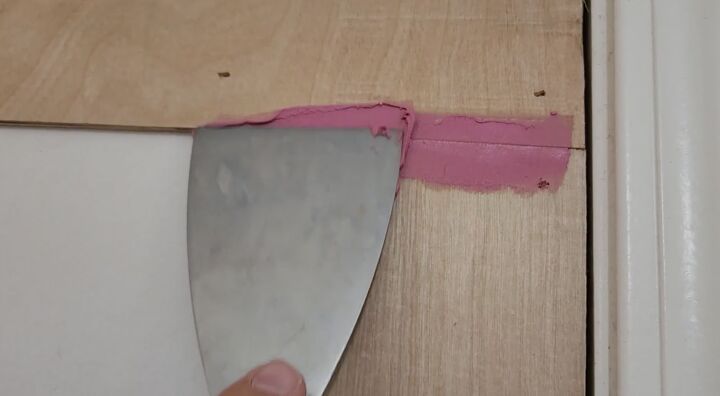
Use a spackle knife to put it in place on the seams.
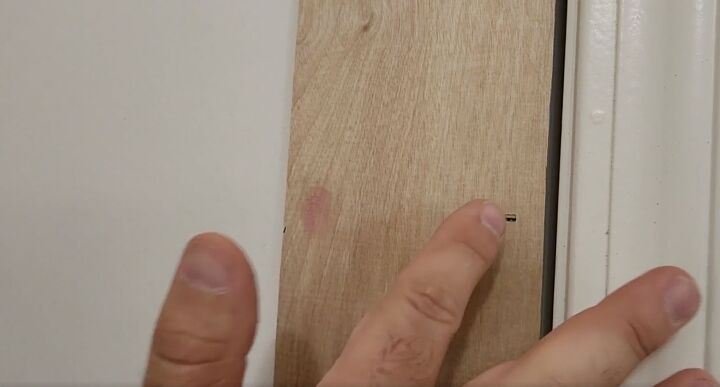
When it comes to nail holes, all you have to do is just go ahead and put it inside with your finger. It dries pretty quickly and you can just rub it off and get it nice and smooth.
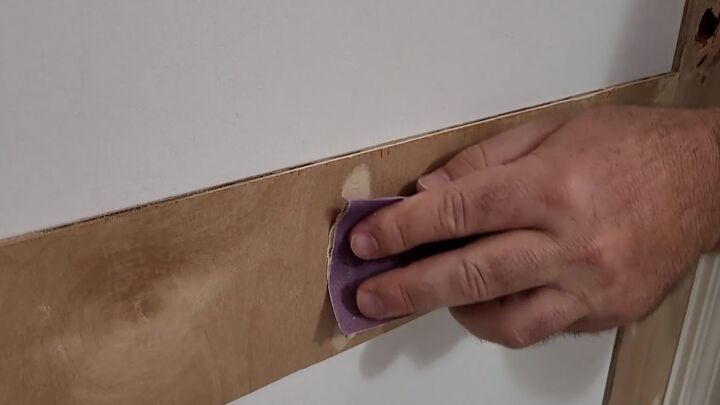
Once it dries, go ahead and just sand it down. Make it look really good. Do that with all of the plastic wood that you put on and get it nice.
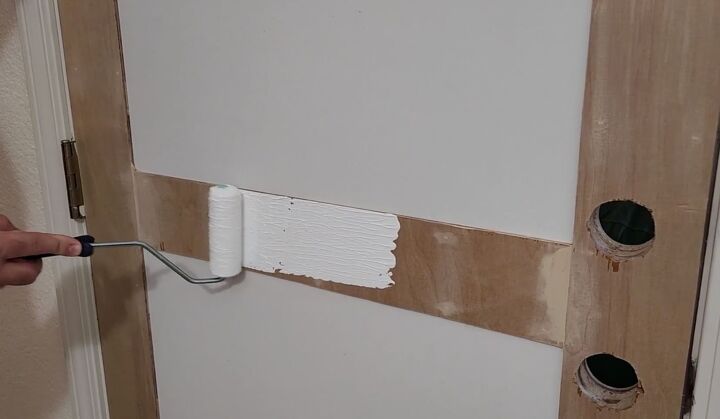
Next, it's time to paint. I went ahead and used primer and paint in one. I wanted to get some good coverage. You're going to paint the whole door. We're not going to go with a dual color on this one. We're just going to go with one.
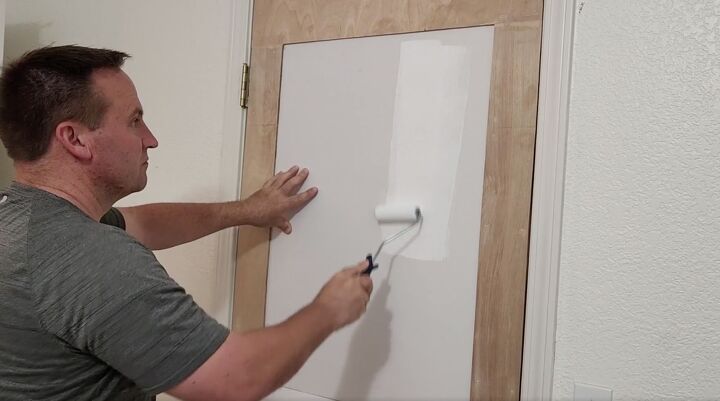
I used a little foam roller about four inches wide. It rolls on nice and smooth. I didn't want to use a brush because I didn't want any strokes.
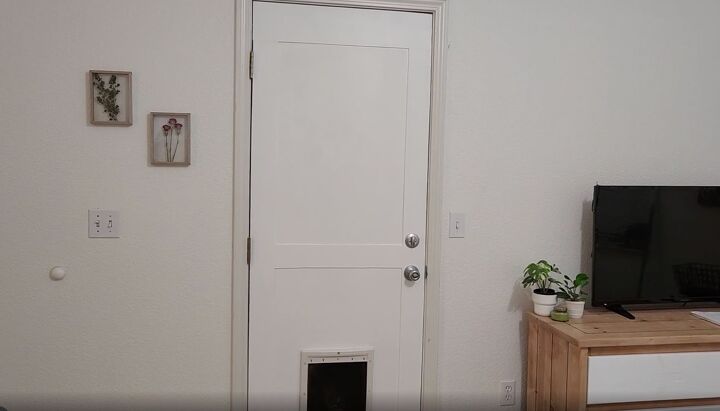
Do you remember that old door that we started with? Look at it now with the trim. How beautiful is that? I only spent about $12 transforming this door and I didn't have to go out and spend money on a new door. I hope you enjoyed this project as much as I did.
Resources for this project:
See all materials


Comments
Join the conversation
-
He showed the finished door- right above the video
-
So it's basically a sheet of luaun. I always prime it, sand lightly and caulk before painting. I love the finished door.


Frequently asked questions
Have a question about this project?
OK, so the 2x4s were just to put under plywood to cut?
Where’s the final look of the door?? All I see is some instructions and nothing final.
I have been looking at projects for our awful hollow core doors forever. I noticed you didn't have to reset the hinges at all. Am I correct? Usually when you do a project like this the domino theory hits and all the hinges have to be reset because you have added thickness to the door and it does not work with the framing wood work. Is your woodwork thicker and why when adding even that little did you not have to do that?