


Hallway Makeover Update + Newly Trimmed & Painted Doors
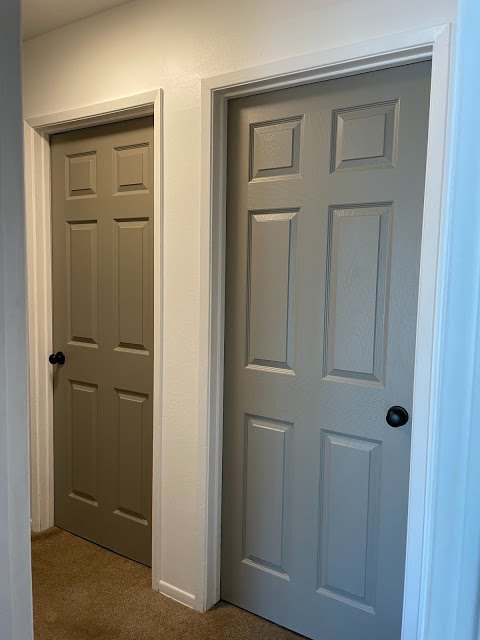
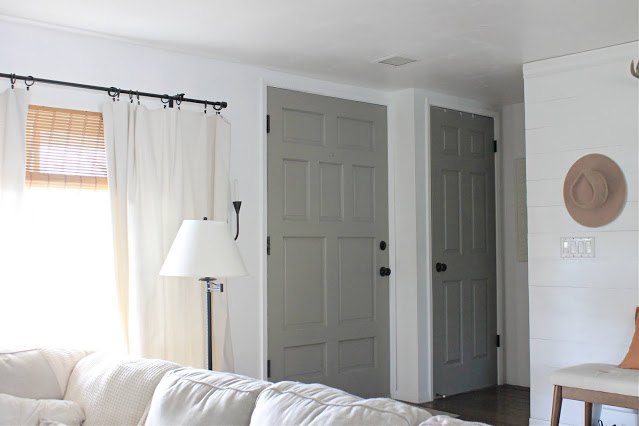
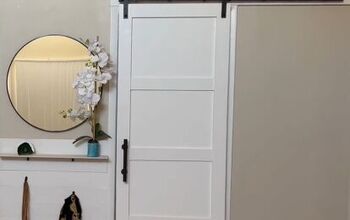
I don't know what took me so long! Maybe it was fear or simply waiting for that itch to kick in, but we're so happy with our freshly painted doors throughout the whole house. It only made sense to paint all of them for that uniform look. Maybe this isn't the best view but it does give you a sense of how much more character they give this upstairs hallway.
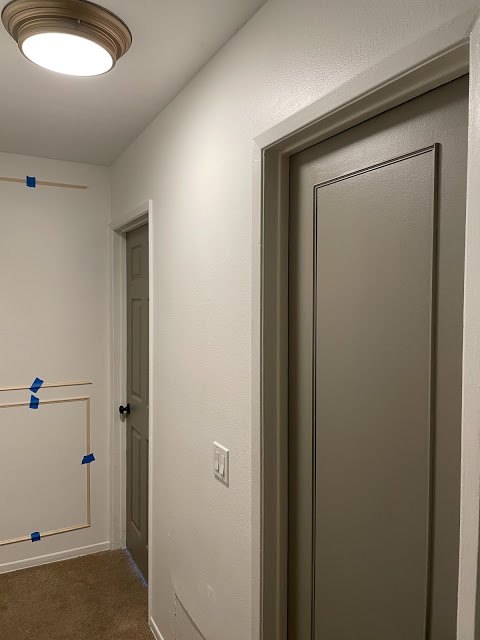
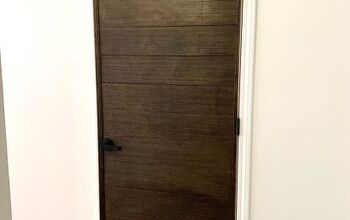
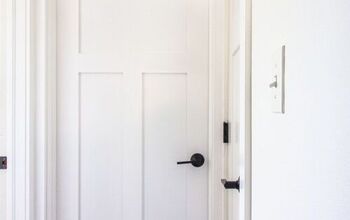
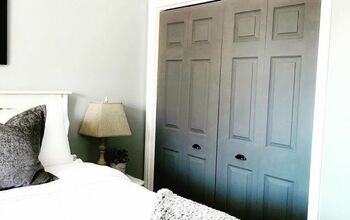
As you can see from the picture above not only did we update the color of the doors throughout but also added trim detailing to our flat bath doors. With this particular color I felt it was necessary to add detailing that would stand out.
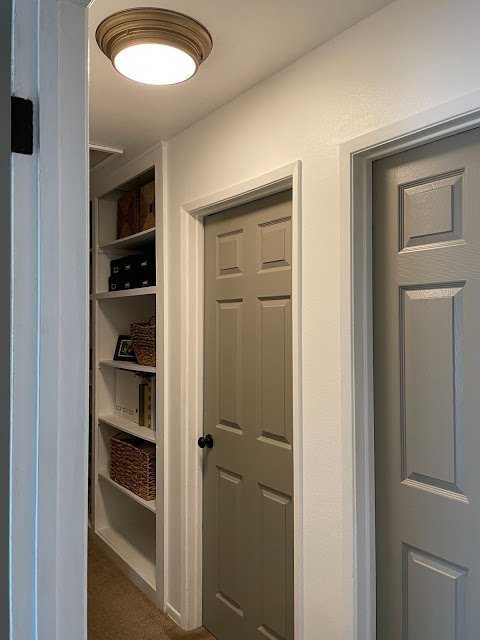
Giving this upstairs hallway a makeover has been a longer process than I imagined or anticipated with not having a lot of time to focus my time completely and having to choose certain updates carefully. I thought I had a certain plan but with the linen closet doors no longer going back up at least in the time being, it changed things quite a bit.
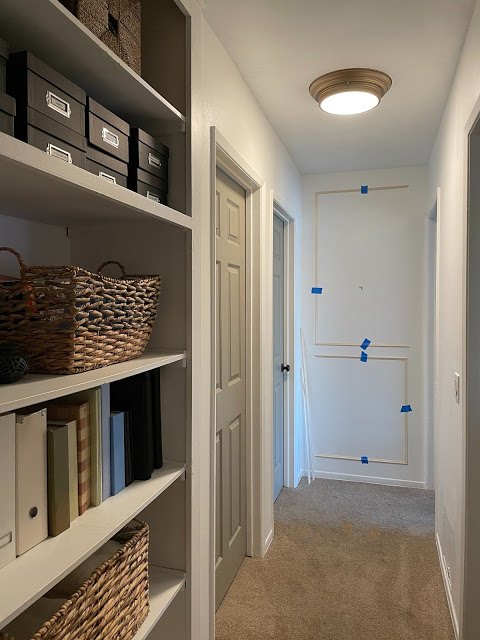
If you follow me on Instagram and stories then you'll know that I had hard time finding the hinges to replace the old ones, therefore finding or making new doors will be a future project. But in the meantime we're trying to utilize the open space and organizing it accordingly so it can be more as an open concept. Which I'm not too upset about because it gave me a reason to re-organize some things and showcase my books, which aren't many but it's better than having them hidden.
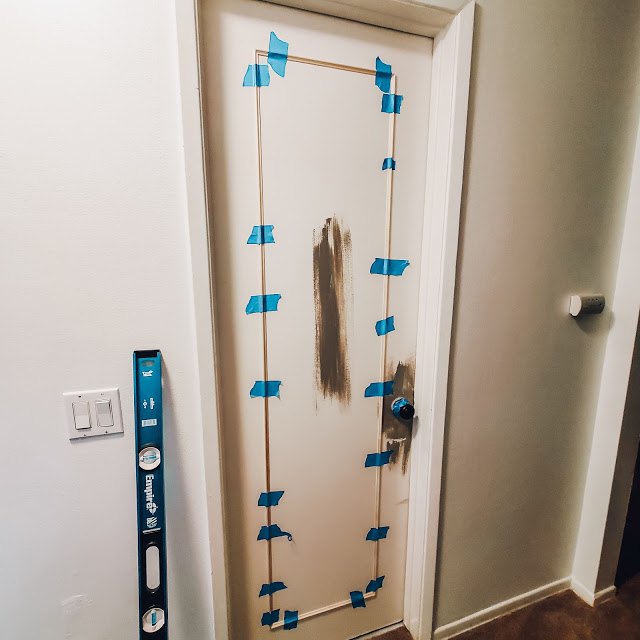
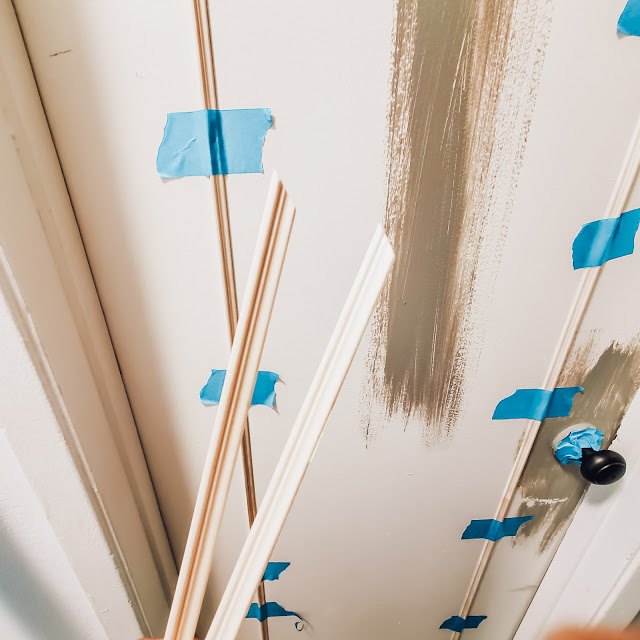
In the meantime I decided to get to work on the flat bath doors. I did some research and realized that updating the flat doors with some trim wasn't very costly at all. In fact super affordable and easy. I saved the process on my highlights over on my Instagram if you'd like to see how.
Adding moulding to doors
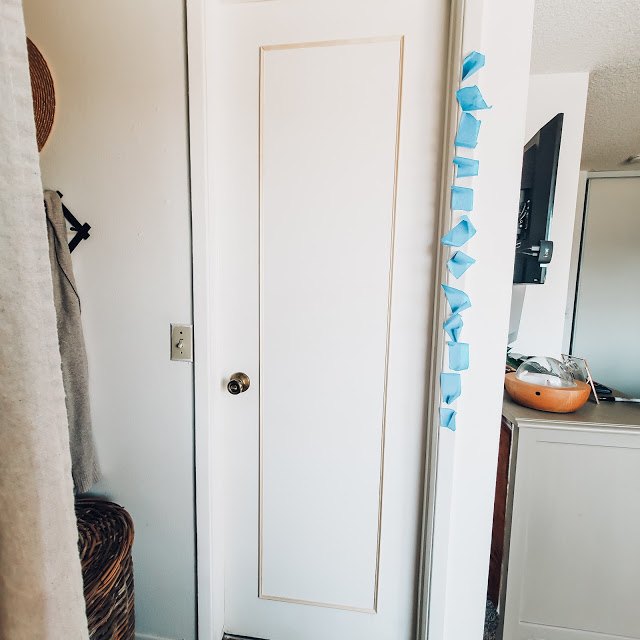
add wood glue and tape to door until fully dry
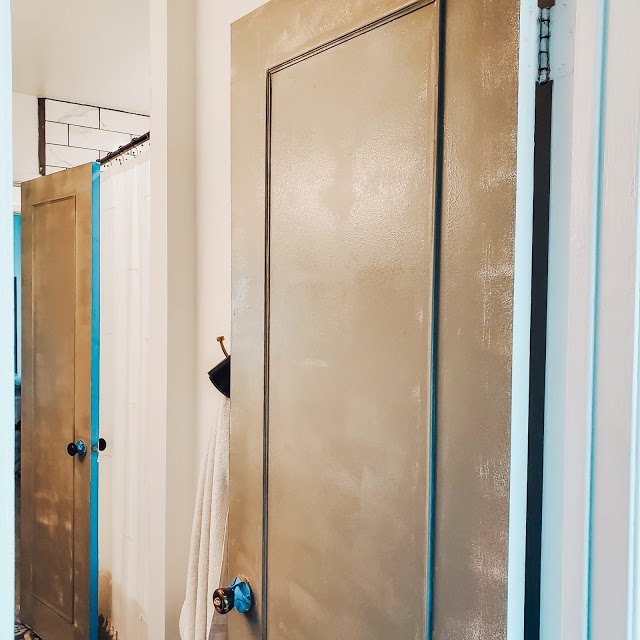
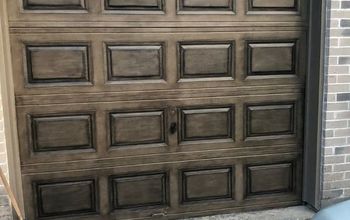
We changed out our old flat bedroom doors for these Colonist Primed Textured Molded Composite MDF Interior slab doors including our downstairs entry closet a few years ago because our main entry door has a similar look. We figured eventually we should change out our bathroom doors too but never did, so a quick fix was in order for them to not feel so blah once I changed the color.
In fact we feel that this new color Curling Willow from Sherwin Williams that I had matched at Home Depot with our favorite paint brand Glidden was a color inspired by a sweet friend from IG who recently painted her interior doors as well. It's the perfect color with hints of grey and green giving you an almost grey olive if you will. The finish we chose is in Eggshell interior. It's the perfect in finish and we love using it all throughout our home. This color truly brings out the character in the doors, which is what we love most.
Things are coming along in the hallways upstairs with the light fixture finally up and popcorn ceiling gone. It's already made quite the difference and feel especially with the change in color of the doors. Gave the walls a fresh coat of paint including the interior of the linen closet.
I kept going back and forth on whether I wanted to add trim to the end of the hallway wall. It's such a focal point and it felt boring, therefore I finally decided to go for it and add the same but thicker trim I used on the doors onto the wall for some added charm.
A wall mounted light fixture and art coming as soon as it's finished.
The attic door is soon getting replaced and in the near future the carpeting too if we decide to keep the carpet, decisions, decisions.
Downstairs our doors finally make sense and once I get started on the downstairs bath makeover that flat door will get the same finish as the ones upstairs.
I'll have to share a before and after of the many transformations our front door has gotten, but this seems to be the finale the ONE color that is finally going to stick.
I'm working on finishing the hallway touches this week and although it won't technically be complete until our flooring or carpeting gets replaced I'm excited to finally see and share with you what a difference all the cosmetic changes have already made.
It's amazing what a difference paint makes and how it gives your interior quite the facelift when you it finally feels right.
If you liked this post today please feel free to give it a Share or a Pin so that others can see it too. As always, you can find me on Facebook, Instagram and Pinterest as well.It always makes me happy that you're here and hope that these ideas inspire you.
Thank you for stopping by!
Stay tuned for more coming soon.
Full Disclosure: This post may contain affiliate links and I may receive a small commission for any sales made through them, at no cost to you, of course. This little bit goes to help support the costs of running my blog and every little bit helps support my family. Thank you so much in advance friends!

SHOP THE POST


Frequently asked questions
Have a question about this project?