


DIY Relaxed Roman Shade
Roman shades are super easy to make and quite inexpensive. You can get fancy and professional by adding a header kit to make your shades cordless and spring action, but if you’re on a tight budget, or a beginner sewist this relaxed roman shade method is for you, construction is easy and supplies are few.
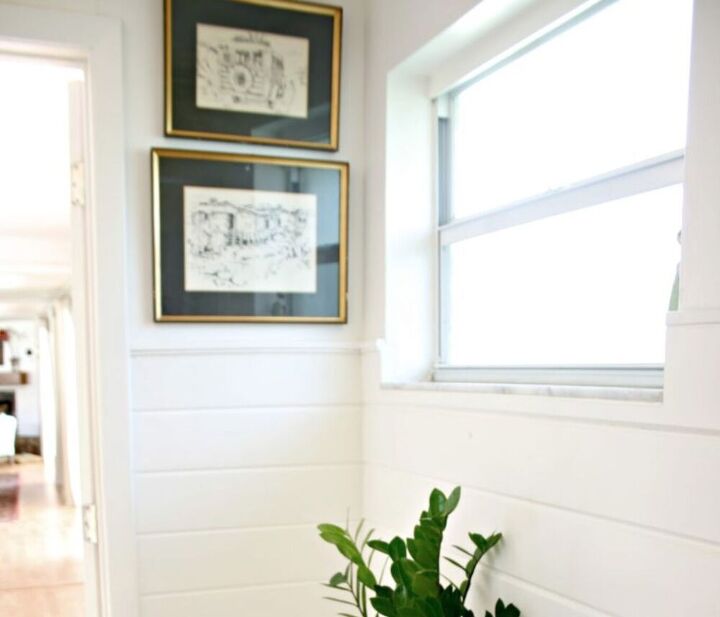
Here's the bare window...
The first step is to determine the finished width and length of the shade. Determine if you want inside mount or outside mount. Measure and write down the dimensions.
Cut your decorator fabric 6″ wider than the finished width and 6″ longer than the finished length. That will allow for a double 1 1/2″ side hem and bottom hem, and enough at the top to wrap around your mounting board.
The cut width of the lining is equal to the finished width of the shade, and cut the lining the same length as the decorator fabric.
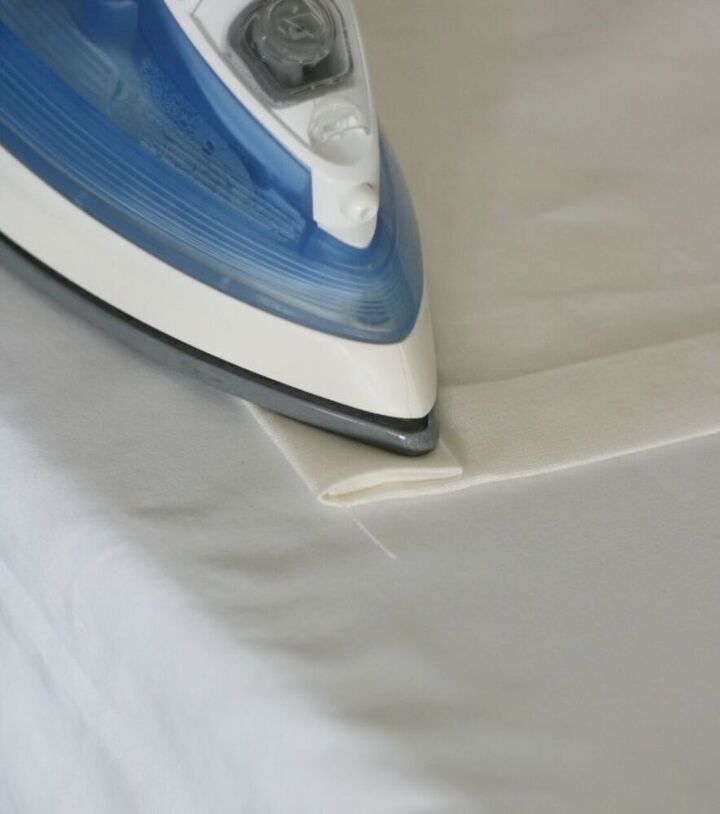
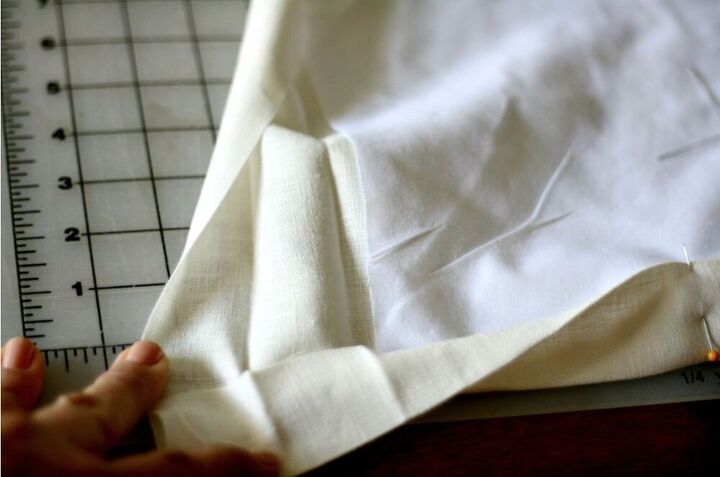
Once your fabric is cut , you’ll press the side hems into the decorator fabric. Use a ruler, measuring tape, or make a jig to measure 3″ on each side and press. You could also run a basting stitch 3″ from the raw edge to use as a guide and fold fabric on the basting stitch and press.
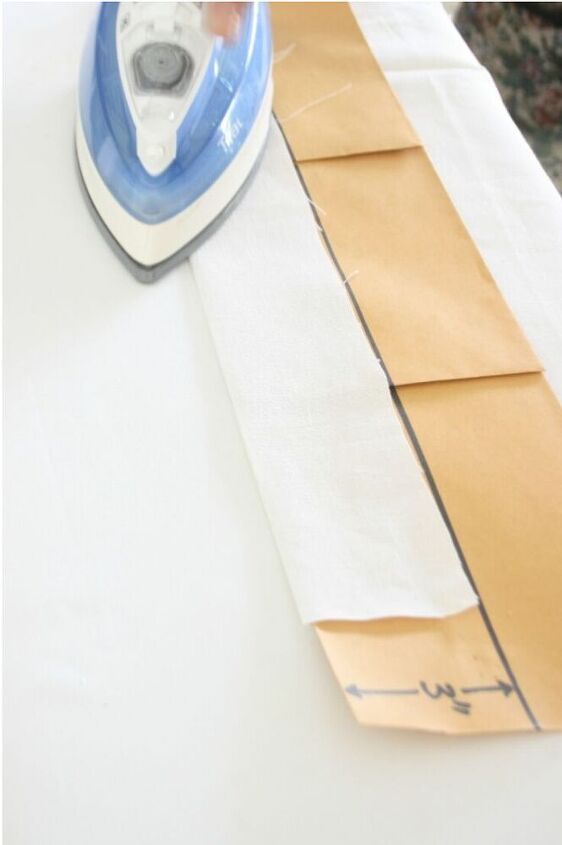
I made a jig for this project with some taped together manila envelopes. Cardstock or poster board works well also. A jig is great if you’re making numerous romans etc.
Next, fold the the raw edge to meet the pressed fold.
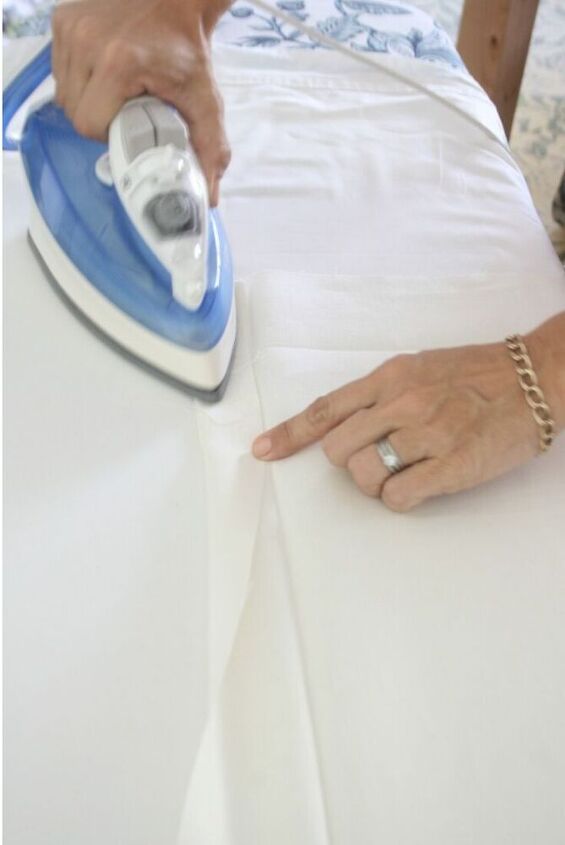
Place the lining on the shade fabric, wrong side to wrong side(wrong sides together). Bring the edges of the lining fabric to the foldline under the side hems and under the bottom hem.
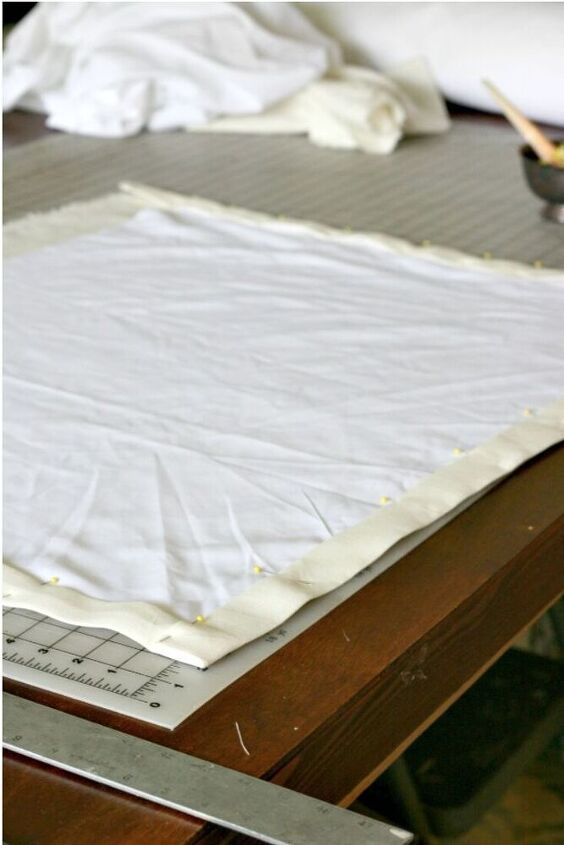
Pin the side hems to the lining, and blind-stitch or fuse in place. Then blind-stitch or fuse the bottom hem. The bottom hem should be stitched close to the edge in order to form a rod pocket.
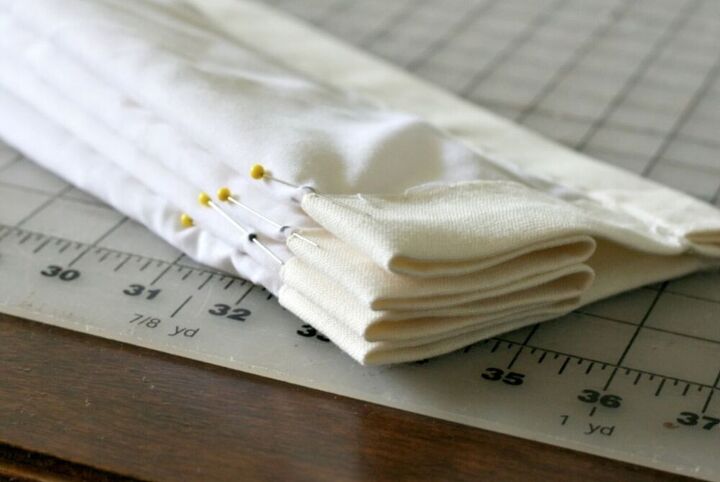
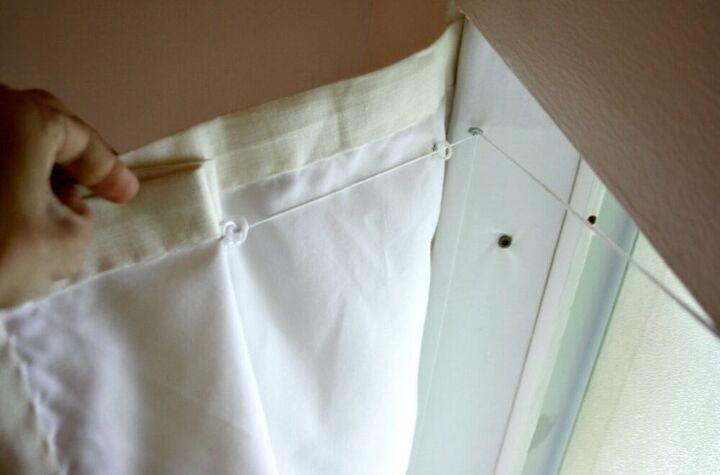
Mark the locations for the first row of rings spaced 6″ apart vertically, starting at the bottom of the shade 1 1/2″ from the side. Pin through both layers of fabric at your markings.
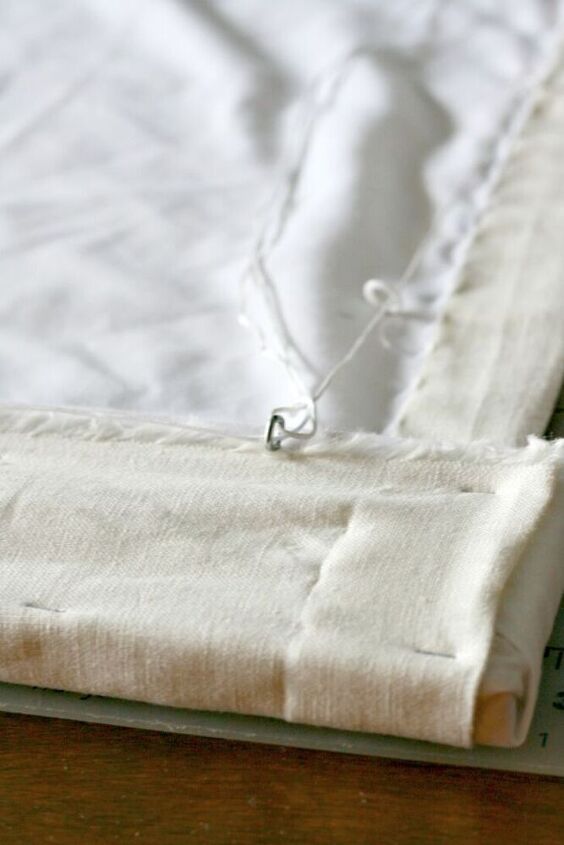
Attach rings by hand or by machine, using a double strand of thread, stitching in place through both fabric layers for four or five stitches.
Now you can cover your mounting board with lining fabric, basically wrap it like a Christmas present.
Install the screw eyes on the mounting board, aligning them with the rows of rings

Tie the shade cord to the bottom ring and run the cord up through the remaining rings and through the screw eye. Do the same for the other rows of rings, but when you reach the eye hook thread the shade cord over to the opposite screw eye and down to the bottom of the shade.
Place a weighted rod or heavy dowel in the rod pocket in the bottom hem of the shade.
Lastly, install the shade into the the window opening or above the window if you opted for an outside mount shade. I just used two screws and fastened the mounting board to the top of the window sill. If you choose to outside mount your shade you’ll need to use angle irons/L brackets screwed to the wall. Then mount the board to the L bracket.
Place and awning cleat on the wall to hold the raised shade and voila, you’re finished. Pull the shade up to the position you prefer and leave it in training for at least a week. It may take less time to train your shade if you live somewhere humid like me. After a week or two your roman shade will be ready for use and will remember what to do when you raise and lower it(the folds will be set).
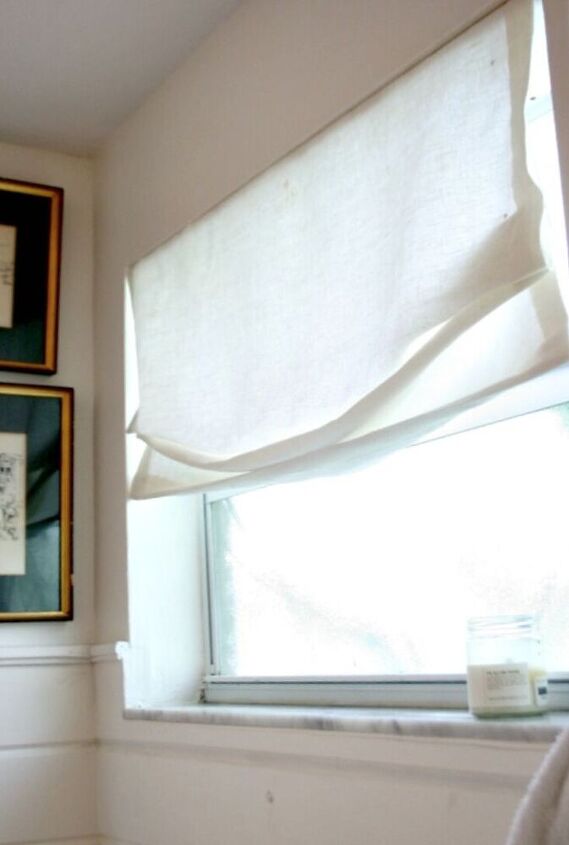
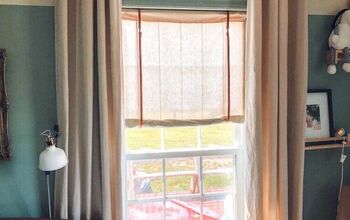
This relaxed roman shade is perfect for my bathroom window because it has ugly obscure glass and the roman covers half of it. The window really doesn’t need privacy because my back yard is totally private so I will probably never raise and lower this shade.
I wish I would have made the shade twice as long so there’d be more folds at the bottom. To me it looks like a faux roman because my window is so short. Oh well, like my mom always said…you live and you learn…and sometimes you just live.
Below is a list of the supplies needed for this project and a link to get them. If you have a window or two that needs some dressing up or needs some privacy give this relaxed roman a try. If your windows are a little taller than my 1970’s windows yours will look way better.
Resources for this project:
See all materials


Comments
Join the conversation
-
Well explained project. If you want your blind to rise in neat sections, you can sew little evenly spaced channels (like on a store bought blind) and insert little rods in each channel to keep it straight and flat. For rods on a budget, you take wire hangers and straighten them out and cut to desired length. (Personally, I used small diameter round sticks.)
-
What cost 100. 00?


Frequently asked questions
Have a question about this project?