


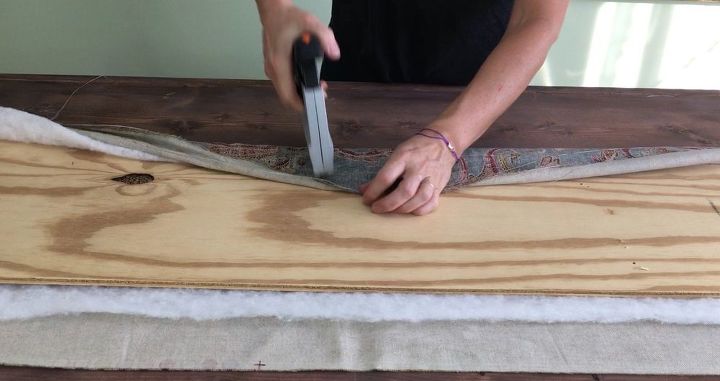
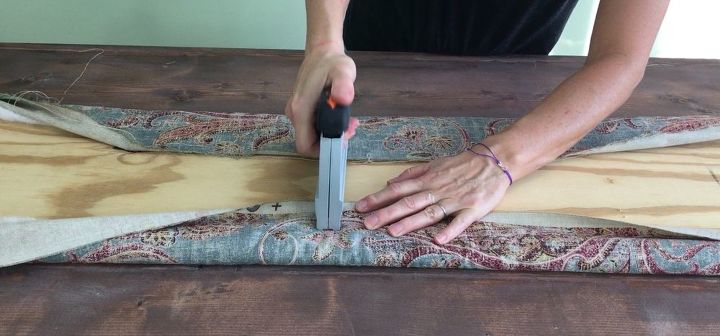
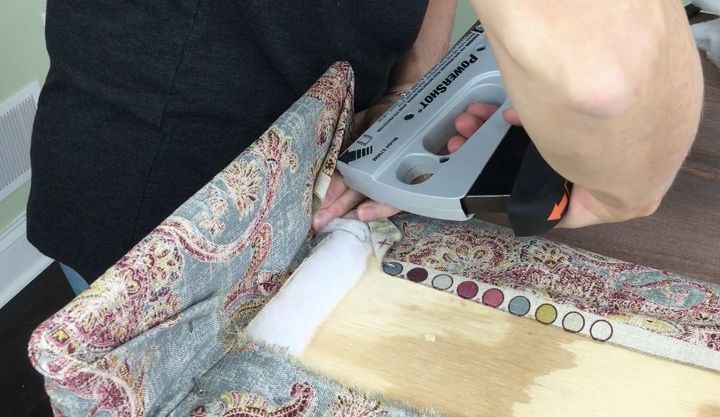
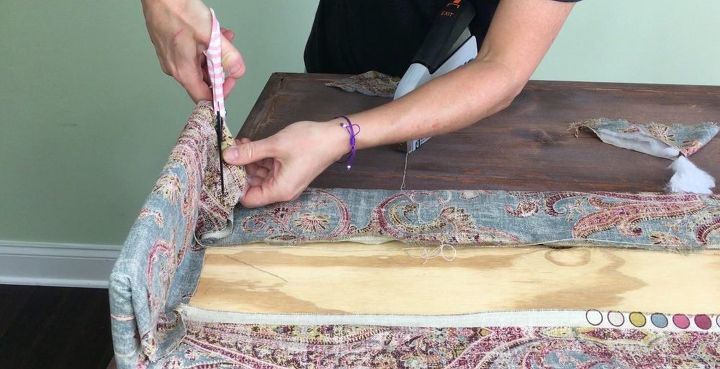
Fifteen Minute Upholstered Valance

Comments
Join the conversation
-
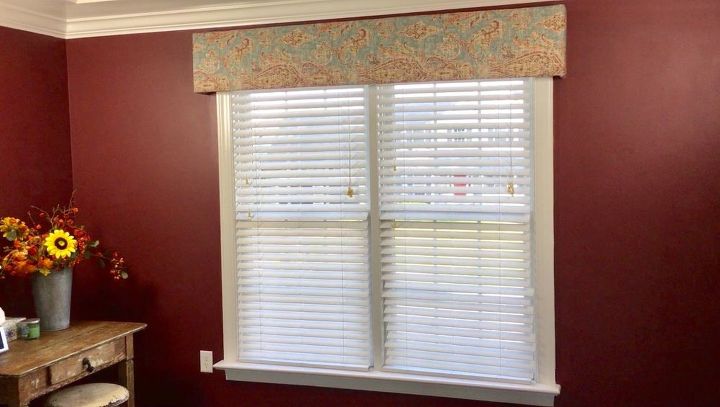
I chuckled when I read this because these valances were very popular in the 80s. We just bought a home and ripped them all out because the valances blocked the window opening on top (besides the colors/material/design being very dated). I guess something old is being re-created. I caution to only use on large windows and remember they are decorative for the top of the window only with no function as a window covering. You will still require some type of curtain, blind, etc... if you want to cover the window, make your valances wide enough to incorporate the addition window covering (curtains) Finally, choose a material you love, because it's a lot of work to change out the valances. 😉
-
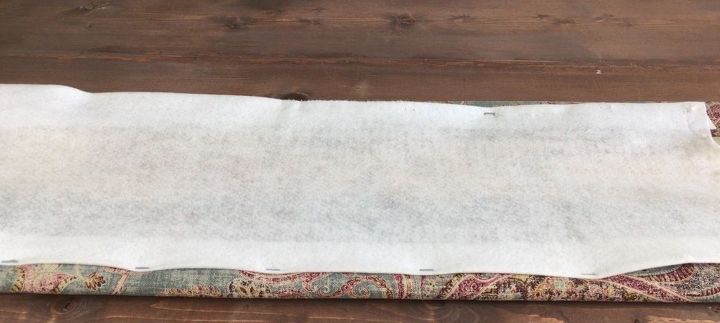
yes. back in the 80's I did this to my windows. but I kept the curtain rods and made the valances out of styrofoam. I used floral pins and glue to secure the shape. used glue for the batting and more floral pins to secure my fabric. Hung them over the curtain rods. they were nice and light! lasted for years.


Frequently asked questions
Have a question about this project?
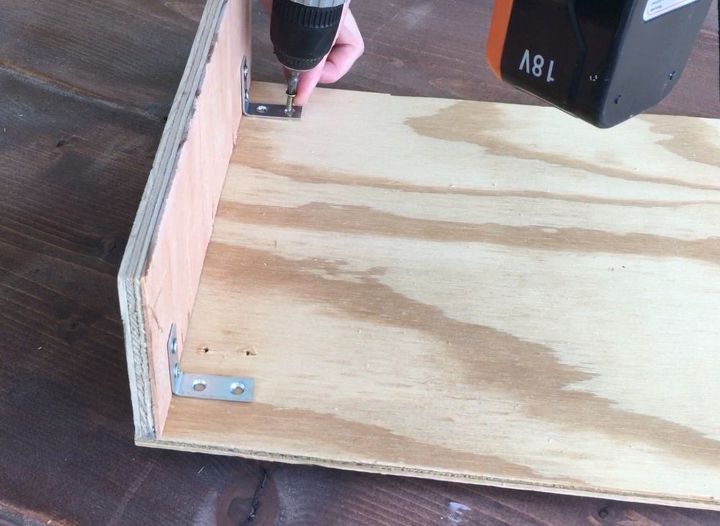
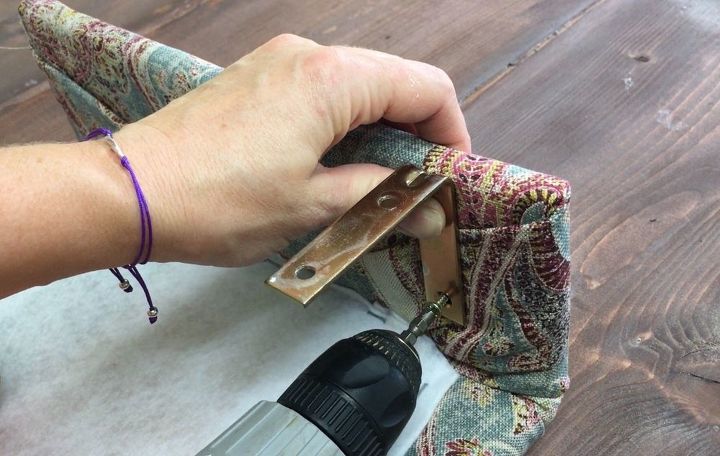
Nice but how did you attach....do you have instructions?
Where did you use the wood finish?
How did you have room to attach this to the wall?