


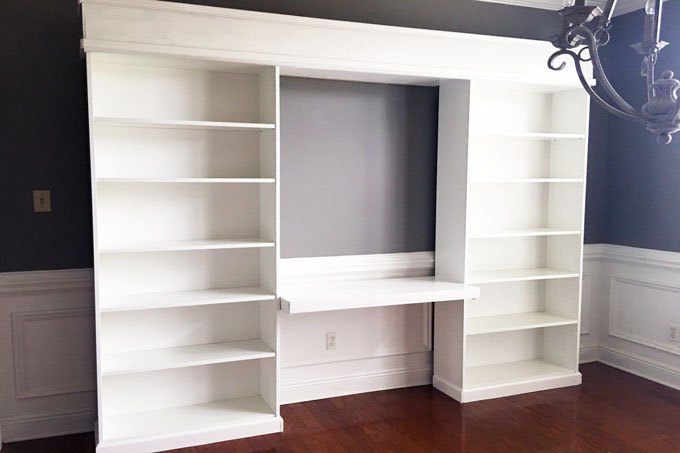
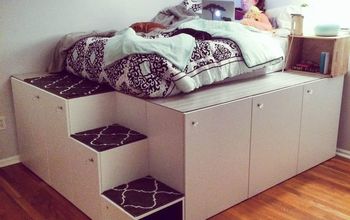
DIY Built-ins With Ikea Billy Bookcases

Built-ins are expensive so why not give it a DIY try! My tutorial on building your own DIY built-ins with (aff link) pre-fab bookcases will give you that built-in look for less!

I am going to be 100% honest and say this was the hardest DIY I have completed so far. Mainly because I did it all by myself. I think this project would be much easier if you had a helping hand along the way. I was in such a hurry to get this done I didn't want to wait on someone to come to my rescue and help so keep this in mind if you plan this project on your own. Trust me I wasn't doing it on my own to make a point or anything, I was just in a hurry! It can be done on your own for sure and still turn out beautifully, but it just takes way more time on your own.
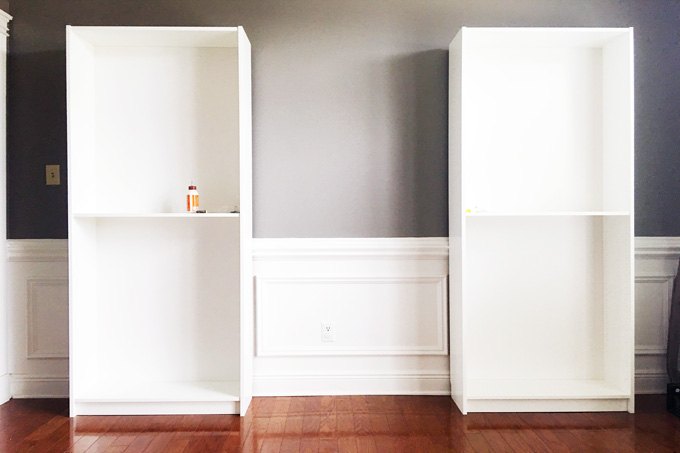
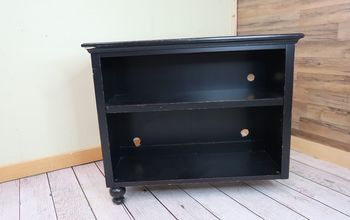
Put Together the Bookcases:
This was so simple. It took me about 45 min to put together both of these bookcases. I think I am becoming a pro at this Ikea furniture! After I got the bookcases put together I placed them where I wanted them to go spaced 40" apart to account for the floating desk.
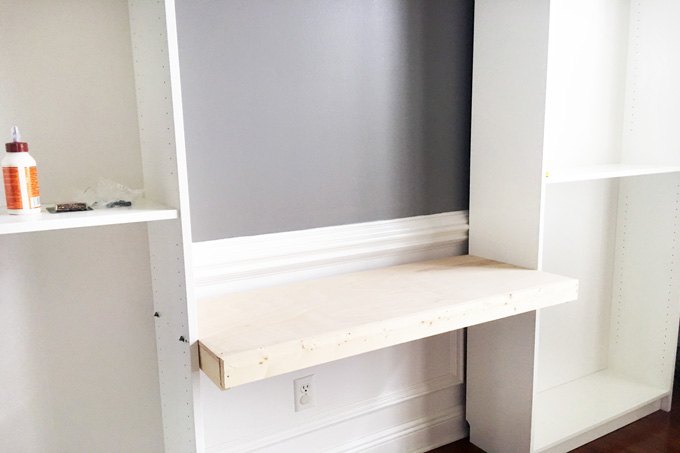
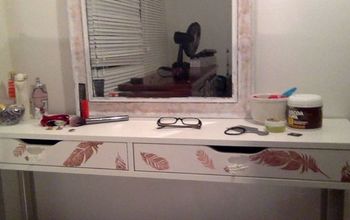
Attach the Floating Desk:
I lined up the desk to be even with where one my shelves would go to make it seem more fluid and then took (aff link) wood glue & screws and screwed it into a 1x3. I used 1x3s on the sides and front of the desk to give it that floating look. Then I screwed the plywood panel to the top of the 1x3s and finished it off with another 1x3 on the front.
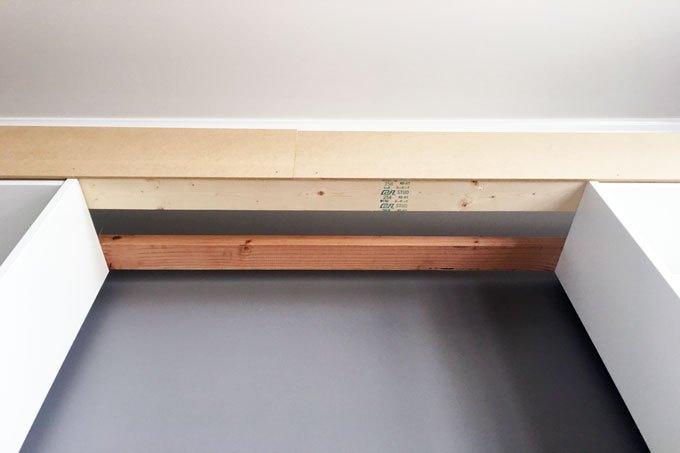
Attach Your Supports:
The next step is to attach your braces or supports for your top MDF panels. In order to have something to nail the MDF boards to I needed to place 2x4s on the top of the bookcases. I laid two long 2x4s on the front and back of the bookcase as well as a couple on the sides to attach my side panels too. I screwed these 2x4s into the top of the bookcase sides so the screws wouldn't come through the top.
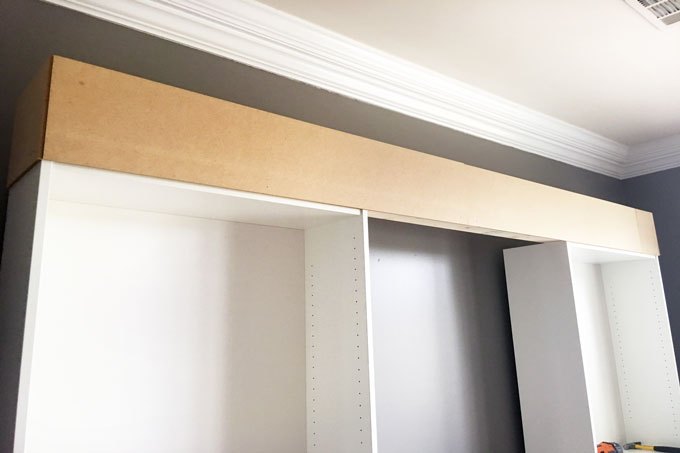
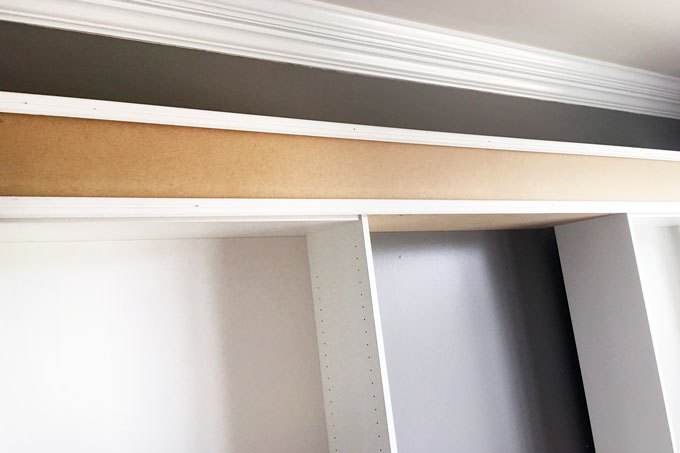
Add Your MDF Panels:
I knew that I would need 103" long in MDF boards for the front as well as 11" for each side panel. I had Home Depot cut these down for me since I didn't have a table saw handy. I had them cut all the pieces the be 9" high and had them cut enough to equal 103" on the front and 11" on each side. I also had them cut a 40" by 11" to cover the underside of the new top between the two bookcases.
After I had all of my pieces cut I then brought out my nail gun and started nailing the MDF boards to the 2x4 braces behind them.
Add Your Molding & Baseboards:
This is a hard step if you have never cut 45 degree angle pieces before. There are a ton of great YouTube videos to help you out. Make sure to get a bit of extra molding and baseboards in case you mess up. After I had all of my pieces cut I then brought out my nail gun again and started nailing it to the MDF panels for the molding and to the bottom of the bookcases for the baseboards.
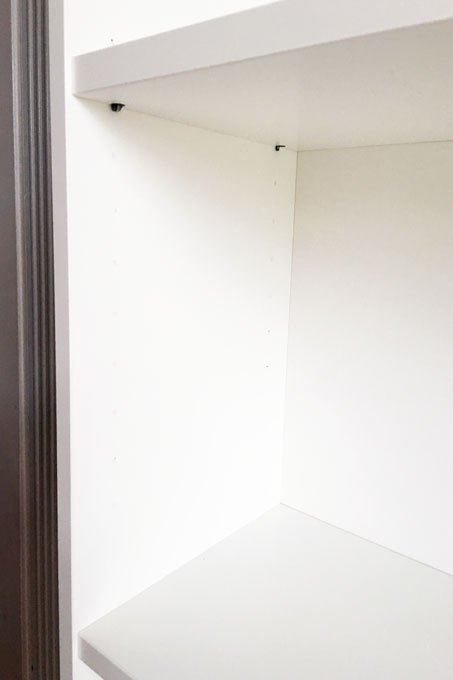
Spackle & Caulk:
I waited until the end and made sure to spackle up any of the nail and screw holes. I also didn't like the predrilled holes for the shelves, so in order to give the bookcases a more finished feel I filled in the holes I wasn't using with some nail filler. After it was dry I then went over it with a sanding sponge to smooth it down.
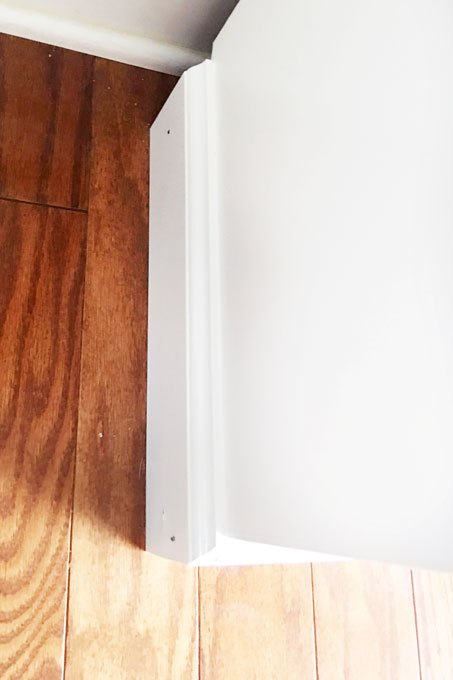
Make sure not to forget the area where your new baseboards meet the bookcases...
Paint:
After all of your caulk and spackling is completed you will want to paint your molding, baseboards, and MDF panels to match the rest of the bookcase. I took one of the Ikea bookcase shelves to my local Sherwin Williams and had them perfectly match that Ikea white. I got the paint in semi-gloss since it is what you would normally paint your trim and baseboards with for your home. I gave it two coats of paint, and may decide to give it another!
Resources for this project:
See all materials


Comments
Join the conversation
-
Awesome
-
That’s not built in the wall, so why do you say it’s a built in the wall.


Frequently asked questions
Have a question about this project?
What was the total cost for the finished bookcases?
How much did it cost?
where did you find the bookcases under $200 all I see run for $160? With all the other item this project couldn't cost $200 or $300.