


Dresser Drawer Into Shelf

by
Alicia W
8 Materials
$20
2 Days
Easy
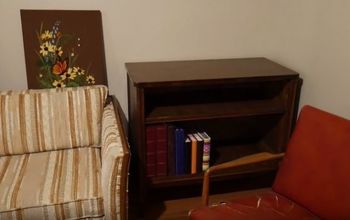
I have two dresser drawers that I'm not using and I didn't want to throw them away. I decided to make shelves out of them.
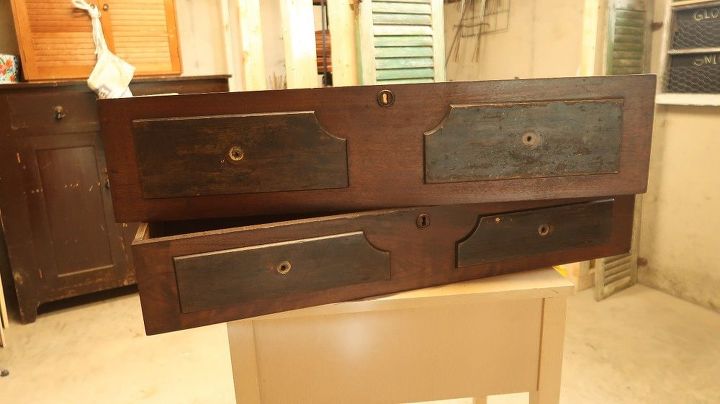
The drawers are in good shape and have unique wooden face plates.
Drawer No. 1
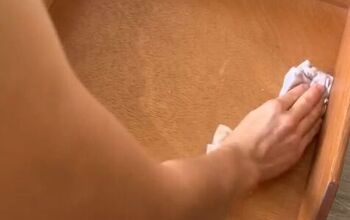
Step 1: Sand drawer
I sanded the drawer inside and out
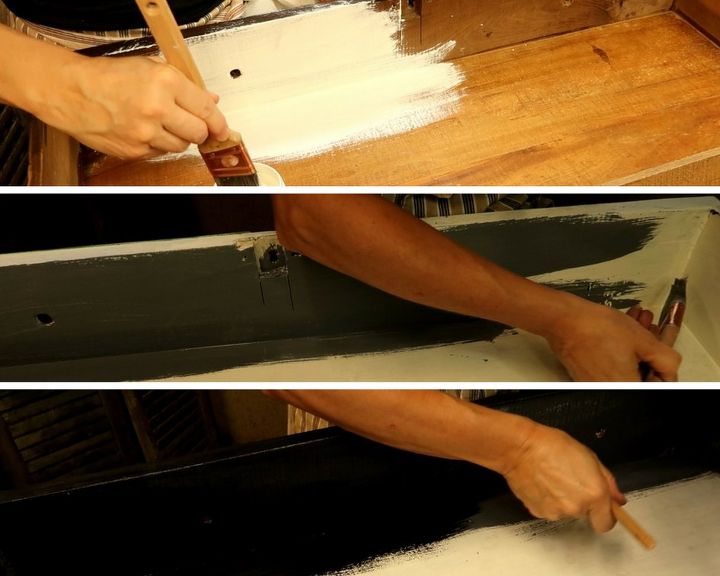
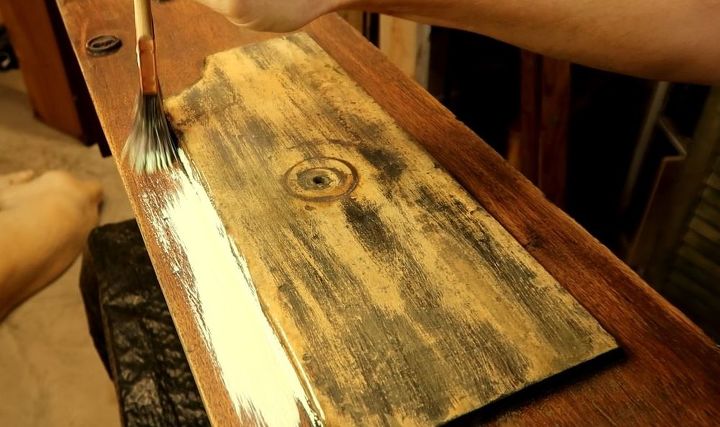
Step 2: Prime inside
I primed the inside of the drawer bottom and all sides
Step 3: Paint inside
After the primer had dried, I painted a dark gray. Once the gray dried, I wanted a darker color so I used Old Fashion Milk Paint in "Pitch Black".
Step 4: Wax inside
Once the inside paint was dry, I waxed the sides.
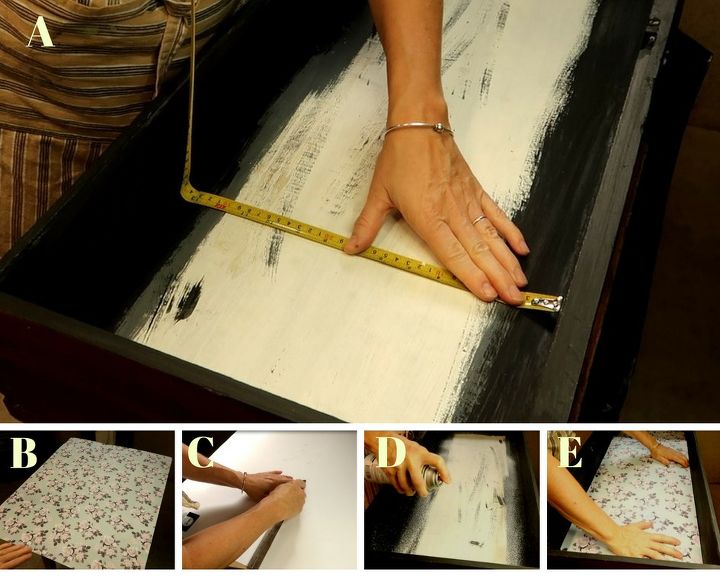
Step 5: Add poster board
A - I measured the width of the inside of the drawer
B - Using a piece of printed poster board,
C - I flipped the poster board on it back, measured and cut to size
D - I sprayed adhesive to the inside bottom of the drawer,
E - I applied the poster board and smoothed it flat

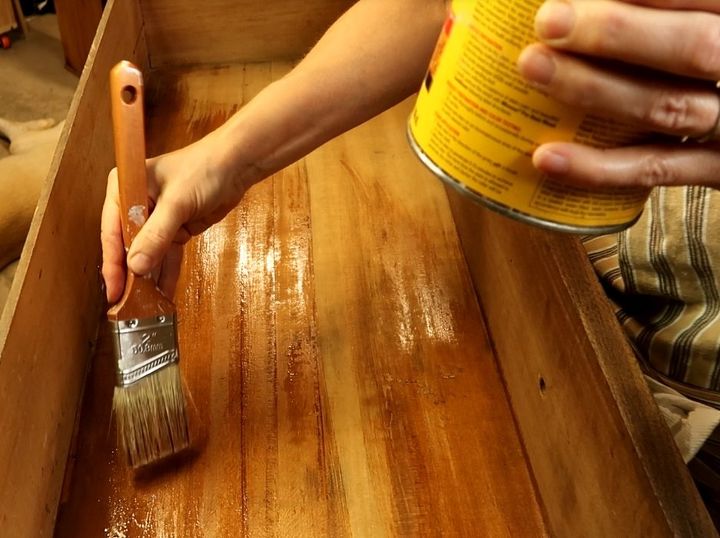
Step 6: Stain outside
The front, sides and back of the drawer were stained with Minwax "Early American".
Step 7: Wax outside
The entire outside of the drawer was waxed.
Step 8: Add drawer pulls
Once everything was dry, I added the drawer pulls.

Step 9: Add hanger
I added a canvas flush mount canvas hanger onto the back of the drawer at the top.
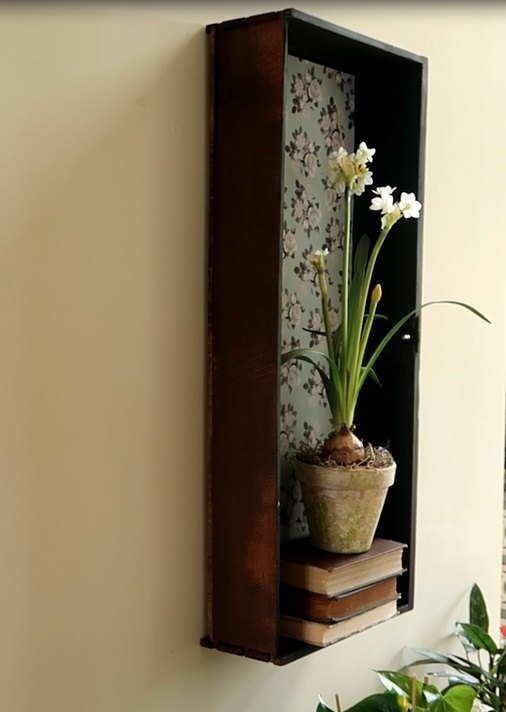
I love the way this shelf looks in my hallway.
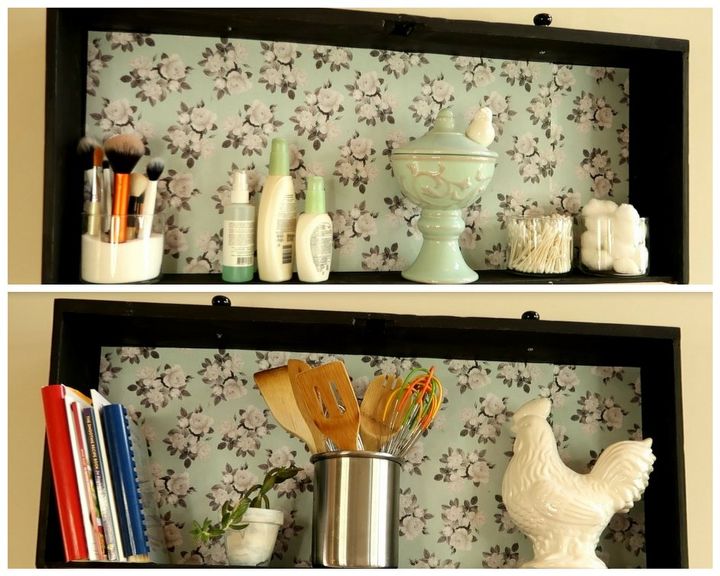
Turning the drawer horizontally, it could be used in your bathroom
or your kitchen.
Drawer No. 2
Step 1: Sand drawer
I sanded the drawer inside and out
Step 2: Stain inside
I stained the inside bottom and sides. I used Minwax "Early American".
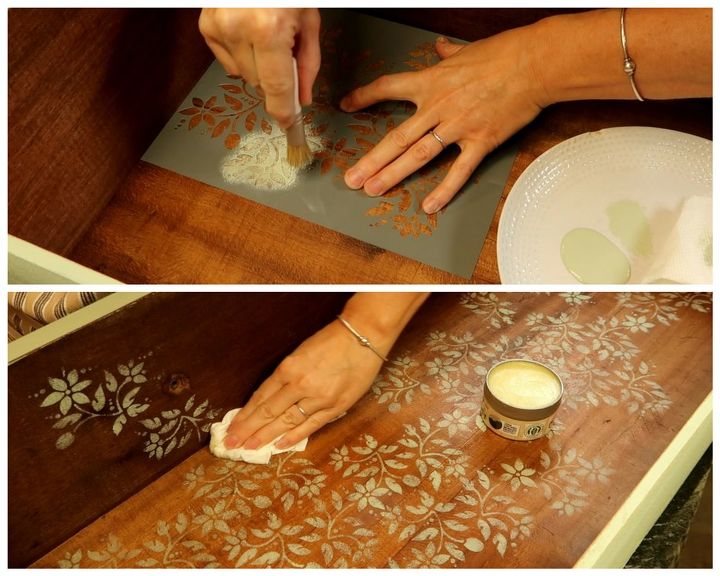
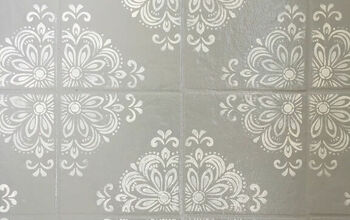
Step 3: Stencil inside
Once the stain had dried, I stenciled the inside bottom and sides of the drawer. I used Waverly chalk paint in "Celery".
Step 4: Wax Inside
Once the stencil paint was dry, I waxed the inside of the drawer.
Step 5: Paint outside
I painted the outside of this drawer using the same paint that I used to stencil the inside of the drawer, Waverly chalk paint in "Celery".
Step 6: Wax outside
Once the paint was dried, I waxed the entire outside of the drawer.
Step 7: Add drawer pulls
Once everything was dry, I added the drawer pulls.

Step 8: Adding a shelf
A - I measured the width of the inside of the drawer,
B - I cut a pieces of 1"x 8" pine
C - After staining the board, I placed it in the middle of the drawer
D - I placed two screws in the side of the drawer
E - And two in the back of the drawer.
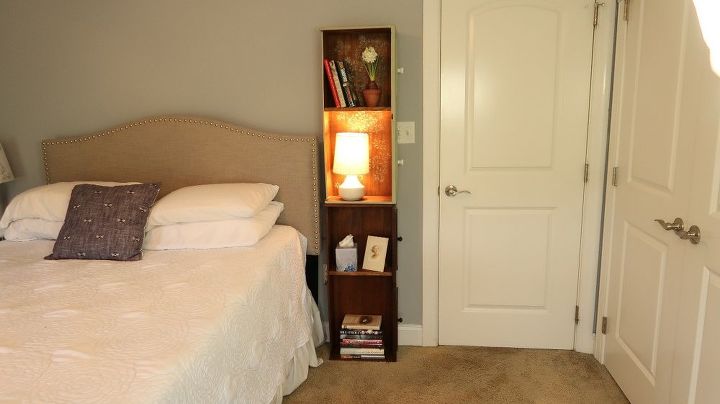
I placed the two drawers on top of each other and added items to the shelves to make a bookcase!
It's very sturdy and so much cuter than a "normal" bookshelf.
{
"id": "5034054",
"alt": "",
"title": "",
"video_library_id": "6390",
"thumbnail": "https://cdn-fastly.hometalk.com/media/2018/08/13/5034054/dresser-drawer-into-shelf.jpg"
}
{
"width": 634,
"height": 357,
"showRelated": true,
"noautoplay": ""
}
Resources for this project:
See all materials


Any price and availability information displayed on [relevant Amazon Site(s), as applicable] at the time of purchase will apply to the purchase of this product.
Hometalk may collect a small share of sales from the links on this page.More info
Comments
Join the conversation
2 of 118 comments
-
Yes I have two drawers just waiting for a redo! Thanks for sharing!!
-
When hanging them horizontally I would’ve put the knobs at the bottom. Just my opinion. Looks great 👍


Frequently asked questions
Have a question about this project?
When u say wax, what are u talking about. What do u use?
You have a lamp on in the last photo: did you drill a hole to allow for the cord, or is this a battery-powered lamp? Very cute!
Where did you get the stencil?