


Repurposed Plastic Balls Into DIY Flowers
This is a fun and easy project using bouncy castle plastic balls and repurposing them into colorful flowers.
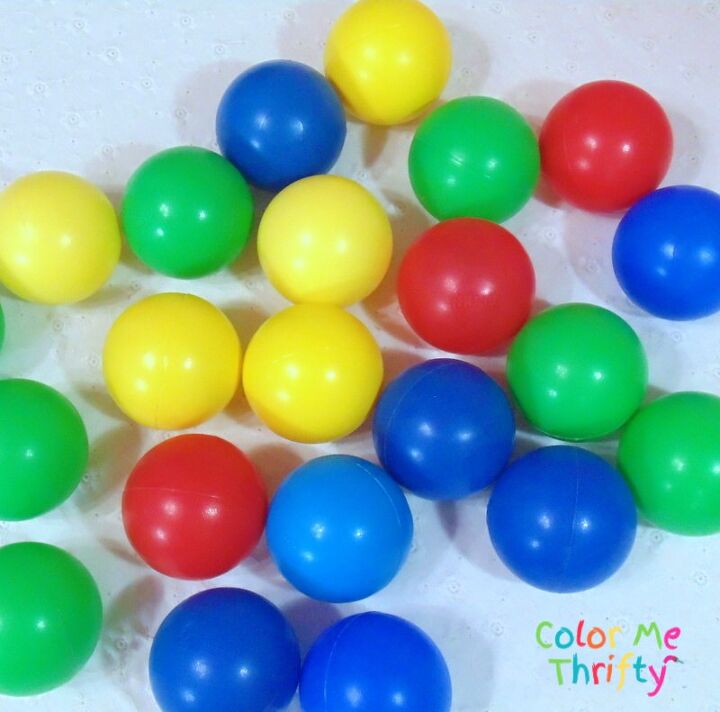
I found a couple of bags of these plastic balls that are used in bouncy castles at a thrift store quite a while back for a dollar a bag.
Colorful things like these balls always catch my eye.

To create these flowers start by simply poking a hole into a ball with a pair of scissors.
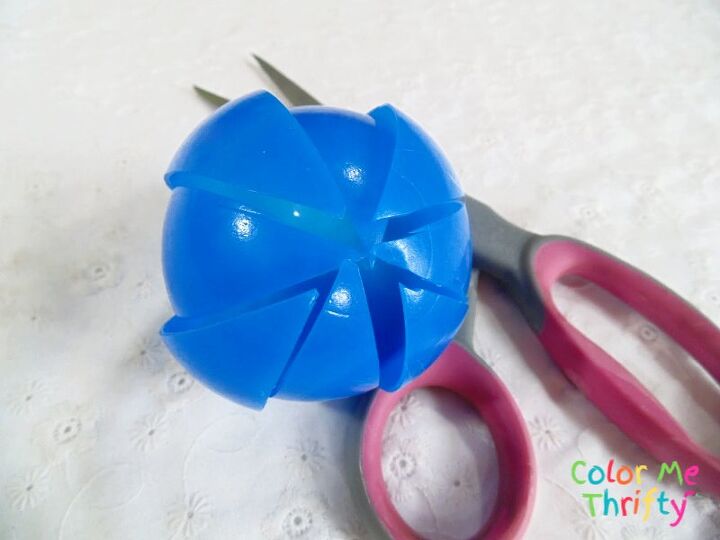
Then cut about three quarters the way down the side of the ball until you have it in quarters.
Then cut down the middle of the four sections until you have eight sections.
Be careful not to cut all the way down.
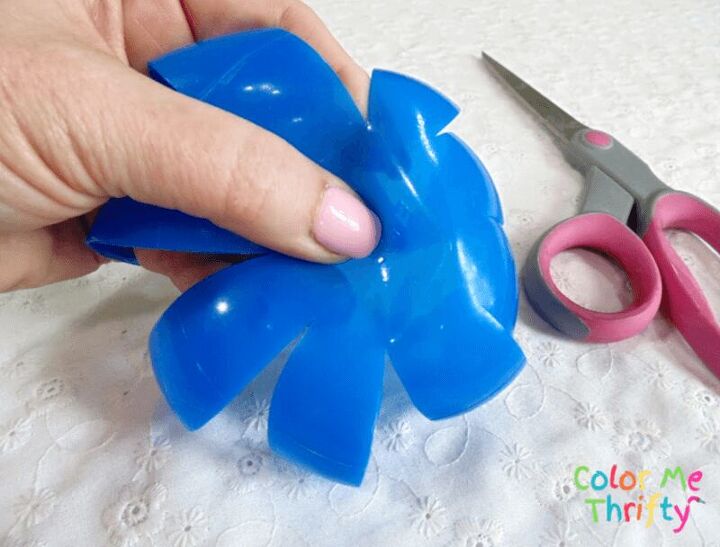
Now it's time to invert the ball and see the beginnings of your flower.
Now you have a flower with eight petals. You could work with it like this, or continue like I did.
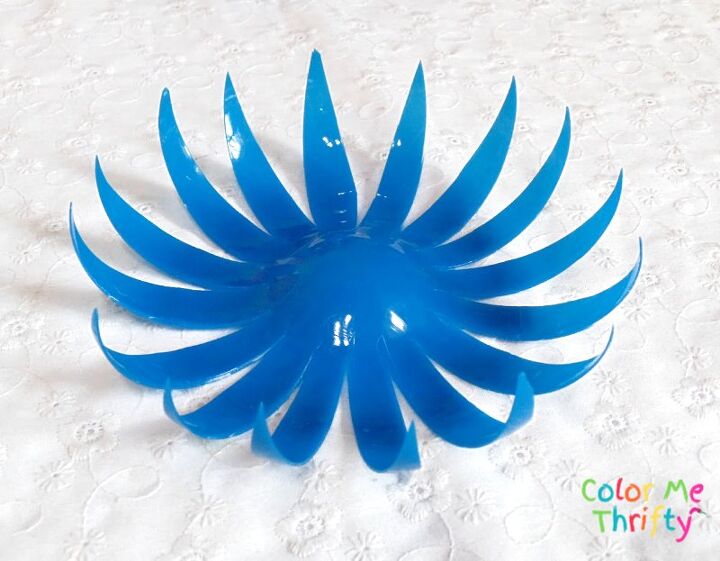
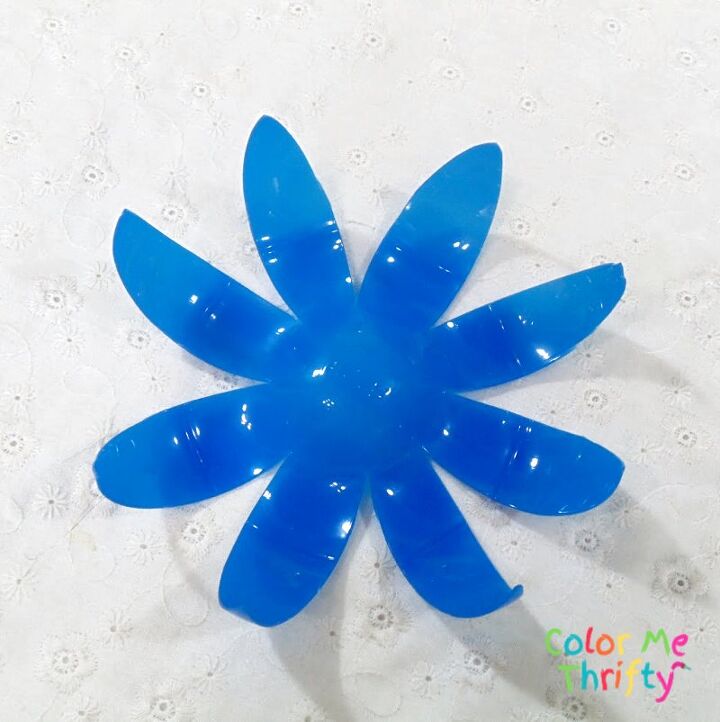
And cut down the middle of the eight petals, creating sixteen petals.
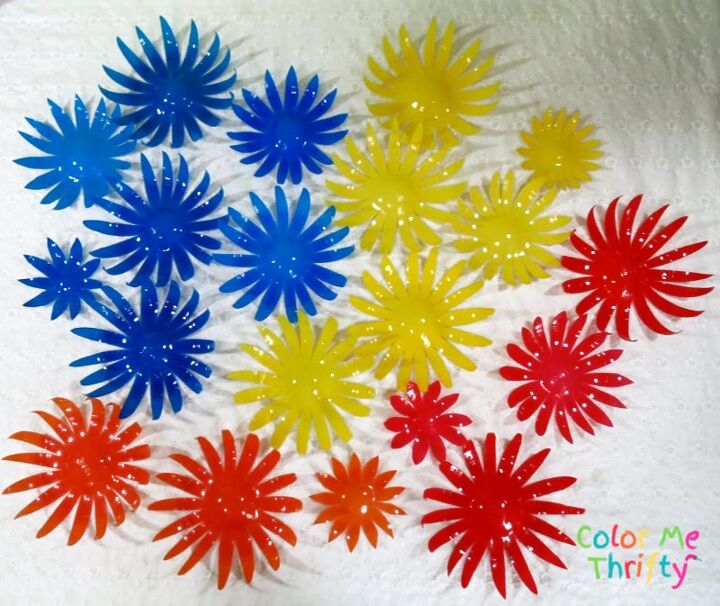
Here are all of my cut flowers. I have to work with the colors that I had.
To create different sized flowers you just trim the petal ends until you get the length that you want.
The three little flowers are made from half a ball.
Once you have your flowers ready it's completely up to you what you do with them.
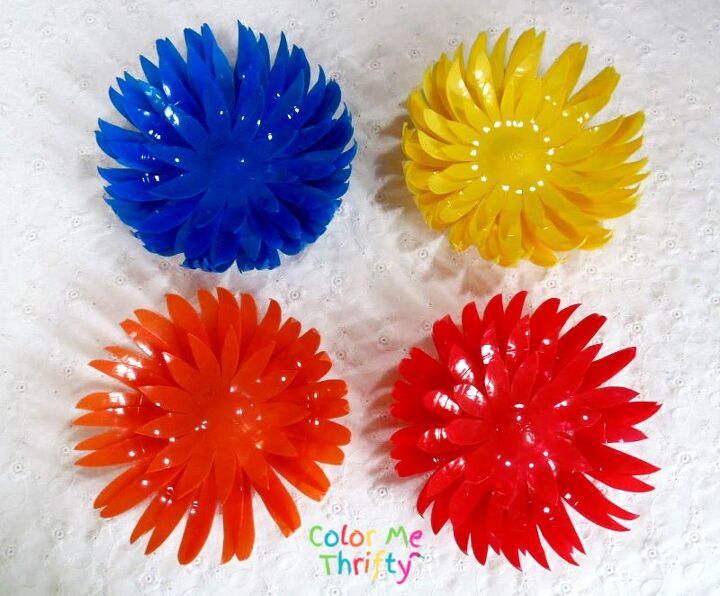
You could create flowers that are all one color.
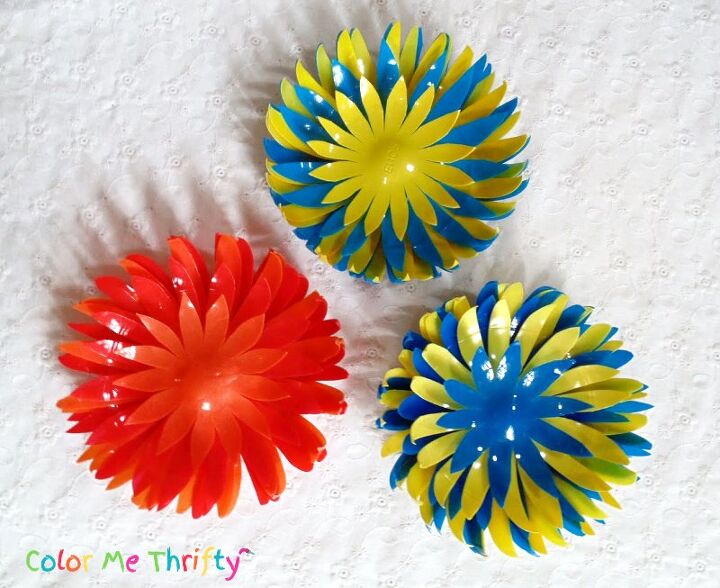
Or mix the colors.
There's really no wrong here, you can stack the layers any way you like.
I decided I wanted my flowers to be varying shades of the same color, and the easiest way to do that is with spray paint.
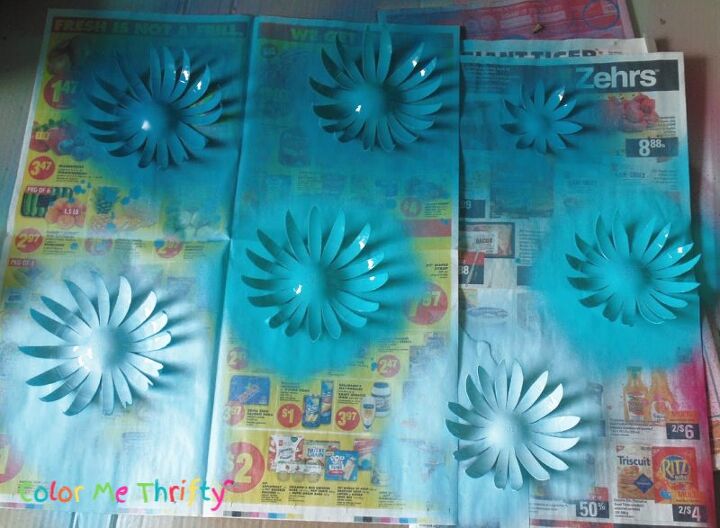
I spray painted the fronts of these flowers with three different shades of aqua blue, using a paint and primer combo spray paint.
Three light coats did the trick.
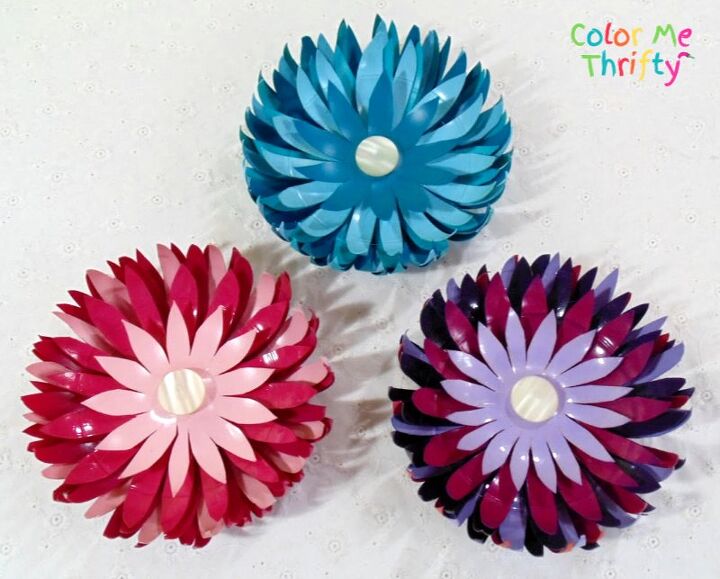
I went on to create a flower with pinks, and another with purples.
When my flowers were done I glued the stacked layers together using my glue gun, alternating each flower layer in a way that looked good to me.
It's important to make sure to get good contact with each layer. If you don't, it might be that middle area of the one on top isn't sitting flat on the middle area of the one below.
If that happens, you just need to snip into the middle of the top flower layer a little more to make the middle area a little flatter.
To finish off my diy flowers I glued on pretty pearlescent buttons, but there are so many things that could be used.
Because I used hot glue these flowers are for inside only.
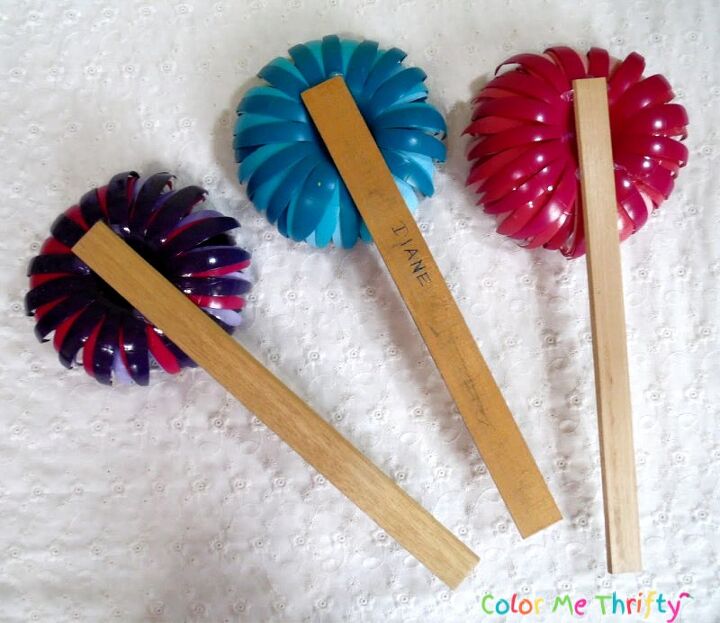
Because I'm using what I already have I glued the flowers onto the ends of some wooden rulers.

And then I glued the rulers in place inside a wall planter thingy on this barn board frame that I've had around for a long time.
After I did this I decided to tie the rulers to the chicken wire frame with some jute twine. I did this just under the flowers so it can't be seen.
If I had thought of that I would have tied the rulers in place first and then glued the flowers onto the rulers, but it still worked out fine.
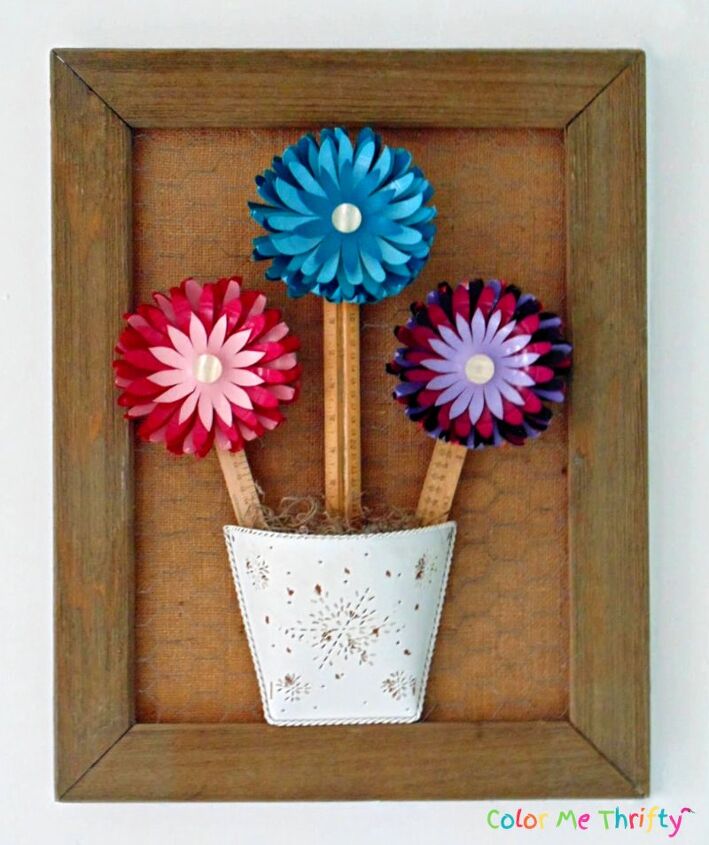
I love the contrast of the barn board frame, and the chicken wire and burlap, with the spray painted plastic flowers.
These flowers are pretty easy to make, and because you can spray paint them they can be customized to any color combos that you love.
If you enjoyed this project you can find more repurposed flower craft projects here.
Resources for this project:
See all materials


Comments
Join the conversation
-
I love these kind if DIY crafts !!!!
Lol I am making a mini BBQ out of a small ball for my husband for Farthers Day
-
Congratulations 👏
This is a very pretty project 🎨 ✂️
I really like it ❤️
Thank you for sharing your bright idea 💡


Frequently asked questions
Have a question about this project?