


You Won’t Believe This Magical Tiny Bathroom Transformation!

The Tiniest of Tiny Bathrooms. A Room that Functions. Clean. Tidy. In Constant Use by a Family of 4.
And Oh, So Boring!
It’s Time to Change It Up. With a Quick and Easy DIY…BUT, I’m Not the Handiest.
What about a Wall Mural??? Oh Boy, Maybe this isn’t a Good Idea.
But then I Discovered Photowall and I was Blown Away!
Photowall – a Swedish Company that Puts the Wow in Large Scale Murals.
The Magic is Real! Photowall!
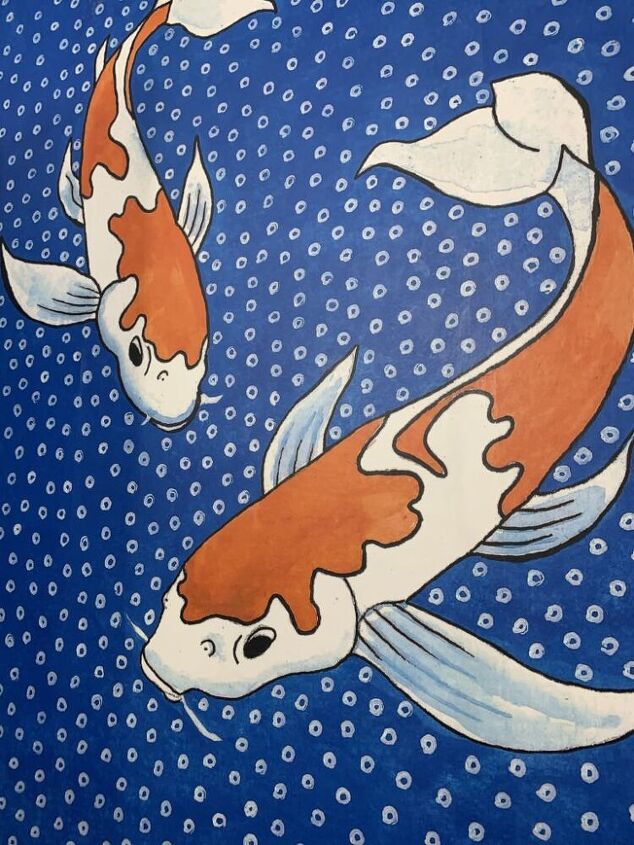
Exquisite Designs and Patterns. From Old World to Edgy. Every Color Palette. Every Genre.
Full Disclosure…The Most Difficult Part of this Project is Selecting Your Favorite Design.
The Choices are Endless. Many Images Truly Took My Breath Away.
I took the Plunge. Found My Design. Measured the Wall. And Placed the Order.
Hello Photowall!
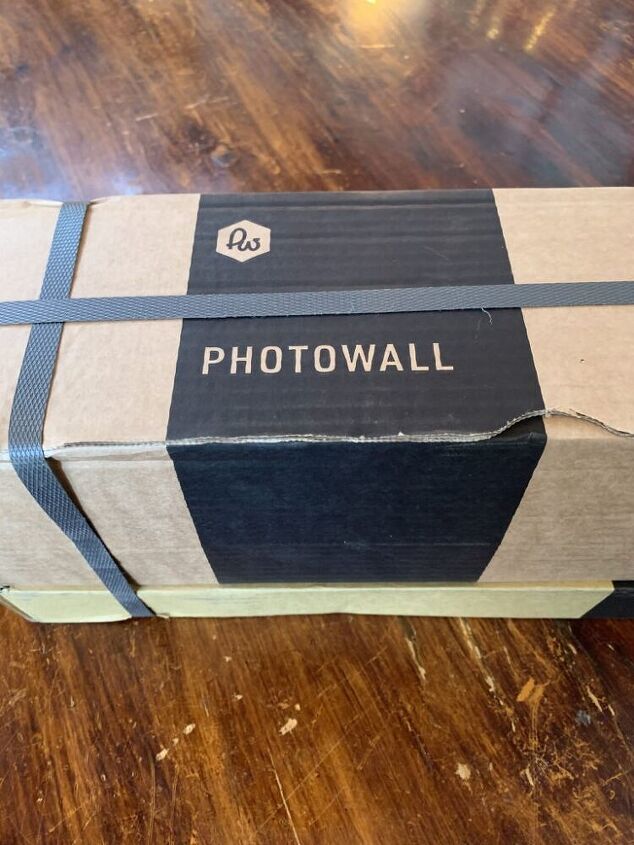
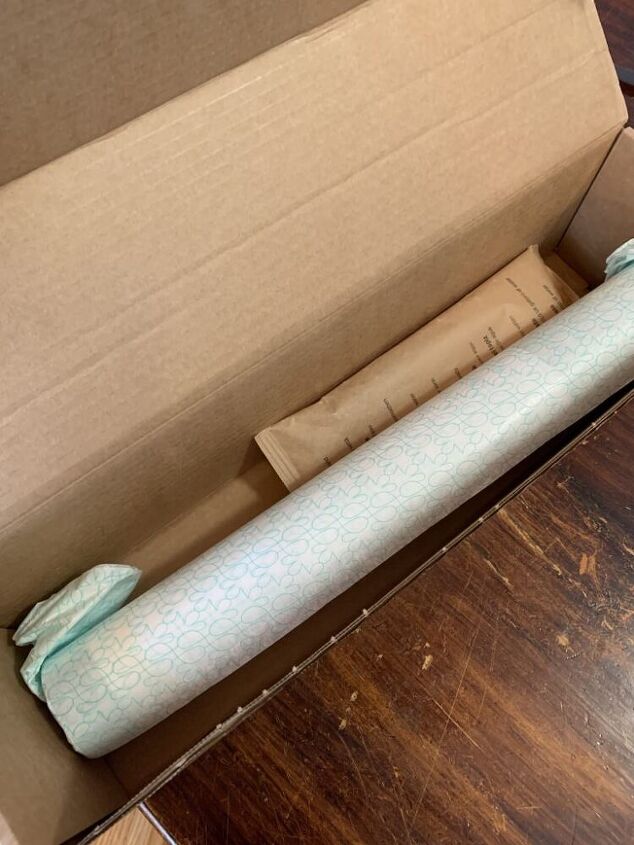
Fast Shipping. Efficient. Well Packaged.
Hometalk Recommends!
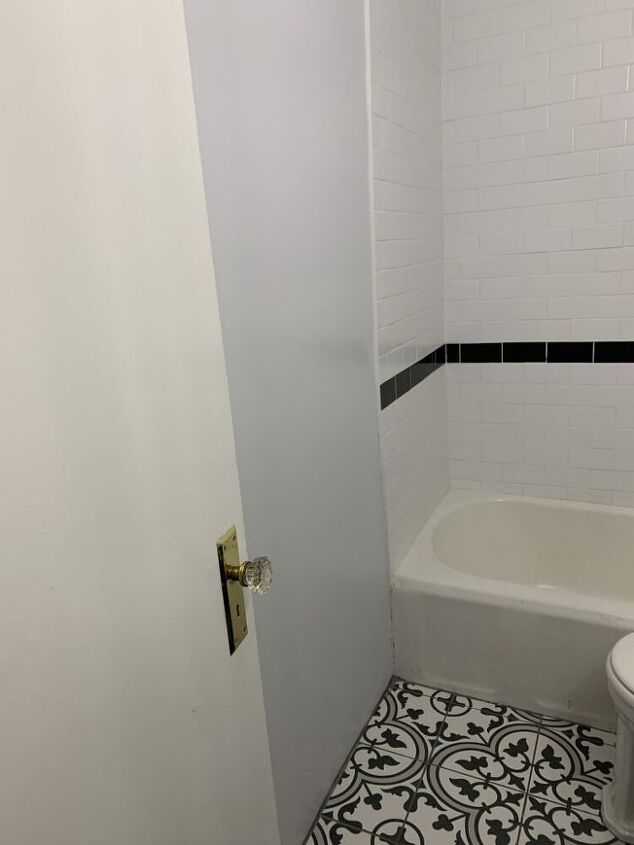
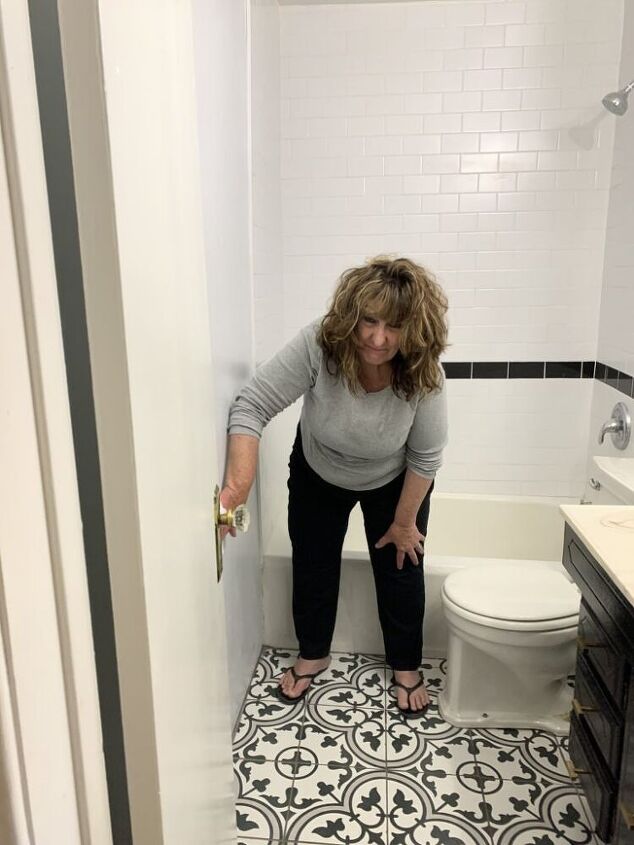
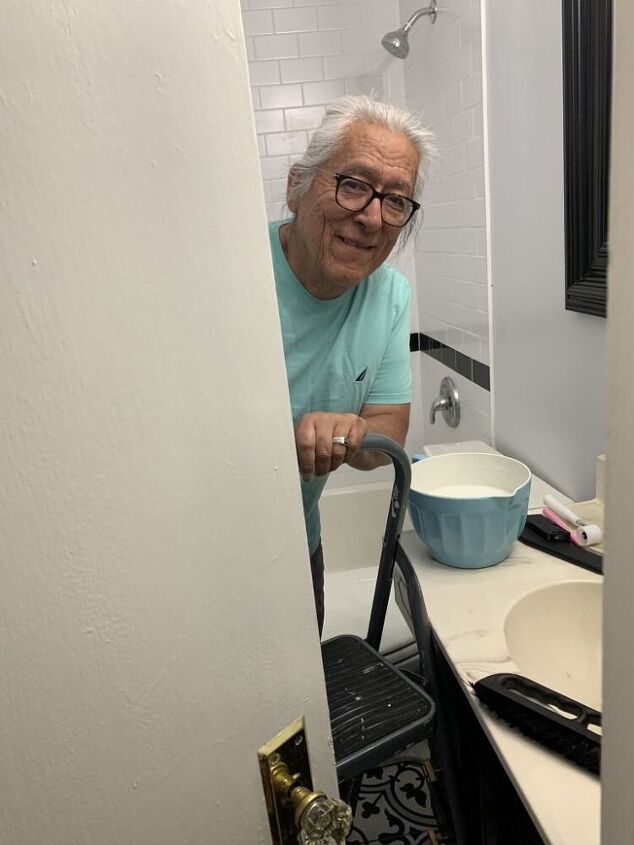
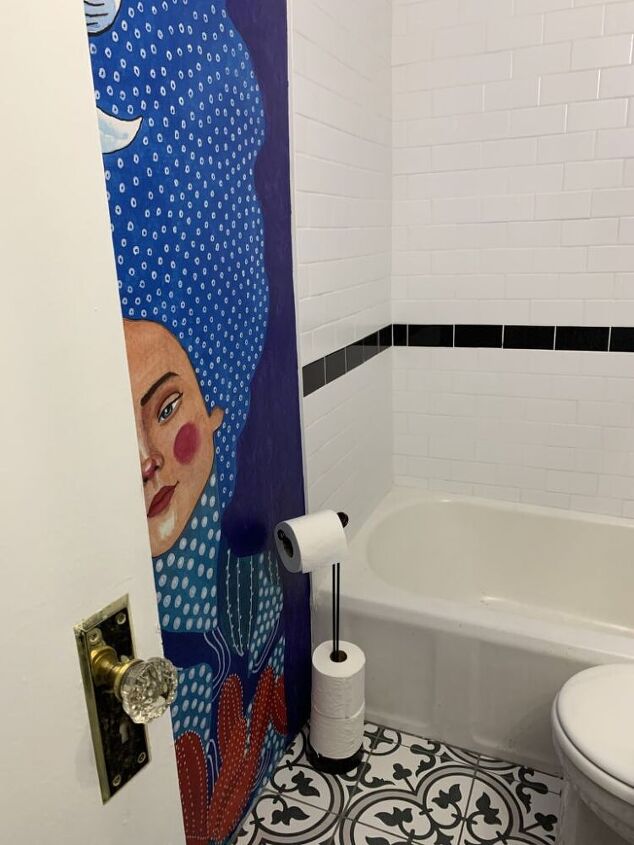
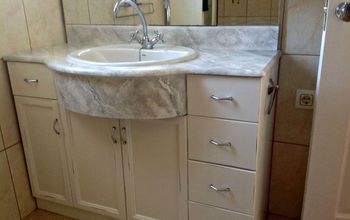
It’s Saturday Morning. Here’s the Room. A Design Challenge “Date”!

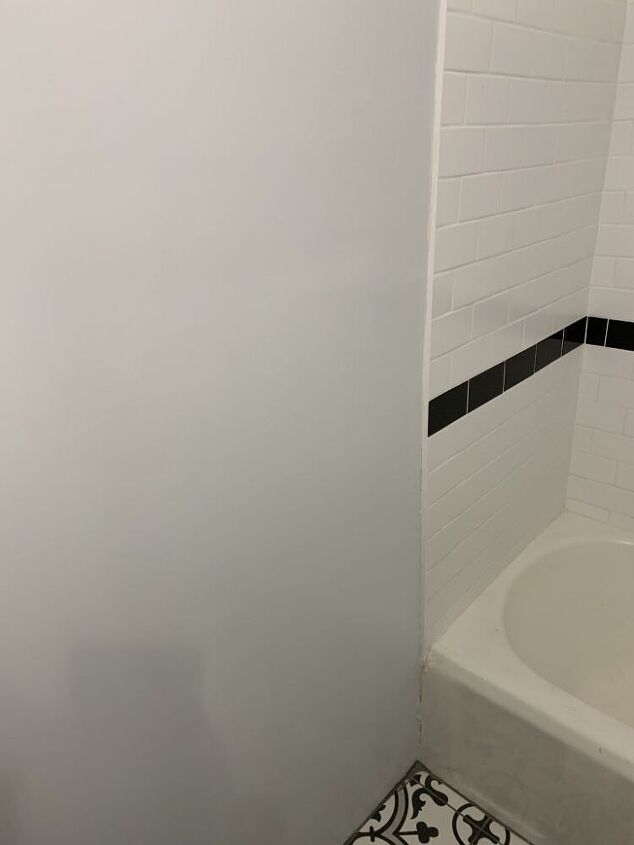
The Goal is Transformation of this Pale Grey Wall. Partially Hidden by the Door.
To Create the Illusion of More Space.
The Photowall Directions on Hanging the Mural are Very Easy to Follow.
Step 1: Preparation. Make Sure the Surface is Smooth and Clean.
Wallpaper Paste. Packaged for Just the Correct Amount Needed.
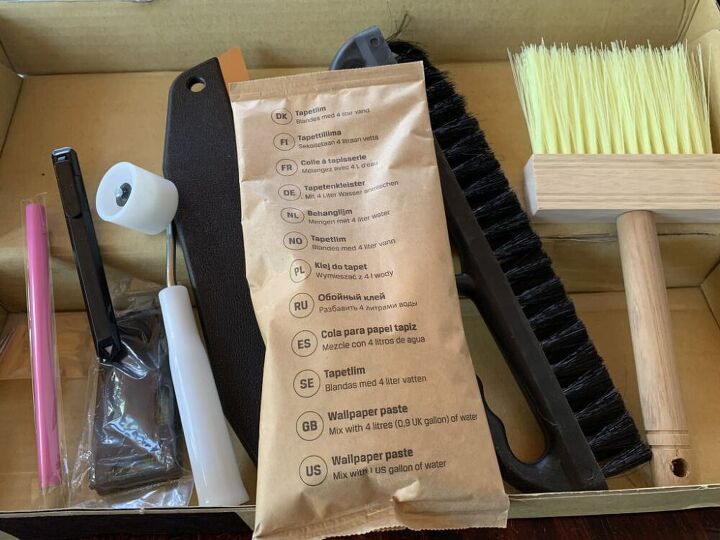
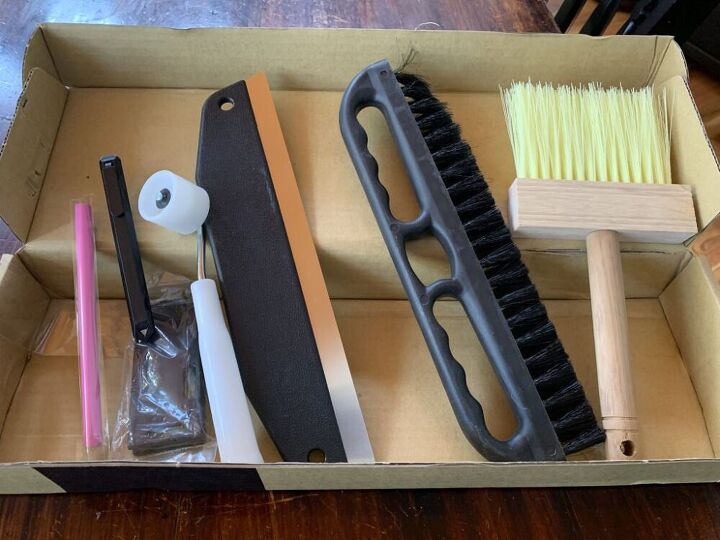
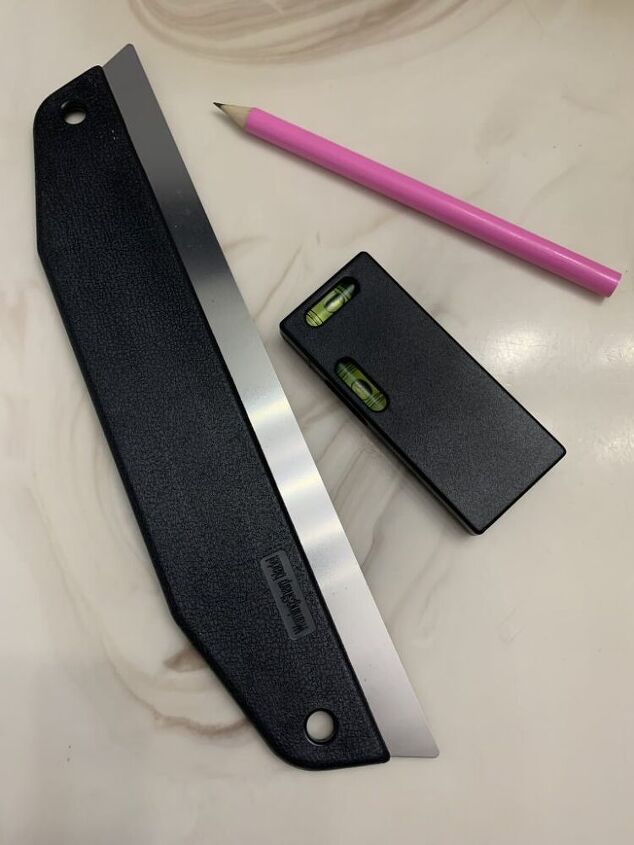
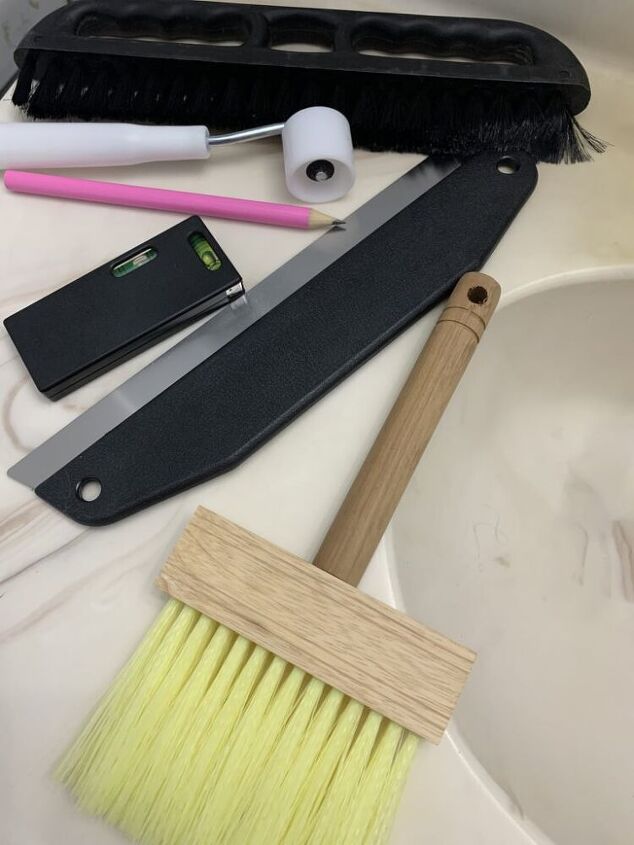
Photowall recommends purchasing the Tool Kit. YES! The Tools make the Job So Very Easy.
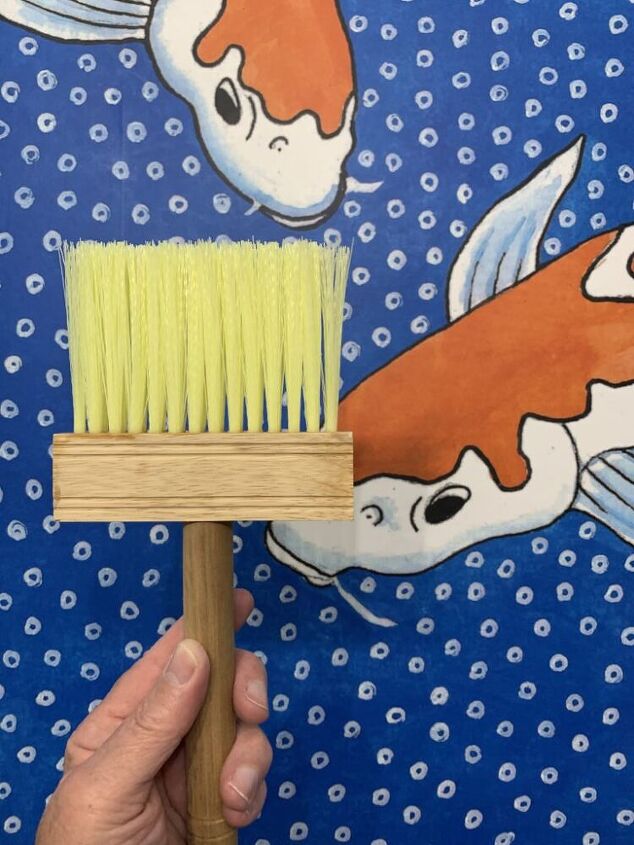
Pink Pencil for Marking the Wall. Knife for trimming. Spirit Level. Seam Roller. Trim Guide. Brush.
And the Gently Wrapped Mural…

Step 2: Check the Wall Mural. Make sure no panels are missing and none have any defects or damage.
All Look Good. The Paper is Substantial and Beautiful Quality.
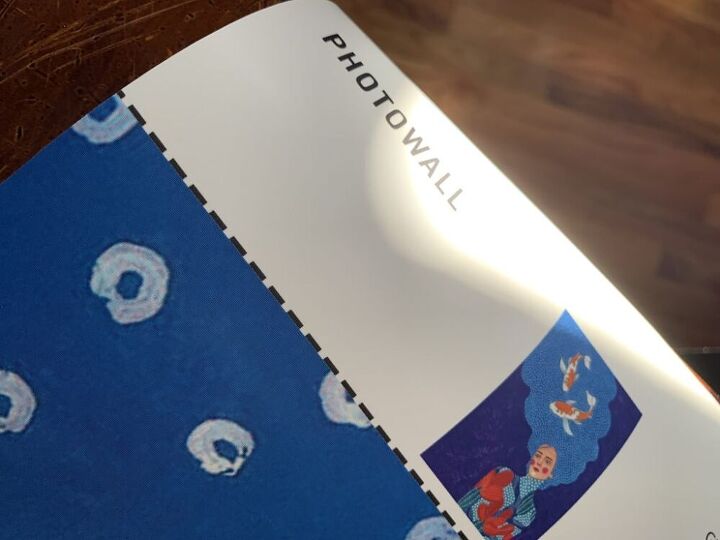
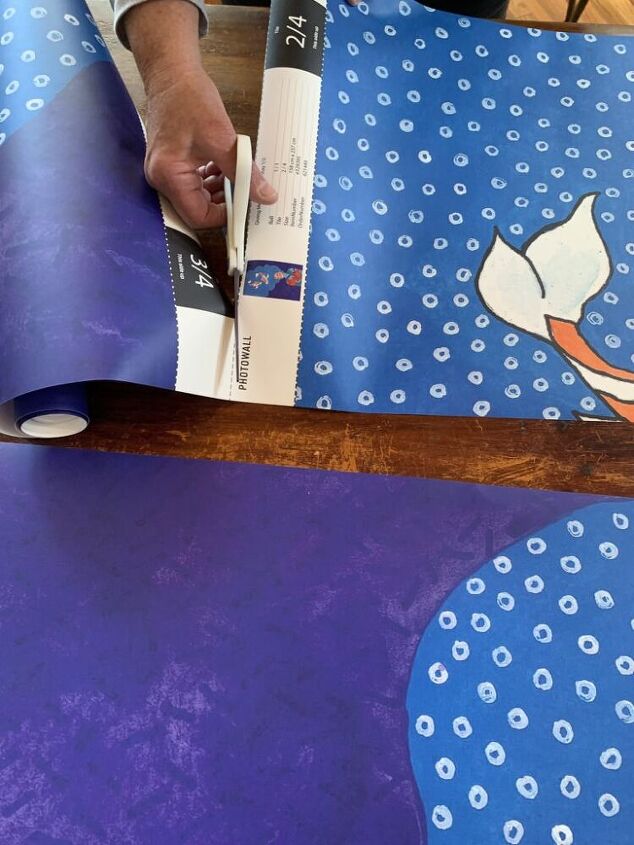
The Panels are numbered at the top in the order they should be hung. Hang from Left to Right.
Cut each Panel with a Scissor. This Design has 4 Panels.
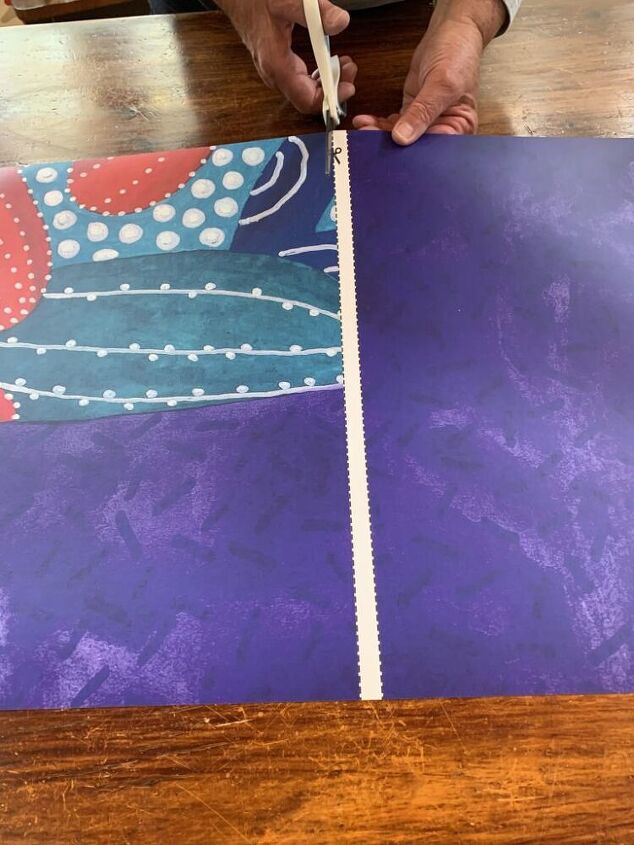
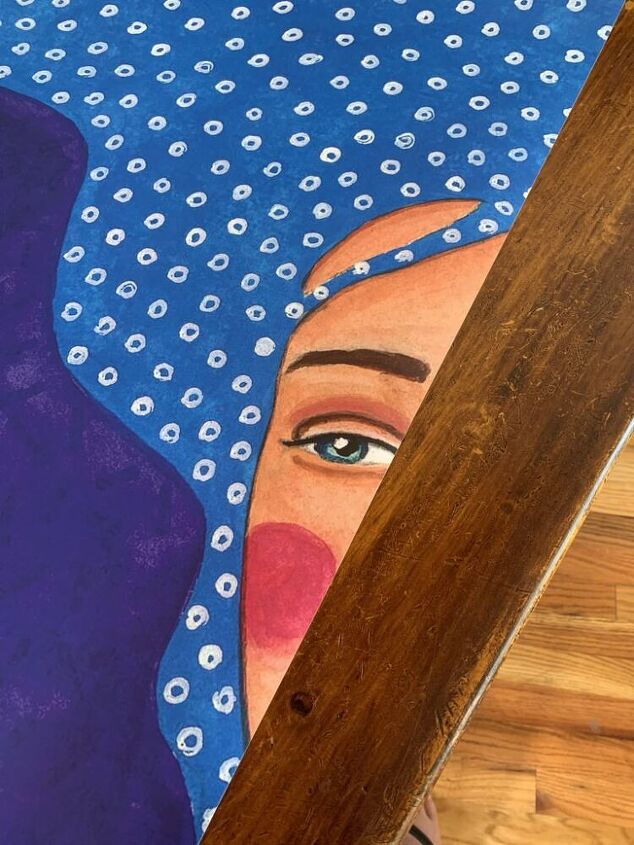
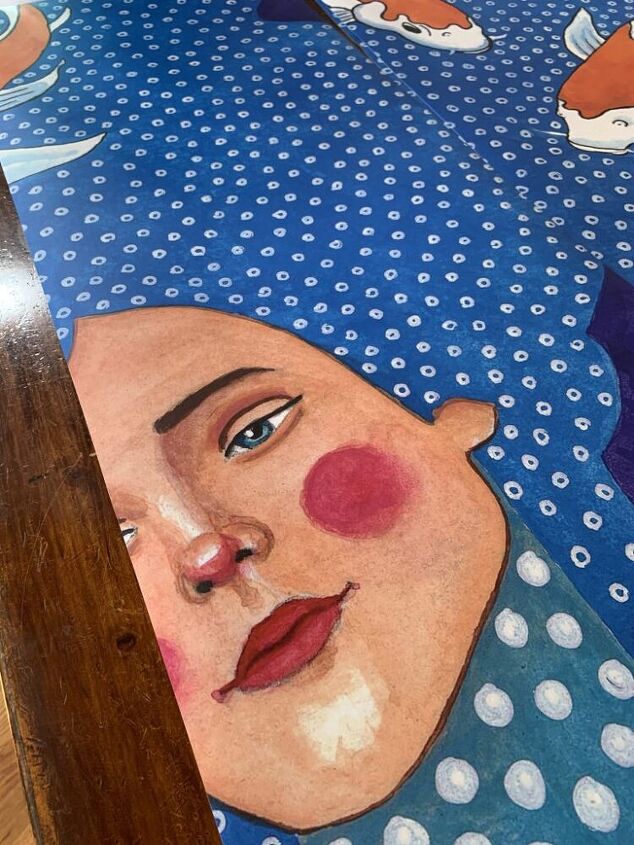
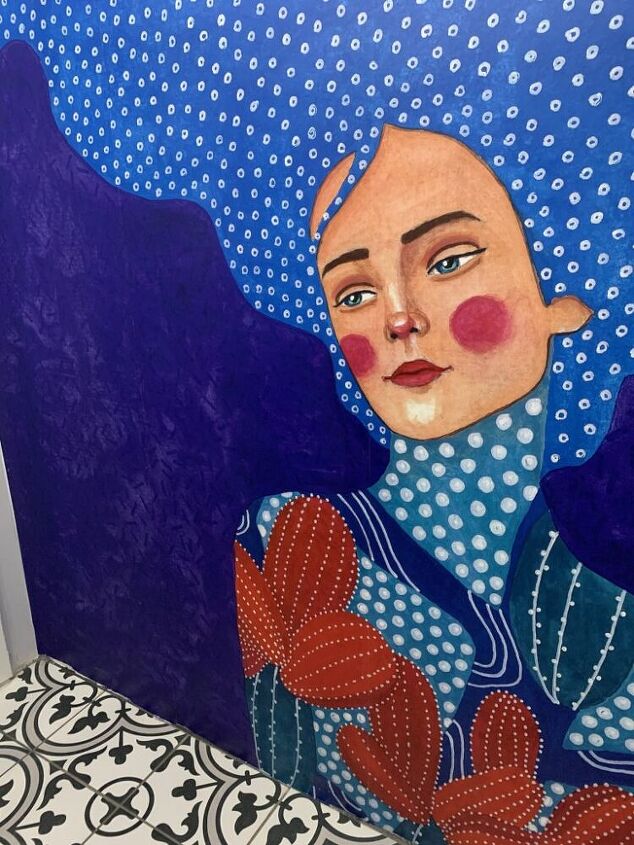
The Design is Beginning to Emerge.

Gaining My Confidence with Each Cut.
The Tools to Measure the Wall for the First Panel.
Make Sure the Panels are Hung Straight. It is vital that the First Panel is Hung Straight.
Staying from the Left on the Wall.
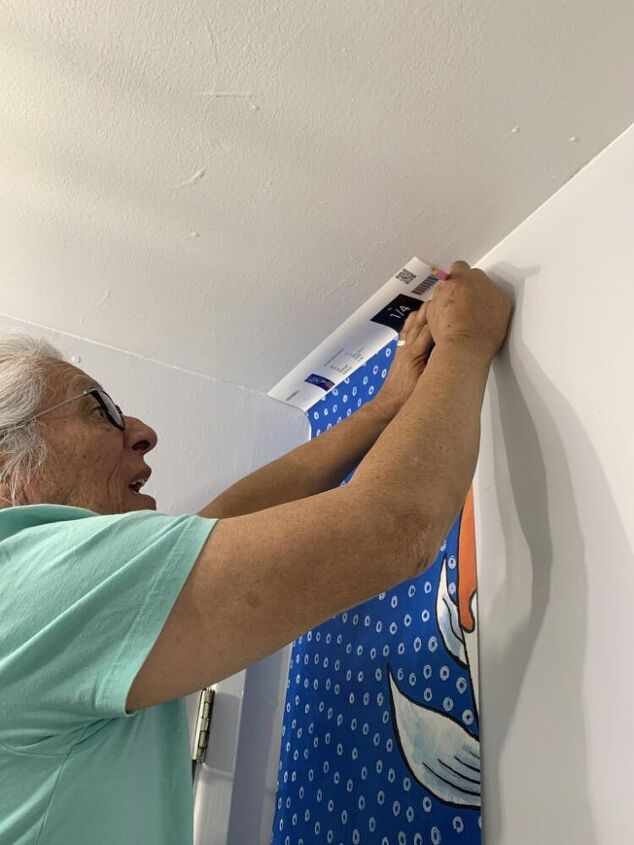
Ready for the First Panel to Go Up.
Step 3: Make Up the Wallpaper Paste.
Fill a Clean bucket with a US gallon of lukewarm water and slowly add the paste powder while stirring briskly.
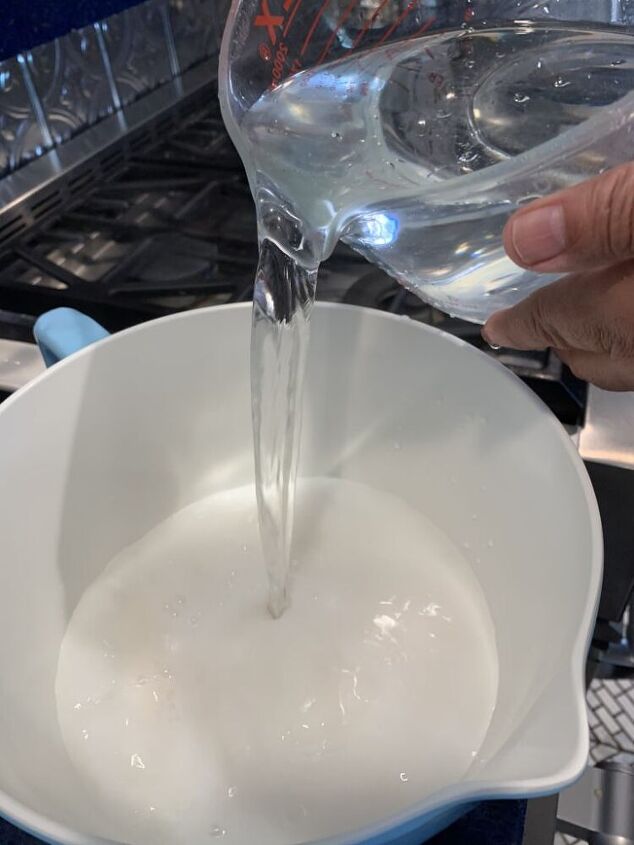
Leave the Paste to stand for 5 minutes and stir again. The Paste is now ready.
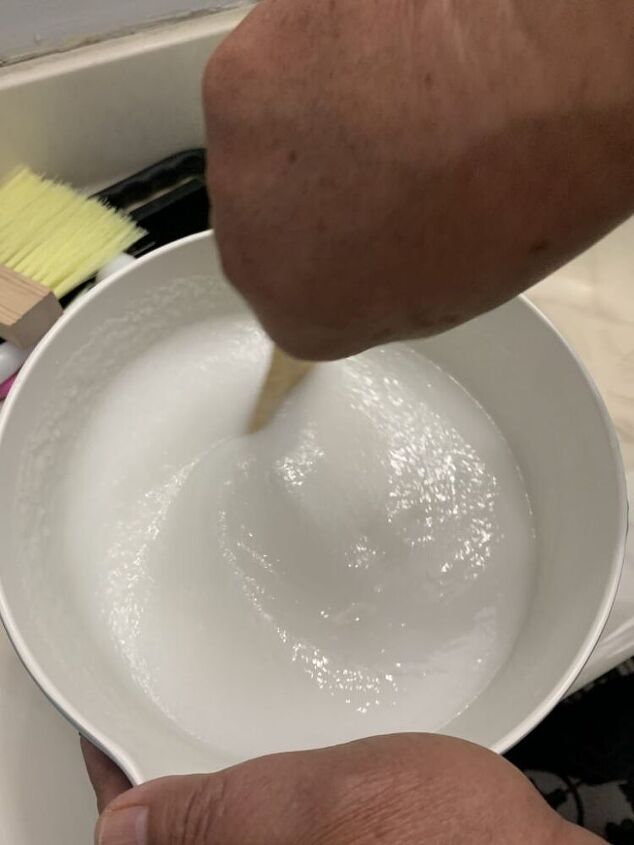
No Turning Back Now!
Step 4: Apply the Paste Directly to the Wall. We used the Brush. It’s important to cover the whole area with paste. Apply the paste approximately one panel width in advance.
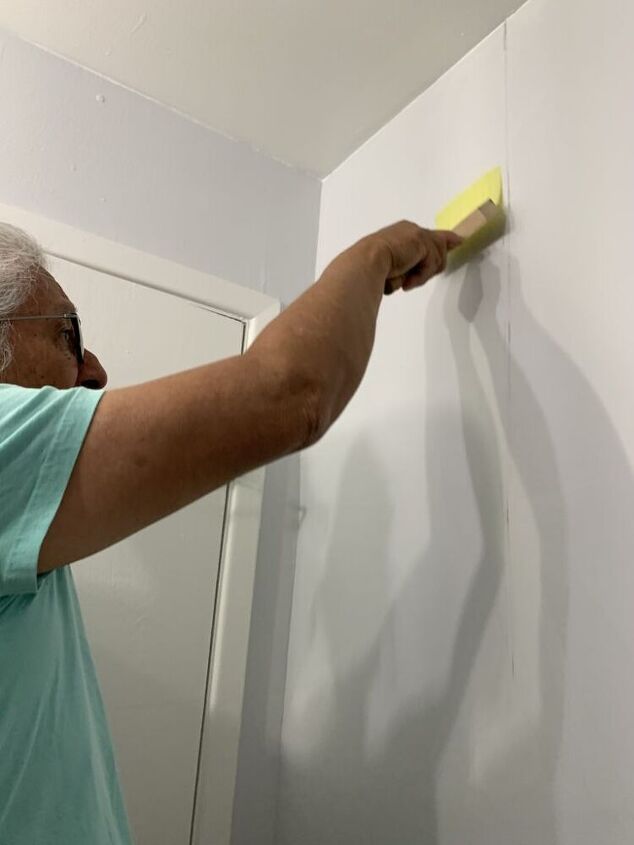
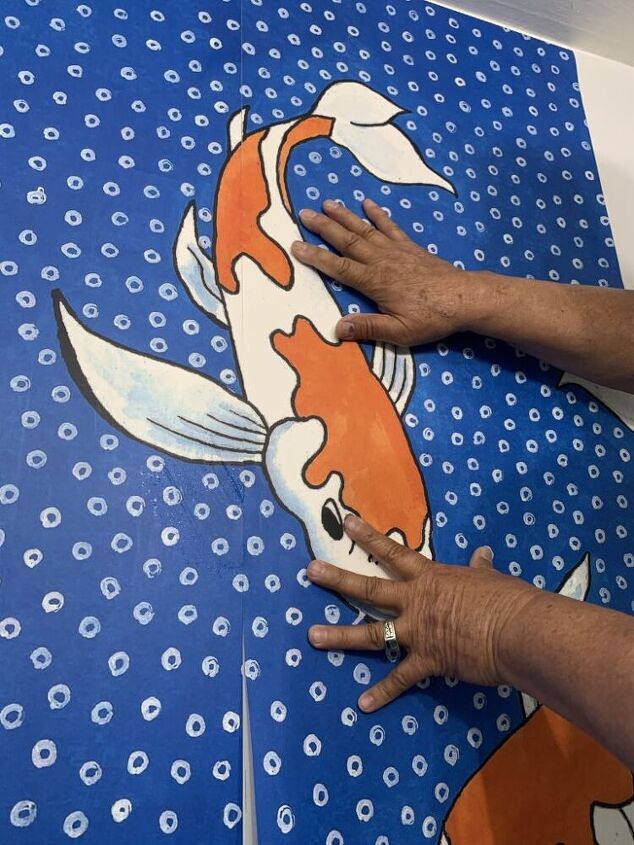
Step 5: Smooth down the Panels from Ceiling to Floor.
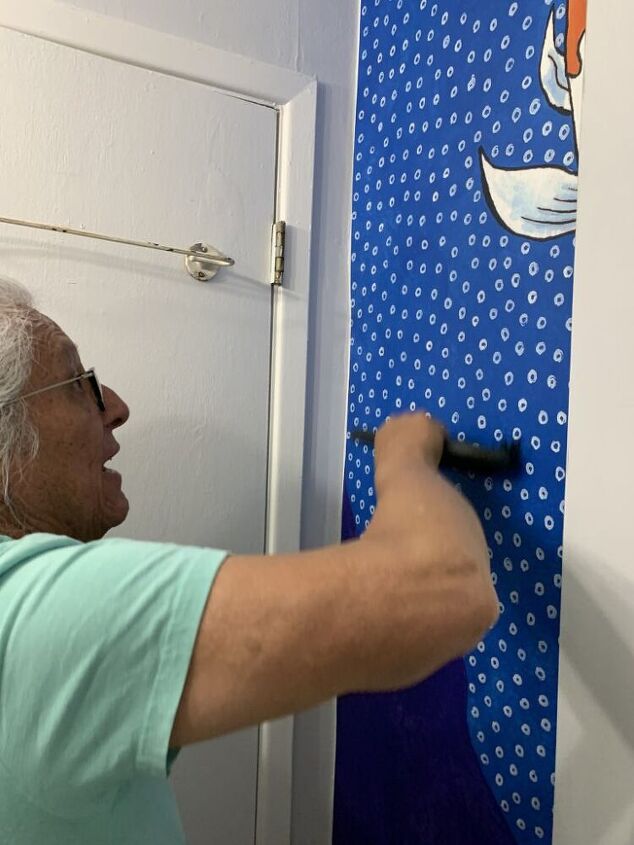
Step 6: Hang the Panels Edge to Edge. The Panels should not overlap.
Panel #3 of 4 is Up. This is Fast!
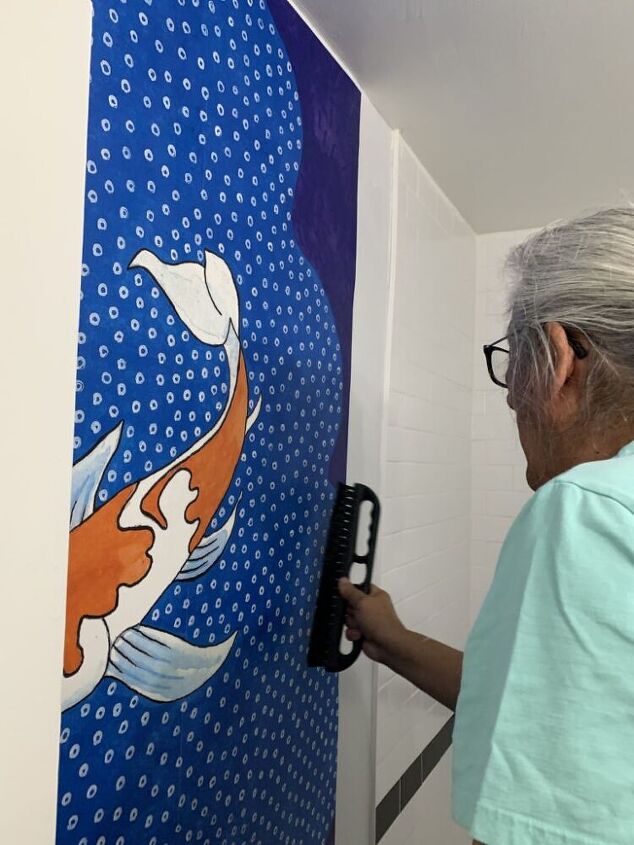
Step 7: Take care to press the panels together firmly at the seams. Use a Seam Roller for the best results.
This Seam Roller is Pure Magic…the Seams Disappeared! Happy Giggles All Around!
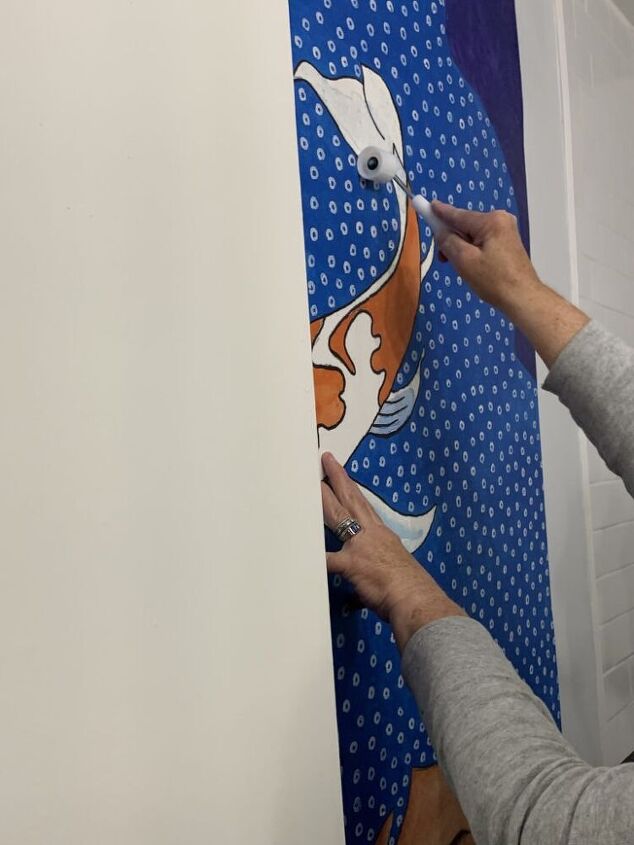
Step 8: Trim Off the Excess Paper. Top and Bottom.
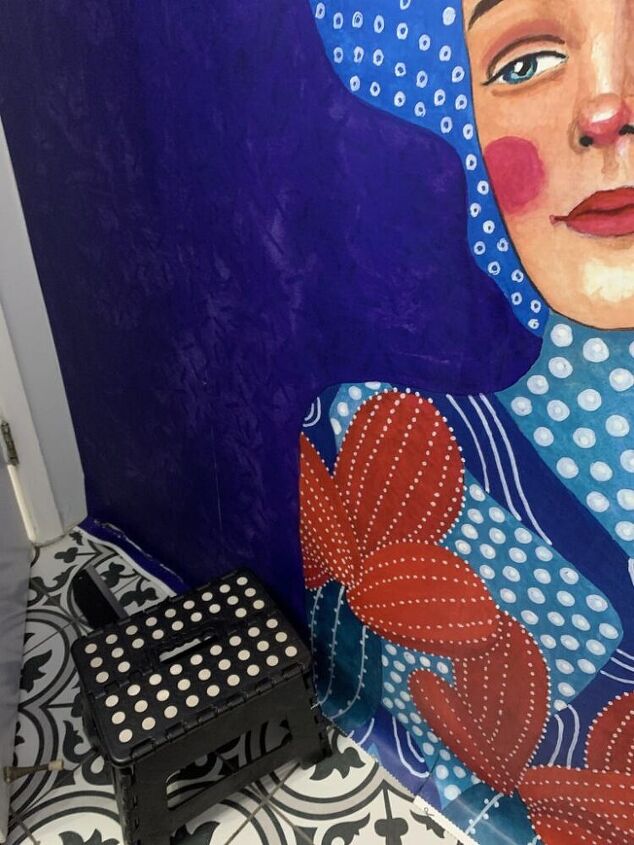
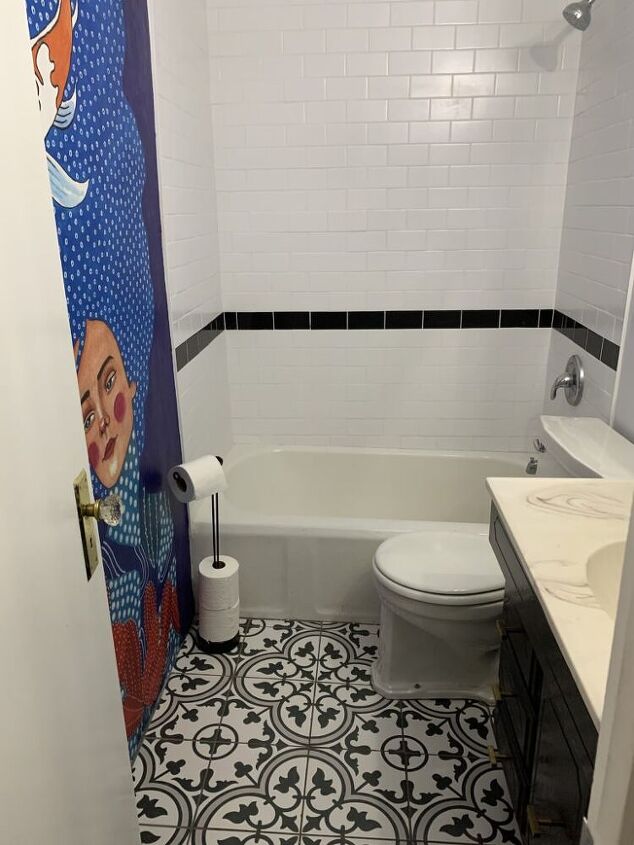
The Transformation is Complete. 2 Hours from Start to Finish.

Never Hung Wallpaper??? No Problem! Photowall Makes You Look and Feel Like an Expert.
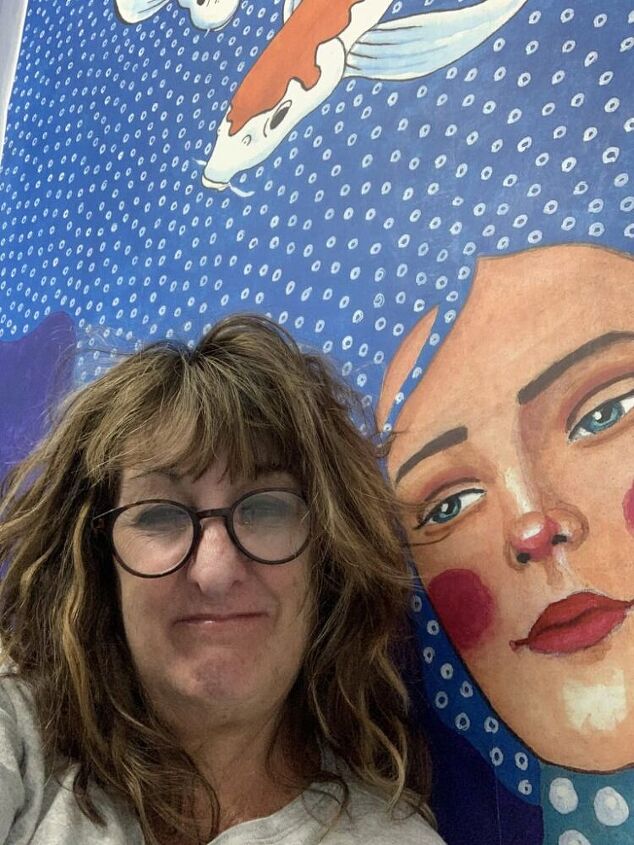
“Giving Me a Reason to Stay” by Photowall.
A Tiny Bathroom Transformation. Effortlessly Completed. With Design Wow Results!
Inspiration!
Magical!
Thank You, Photowall – Art for Passionate People!
You are Invited to Try Photowall and Get a 25% Discount on Anything You Order…Here’s the LINK.
Filled with Magic!
disclosure: affiliate links are used in this post. If you make a purchase through my links, I receive a small commission at no additional cost to you. Thank you for supporting Doodle T and Me!
This is a Sponsored Post by Photowall. All Opinions and Photographs are My Own.


Comments
Join the conversation
-
Can't wait to try this.
-
Hi Jg - so glad you like this project - have fun with it! Jeanne of Doodle T and Me!


Frequently asked questions
Have a question about this project?
Very cool; love it. Question though - you said you got the mural at Photo Wall but the link for murals took us to Amazon? Guess all roads lead to Amazon ha ha. I found the Photowall website so worries. Just curious why a link to Amazon instead of Photowall
And when you take a shower and the bathroom wets, it continues ok o it detaches?