


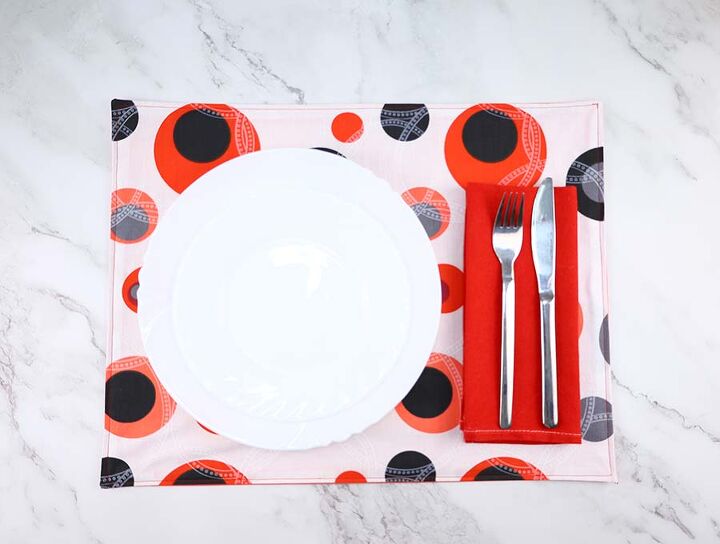
DIY Reversible Placemats Tutorial
Placemats can instantly turn your dining table into a classy dinner table, as long as they are stylish and professional looking.
Finding such placemats is hard, but making them isn’t! It’s easy, fun, and doesn’t take much time.
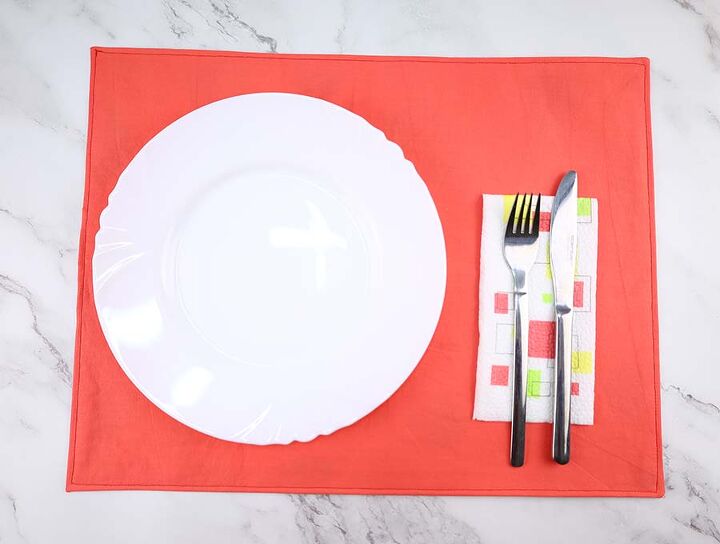
This project is ideal for all of you who love combining stylish with useful because these diy placemats don’t just look good, they also provide a little something extra. They are reversible, so you make one, but get two! Just reverse them and they’ll turn into a different one entirely!
The best part about them is that they’re easy to make. Here’s how.
Cut the fabric
Cut out two pieces, one from each fabric, measuring 18 x 14 inches in size. Cut out one piece of interfacing, measuring 17 x 13 inches.
Stack the layers
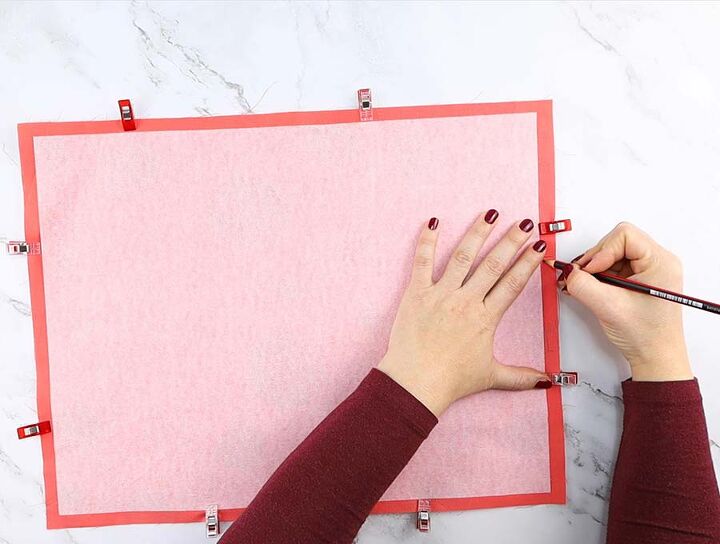
Set one piece of main fabric onto your workspace with its wrong side up. Place the interfacing on top, with the bumpy side facing down. Make sure that the interfacing is centered on the main fabric piece.
Use your iron to fuse the interfacing to the fabric.
Place the two fabric pieces onto each other, with their right sides facing inward.
 To see this in action check my step by step DIY placemat tutorial over at HelloSewing.com
Sew the placemat
Align the edges of two fabrics and pin them together. Sew all around with a half-inch seam allowance. Leave a gap of two or three inches open for turning the whole thing inside out.
Clip the corners.
Finish the reversible placemat
Turn the placemat inside out and push out the corners with something pointy.
Press it flat with your iron.
Topstitch all around with a quarter-inch seam allowance. You’re done!
Did you like this tutorial? Go ahead and try making a reversible placemat for yourself. Then come back and tell us how it turned out, we appreciate the feedback! Enjoy your new placemats!
Resources for this project:
See all materials


Comments
Join the conversation
-
Your sewing tutorials are great!!


Frequently asked questions
Have a question about this project?