


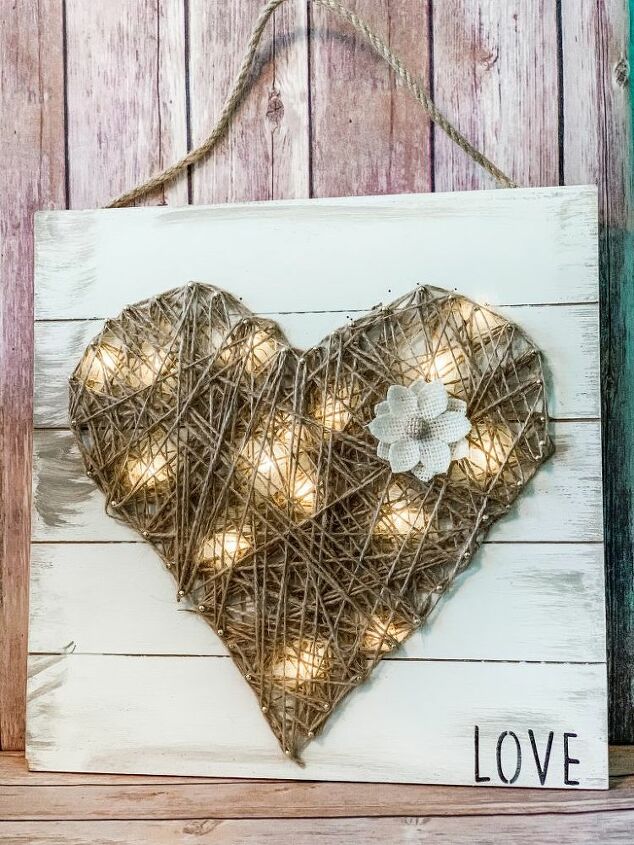
Rustic String Art Heart
This DIY is quick and easy to put together and makes such a statement. I can bet you have most of the supplies in the craft room.

Supplies you will need
- Board- I used a board I got off clearance at Big Lots
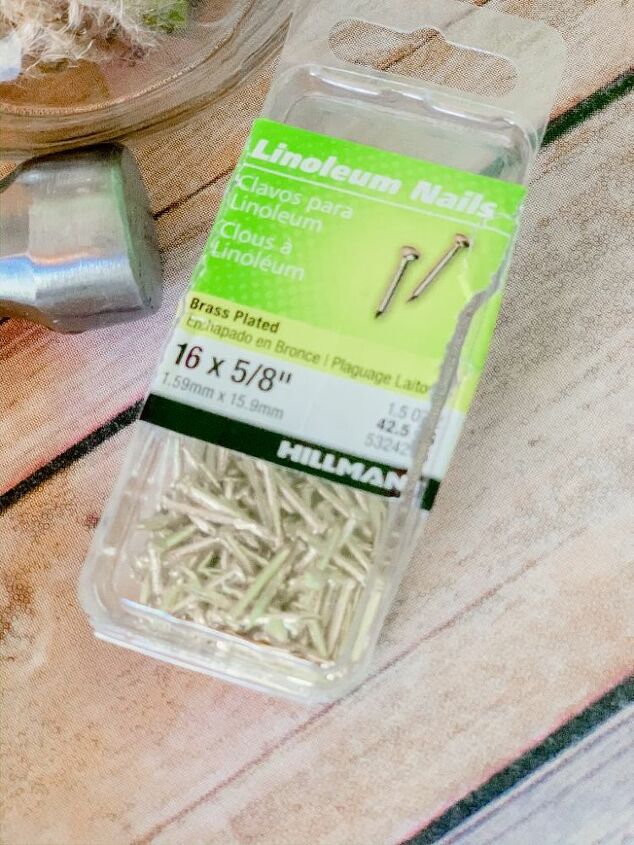
- Nails- Lowes 5/8 - that was because my board wasn't very thick , use what works best for you
- Twine
- Heart template- I simply used a Dollar Tree and cut it out of tissue paper
- Battery Operated Lights - Walmart or Dollar Tree
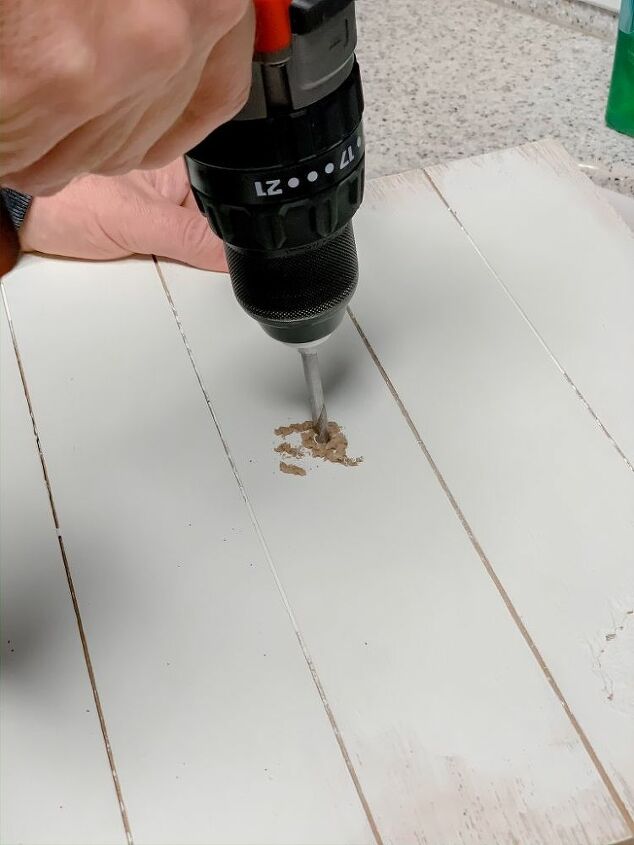
Steps to make this DIY Rustic String Art HeartStart by prepping your board. Now, mine had a design on there so I painted it with 2 coats of Waverly Plaster Chalk paint. If your board is ready to use you do not have to do this step.Once the board is prepped you will need to drill a hole in the center for the lights. Drill your hole large enough to pull the lights through.
I just scattered the lights and taped them to the board, before adding the twine.
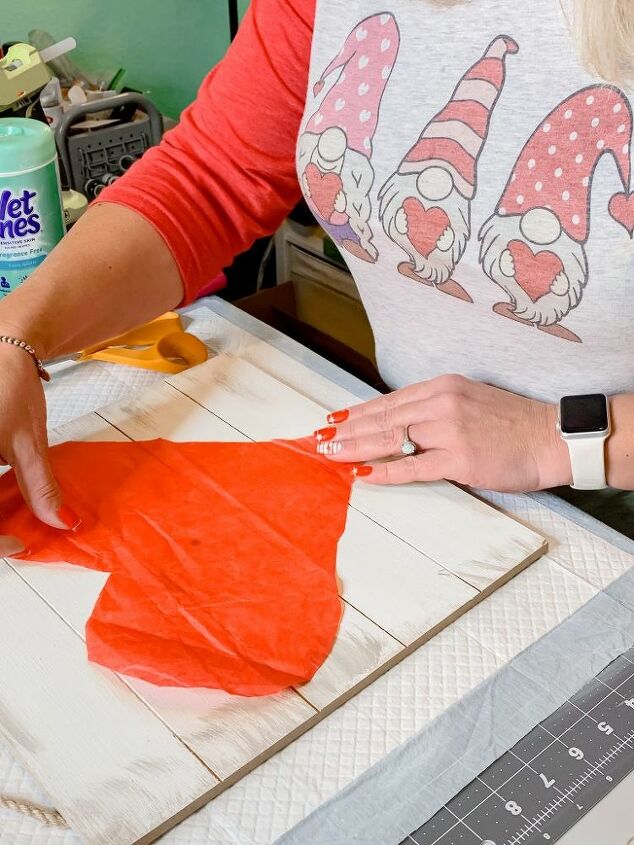
I then moved on to the heart. I cut mine out of tissue paper because my heart was larger than a standard size paper. The beauty of this DIY is that you can make it any size that fits your board.
Once the heart was cut out, I placed it on the board and taped it down. After that, you can move on to putting in the nails. Use the heart as a guide and hammer in the nails around the entire heart. There's no measurements here, I just eye balled them and just kept pounding away. Do not pound the nails in fully, you are leaving enough of the nail showing so you can wrap the twine around it. Before we start wrapping the twine make sure to pull the lights through the hole, scatter the lights and tape them down to the board. You can see how I made this Rustic String Art heart
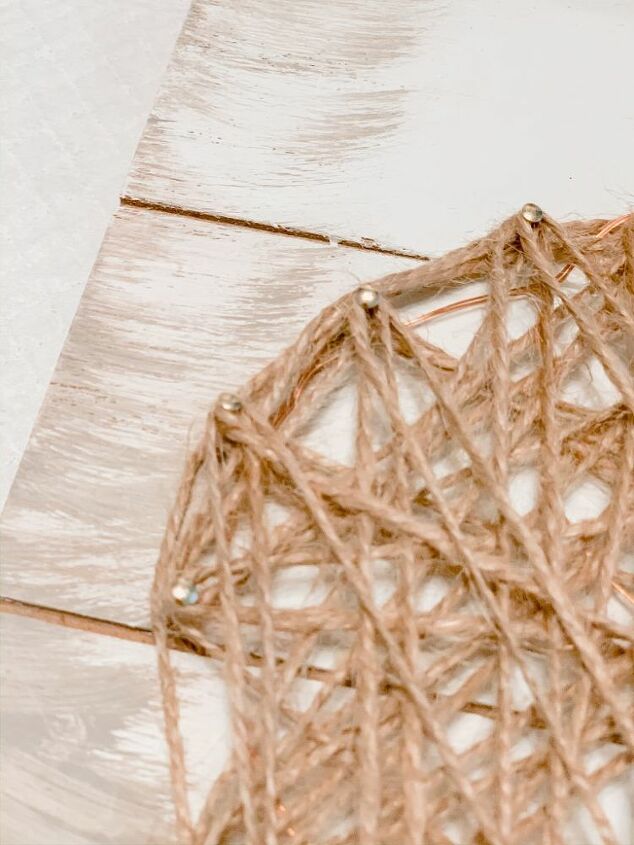
Now the fun part of making this DIY rustic string art heart
To start you will need to tie a knot with the twine around one of the nails. It doesn't matter where you start. Wrap the twine around the nails as you move down the heart. I did this to outline it, once I did that I just started going in all directions.
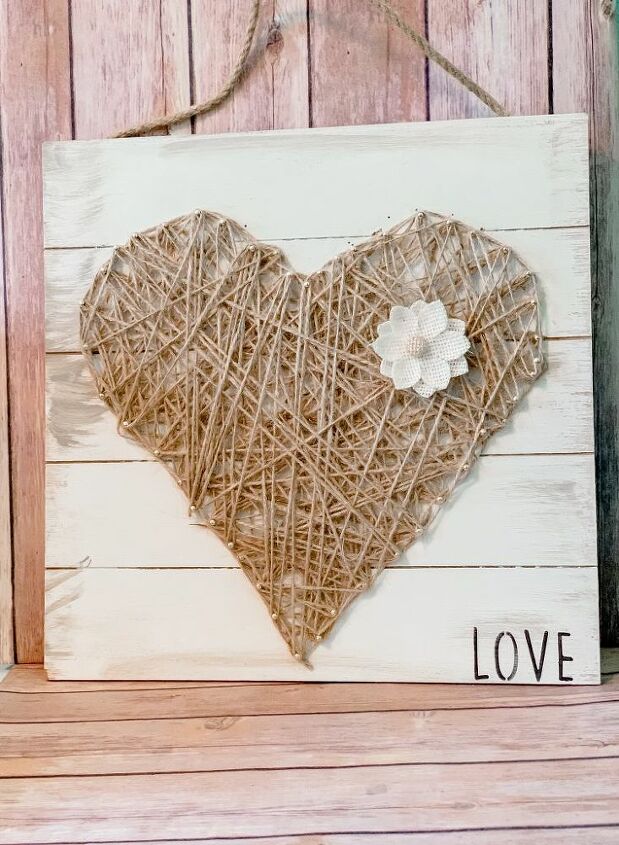
Now to even make it more unique, add any embellishments you have on hand. I simply added a pretty burlap heart I got from Amazon then added the word LOVE using
This piece can be displayed all year! I hope it inspired you to give it a try.


Frequently asked questions
Have a question about this project?
What kind of lights did you use? This came out great!