


An “EGG-cellent” Way For Little Hands to Dye Spring Eggs

 Everyone knows that there are a myriad of ways to color Spring eggs. We have tried many of them over the years, but, for our kids, none of them grabbed their attention quite like the tried and true method of dunking & dyeing. I think it must have been something about witnessing that (what probably seemed to them at the time) miraculous color change when those once boring white eggs were pulled from their dye baths sporting all of those beautiful spring colors.
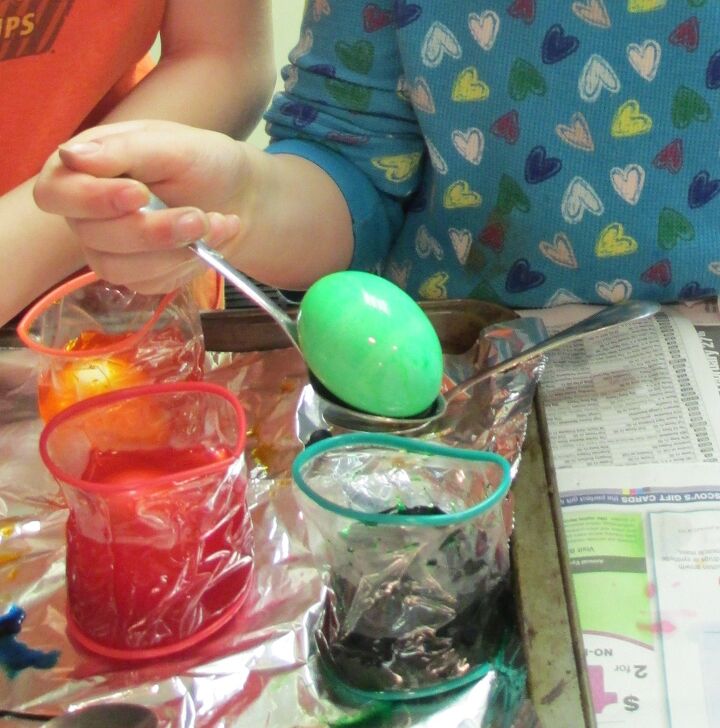
We have used a few different tools to dunk our eggs over the years, like large kitchen serving spoons.
These pincer tools can work well, but if the child has not mastered a task like cutting with scissors yet, using these can be a challenge.
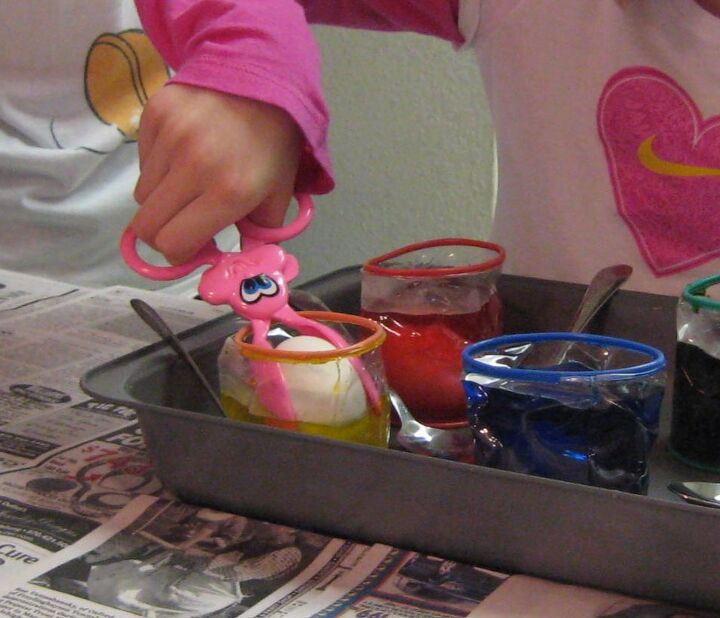
There are also other little “tools” that sometimes come with those pre-packaged egg coloring kits that we have tried, but they worked marginally well at best, and only for bigger kids. (Notice that I am the one manning that tool while the kids watch.)
These methods are pretty easy for older kids, as their hands are bigger and their motor control is good.
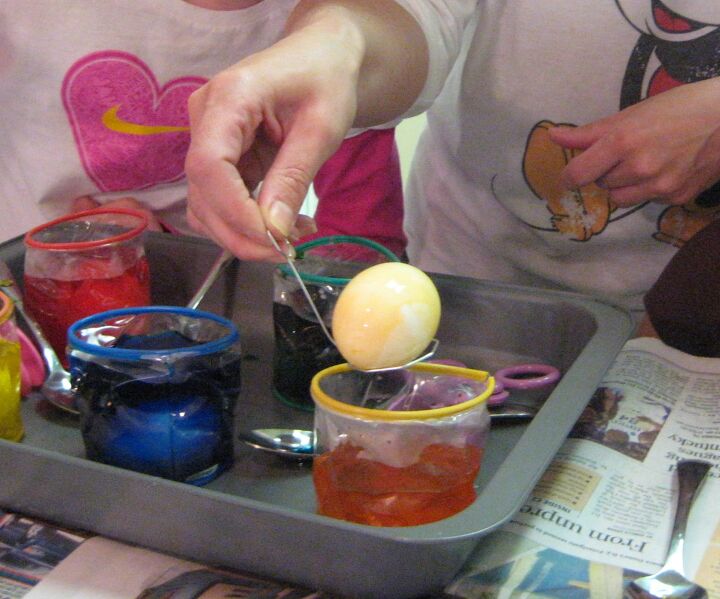
 However, for little ones with little hands dunking eggs in dye presents the simultaneous challenges of handling those tricky-shaped eggs so they don’t get dropped accidentally or handled too roughly and crack, and keeping the possible mess in the kitchen and on the kid(s) to a minimum. (I would say “eliminate” the mess, but, come on, a little bit messy can be a little bit fun!)
If this method of egg coloring is your choice, here is a way to make it much easier for little hands and a lot less messy for you.
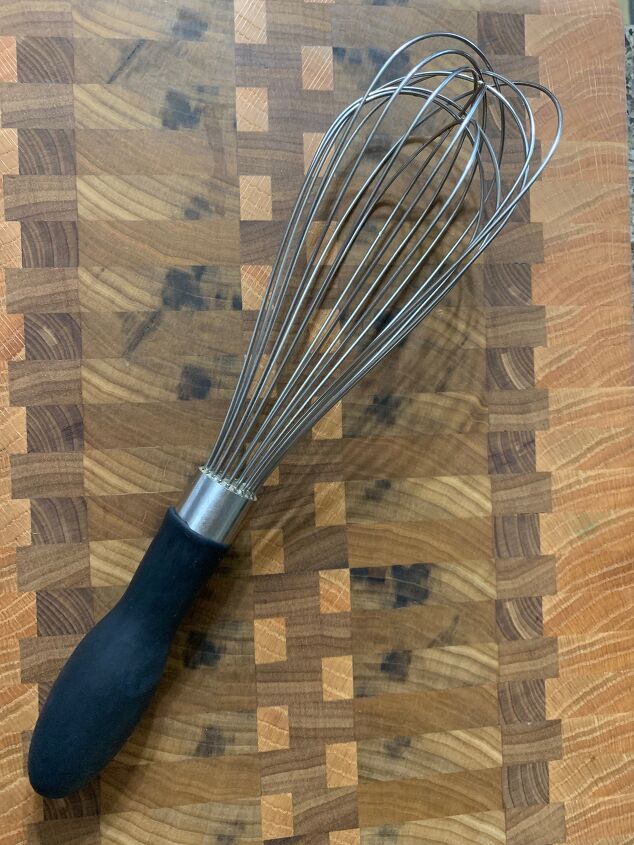
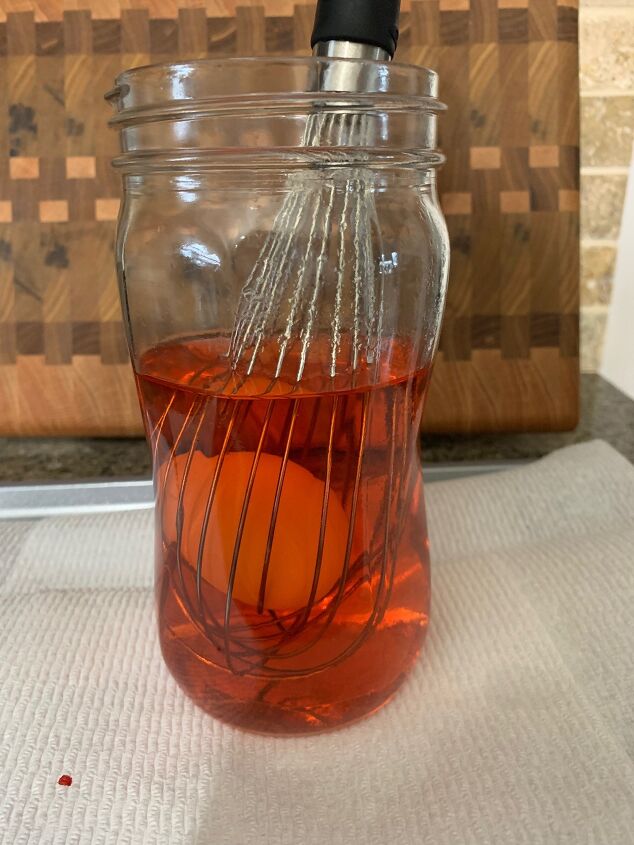
Get your kitchen whisk.
Prepare your surface, your kid(s), your eggs, and your dye.
Take the whisk, spread apart the wire, and put a hard boiled egg inside.
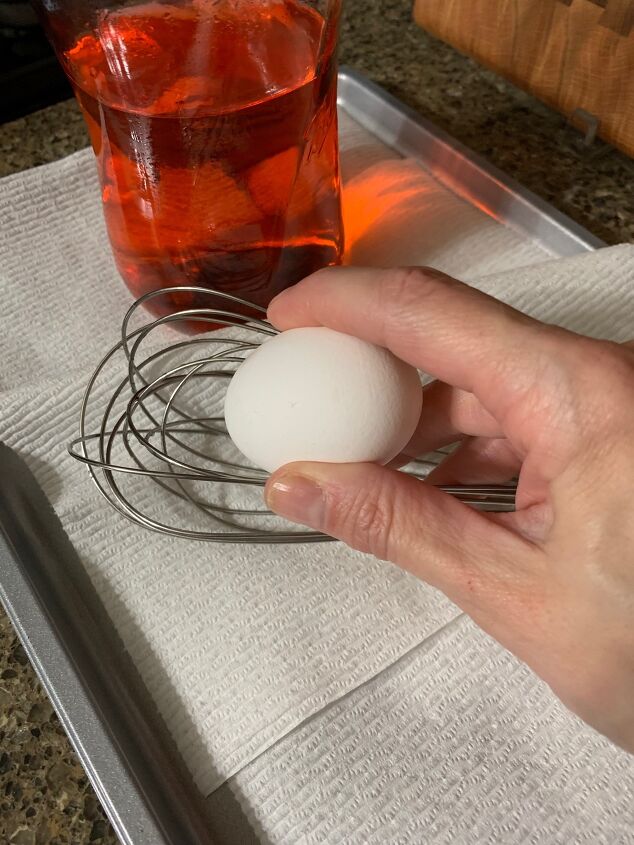

Hand it over to your little one.
 Now there is a sufficient handle for little hands to grip. Additionally, there is no balancing necessary to keep that tricky-shaped egg from falling on the floor and no handling of the egg itself or the dye.
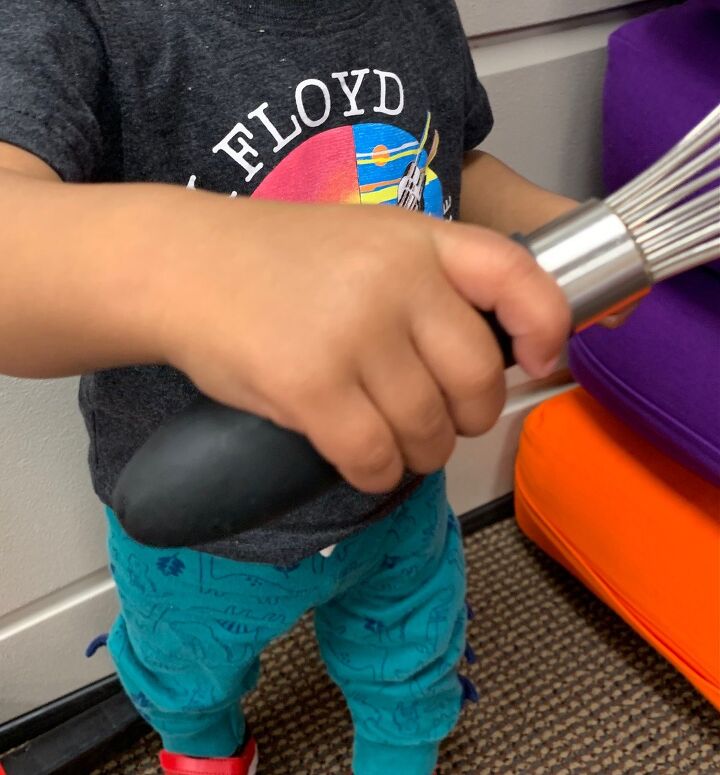
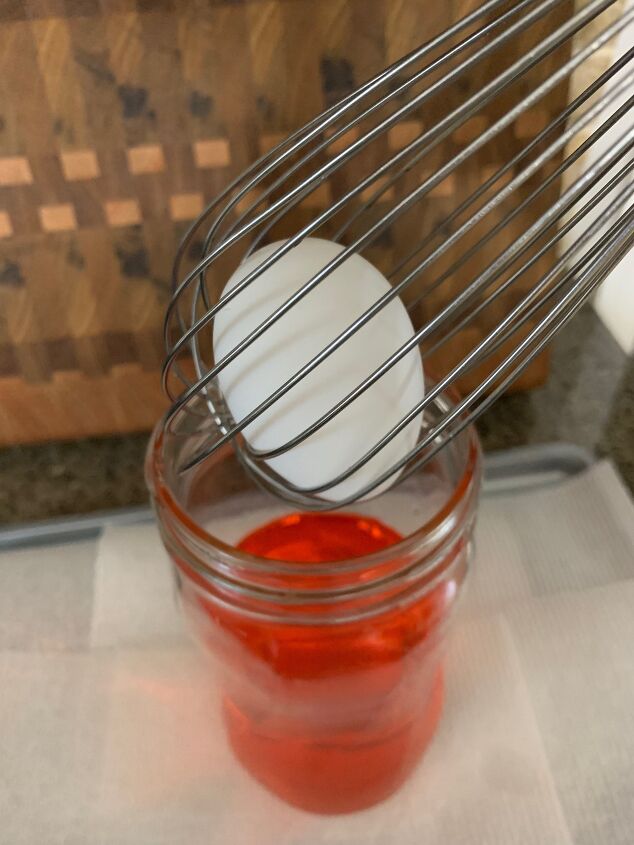
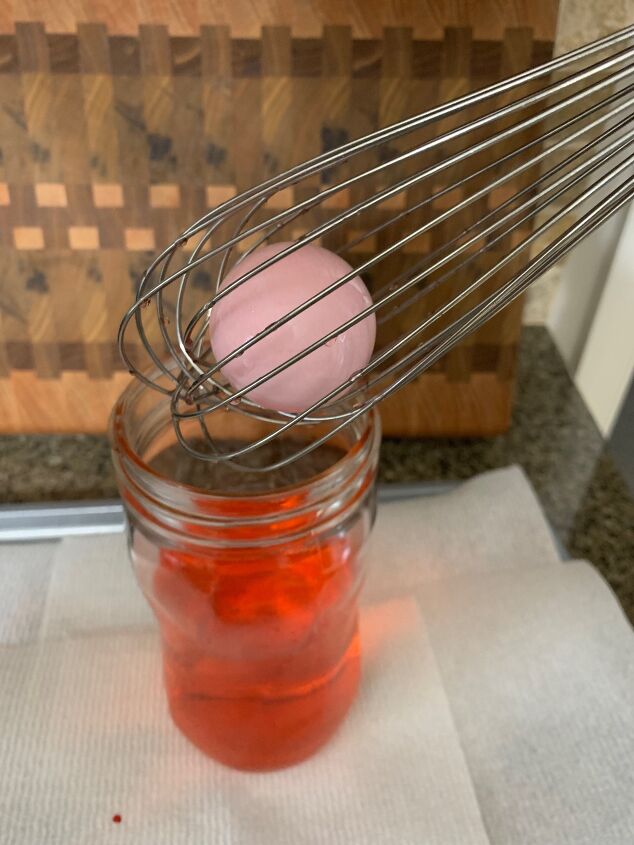
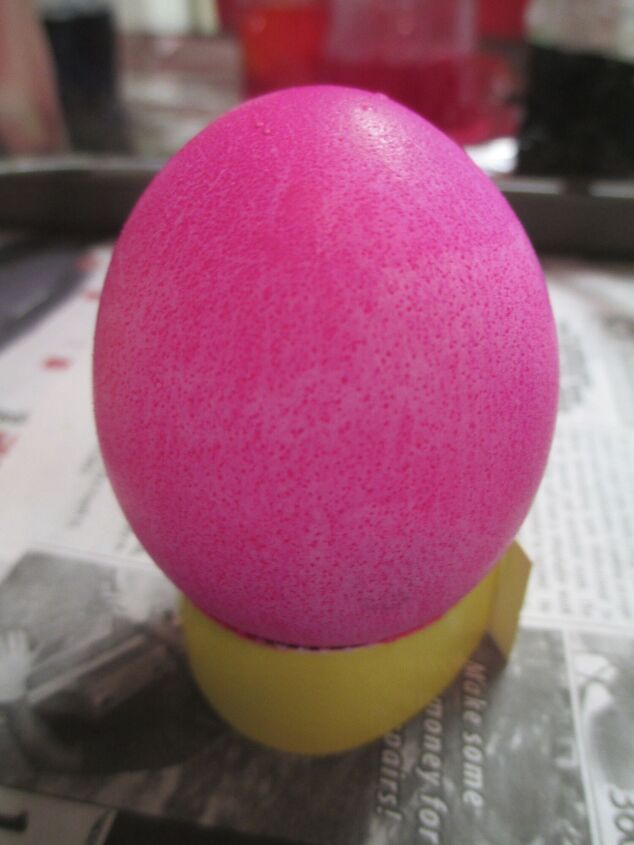
The child can dunk his/her egg easily into the dye and easily lift it out when he/she wants. The egg will stay safely tucked inside of the whisk.
Of course, adult hands will be necessary to remove it from the whisk for drying.
There are different sizes of kitchen whisks available, so you might want to choose a size that would be appropriate for your child’s hands.
 A side note: My kids used to love to let the egg sit in the dye for a while to get more saturated colors. A large whisk, if left to sit in a small dye bath, could topple the dye bath, so be sure to use sufficiently sized and weighted bowls or containers for the dye. This Ball jar worked well. Purchasing a few whisks to use at one time could also help move the process along.
 Happy Spring from our house to yours.
If the kids happen to stain their hands then use the tips from this guide on how to get Easter egg dye off skin!


Frequently asked questions
Have a question about this project?