


Textured Dollar Store Pumpkin

By now you all know I love these dollar store pumpkins. I have covered them in different yarns. So I decided to give one some texture and bling. I used the spackle from the dollar store also. This was so fun and quick. You just have to be patient and let the spackle dry for a couple of hours.
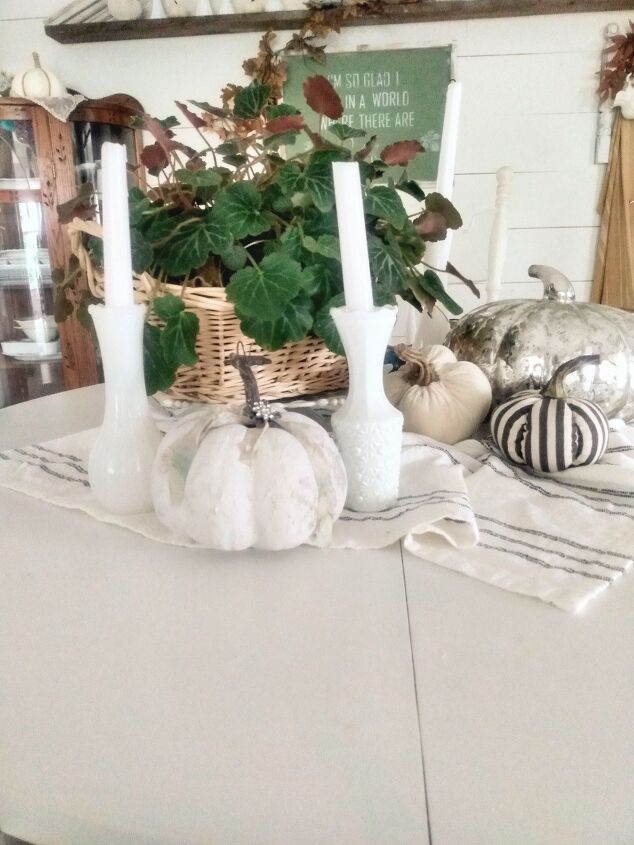
I love how adding some bling to the top really helped it go with my mercury glass pumpkin.
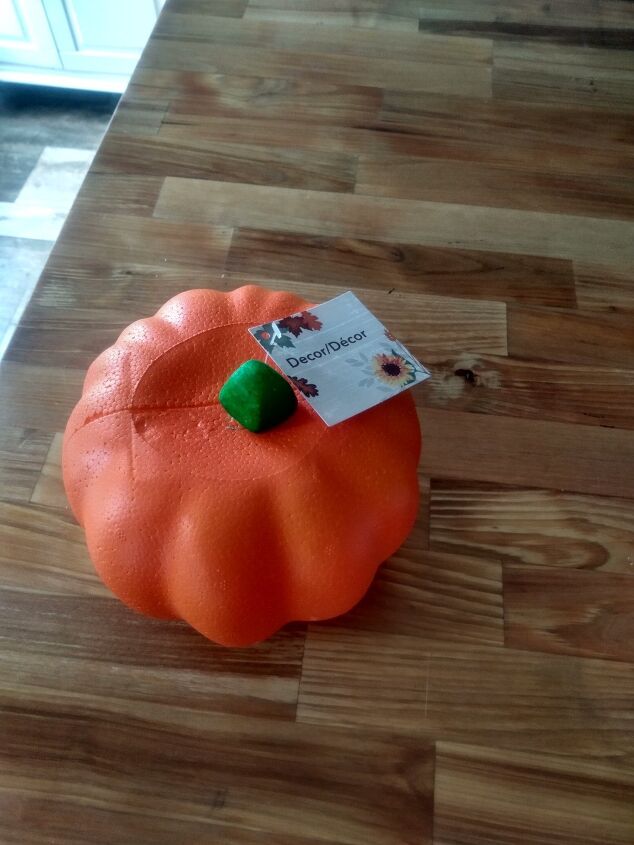
I started out with the basic orange pumpkin from my local dollar store. I took the stem off because I knew I had a replacement one from my stash of dried stems from last year. I forgot to put a picture of the spackle from the dollar store. But I covered it in the spackle first and let it dry for about four hours, it took that long because we are having a lot of humidity right now.
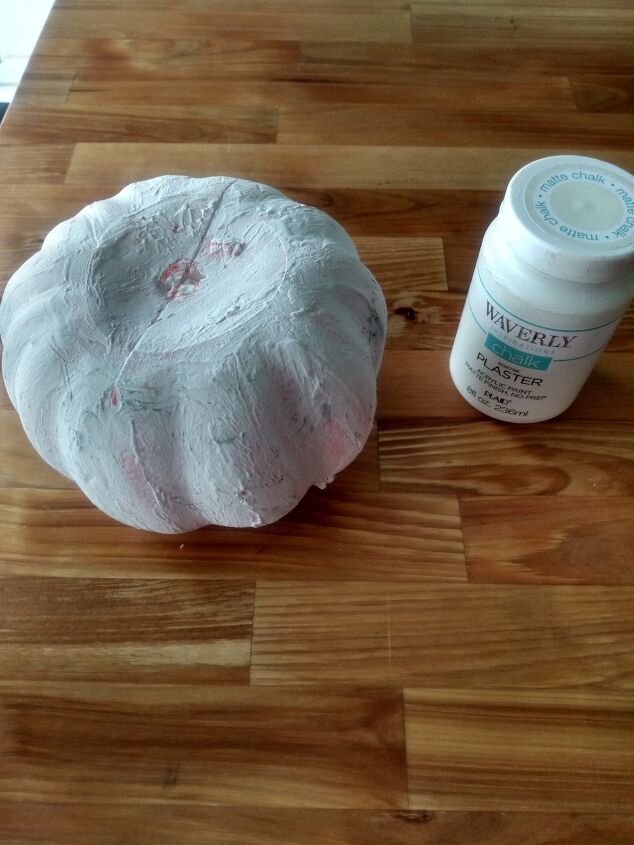
Then I painted it with the Waverly chalk paint in the color plaster. I let that dry and then added some gray paint. I just dabbed that on with a paper towel. Dip it in the paint and then tap it on a paper towel several times until almost dry. And just add it as you like. Then let that dry.
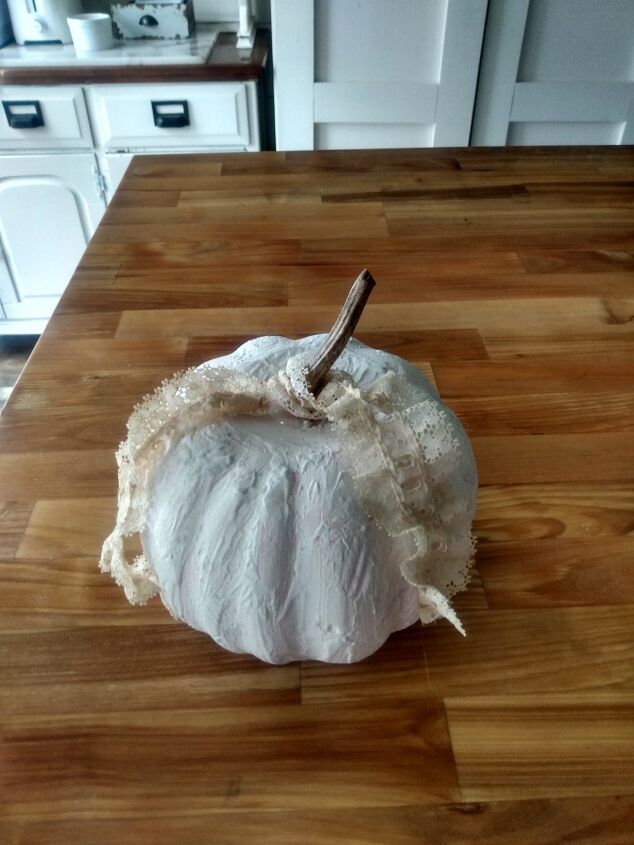
I then added one of my dried pumpkin stems to it. To give it a more realistic pumpkin look.
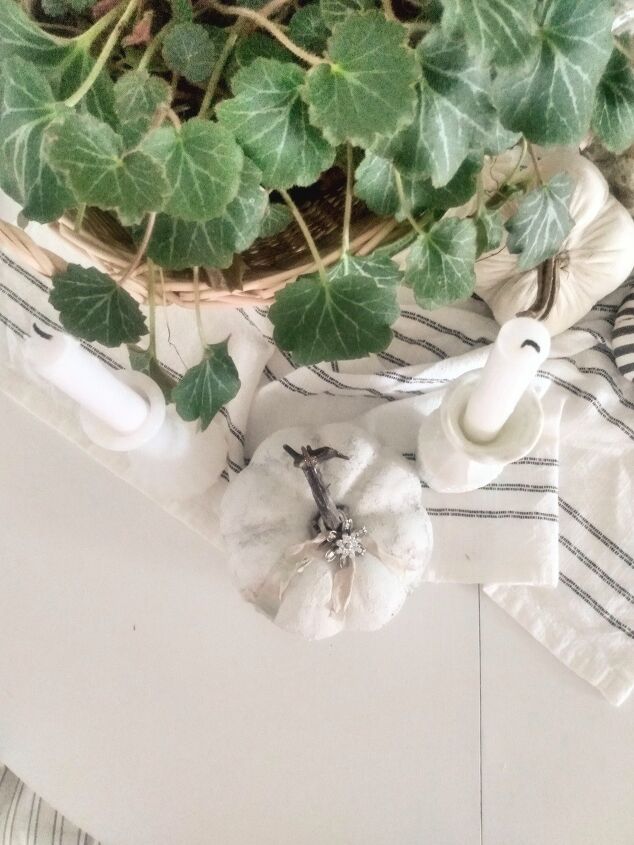
And then I added some lace and ribbon and a pretty bling button I had on hand. I love how it turned out. I thought it would be pretty painted in all grey too. That would make it look like a cement one. I hope you enjoyed this quick diy.
Comments
Join the conversation
-
Thank you Terrie!


Frequently asked questions
Have a question about this project?