


Make a Stunning Gilded Utensil Holder With Hot Glue and Molds
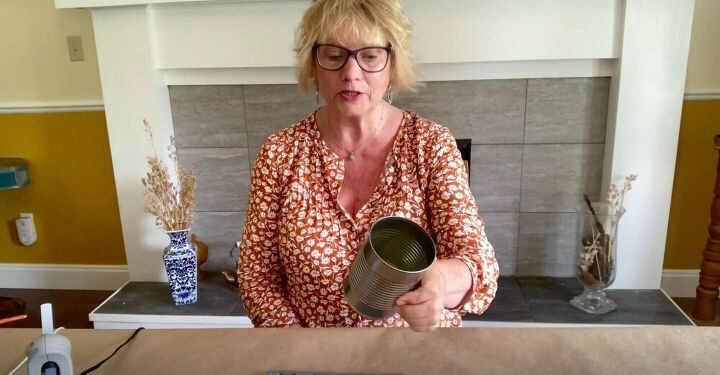
Don’t throw away that tin can! I’ll show you how to take any tin can and turn it into a stylish canister perfect for holding utensils, pencils, jewelry, and more! Using a creative technique that only requires a glue gun and a silicone mold, you can take any old tin can from trash to treasure in just a few simple steps. This project is so easy and the result is so stunning that you’ll quickly recycle every tin can you can get your hands on to make gifts for your friends and family! Get started with my step-by-step tutorial below!
Tools and Materials:
- Tin can
- Hot glue gun
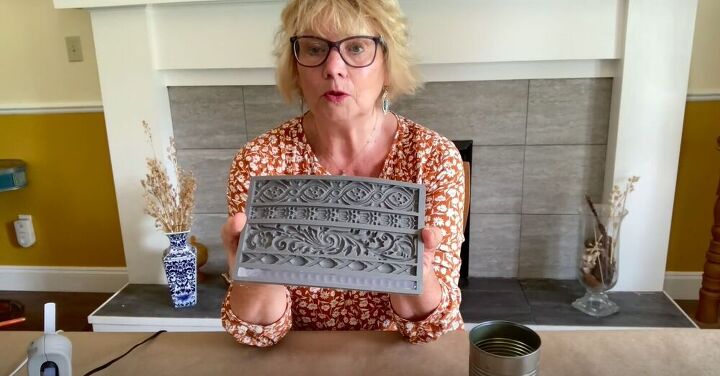
- Silicone mold (Learn how to make silicone molds yourself)
- Paint
- Paintbrush
- Gilding wax
- Felt
- Velvet paper
- Utility knife
Create the Molds
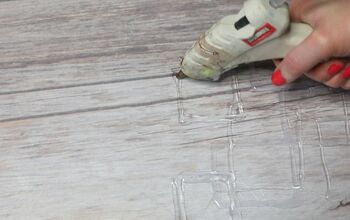
I set the glue gun onto the hottest setting and set about filling the mold with the hot glue. The hot glue doesn’t ruin the silicone mold at all and the mold that comes out at the end can also be painted.

The glue goes in clear and becomes opaque once dry. I left it to dry for about five minutes, making it a quick and easy project. They are also bendable and can easily be cut to size. These molds come in an endless variety of shapes and sizes, so find one that fits your aesthetic.
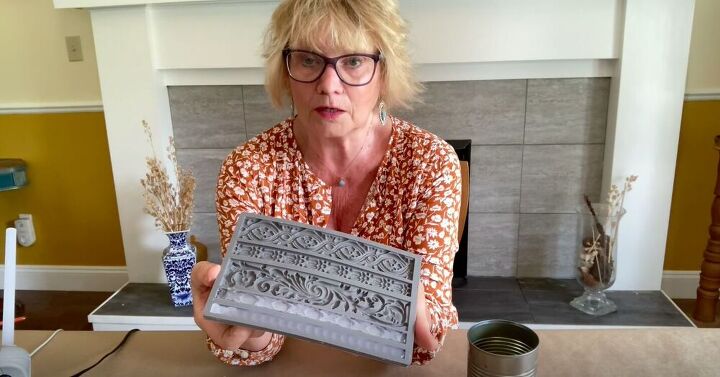
Once it’s dry I removed it from the mold and was ready to move on to the next step in my project.
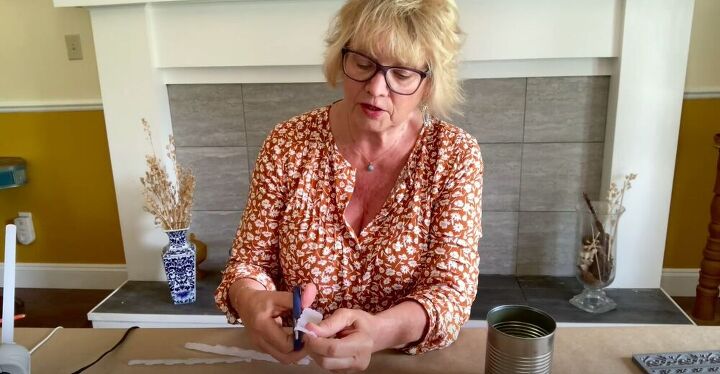
Trim
Often these can have some ragged edges, but it’s quite easy to fix them by using some scissors to cut off the excess.
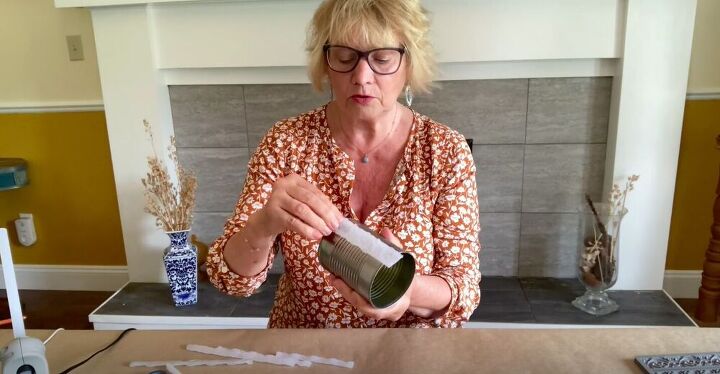
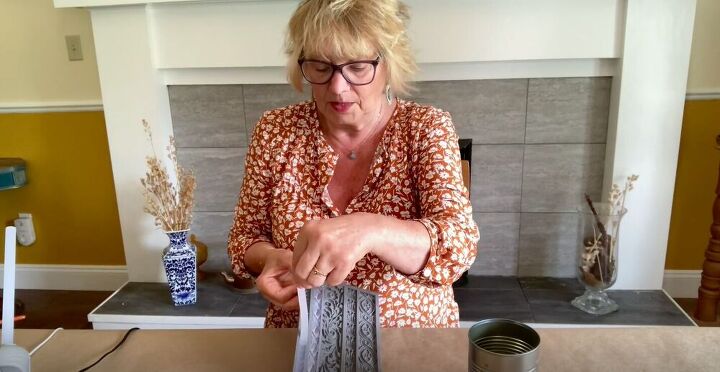
Glue the Molds to the Tin Can
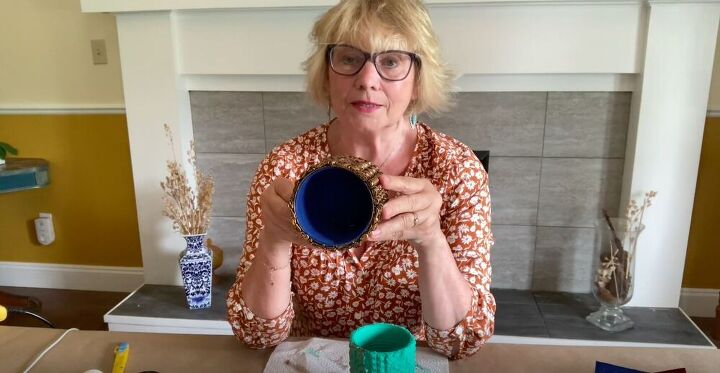
Once I had all of my molds created, I was ready to glue them to the can. I used the glue gun to spread glue onto the can and then press the mold onto it

I like to line them up at the bottom so that if I need to trim I only have to do it from one end.
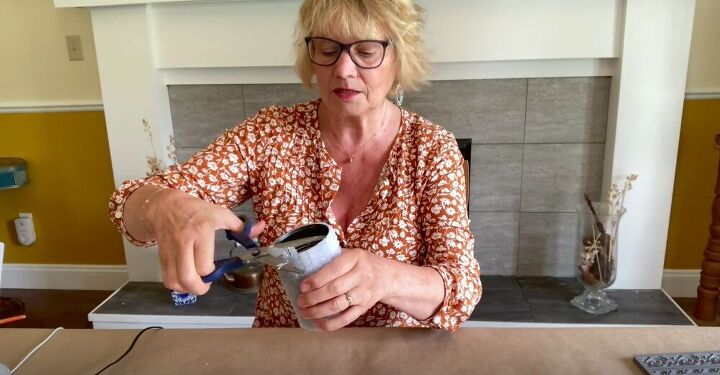
Once I cut off the excess, I used a utility knife to saw off any excess bits that were sticking up.
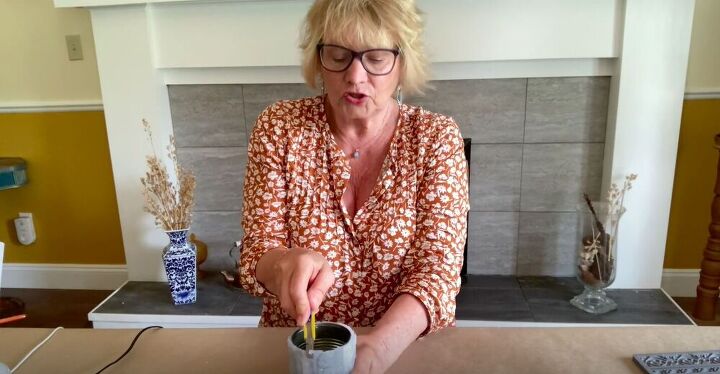
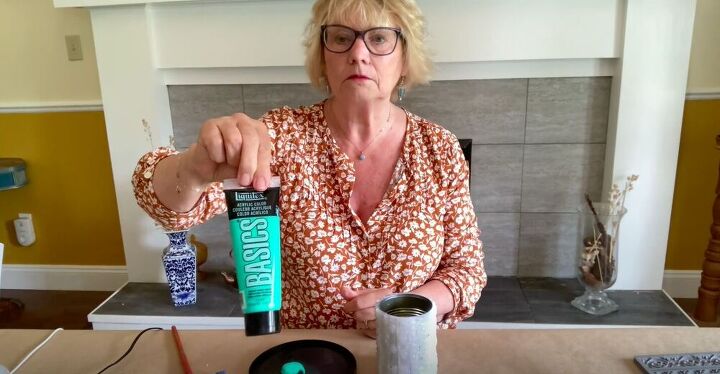
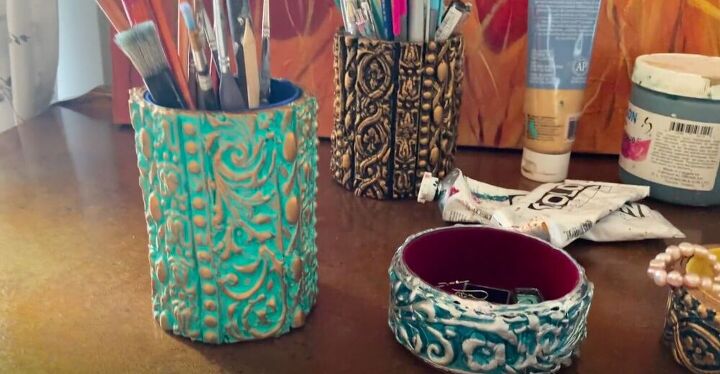
Paint
Any paint will work well with this project, but I’ll be using acrylic paint today. Make sure to get into all the nooks and crannies of the molds. Really get in there with your brush. I also like to paint the inside of the can to keep it uniform.
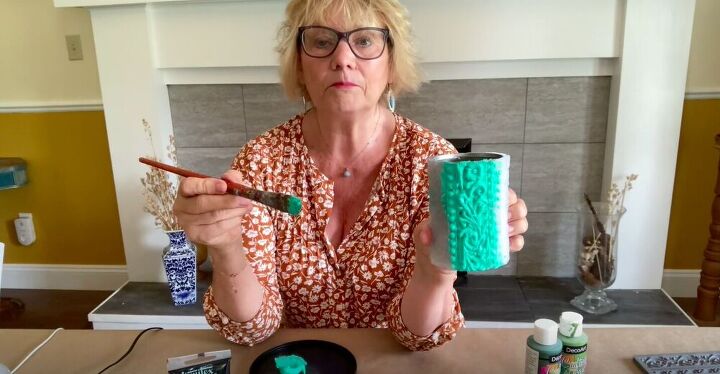
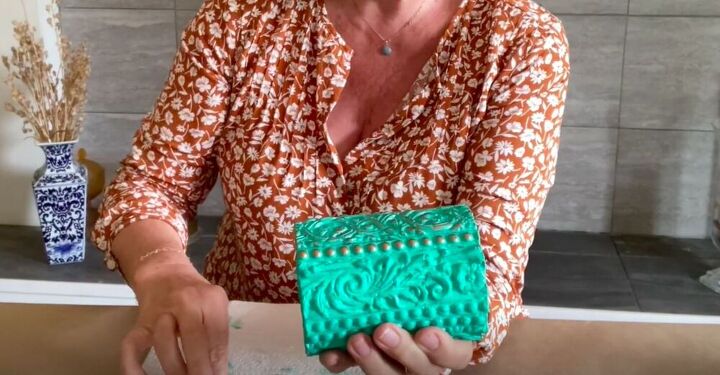
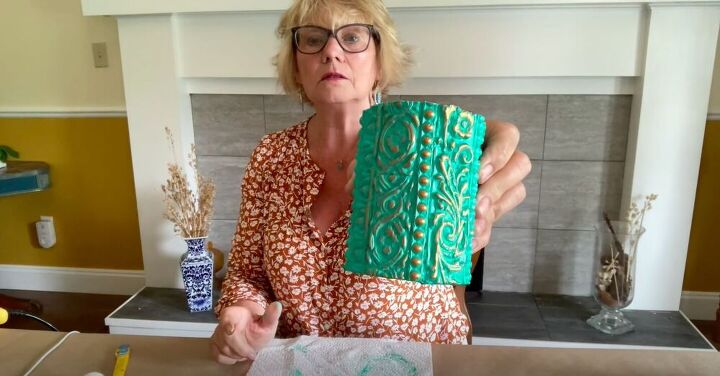
Gild
I wanted to highlight the details of the molds, so using gilding wax I applied a bit to my finger and rubbed it across the surface of the mold.
Line
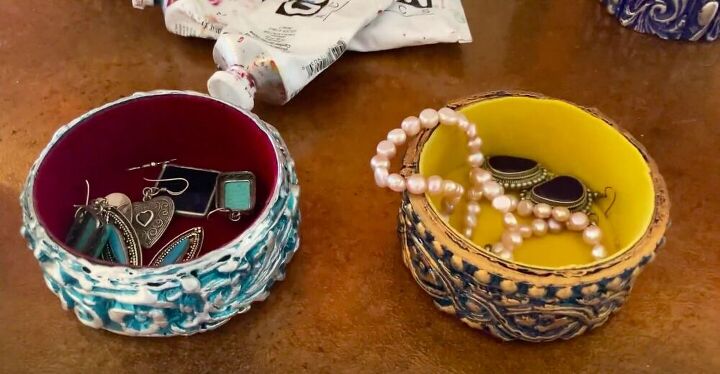
The one that I made today will be used for utensils, so I just painted down into the can a bit and left it at that. If you want to give one as a gift you can line it with felt to make it a bit more respectable. I also added a bit of velvet to the bottom to help it stay in place.

You really can use any can for this project, here I’ve used a tuna can! I’ve found making these to be quite addictive. You’d never know that this was originally a tuna can!
If you’re looking for me, you’ll find me making more and more of these decorative gilded cans! With a project this quick, easy, and budget friendly, what’s not to love? What would you store in yours? Let me know in the comments below!
Resources for this project:
See all materials


Comments
Join the conversation
-
Yours look great! I can’t wait to try!
-
that is an absolutely great idea !!! I have some cans I put away for future projects and will definitely try this one. Thank you :-)


Frequently asked questions
Have a question about this project?
Would regular glue work?
Are you selling these? I love them!!
Where to fine silicone mold