


DIY Pipe and Rope Shelves
4 Materials
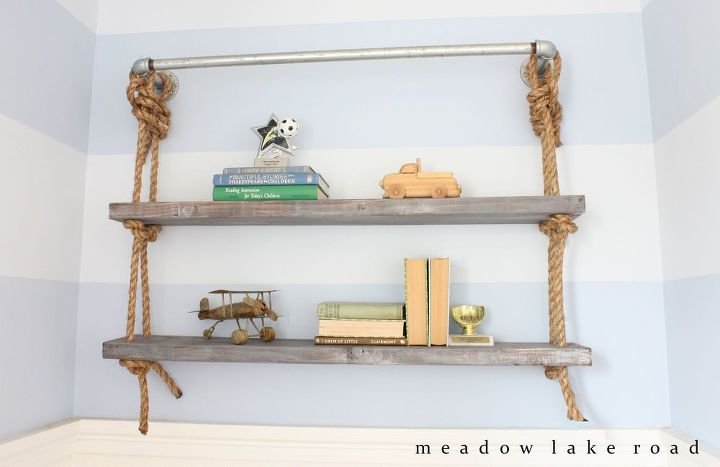
One of my boys really needed some display shelves in his bedroom, so my husband and I used galvanized pipe, rope and wood to create some for him, inspired by some from RH Baby & Child.
Here is our version…
Here is our version…
Materials used:
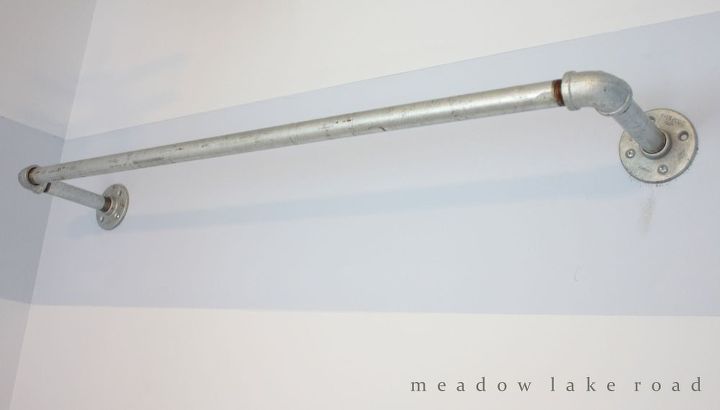
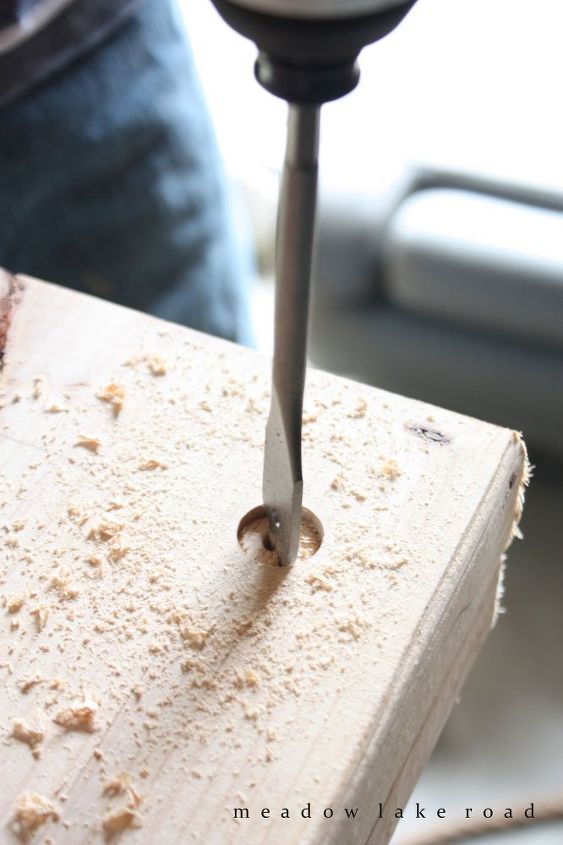
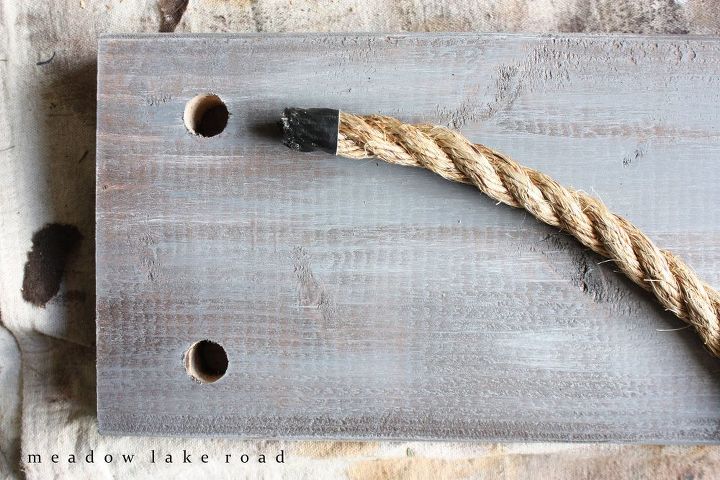
To figure out how wide your boards need to be, measure to the outside edges of the flanges. You need your wood to be wider than the pipe pieces so that you have space to drill holes for the rope to go through. I made my shelves 52″ long.
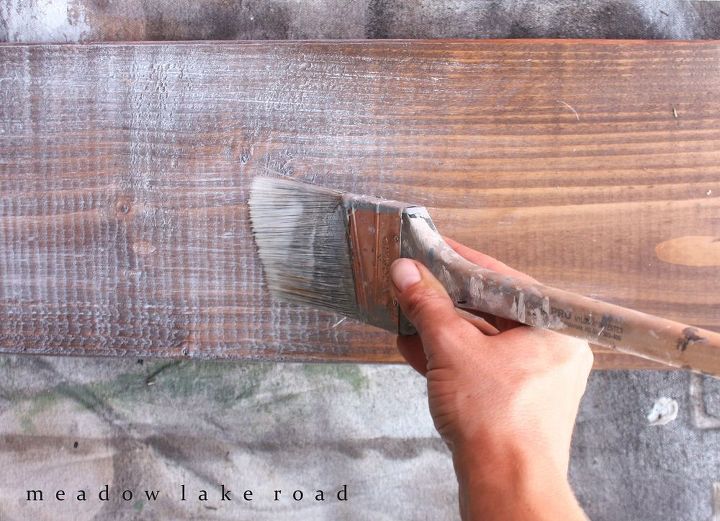
I wanted our shelves to have a bleached barnwood look, so I stained them with Minwax Special Walnut stain,
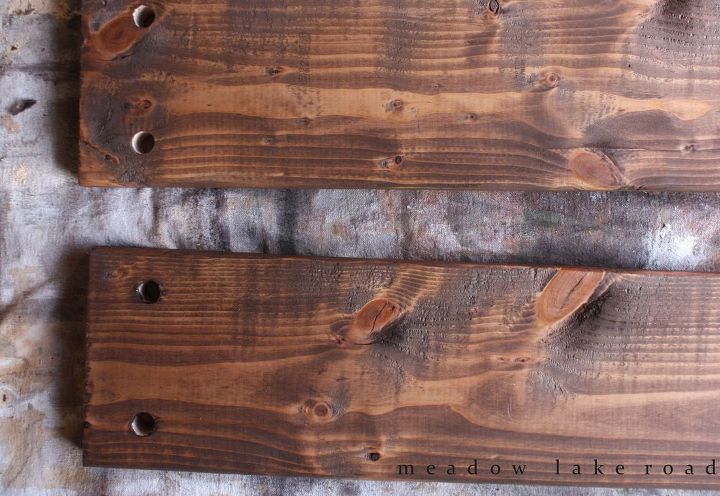
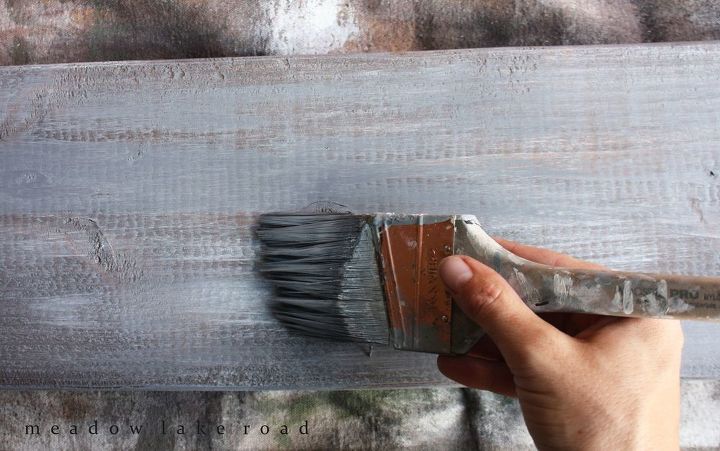
then dry brushed white paint over the top.
They didn’t turn out how I had envisioned so then I dry brushed some dark gray paint over the top to tone down the white a little bit and give them some more depth. Sometimes you just gotta experiment until you like how it looks!
When it’s dry, it’s time to hang it all up.
This part is definitely a two-person job; one person to hold the shelf while the other person ties the knots. Make sure you have a level on the shelf as you work to ensure that it doesn’t end up looking crooked. We started at the top with a clinch knot to attach the rope to the pipe and then worked our way down the rope, tying regular knots under each shelf.
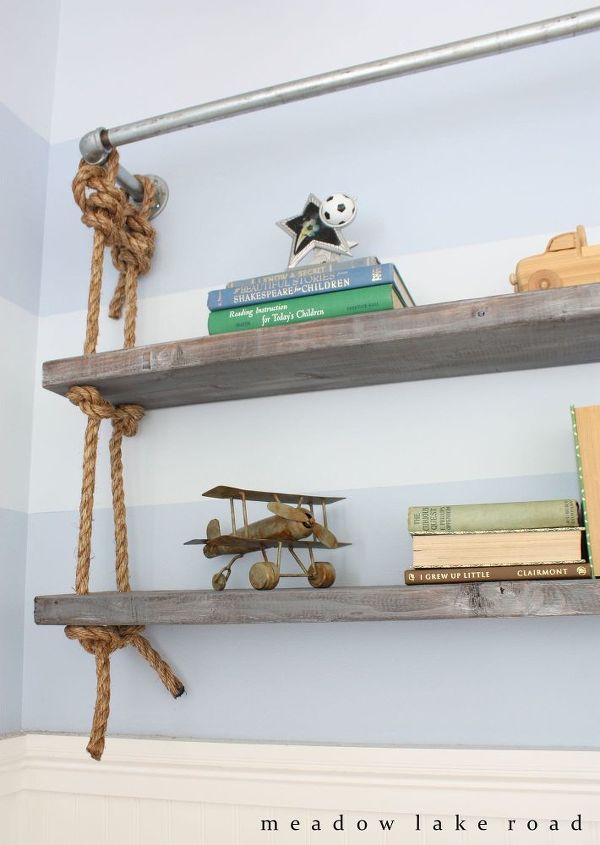
I love how they turned out, but in hindsight I would have used rope that was a bit thinner and easier to work with. The rope we used was really difficult to tie because of its’ thickness.

Want more details about this and other DIY projects? Check out my blog post!
Comments
Join the conversation
2 of 7 comments
-
the thicker rope goes well with the industrial look. glad you stuck with it.
-
Love the look! Great share! Wonderful instructions too.


Frequently asked questions
Have a question about this project?