


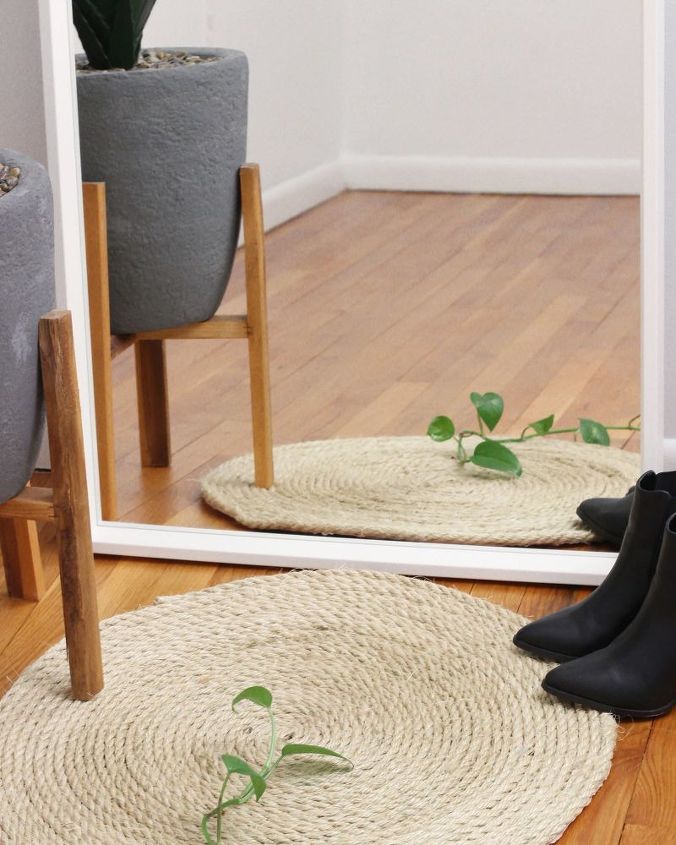
DIY Round Rope Area Rug
Welcome to another DIY for less! Today I am tackling the task of creating a rope area rug. Rope rugs can be expensive, but if you do it yourself, you can have one for a fraction of the price. See how I made a round area rug to add some style to my room, and try it out for yourself! This is an easy DIY that takes a short amount of time.
I have been loving adding rope accents to my decorating at the moment, I just can’t get enough! I have seen similar rugs being sold for anywhere from $50-$300, but today I am going to show you how I made mine for just $16! Watch the video above to see how you can easily make your own, or keep reading for step by step instructions. Enjoy!
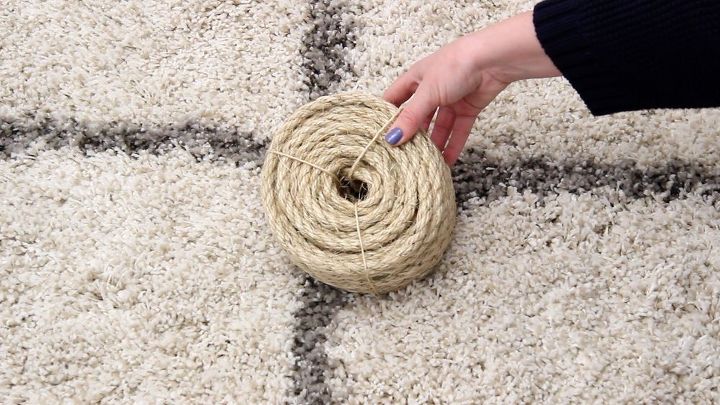
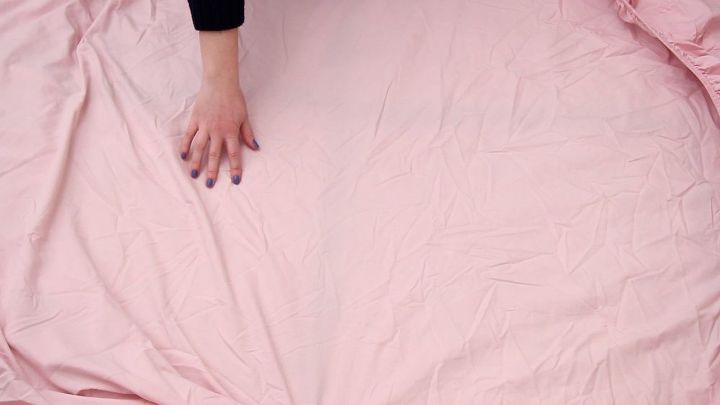
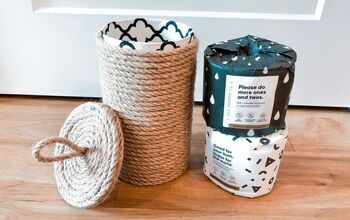
For the rope, I used 2 rolls of sisal rope that I picked up at the hardware store. I also used an old fitted sheet for the bottom of the rug, but you can use any type of fabric, sheet, or rubber backing to make it non-slip.
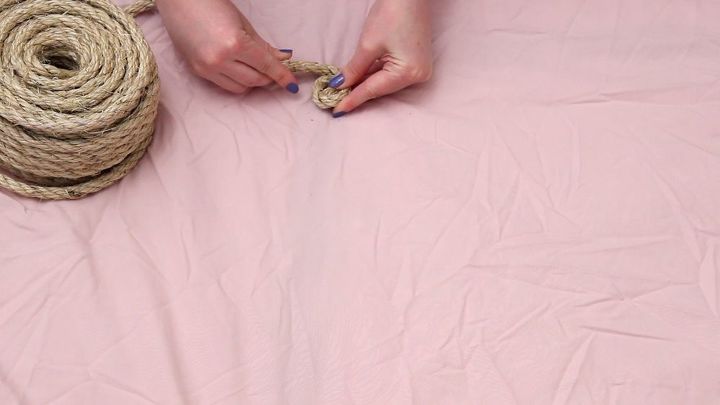
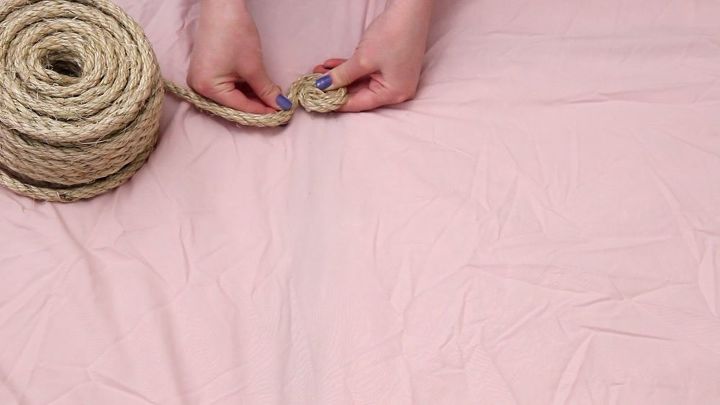
Starting with one end of the rope, roll it around itself a couple of times. Add some hot glue, continue rolling, and press it against itself until the glue dries. I won’t be using my rug in a high traffic area, but if you are, I would recommend using a stronger glue.
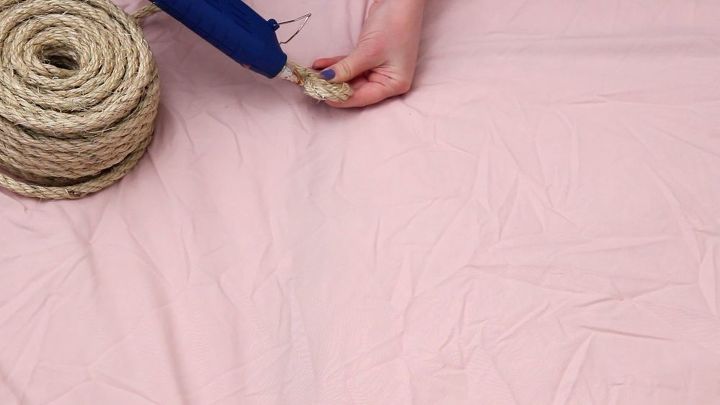
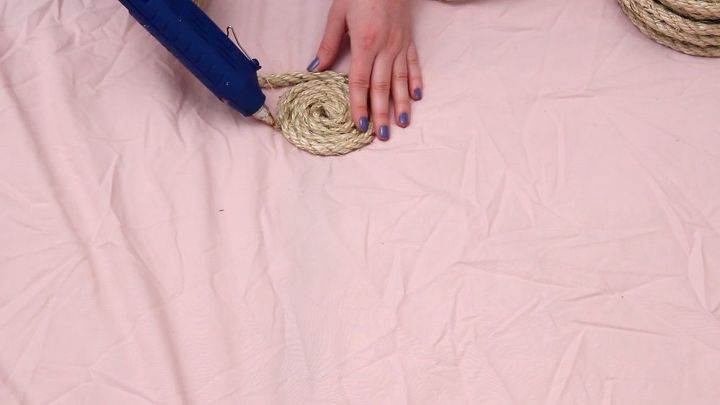
As you continue gluing, add the glue as close to the sheet as possible. You will start gluing each section of rope to the sheet or fabric so that this will end up being the bottom of the rug.
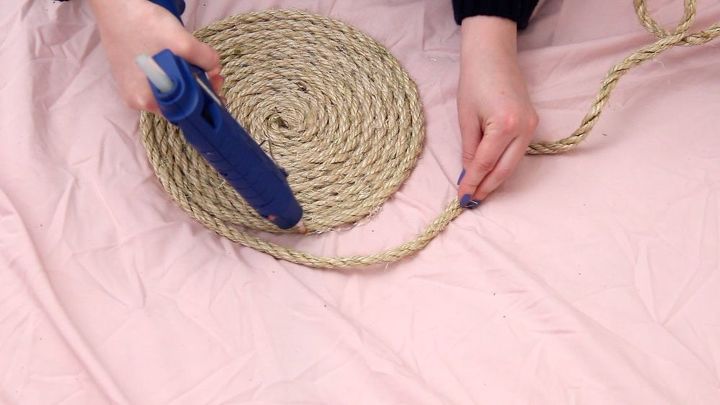
The process goes more quickly as the rug gets bigger, because you can glue larger sections at a time.
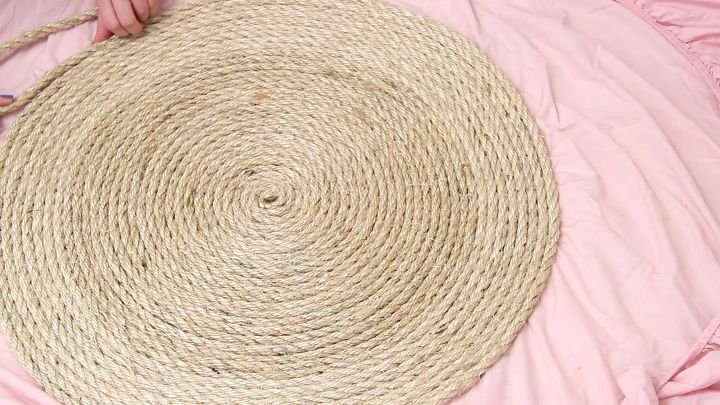
I used 2 rolls of rope for this rug, but you can customize the size to whatever you’d like it to be by simply adding more rope.
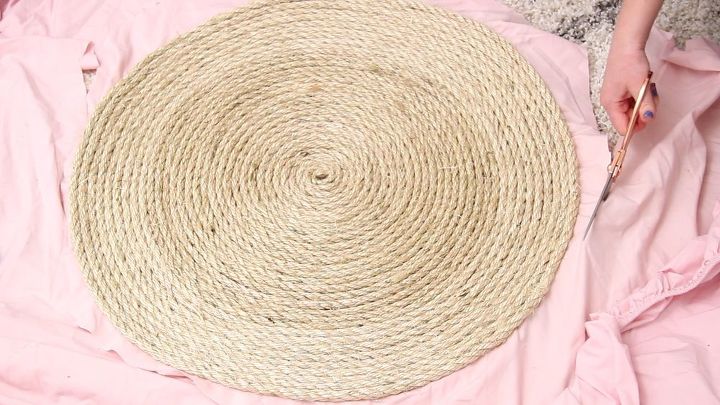
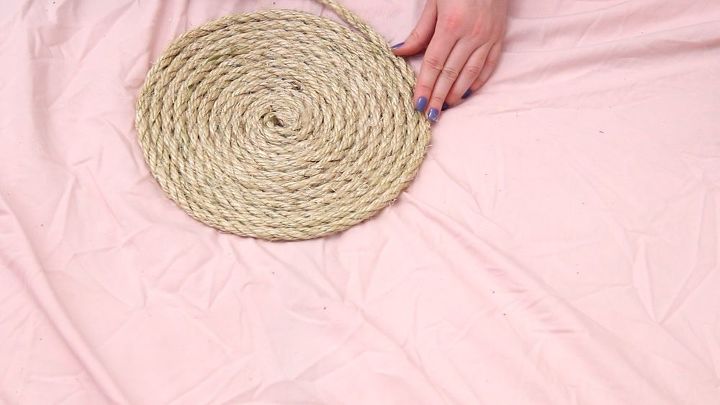
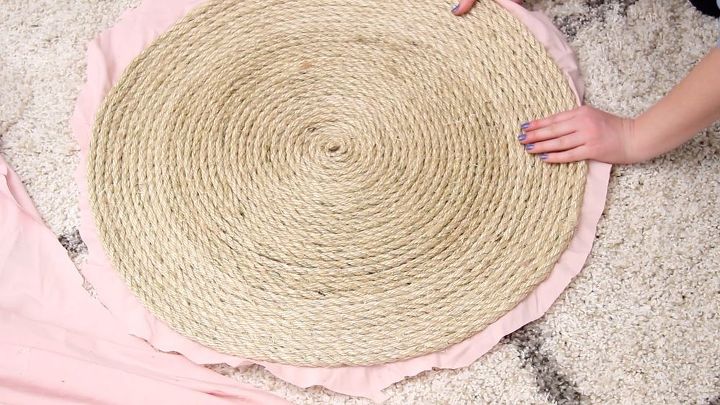
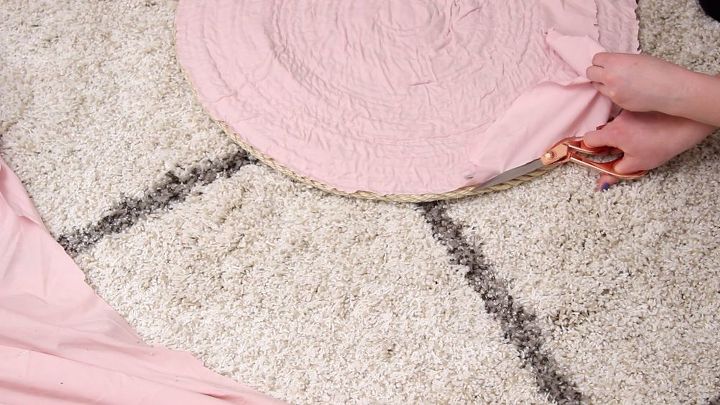
Once you are happy with the size, use scissors to start cutting the sheet about an inch or two out from the rope. This does not have to be perfect, you are just trying to cut it away from the larger part of the sheet or fabric. Next, flip it over and begin to cut in more closely. Be careful not to cut the rope, but try to cut as far in as you can so that you won’t be able to see the fabric underneath when the rug is right side up.
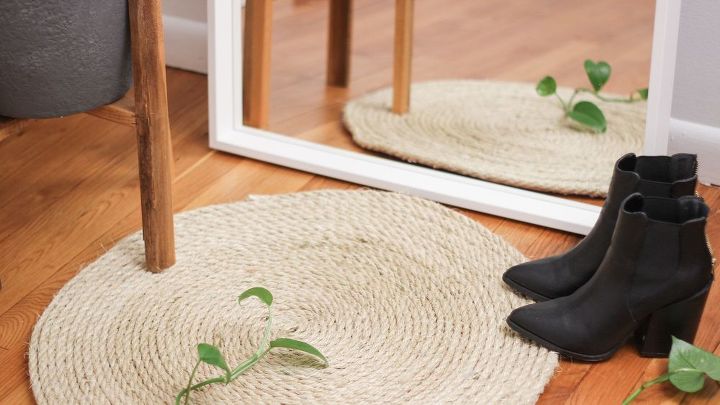
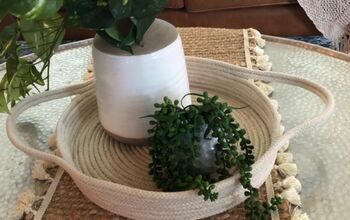
How easy is that?? I couldn’t believe how quickly I was able to get this done. It probably took about an hour from start to finish. I am so in love with the look of it and had a lot of fun styling it in my space. I hope you will give a try and let me know what you think! If you like this project and want to see more, check out my YouTube channel by clicking here or visit my website: www.katiebookser.com
Affordable Ways to Update Your Home


Comments
Join the conversation
-
I used A painters drop cloth for the backing, and it was much sturdier. Plus I found if you go in a zigzag pattern on the backing it makes it non-stick.
-
This would be a nice idea for a table topper. Placemats would work as well.


Frequently asked questions
Have a question about this project?
Brill idea think I'll do one for my kitchen bcz my dog prefers to lie on floor this would be more comfortable for her I think (she's a big dog)
I love it but wouldn't the sheet make it slippery on the floor?
It's a great lookin' rug!!! You dropped a plant vine on it???