


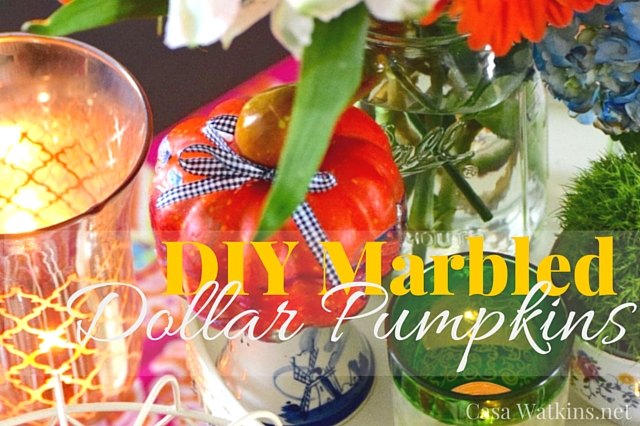
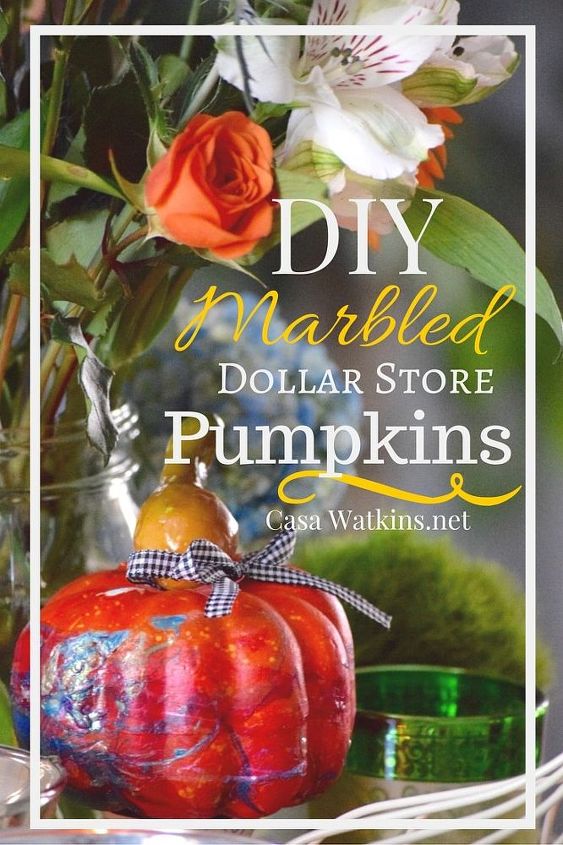
DIY Marbled Dollar Store Pumpkins
$4
5 Minutes
Easy
It's getting cooler outside and Fall is starting. I'm decorating for the Fall on a budget and starting with these DIY marbled Dollar Store pumpkins. Make these quick and easy marbled using nail polish!
This month's theme was DIY Fall tablescape projects. I decided to make a 5 minute craft that can be used to bring a POP of color to your Fall tablescape. Best yet, you can personalized easily using nail polish you already own.
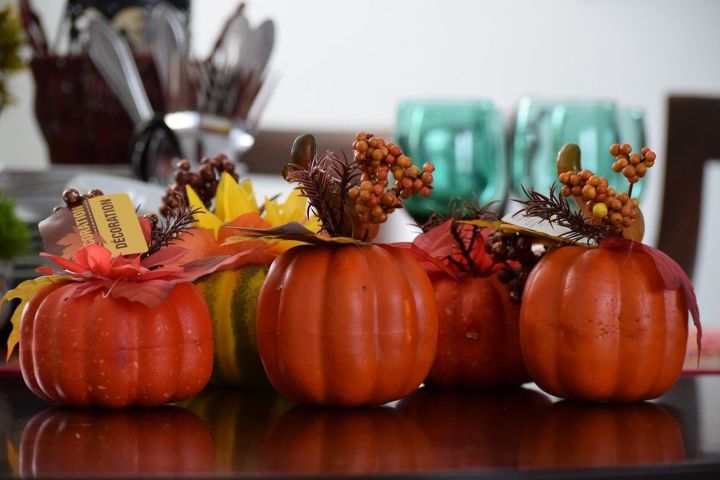
I hadn't tried the marbling technique yet, so I thought dollar pumpkins would be a great test. I figured if they mess up, it would only cost me $1.00.
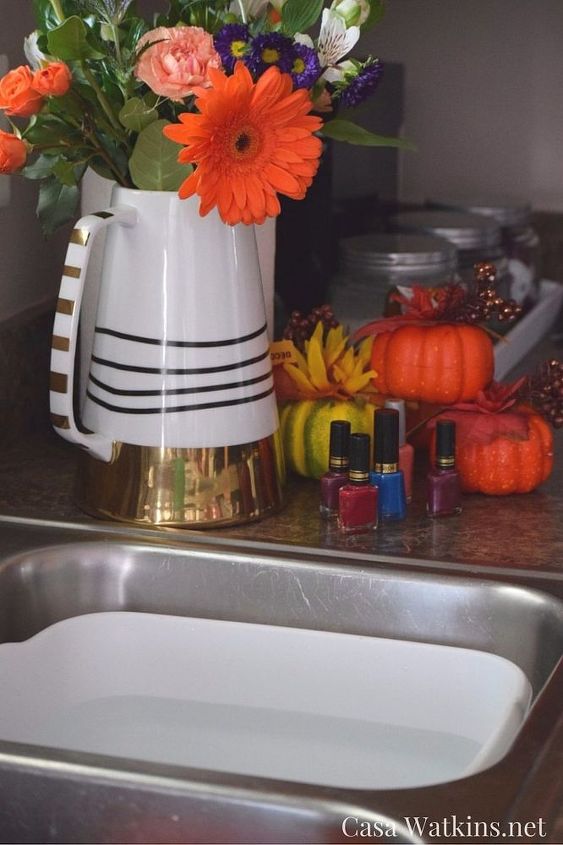
I didn't trust myself with nailpolish on any surface, so I placed my plastic pin in the sink and filled it with enough water to be able to submerge the pumpkin.
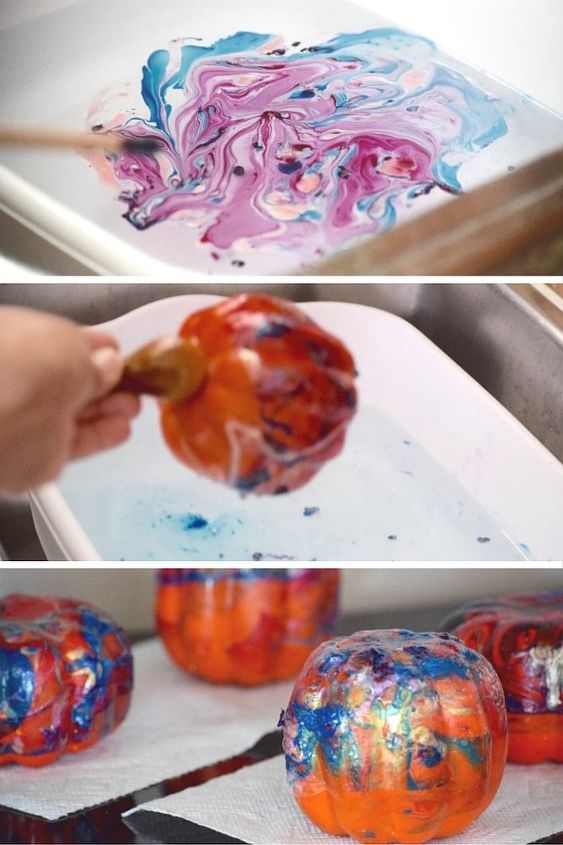
I wanted to have a slew of jewel toned colors, so I dropped a bit of 4 nail polish colors in to the water and used a stick to slightly blend the colors.
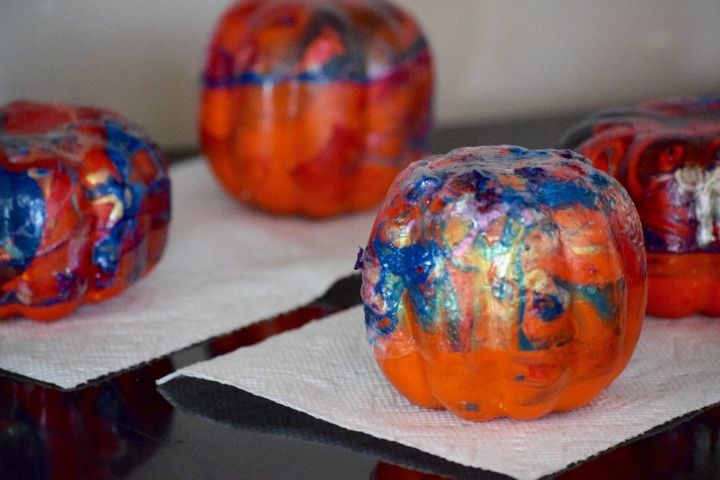
Set them aside to dry. I only dunked half of the pumpkin, so they simply sat upside down on a paper towel. They definitely were colorful pumpkins. I would suggest you either paint your pumpkins white or a lighter color should you want the nail polish to pop more.
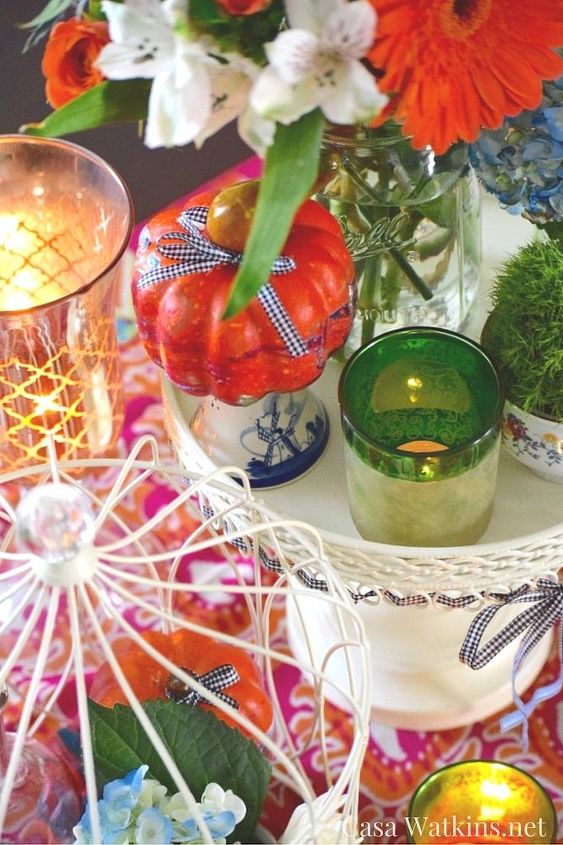
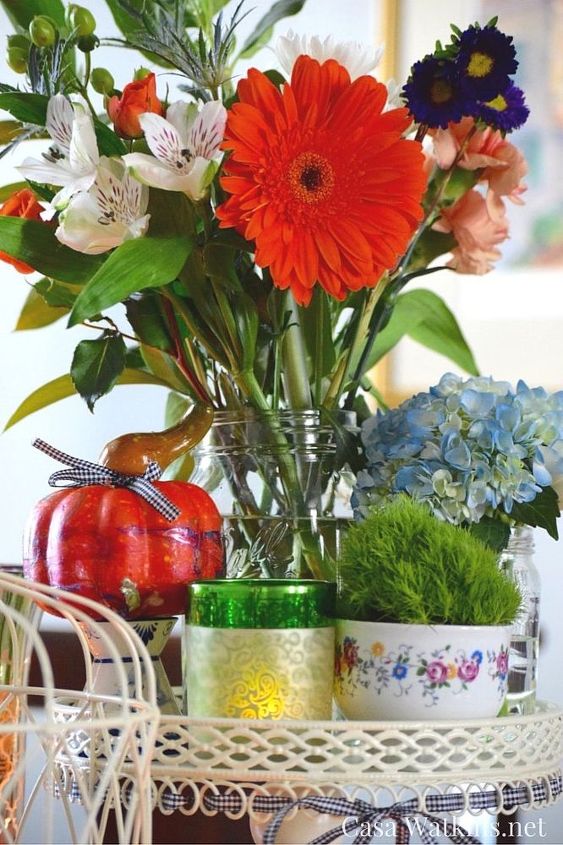
Tie small pieces of ribbon to your pumpkins and incorporate them in a table vignette. I used the pumpkins in a vignette that featured some of my collectable global pieces.
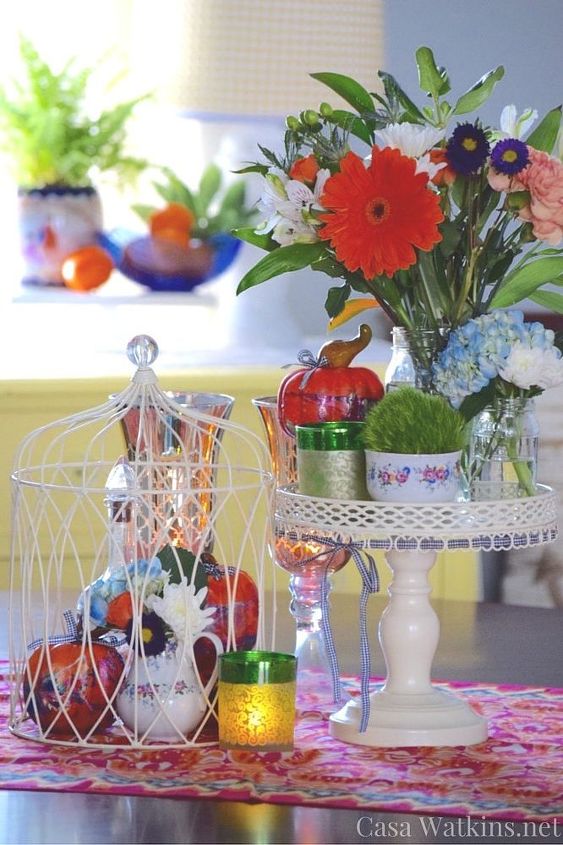
You could also tie several of them together to make a marbled pumpkin banner. The pumpkin colors and ideas are endless.
So how would you incorporate these pumpkins into your Fall decor? I welcome you to visit my blog to check out the other DIY tablescape ideas my fellow bloggers shared.

Want more details about this and other DIY projects? Check out my blog post!
Comments
Join the conversation
2 comments
-
How fun! I love marbling!
-
This is SO cool!


Frequently asked questions
Have a question about this project?