


The First Christmas in My First Fixer Upper
I am so honored to be teaming with Hometalk.com and CountryLiving.com to share with you pictures of my first Christmas in my very first fixer upper.
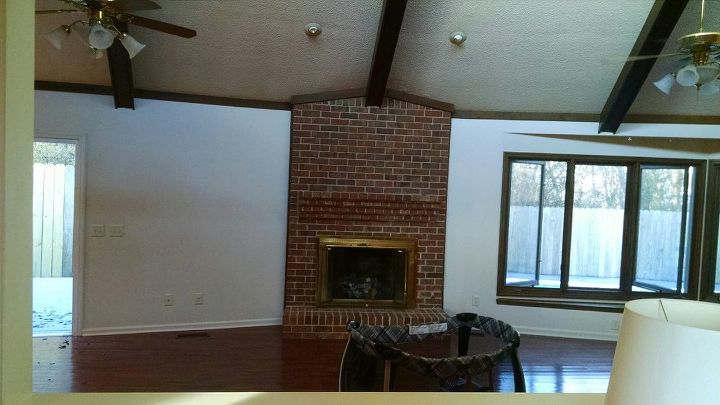
For only having been in our 1980's rancher for 10 months, I believe we have gotten a ton of work accomplished. Looking at this light and airy space, you might not guess that our home was dingy and dark when we first moved in back in February of 2015. Let me show you the proof in a "before" photo.
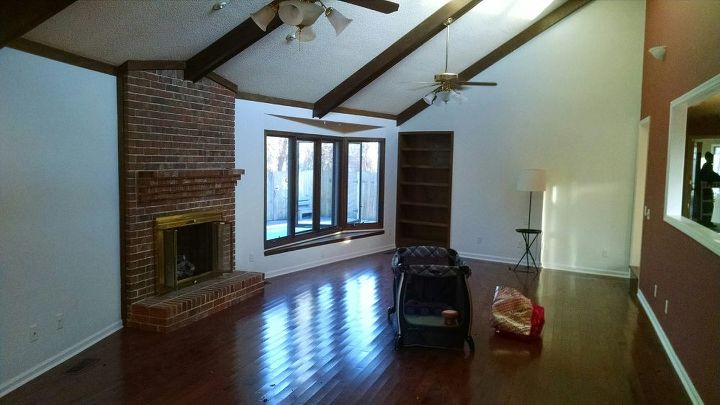
So here is what the room looked like 10 months ago when we first moved in. Never underestimate the power of paint. After some new paint, light fixtures, decor, a fireplace makeover and scraping the popcorn from the ceilings, the room was completely transformed.
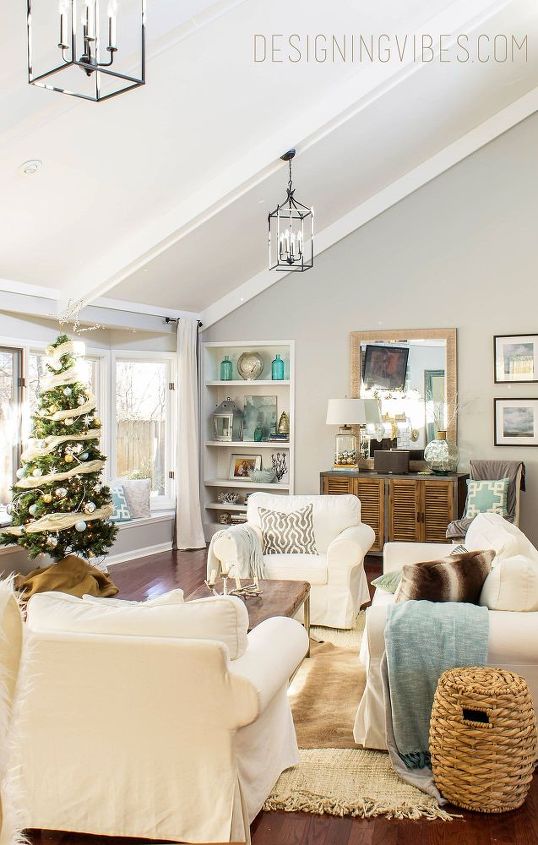
As you may notice, I am not your traditional "red and green" type of girl. While I think it looks lovely in many other homes, I actually think it distracts from my neutral aesthetic.
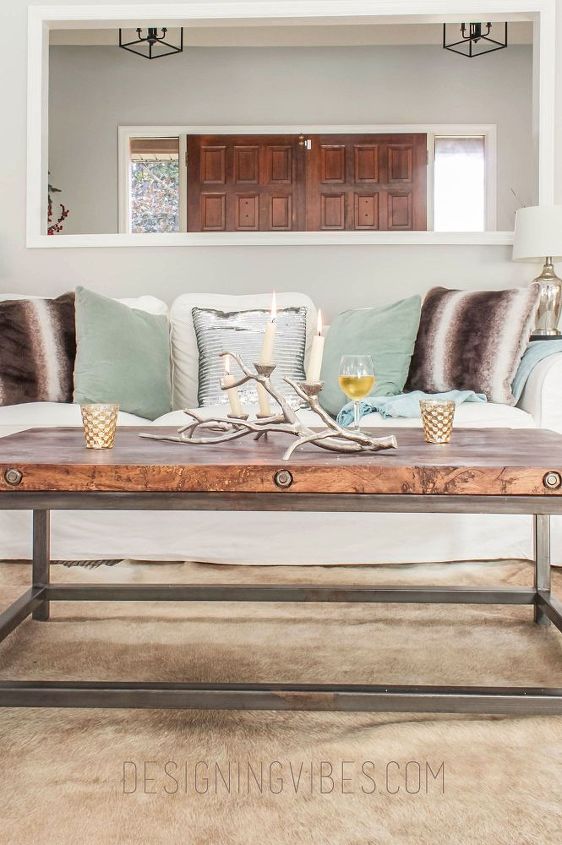
Because the room is so light and airy, I like to add warmth to the space with fur textiles like my cowhide rug and throw pillows. A add pops of Christmas flare with mercury glass votives and sequin pillows. I classify this juxtaposition as "rustic glam".

The beauty of this style of decor, is that it is vague- it isn't so "themey" that it looks odd being on display past January. In fact, I can keep the majority of the pieces out for the entire winter.
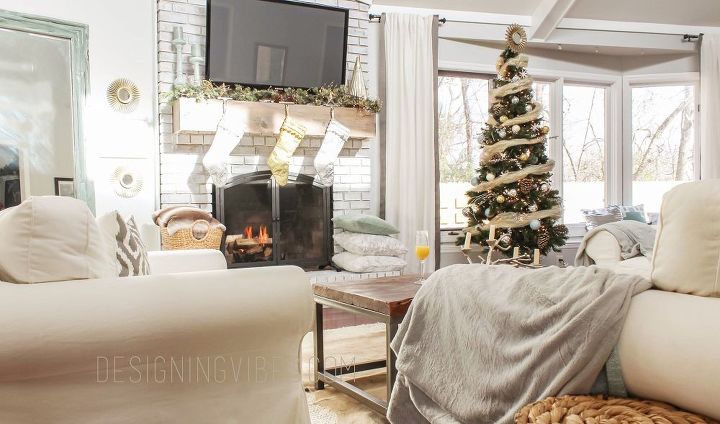
Here is another "before" shot of the living room.

And here is another "after" shot. Now, let's move on the the kitchen.
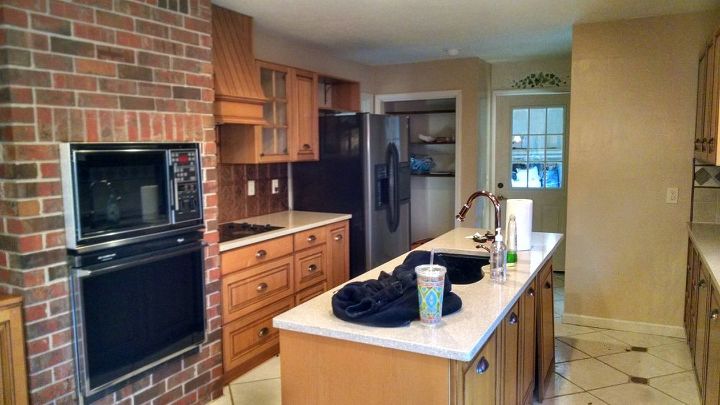
Here is what the kitchen looked like when we first moved in.
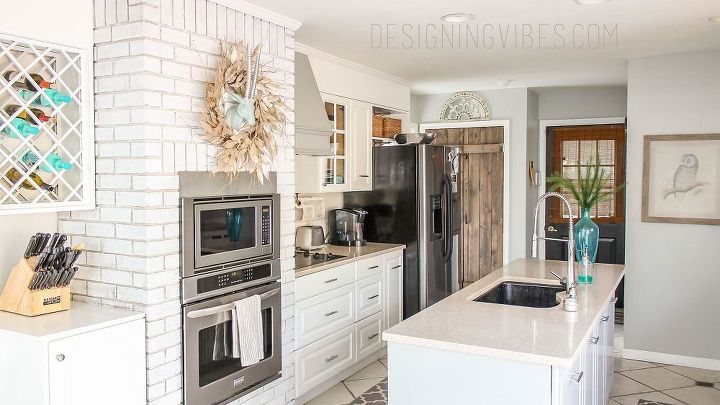
And here is what it looks like after painting the walls and cabinets, adding new appliances, extending the cabinets to the ceiling and replacing the appliances. I also built a "reclaimed wood" door for the pantry. That tutorial is included in another post.
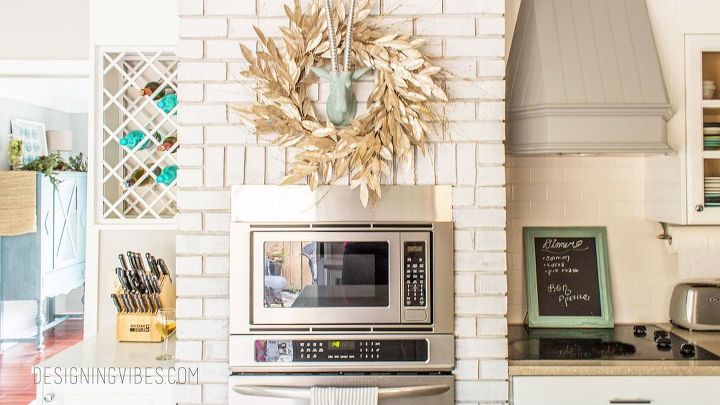
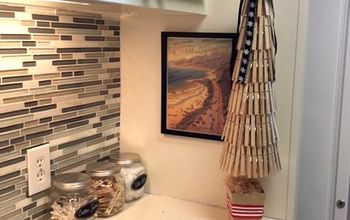
Continuing with the rustic glam theme, I added a "glam" metallic wreath around my rustic taxidermy. For those of you wondering what I did with the brick surround, I whitewashed it.
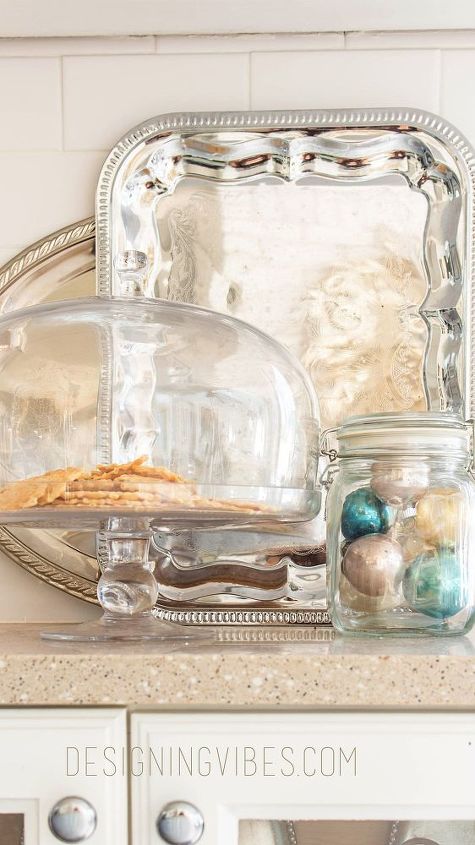
And because it was too risky allowing my two year old access to my antique, glass ornaments, I displayed them in a safe place on the counter.
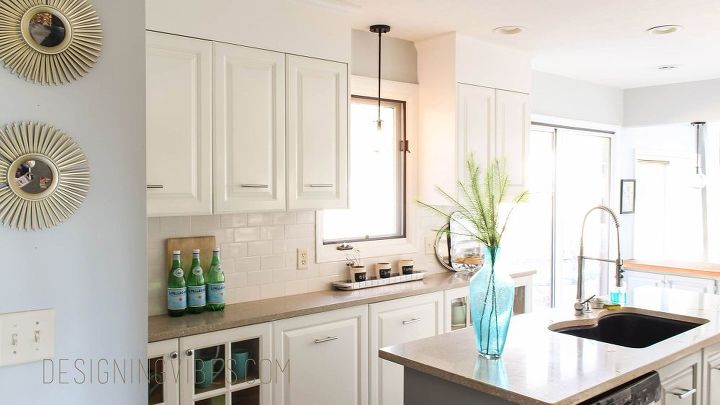
Here is another angle of my kitchen. Now let's move on to the dining room.

Here is what the dining room looked like when we first moved in.
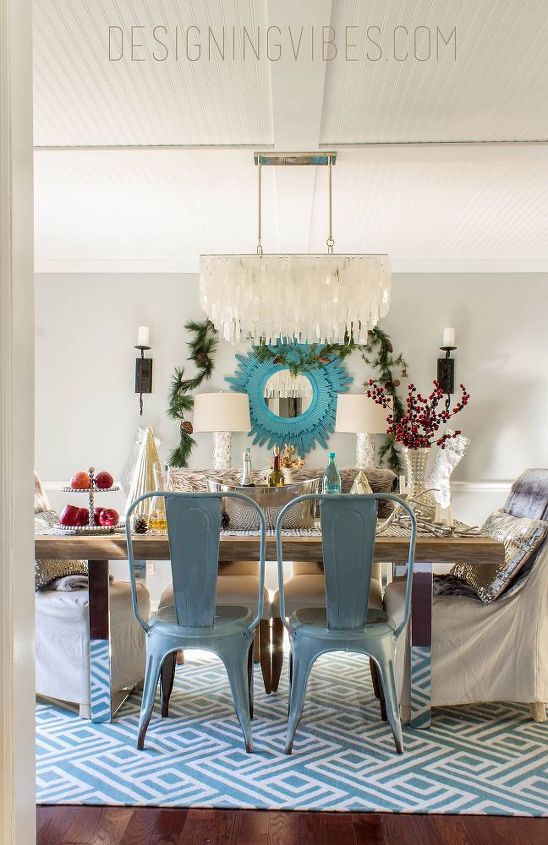
And here is what it looks like after paint, new light fixtures, decor and a new beadboard ceiling. I share the tutorial to this ceiling on my website.
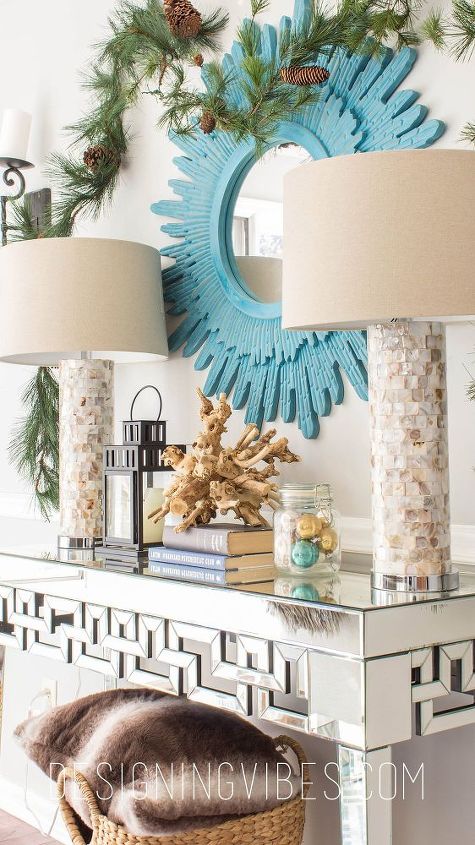
Garland is one of my favorite ways to bring rustic, holiday flare to a space.

Want more details about this and other DIY projects? Check out my blog post!
Comments
Join the conversation
3 of 132 comments
-
I love your color choices! Everything seems to go well together. And you have made this a beautiful yet comfortable space. Great job.
-
Beautiful!


Frequently asked questions
Have a question about this project?