


DIY Christmas - Custom Wood Signs
$5.00
1 Hour
Easy
I’ve been on a roll this week with making wood signs, let me rephrase that, custom wood signs for my family and friends that fit some of them to a tee.

I’ve been on a roll this week with making wood signs, let me rephrase that, custom wood signs for my family and friends that fit some of them to a tee. You’ve seen them, they’re all over Pinterest, knock-offs from Pottery Barn, Pier One and the likes, plus original creations with a little twist like my friend, Judy does over at Vintage Street Designs. She’s got a store on Etsy and sells them at a reasonable price too! I’m not up for selling mine, just wanted to make them for Christmas and do a number of other projects around the house. I was able to score my Cameo Silhouette for an awesome Cyber Monday deal.
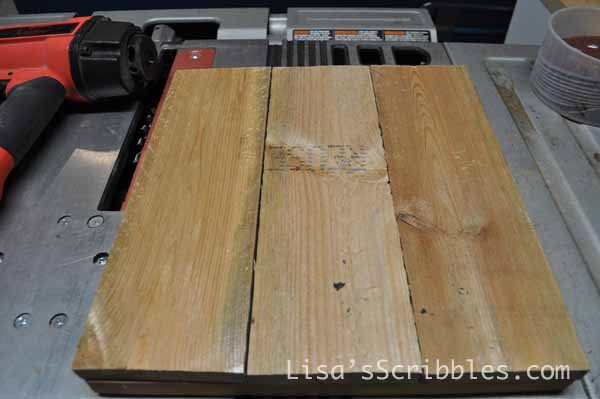
To start off with I dug through my supply of scrap materials of wood, some of it from pallets and others from the remodels I’d completed, and put together signs all various shapes and sizes.
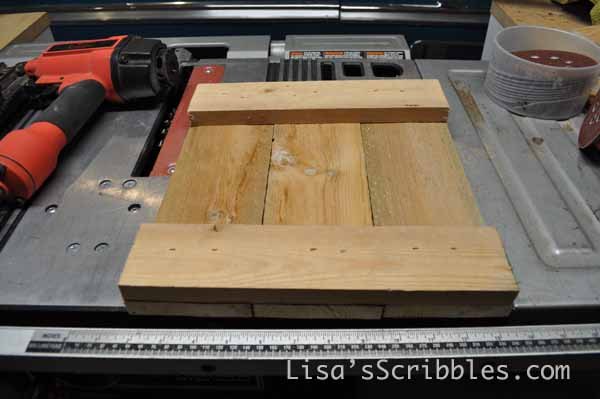
Then I used my nailer to add support strips on the top and bottom. Then I took my sander and smoothed out the surface to try and make it as smooth as possible.
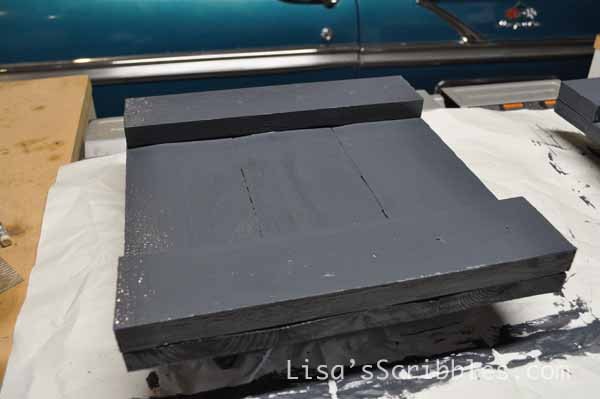
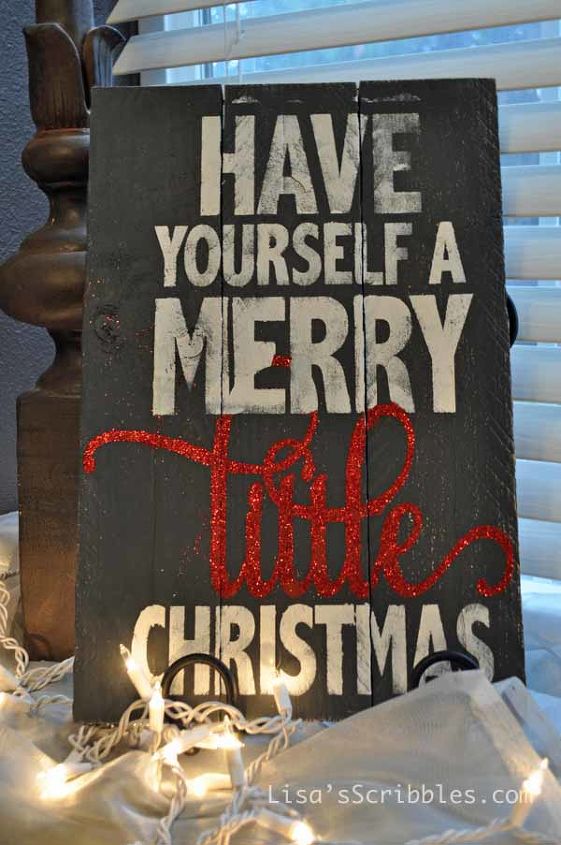
I then added a coat of paint in the color of my choice and let it dry.
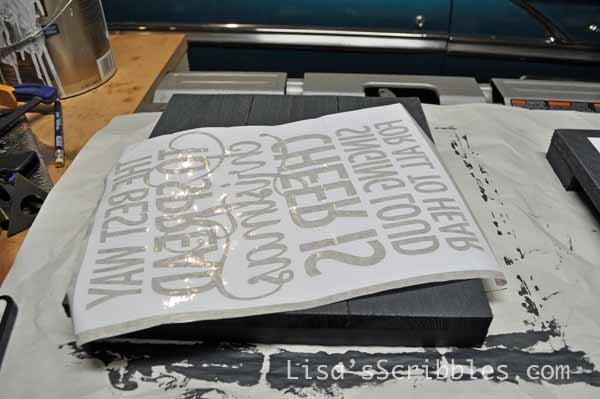
I used my Cameo and cut out the design onto the vinyl. I pulled off the letters, which left me with a stencil and then applied the application tape. You need this to transfer your stencil to your surface, it’s just too flimsy otherwise.
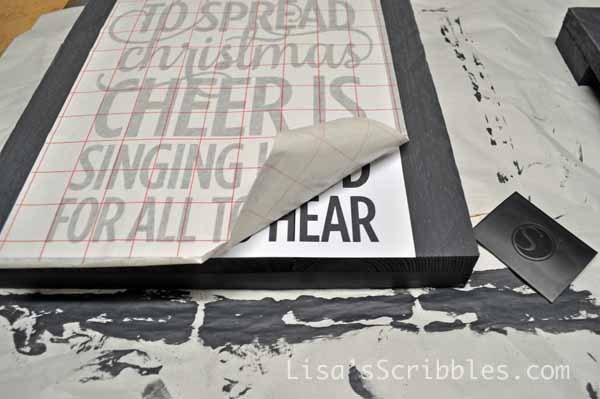
I then aligned it and used my spreader to push it onto the surface.
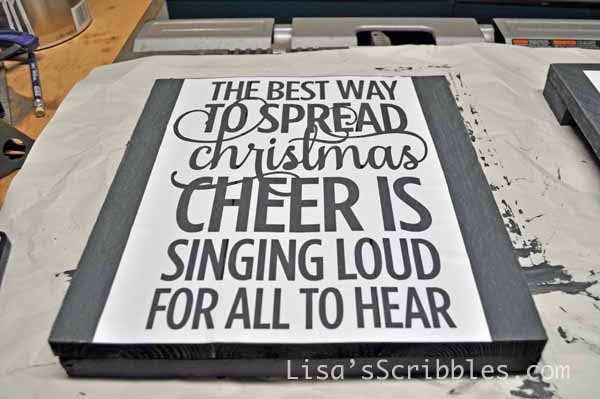
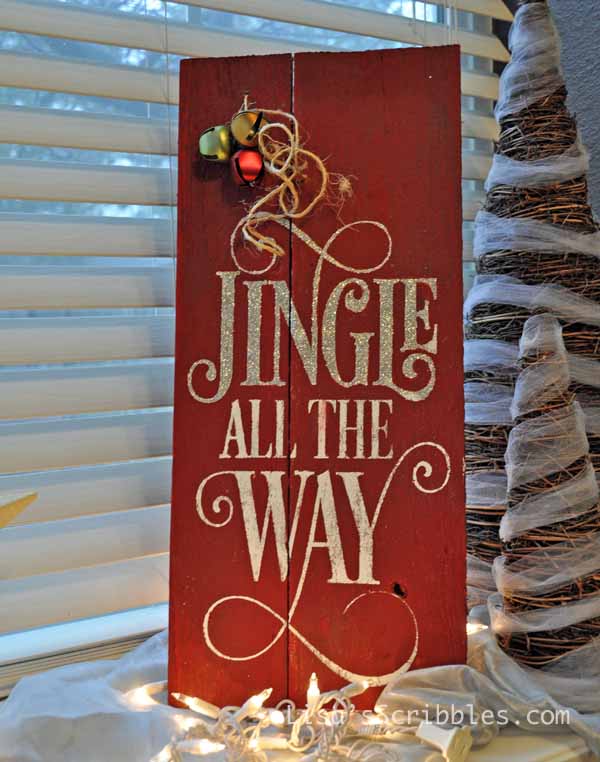
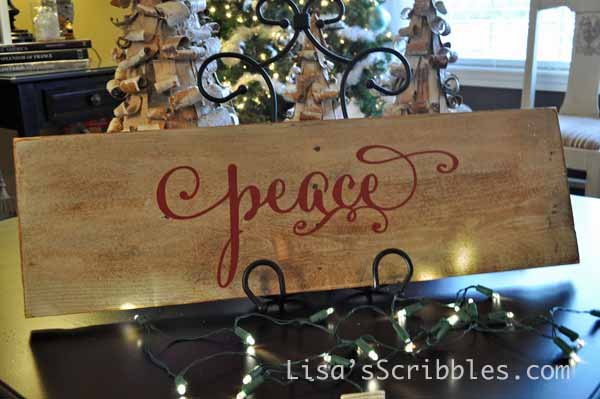
This is what you’re left with, a beautiful stencil. I used a stencil brush and dabbed it onto the surface.

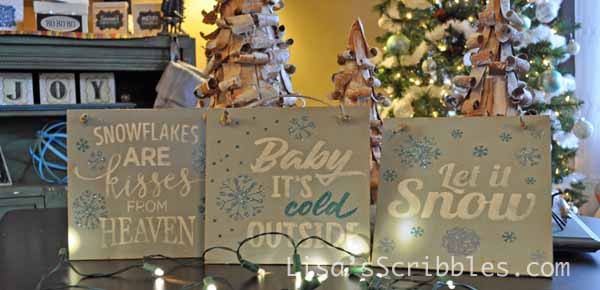
I also choose to mix mine up a little and stenciled “Christmas” in red paint and then added glitter.
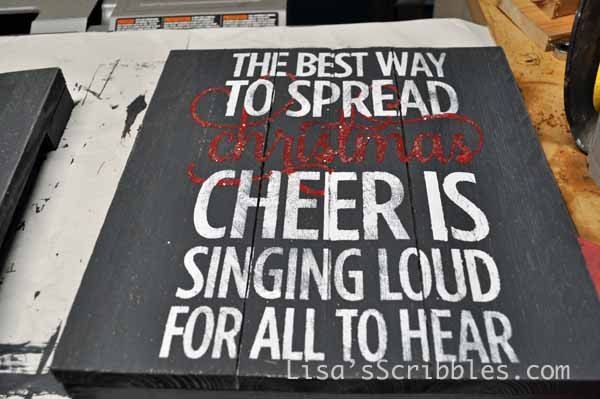
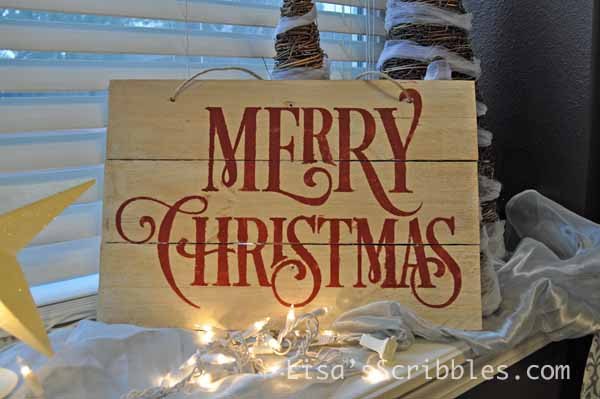
After the paint was dry, I peeled off the vinyl and here’s what I was left with. Pretty cute, right?
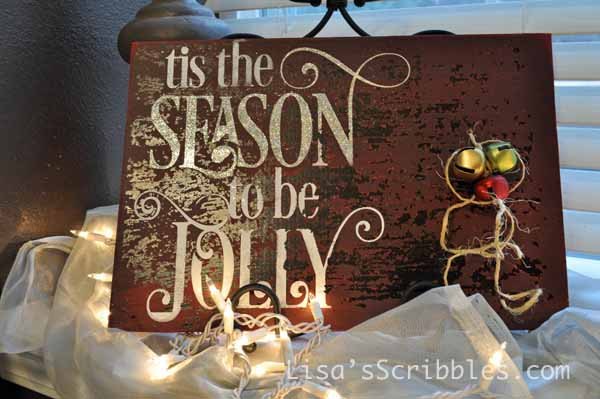
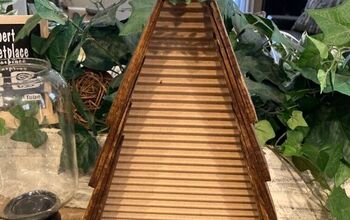
This beauty came to me as a scrap piece of wood from my stair remodel.
This one too. You can use more than pallet wood, you can use canvas or just about anything you've got lying around.
Tall, skinny, long...I mixed them all up.
The fun part is that I can do more than just Christmas signs with my machine, a lot more!

Want more details about this and other DIY projects? Check out my blog post!
Comments
Join the conversation
3 comments
-
These are fabulous!
-
These are wonderful!


Frequently asked questions
Have a question about this project?