


Easy Peasy Draped Ceiling...and Cheap!!
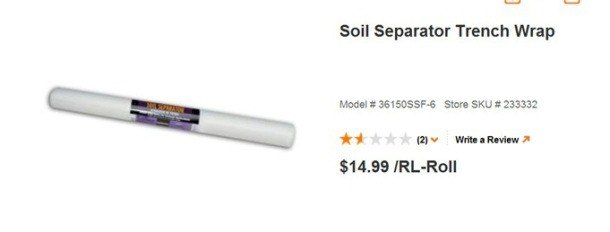
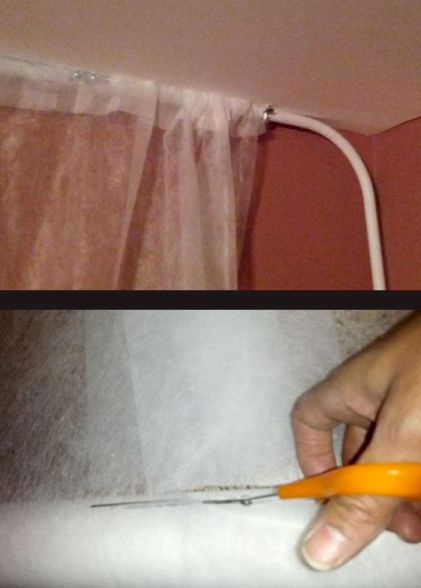
I am going to show you how to drape a ceiling for cheap...like less than $60. Yes that's what I said… less than $60!!! The trick is in the fabric and I use soil separator. Soil separator is used in septic systems to keep soil from leaching in the lines or something like that… I have a septic tank but I don't know anything about the septic lines. The fabric comes in rolls of 36" by 150' but you can get it longer and wider and I would have if I knew what I know now. Much wider rolls will go up faster. I used two rolls for a 12x15 room and I have some left over (not much though). The fabric is like sheer curtains. Although it does have a little body to it it’s very soft and wispy. It looks like tulle but not that stiff.
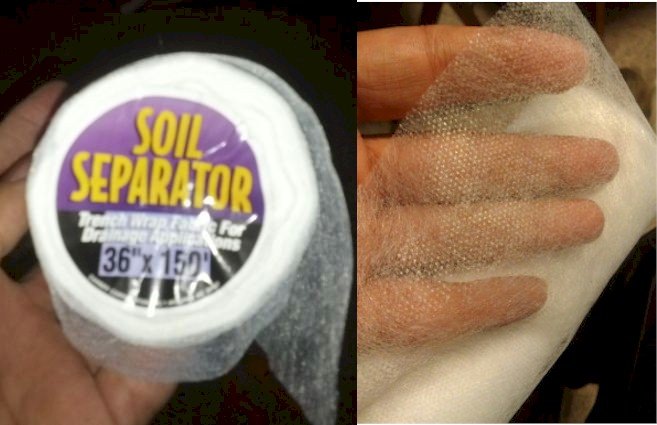
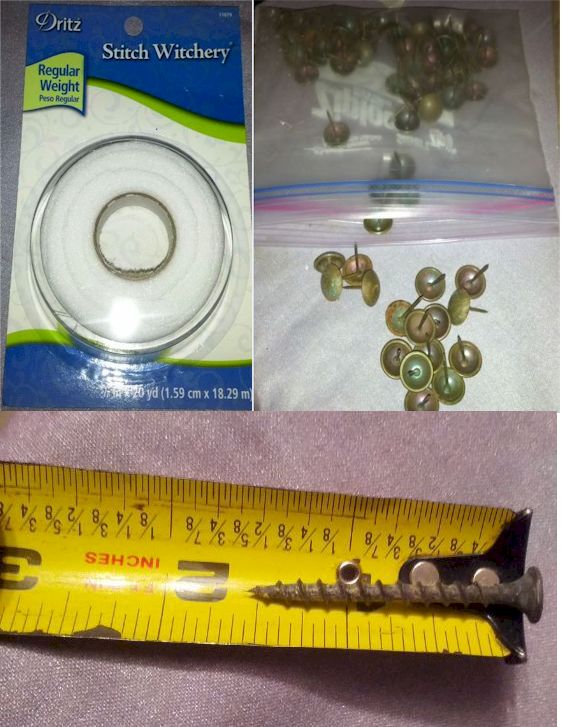
It can be purchased in Lowes and Home Depot. I purchased mine online but they do sell it in the store but let me warn you the packages look raggedy in the store. I think it is because it sits there for a while and if I remember correctly it is in the garden section outside. It is always dirty on the shelves though so I got mine online.
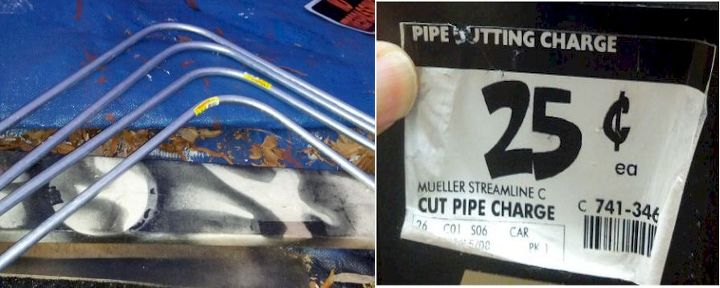
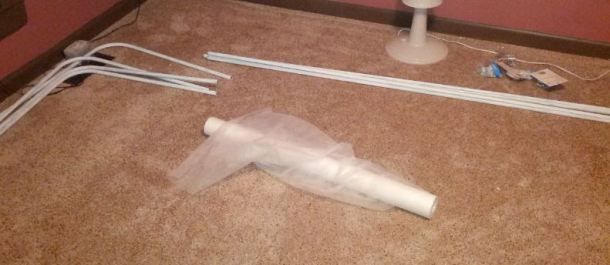
You also need EMT which is in the electrical aisle. It costs a little over a dollar a piece for an 8’ length. I had them bend four pieces for me for my corners and they are supposed to charge 25 cents a bend but they did not charge me.
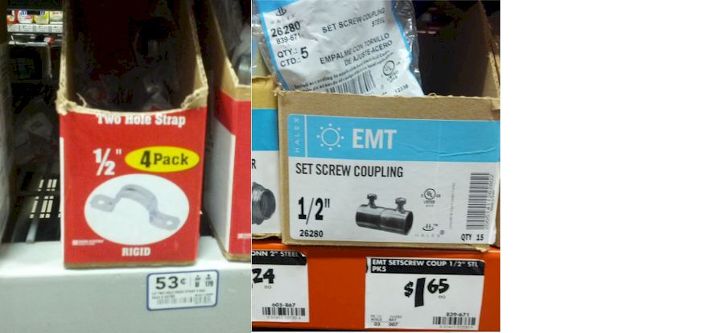
You will also need the cable straps one for each side of the corners and one for the center of each run so at least 12 pieces (3 packs) and the screw set couplings… you will need 8 pieces (2 packs) You also need (not pictured) a jig saw with a metal cutting blade and some masking tape…the cheap yellow kind.
AND at the bottom of the supply list is Stitch witchery to make your seams, upholstery tacks (not regular tacks) I say upholstery tacks because the nail part is longer and will go in the ceiling without pulling out. My ceiling has been up 4 years now and tacks are still in place. You will also need screws to hold your cable straps in place. I like the 1.5” screws because you can leave them loose without them pulling out of the ceiling. Skinny screws ( are okay. At this point you are probably wondering how much damage you are going to cause to your ceiling if you take this down. You will leave screw holes and tiny tack holes….all of which a simple swipe of joint compound or spackling paste across the holes should suffice.
I painted my EMT with white spray paint but now in retrospect it would not have made a difference if I did not paint them because you can’t really see through the fabric on the rods. Just make sure you take those yellow price stickers off. You WILL see that sticker through the sheer fabric
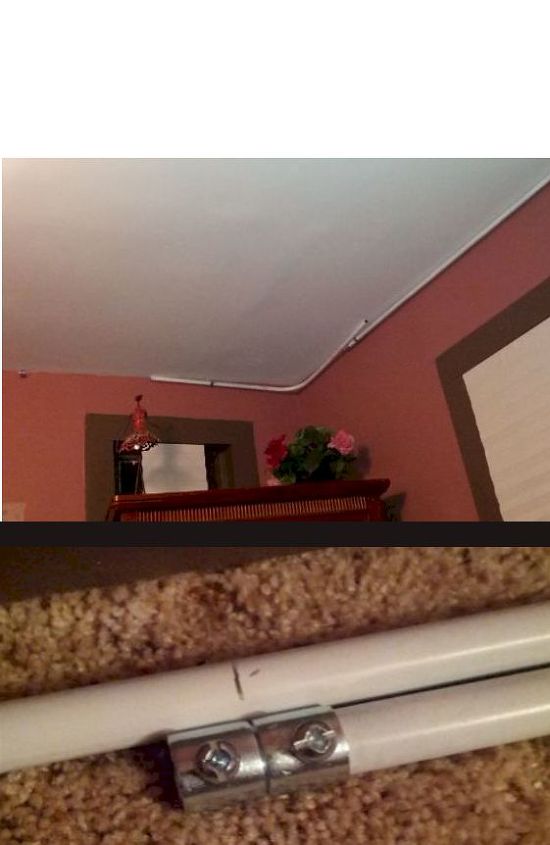
Hang your cable straps in the ceiling loosely… about an inch from the wall. You can gauge this by using the corner pieces and see how far you need the braces from the ceiling

Hang your corners in place and attach one coupler. Put your center pieces in place in one side and mark the other side on the center line of the coupling. Cut it with a metal blade in your jigsaw. Only screw the pieces together after your fabric for the whole wall is in place.
This is your work flow now. It goes fast and you can do this totally alone but it goes MUCH faster if you have company. Fold your fabric to make a 2” pocket. It does not have to be perfectly straight AT ALL. Iron your stitch witchery on the edge to make the pocket.
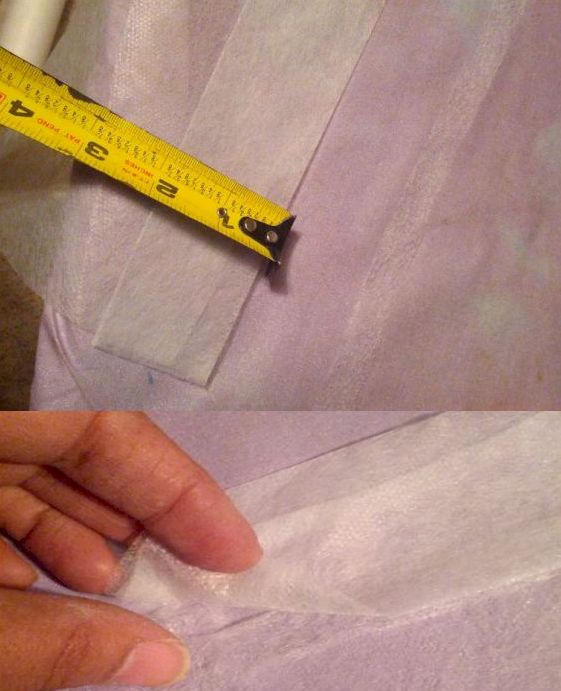
Feed it onto your rod, pull the fabric towards the center and cut the fabric a little longer than the center point. If you cut next to the roll your cuts will be fairly straight. Again perfection is not needed here. I cut mine about 5” longer than the center point of the ceiling
Gather the fabric where the center point is and wrap it with masking tape. About two passes of tape. Then stick it in the ceiling with a thumb tack. Last step is to tighten your cable straps. Only one screw is needed but you can add a second if it makes you feel any better. I never even tightened mine up completely

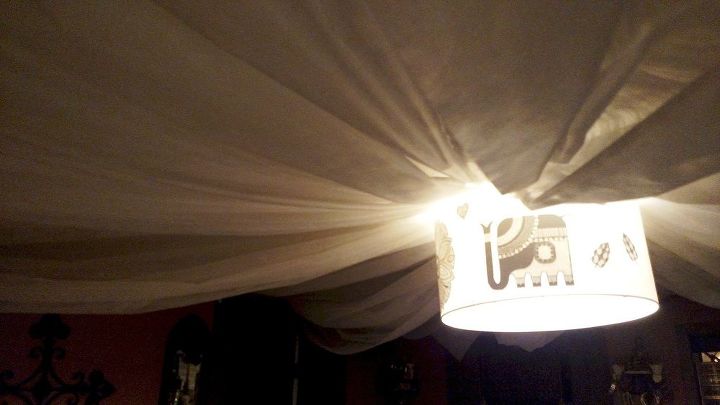
When you fill a rod attach it to the coupling and move on to the next piece. Make your ceiling s full or as tight as you want it. I wanted a tent effect so my fabric is pretty loose. Doing this is pretty straight forward and as you do it you will understand it.this is how the center of my ceiling looks
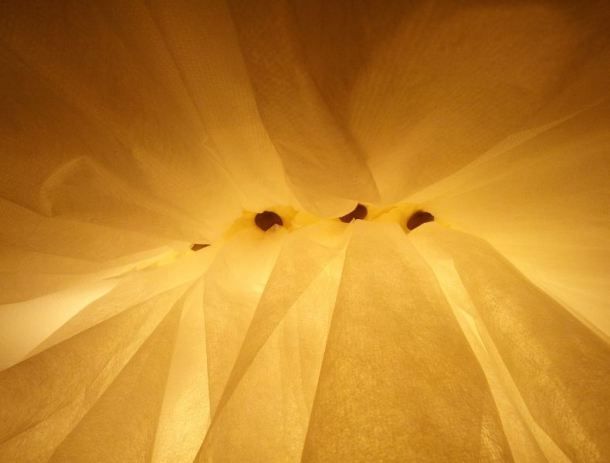
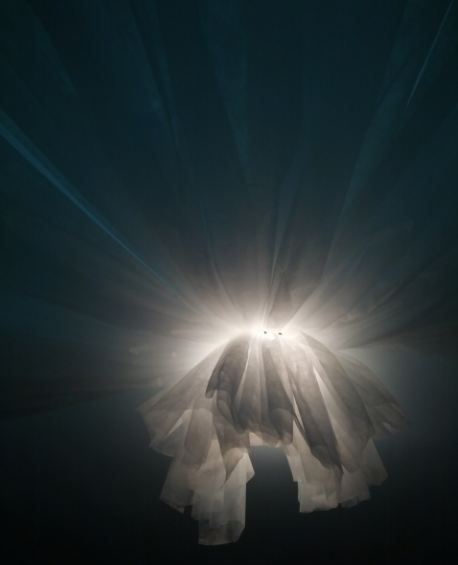
The light is under the center and apparently this fabric is fire retardant because mine never even turned dark from the lights. (I have those 5 year bulbs in)
.As you see on the right side of the photo some pieces have gaps. To fix this just tuck it under the piece next to it or pull it tight, close to the ceiling and tuck with another tack. For this step you can use the cheap tacks. I did not tack, I tucked.
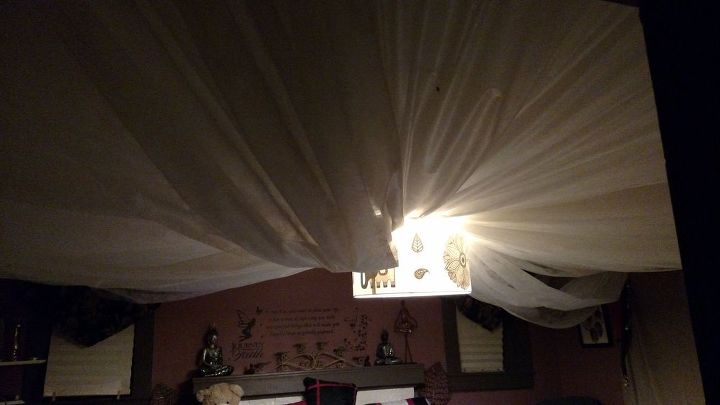
Last question you may ask about is dust. The fabric is constantly moving when you walk under it so I have not noticed any dust at all. In taking the last photo I shook mine real good to see how much dust came out…none. I do occasionally get a fly stuck in it. I shake them out. Happened probably 3 times the whole time it has been up. Also I did not put any fabric over my bed. I have a bare triangle. For some reason I did not want it over my head so that area is blank. No one has said it looked weird or anything.
If you have any questions please ask! I will help out as much as I can but trust me when I tell you, it goes really fast and this is a super easy project. I did this 4 or 5 years ago and it still looks great, The photos do it no justice. My ceilings are not very high so its hard to take the photos. PS... you can make sheer curtains out of this stuff as well!!

Want more details about this and other DIY projects? Check out my blog post!
Comments
Join the conversation
2 of 19 comments
-
Wow how many curtains did it take? Whatever works!!
-
I just read this and it's lovely! Do you think the material would weather a bathroom ceiling?


Frequently asked questions
Have a question about this project?