


Easy DIY Wood Photo Transfer
You probably have the supplies at home!! Scrap wood, Modge Podge, a home printer, and stain if you like....
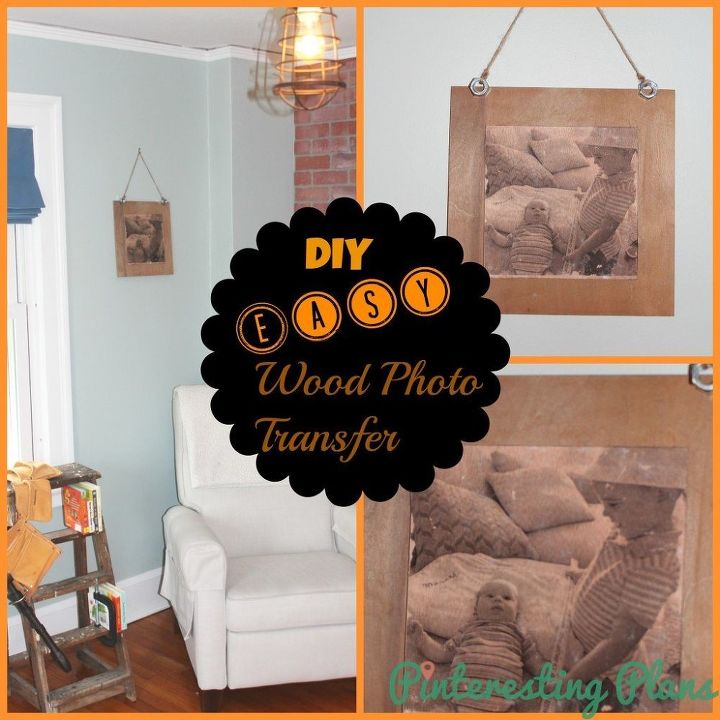
I wanted the image raised, so I transferred the image to a small square of wood and glued that to a larger one. I stained the larger piece of wood with homemade vinegar stain (www.pinterestingplans.com/vinegar-wood-stain/)

Cover your wood in an even layer of Modge Podge with a foam brush. Smooth out the bubbles with a credit card. Let it dry overnight. Once it's dry you want to saturate the paper with a sponge.
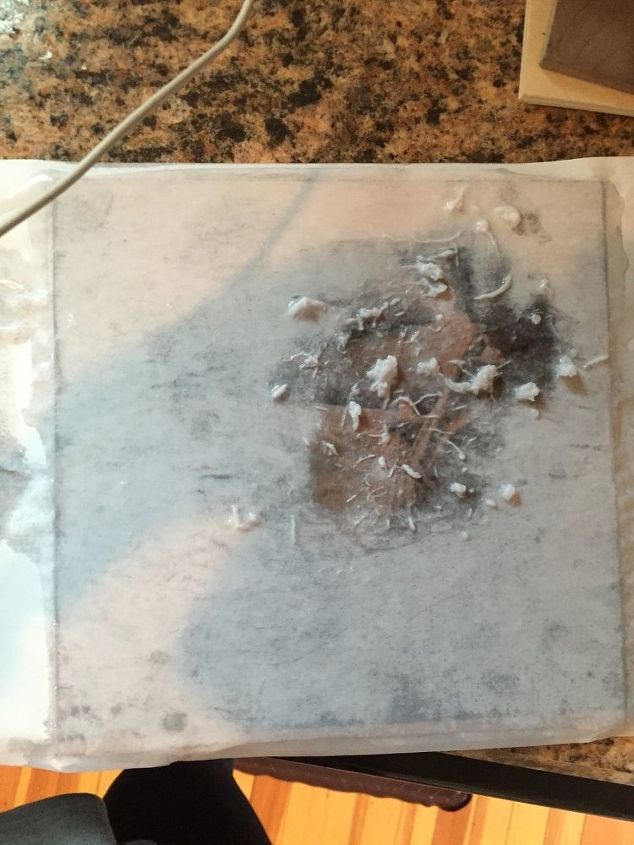
Push the paper with your fingers to peel it off and the picture will stay on the wood. Watch your fingernails!!

I repeated this process 3 times (drying between) to get all the paper off.
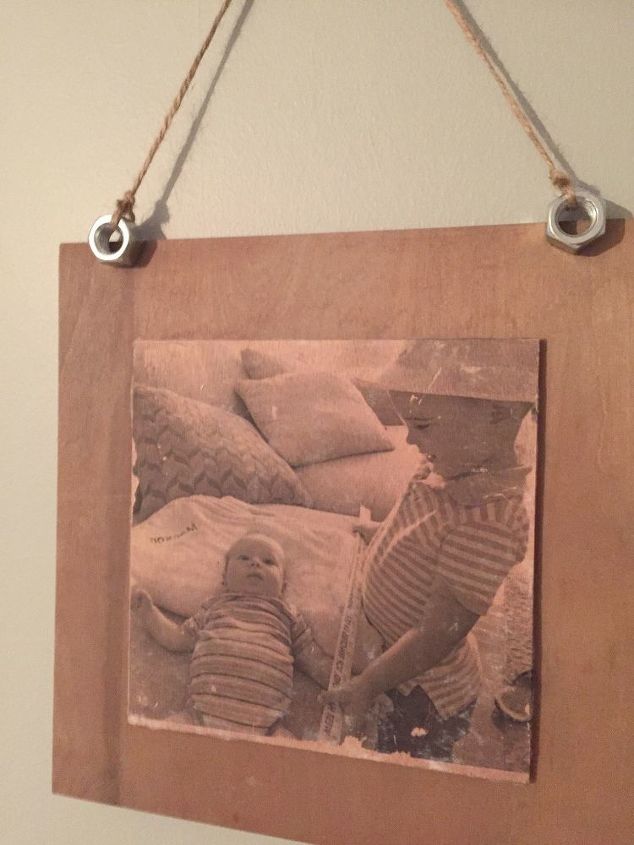
I added nuts and twine to hang mine but that's up to how you want to display your photo.

Want more details about this and other DIY projects? Check out my blog post!
Comments
Join the conversation
2 of 27 comments
-
It's lovely and I absolutely want to try this !
-
Thank you!!!!


Frequently asked questions
Have a question about this project?
Do you seal your project? If so, with what? My projects look great till I seal them, then they turn cloudy. Any ideas?
did u put water or mod podge podge on paper