


DIY Fire Pit Cover and Game Table

by
Lori Greco
5 Materials
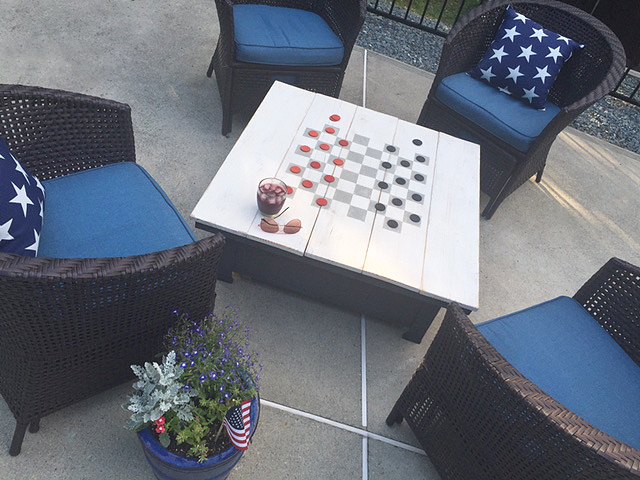
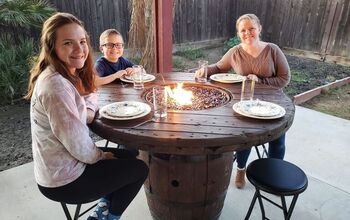
Make a cover for your fire pit and add a game board and make it do double duty! This is a great project for all those firepits sitting in our back yards to make them more functional and pretty.
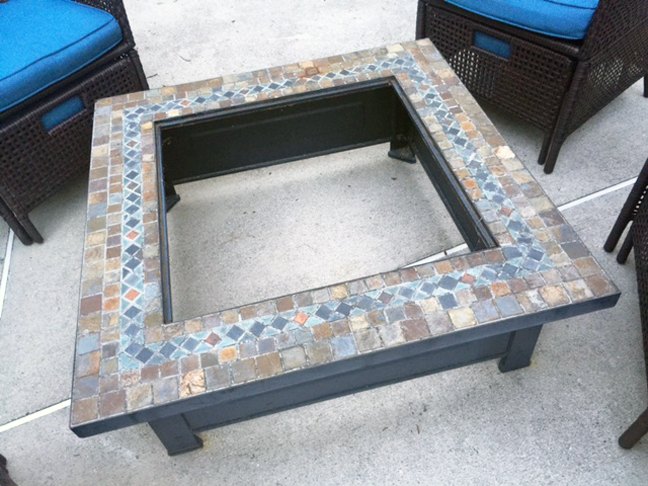
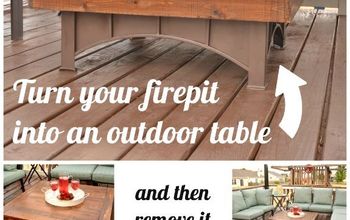
We have a built-in fire pit that we constructed last year but we also have a portable firepit that we used a lot but the metal insert started wearing away. We threw away the insert and kept the outside base because it was in good shape and thought we could do something with it. So I decided to make it into an outdoor table with a game board for a little extra fun. This project can be done for working fire pits too since this table top can be easily removed.
Here’s how I made the table top – and game table – for our old firepit:
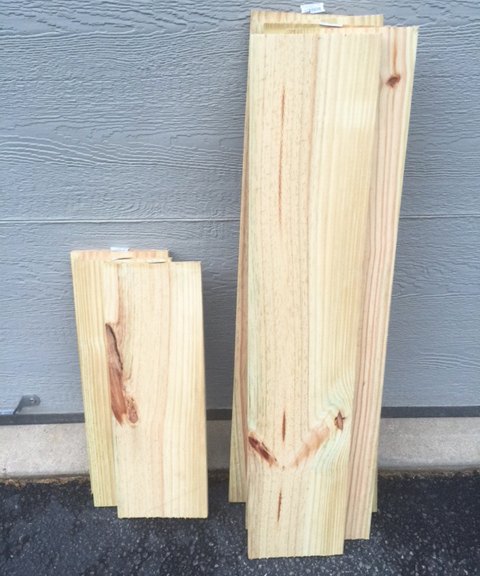
First, I needed to find the right wood. All the research I did suggested we use a weather tolerant wood like cypress or marine plywood but both were very hard to find so I went with pressure treated wood planks – the same wood used in decking.
In addition to the wood planks, you’ll also need the following:
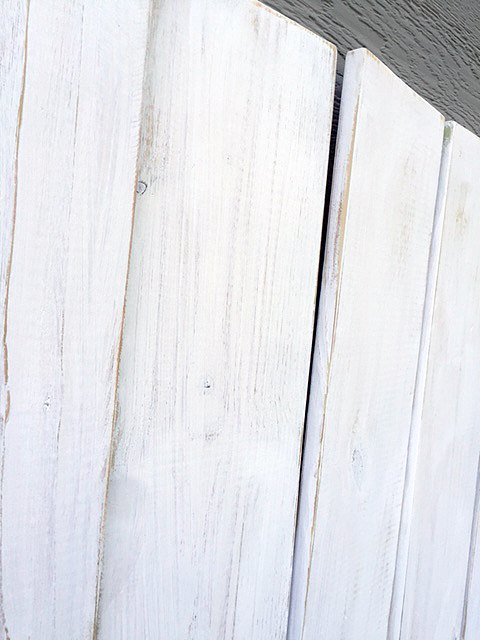
1. First, I sanded the 8 planks of wood to smooth the edges. Then I painted one coat of my white exterior paint. I only did one coat because I wanted a faded, transparent look to this table top. I sanded them down again to give them a more worn look.
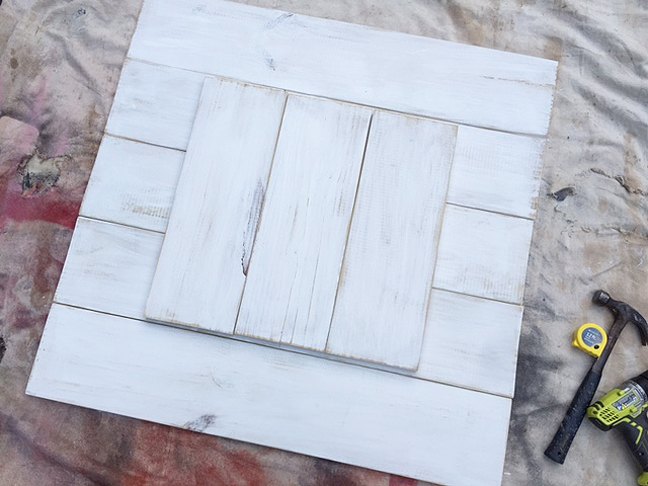
2. Next, I needed to attach the planks together so I arranged the 5 larger wood pieces upside-down and placed the 3 smaller planks on top of them, going in the opposite direction. I measured to be sure to 3 smaller planks were placed in the exact center.
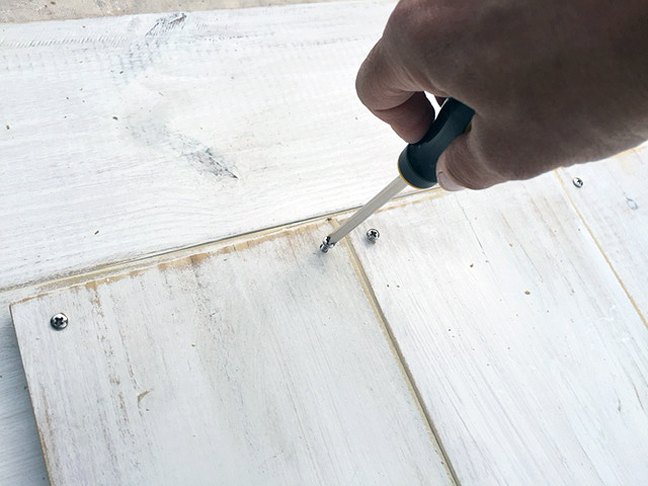
3. I used wood screws and screwed the smaller planks into the larger ones. Be sure the screws are either galvanized or stainless steel to hold up better outdoors.
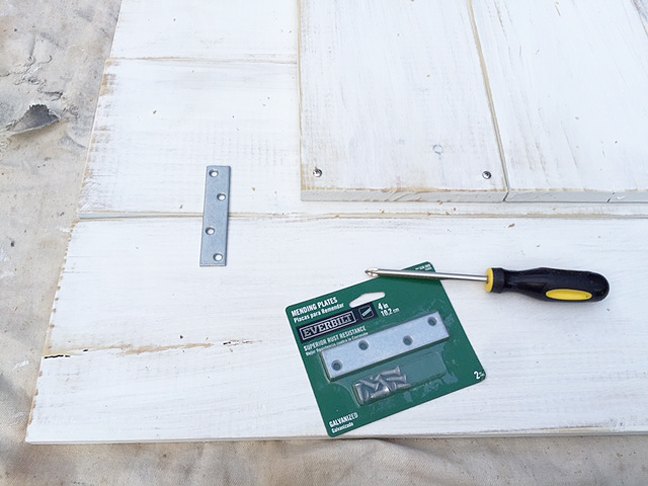
4. Since the inside square panel is too short to reach to the two end pieces, I used 4” galvanized mending plates to join these end pieces.
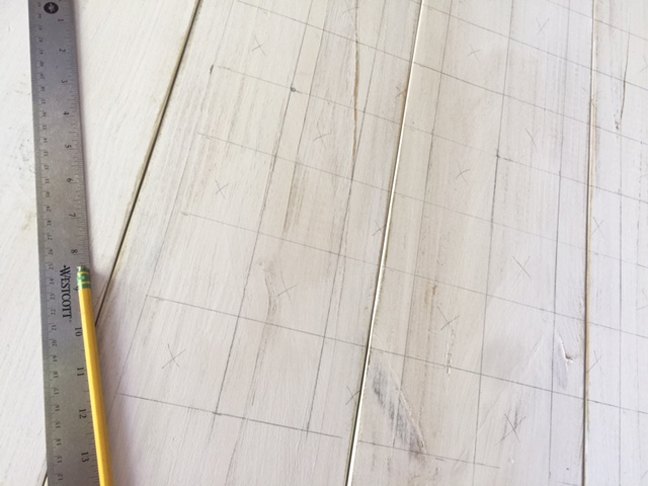
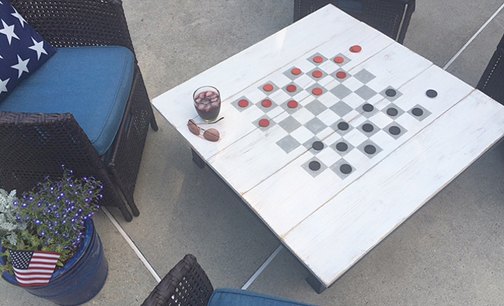
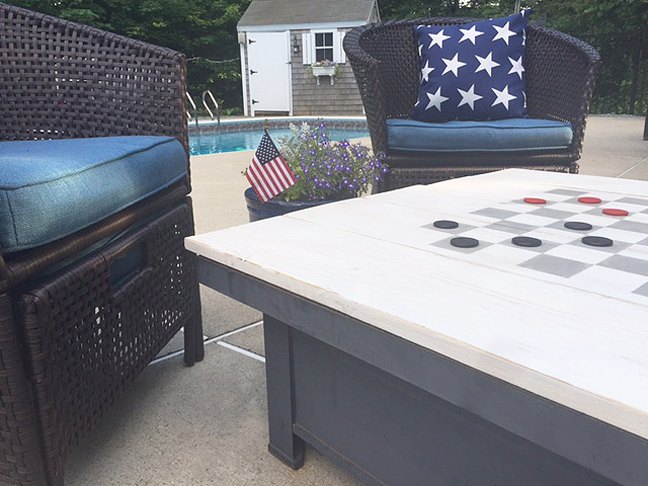
5. Now your tabletop is constructed! You can add the checker board pattern to make this tabletop more useable and fun. First, measure the game board square so that it fits your table top. I did a 20″ square and made the individual squares 2-1/2″ each. Keep in mind there are 64 squares on a checker board.

6. Next, paint the squares. You can use painter’s tape but I seem to have better luck painting them by hand. I decided to use the gray on half the squares and kept the rest the color of the background.
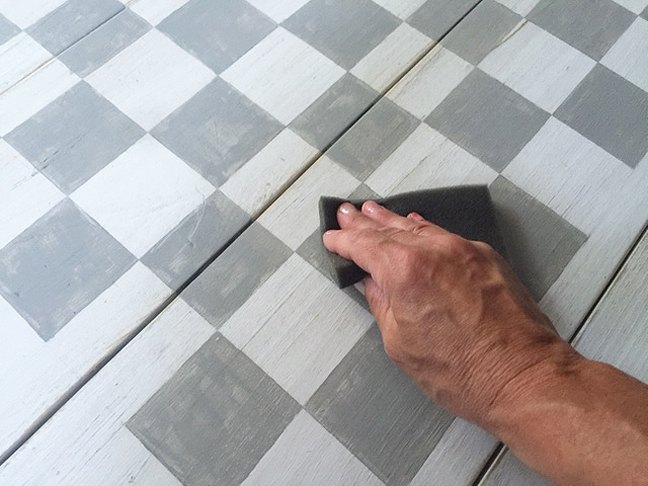
7. After I painted my gray squares, I let them dry completely then lightly sanded them to add to the worn look.
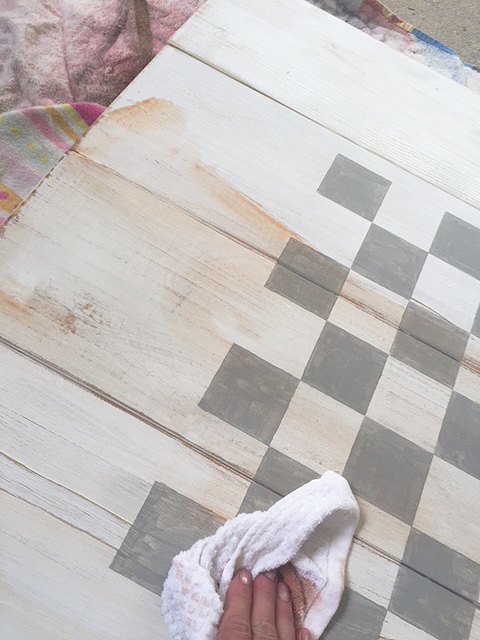
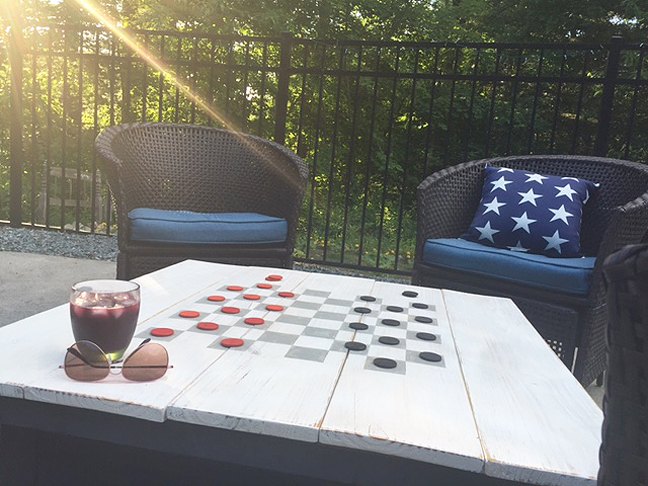
8. When done, I added 2 coats of a pecan colored stain to the entire piece. I liked that the stain protects the wood – especially the exposed areas and I also like that it gives the tabletop/game table a slightly darker look.
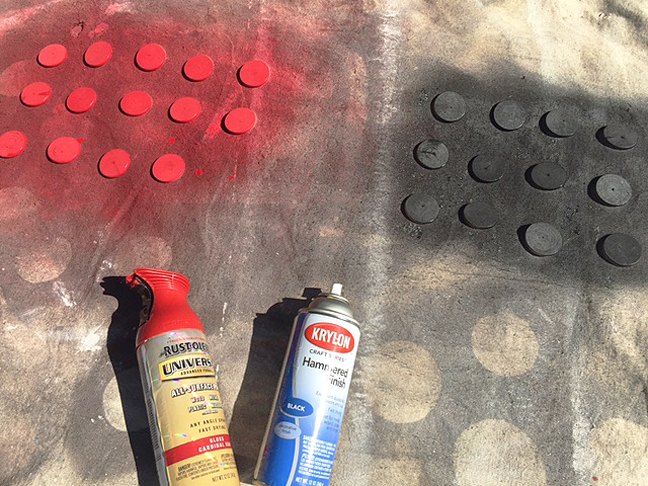
9. For the game pieces, spray paint both sides of your wood circles with two different colors. Let dry. Each player needs 12 game pieces but I made two extra for each.
If you’re making a table top for a working fire pit, you can add handles to the top so that it’s easier to take on and off. Since our site pit is no longer working, our table top will stay on but there was no easy way to attach it. This worked for me, making this new table easier to store in the winter time.
Want more details about this and other DIY projects? Check out my blog post!
Comments
Join the conversation
2 of 8 comments
-
What a neat idea, and by the way your patio furniture is very nice looking as well!
-
This is great! I am always looking for stylish games with which to entertain outside.


Frequently asked questions
Have a question about this project?