


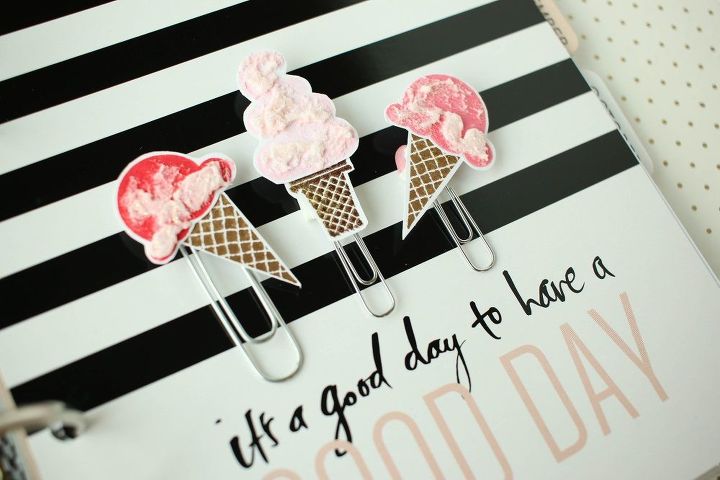
DIY Ice Cream Cone Paperclips
7 Materials
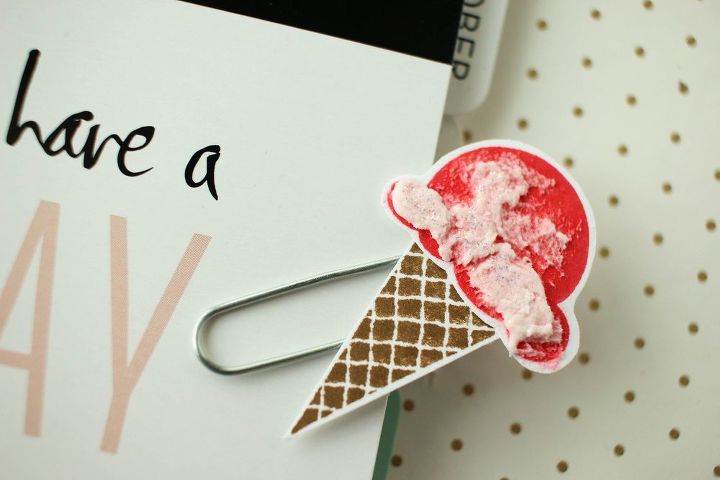
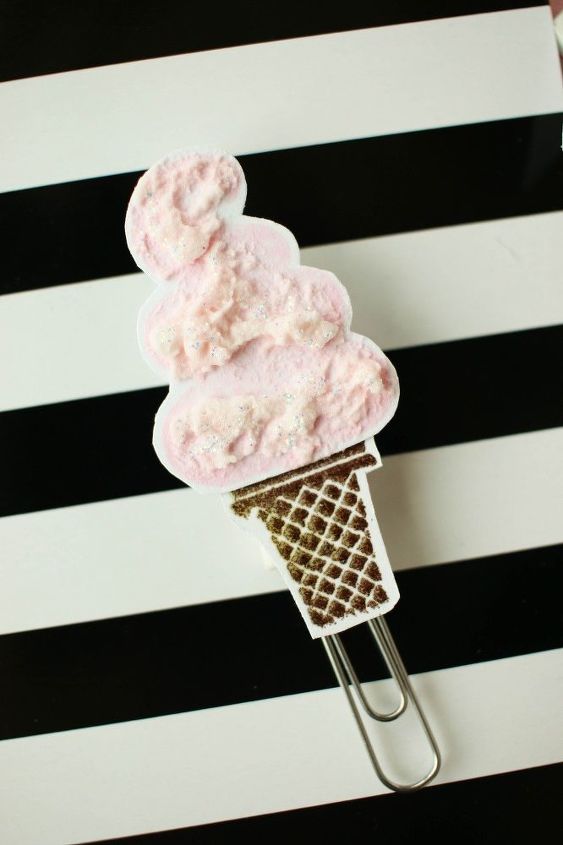
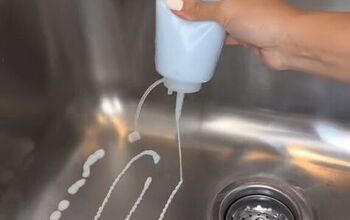
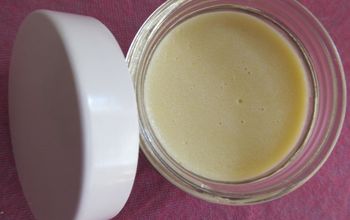
These clips look good enough to eat! I used a stamp set by Stampin Up! to stamp out the ice cream cones. Then, I mixed a little white Dreamweaver's embossing paste with someVintage Pink Glimmer Mist and applied it with a paint brush. After the embossing paste dried, it left a fun texture that looks liker creamy ice cream! I then adhered the ice cream cones to a paperclip with foam adhesive.
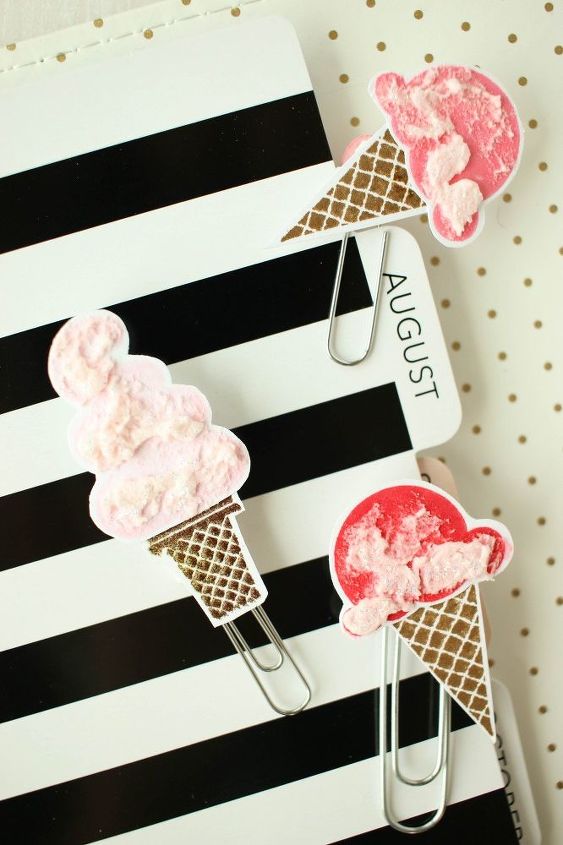
I use these clips in my planner as bookmarks. I currently have the Heidi Swapp memory planner and I love it!
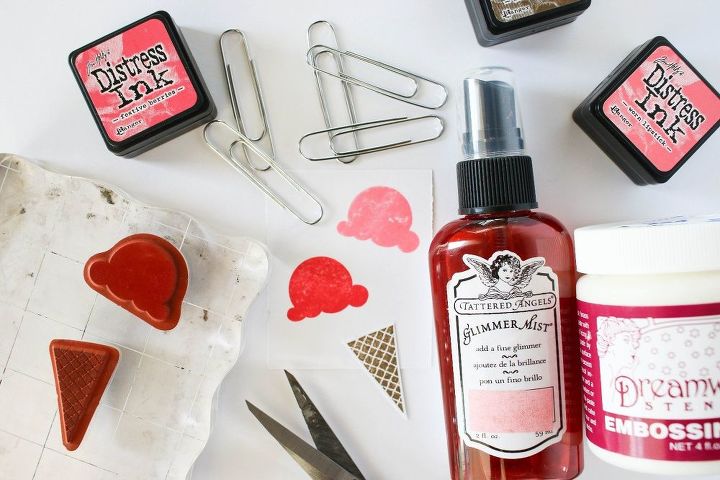
Here is a look at the supplies I used:
They are so cute, easy and fun to make! Not only can they be bookmarks, you can use them to clip photos, journaling cards, and to do lists.
Make a few extra to give to a friend or your child's teacher!

{
"id": "3491205",
"alt": "",
"title": "",
"video_link": "https://www.youtube.com/embed/T37EkHmpJbs",
"youtube_video_id": "T37EkHmpJbs"
}
{
"width": 634,
"height": 357,
"showRelated": true
}
I also made a video of the process if you want to see in more detail how I created these, and if you want to see my blog post, visit my blog atMarie Nicole Blog!

Want more details about this and other DIY projects? Check out my blog post!


Frequently asked questions
Have a question about this project?