


DIY Drawer Dividers
3 Materials
I made these DIY drawer dividers in one afternoon. My kitchen utensils drawer was a jumbled mess. After a big purge, I decided what to keep, took measurements, and made these custom dividers with hobby board.
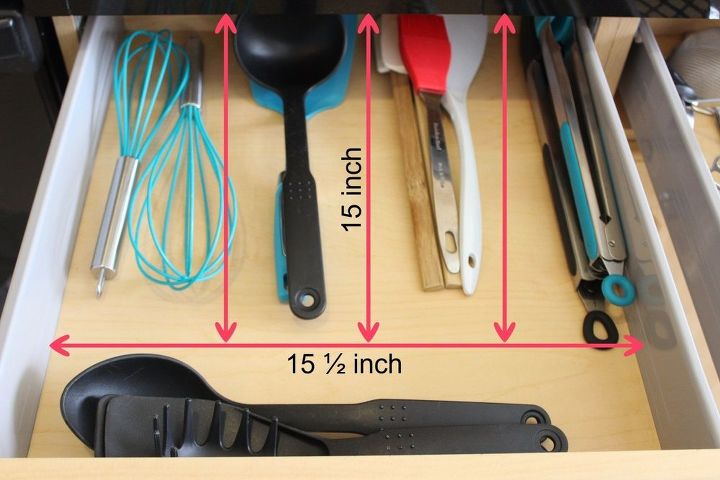
Step 1: Measure the length and depth of the drawer. Design your own divisions, according to your needs.
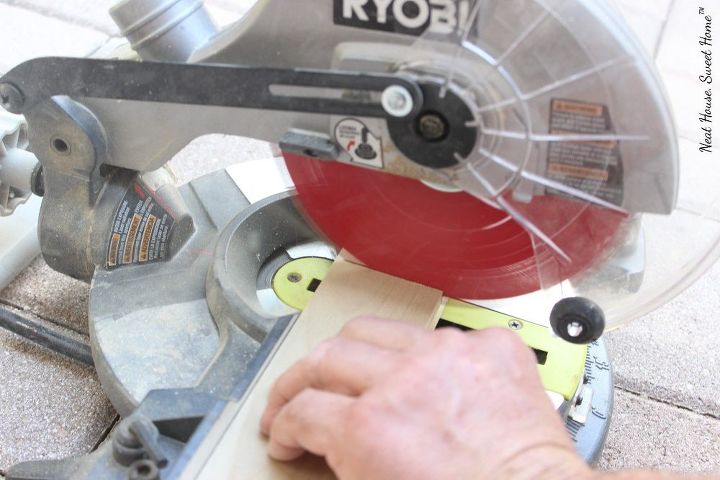
Step 2: With a miter saw, cut hobby board pieces according to the measurements taken on step 1.
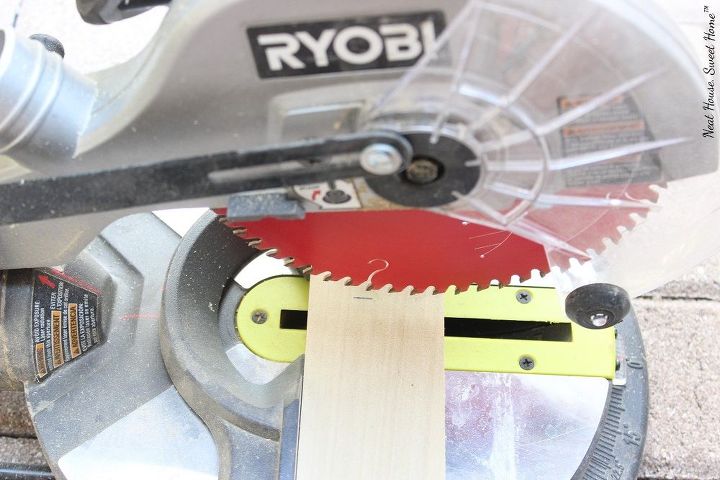
Step 3: Optional- With the same miter saw, you can create small notches (cuts on the board without going all the way through) on each separation, in order to snap the pieces into place. Like a puzzle. This reinforces the sides of the dividers.

Step 4: Add glue and put the pieces together as per your template on step 1.
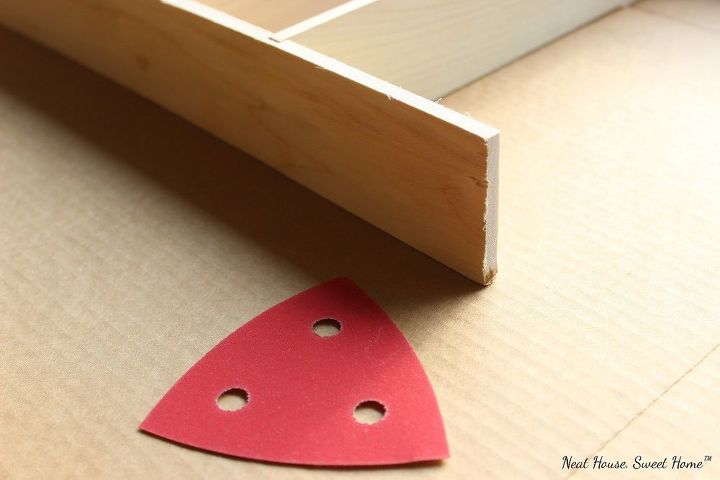
Step 5: With a piece of sand paper (320 grit) sand edges for a smooth finish.
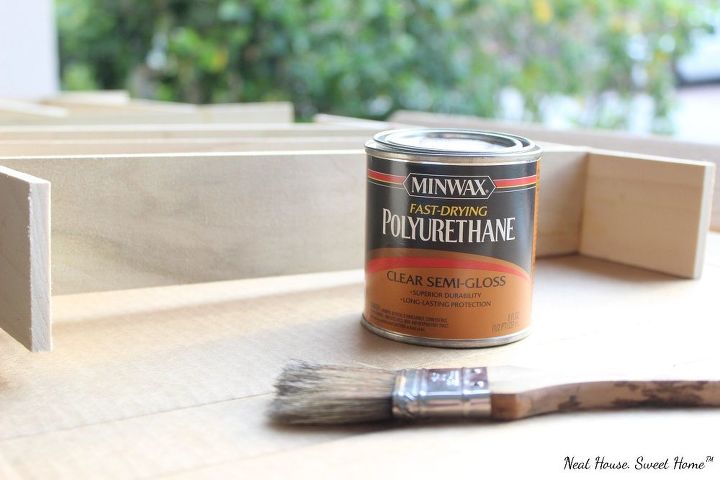
Step 6: Add a coat of polyurethane to seal the wood. This protects the wood and adds a nice sheen to it. Allow approximately 30 minutes for the pieces to fully dry.
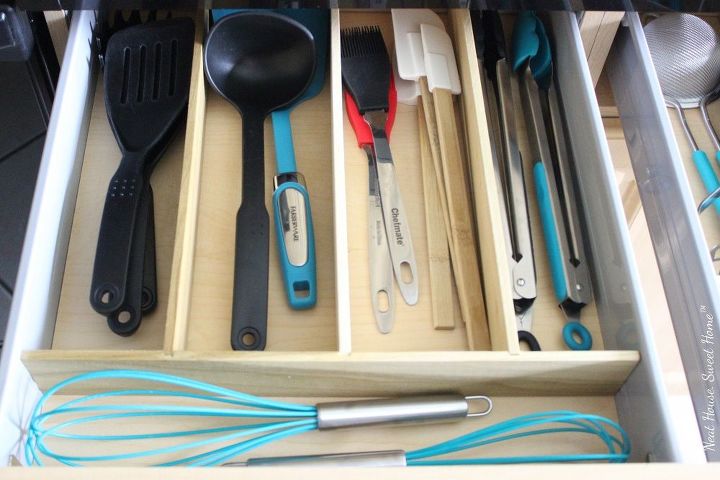
Step 7: Put the dividers into place.
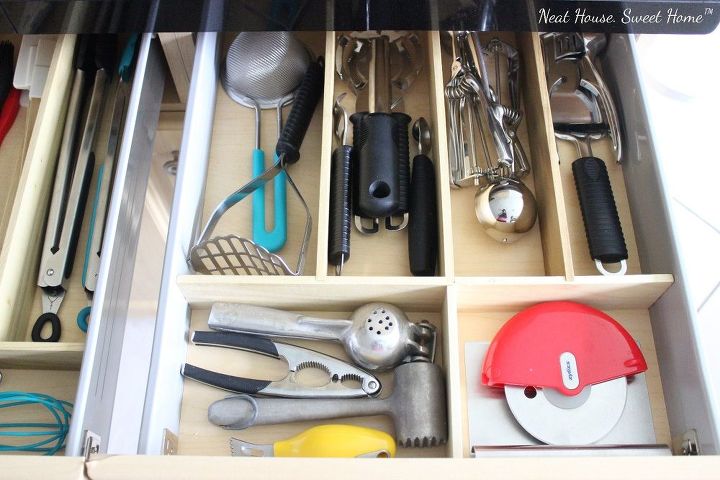
Ever since I made these dividers, my utensils drawers have been as organized as they look in these pictures! I don't have to dig anymore for anything. Everything has a place and I can find it all quickly!

Want more details about this and other DIY projects? Check out my blog post!
Comments
Join the conversation
3 of 32 comments
-
Was going to do this anyway. Thanks for making it easier
-
😊


Frequently asked questions
Have a question about this project?