


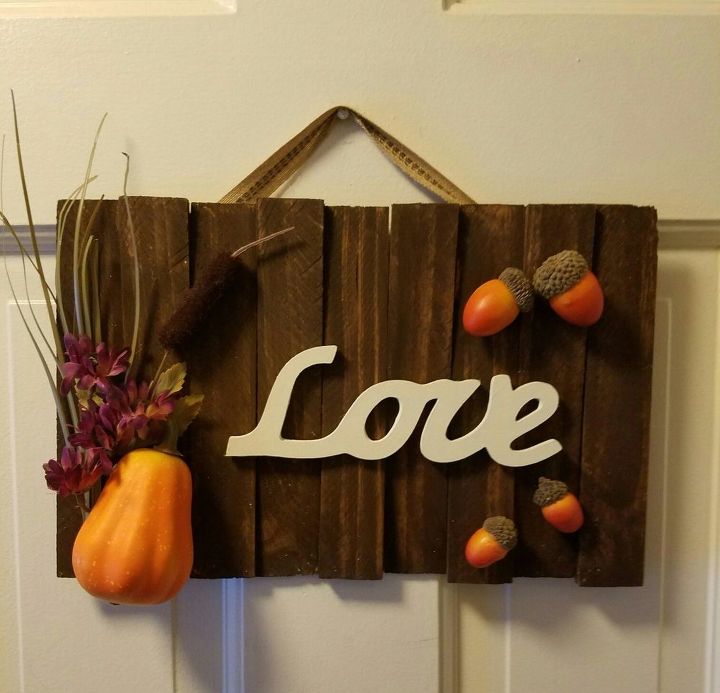
Make a Quick & Easy Fall Sign!

by
Anita K
8 Materials
$10.00
30 Minutes
Easy
You can make a seasonal sign in a few simple steps!
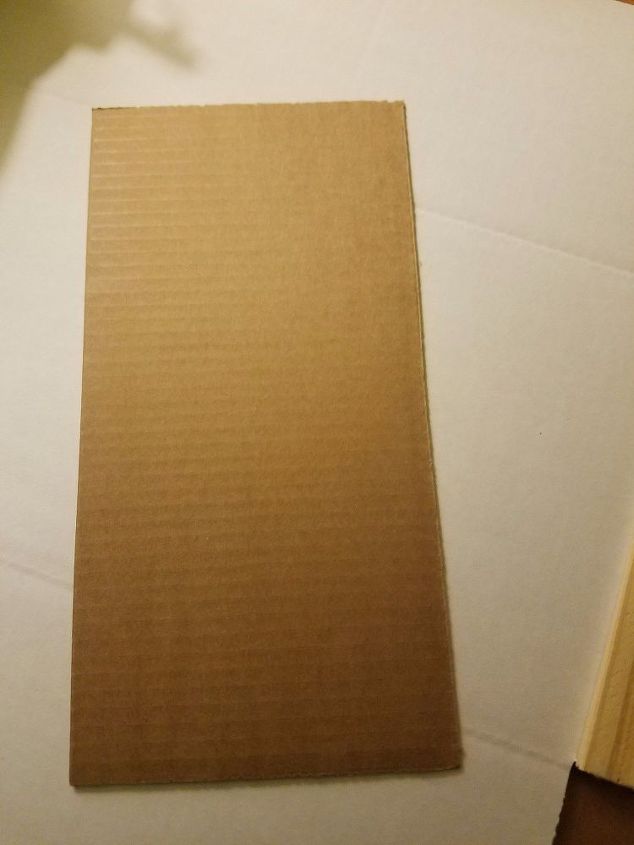
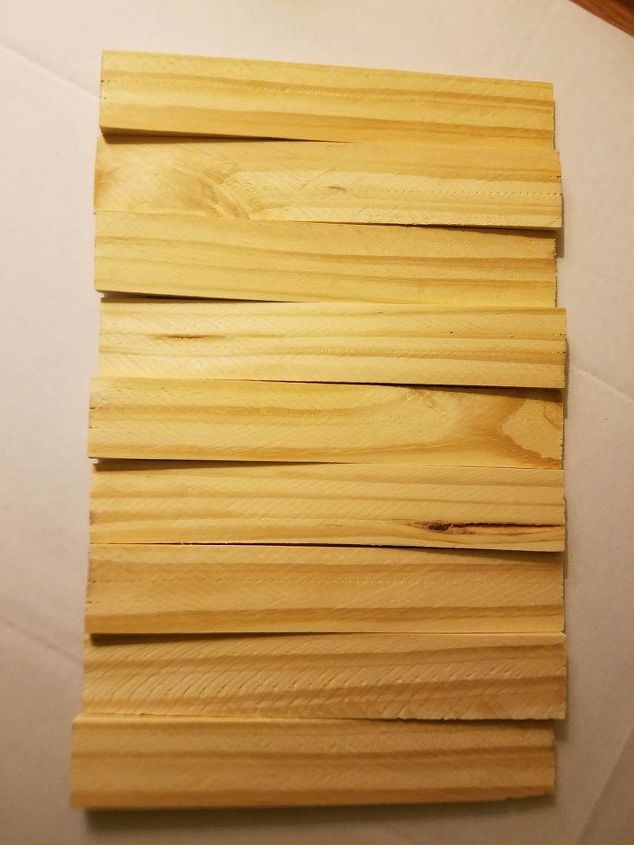
Cut a narrow piece of cardboard on which you will glue 6" wood shims.
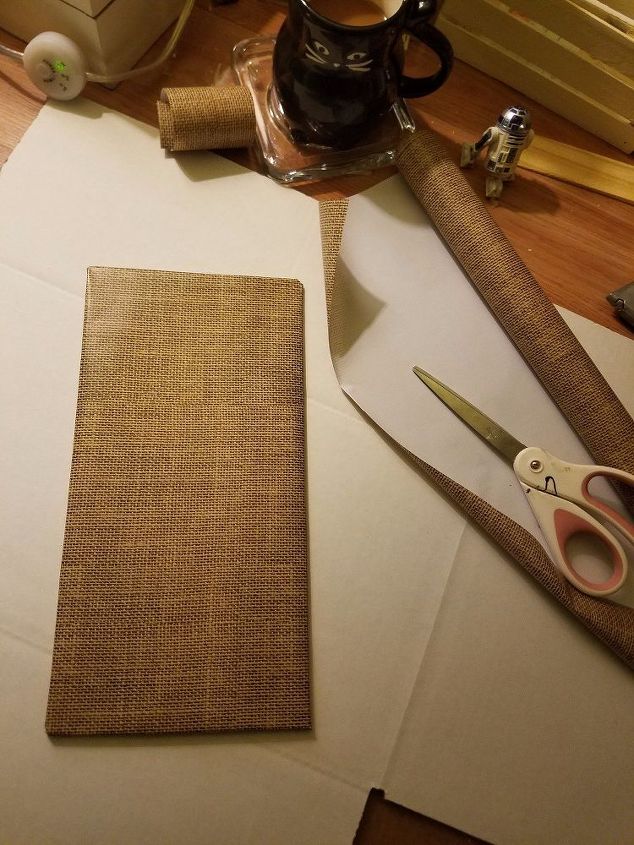
Optional: Cover one side of the cardboard with card stock, or gift wrap. Mine is a burlap pattern gift wrap. This will be the back of your sign. I prefer to have a fully finished product.
Glue the shims - alternating thick side to thin side, on the opposite side of the cardboard (the side that is not covered with the paper). Alternating the sides will give your sign a woven effect.
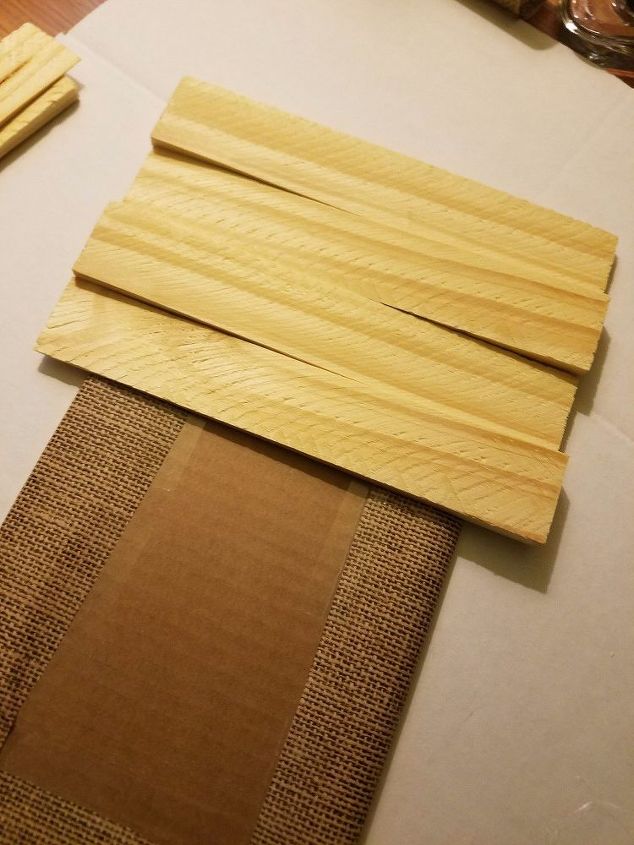
Shim Pattern in Progress
Completed Front of Pattern
Paint the shims with dark wax, or a paint color of your choice. Wipe off the excess paint or wax with a paper towel so the grain shows through.
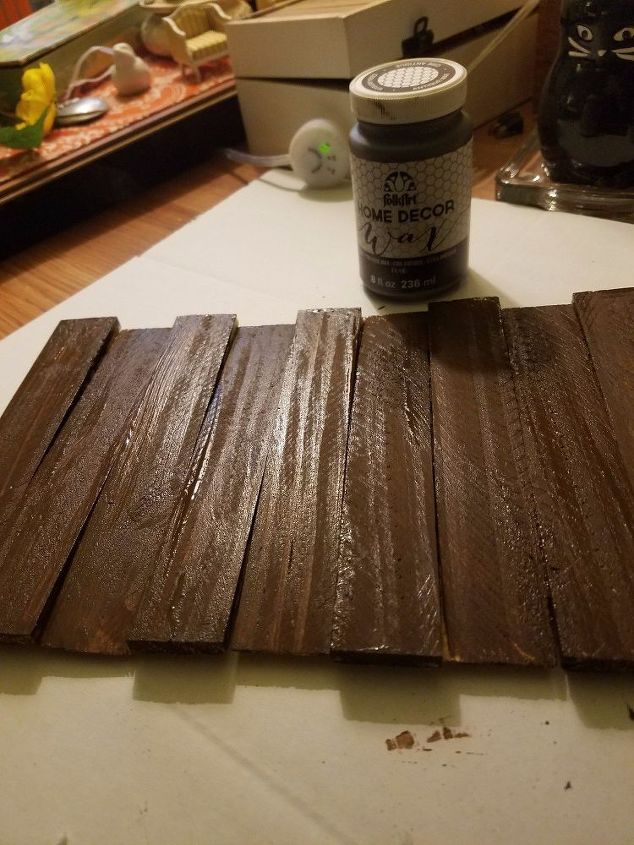
Wipe Off Excess Wax or Paint
Cut a ribbon and hot glue it to the back of your sign to serve as a hanger.
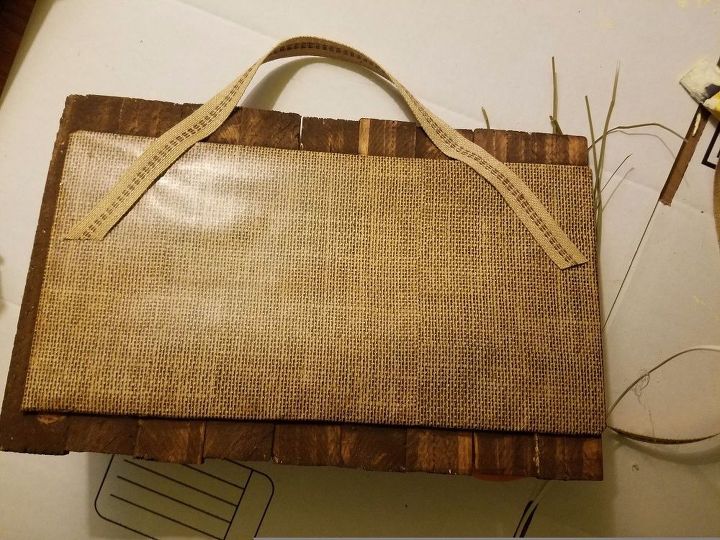
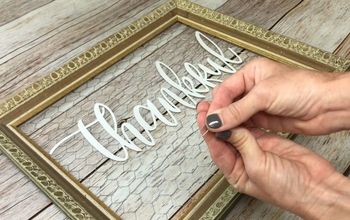
Glue on a pre-made wood word, silk flowers and plants as desired. I painted the sign so it would pop against the dark finish.

Display Your Sign Anywhere in Your Home!
Comments
Join the conversation
4 of 15 comments
-
I KNEW I "needed" to buy some shims! Too cute, Anita!
-
Super Cute :)


Frequently asked questions
Have a question about this project?