


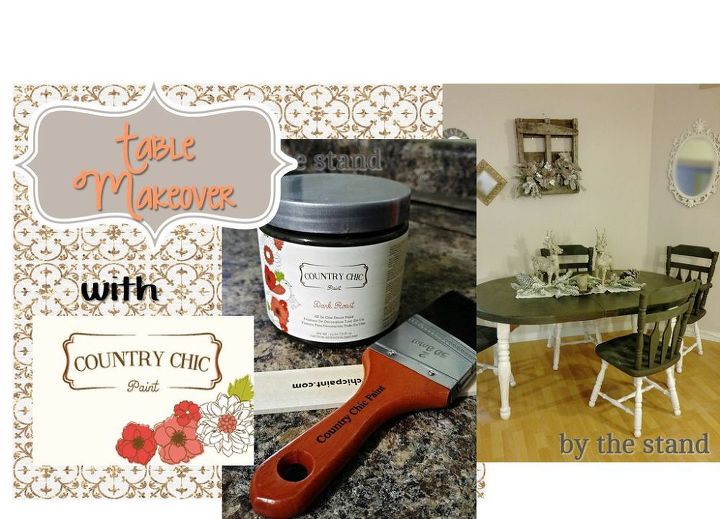
Table Makeover With Country Chic Paint

by
Holly Grace
Well guys, I have been working very hard on this post! This DIY is a couple of months in the making and I hope that it is worth the wait.
Before we get into the project, I would like to take a minute to tell you all about the paint that I used for this project — Country Chic Paint. This paint is amazing! Their colors are so crisp and bright. The paint is easy to work with and the finish is phenomenal!
So, if you are need of some great paint, check them out! http://www.countrychicpaint.ca/
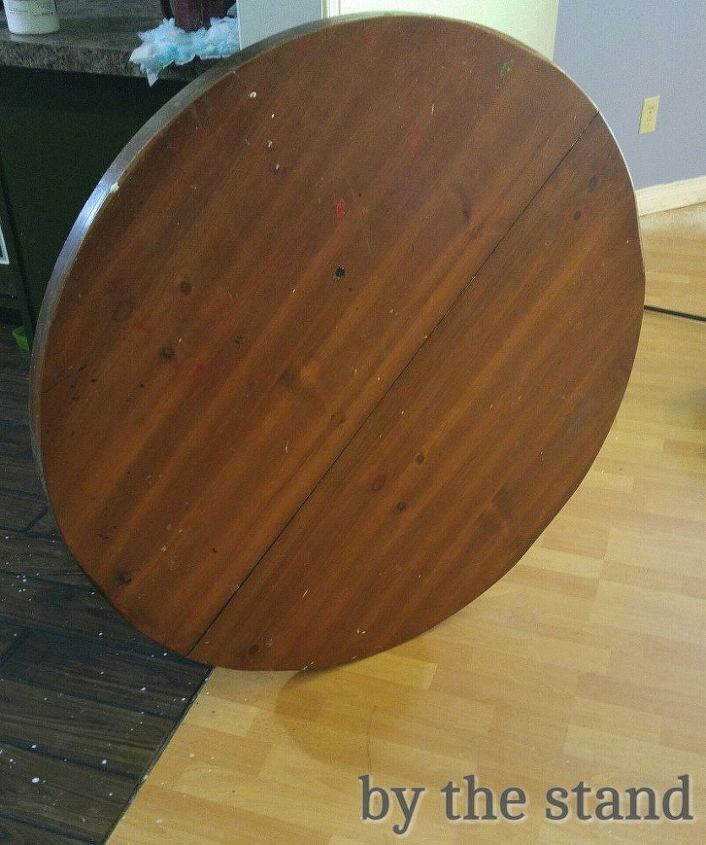
So this table that I made over belonged to my Auntie Grace, who was my great-great aunt. My Auntie Grace was the center of our family and we all loved her very dearly. We just couldn’t toss away her table, so we hung on to it, but is was pretty beat up. My mother and I decided that it was time to refinish it. Since, I already have a table that I am pretty fond of, I thought I would do this one up for my grandma’s basement. There is a little apartment down there and I am going to renovate it… so there will be lots of great projects and pictures to come!
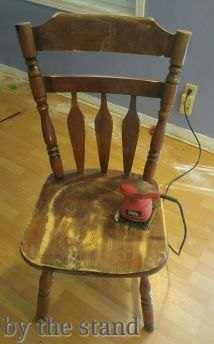
Time to sand! I love sanding… I find it so relaxing.
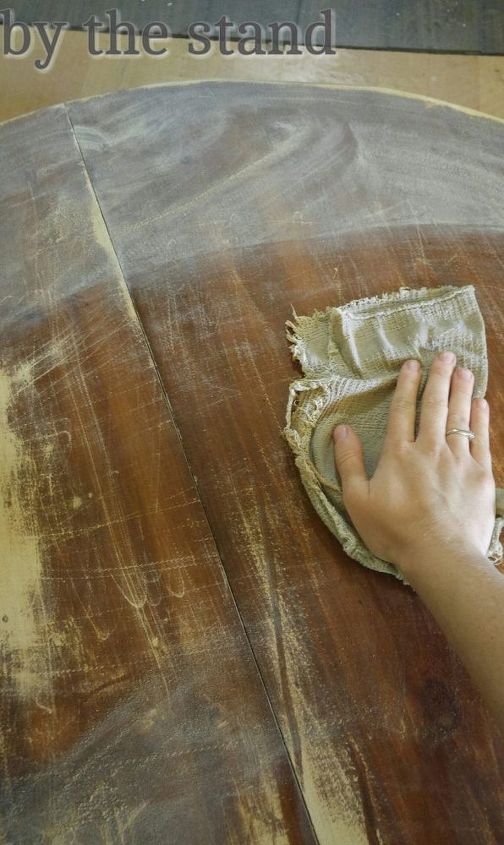
Very important to remember: after you are done sanding, make sure you ALWAYS wipe your furniture down really well before you bring out your paint.
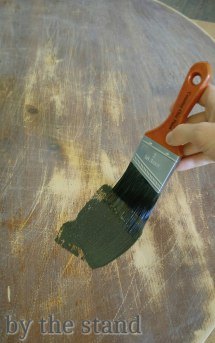
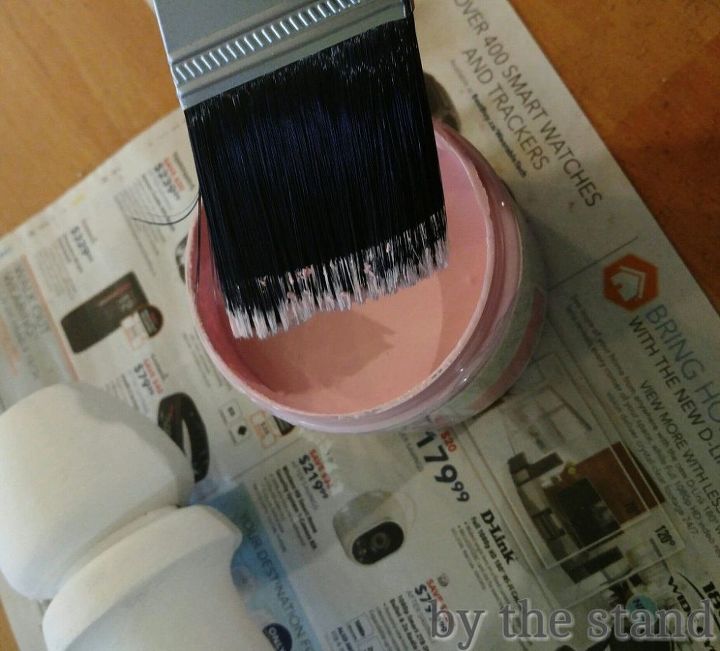
Now the fun part! Time to get out the paint!!
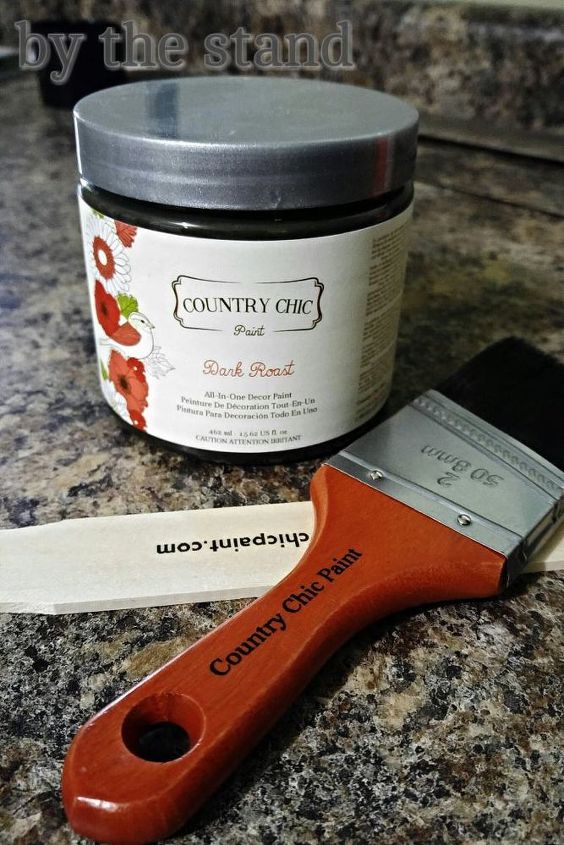
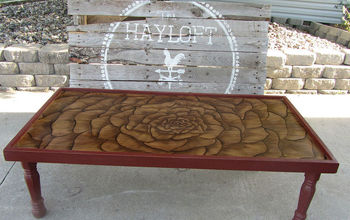
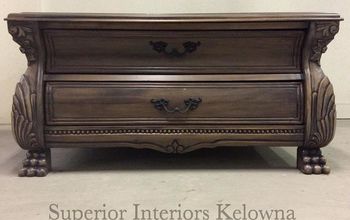
I don’t know if it is the lighting in the basement, but this paint looked like it had a navy tinge to it after I painted it on. It could also be an effect from the furniture that I was painting, too. It is weird because in the can it is a chestnut, dark brown.
I allowed this to dry for two days before applying a coat of “Tough Coat”, which is also from Country Chic
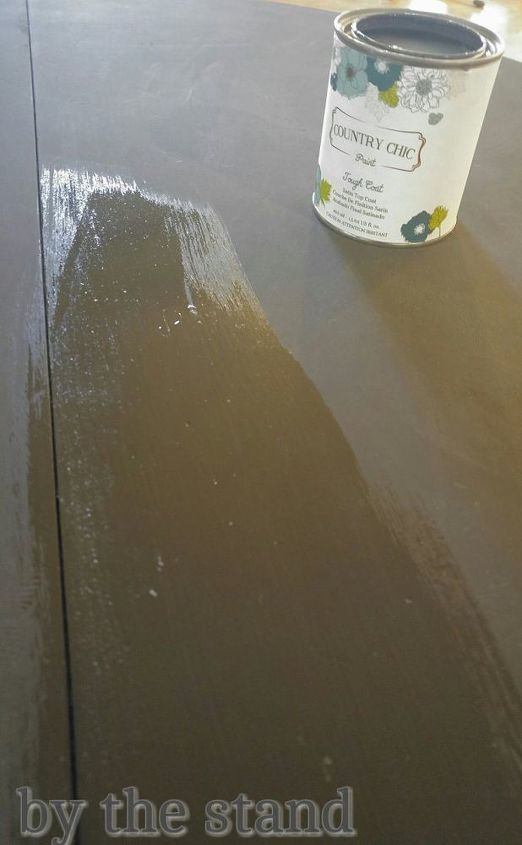
This top coat is amazing and really protects the wood and your furniture.

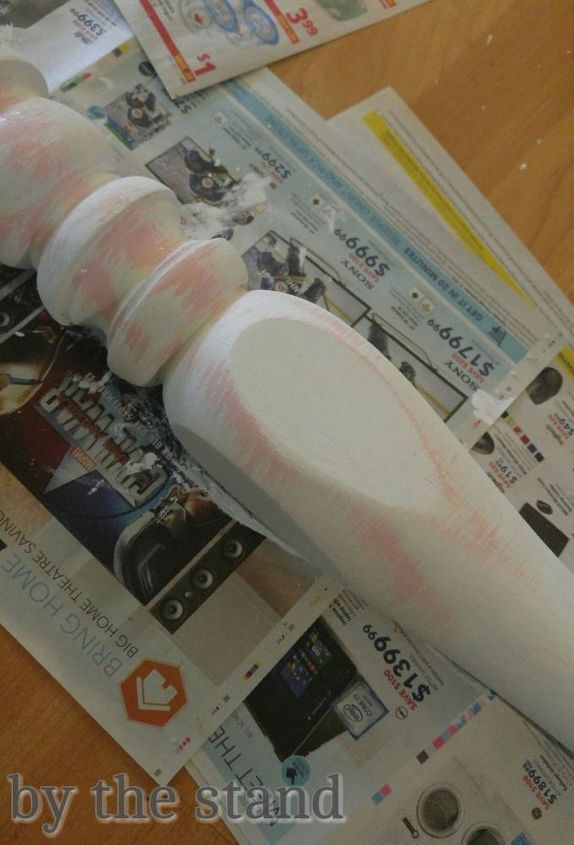
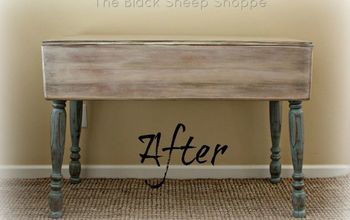
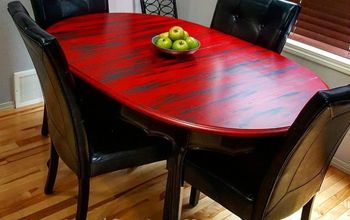
First, I painted all the legs in “Simplicity”. A most perfect shade of white.
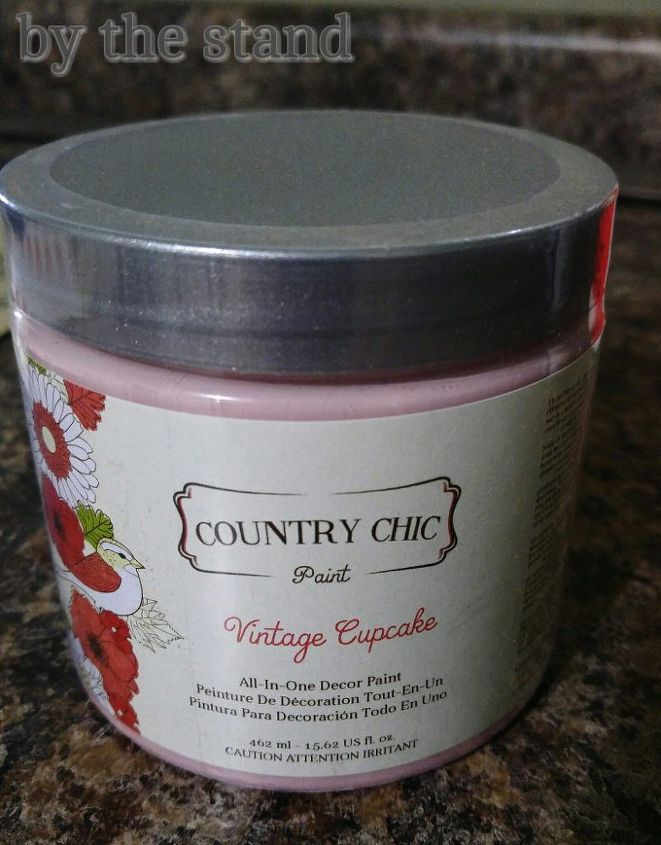
It almost kind of looks like pink Pepto- stomach stuff. LOL But I fell in love with it. And normally I don’t throw a shade of pink like this in my decor because it seems like it is more for a kid’s room or something. But again, I wanted to break out of my comfort zone.
I did a dry brush technique over top of the white legs.
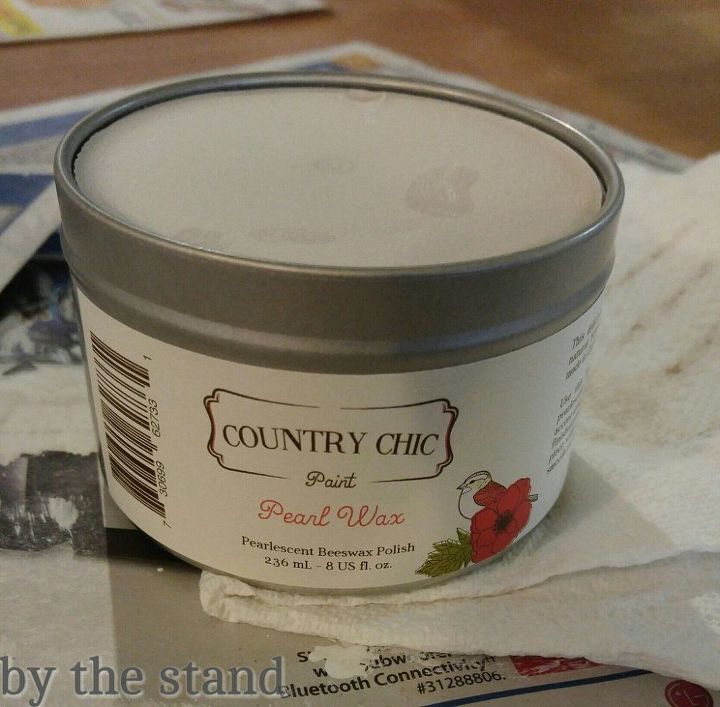
After the legs had dried for 24 hours, I applied some Pearl wax, which gave the legs a beautiful “pearl” like finish.
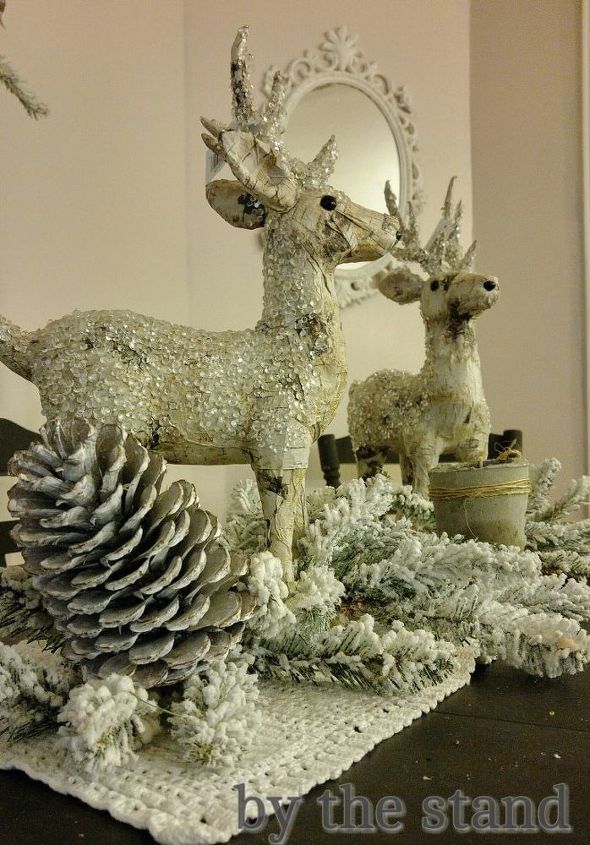
All that was left was to put the look together! Since we are getting close to Christmas, I thought I would do up a nice Christmas table.
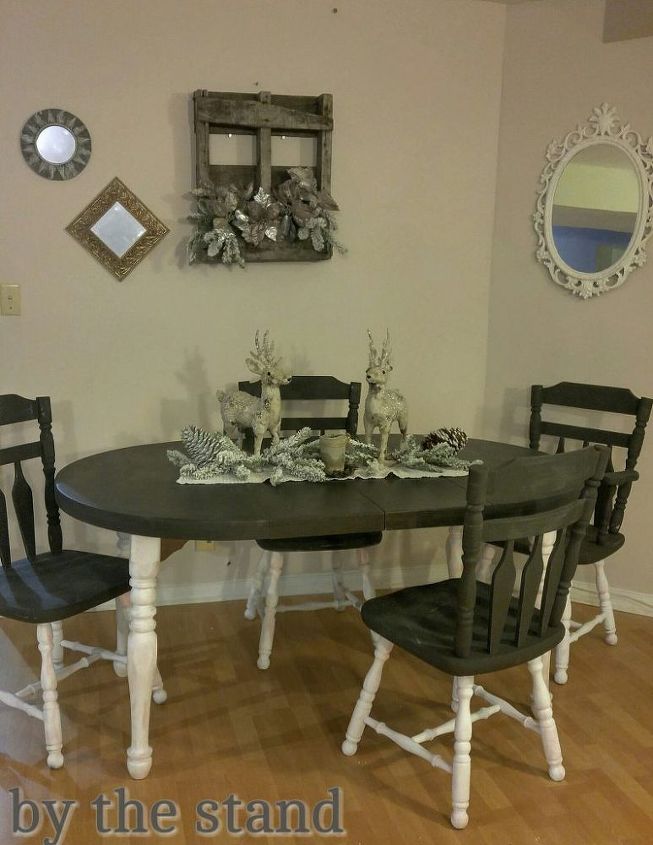
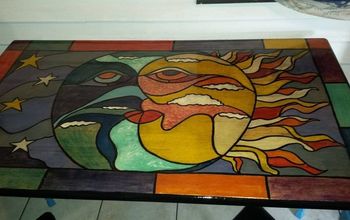
I hung up this piece on the wall…. that I love and just had to share a close up!
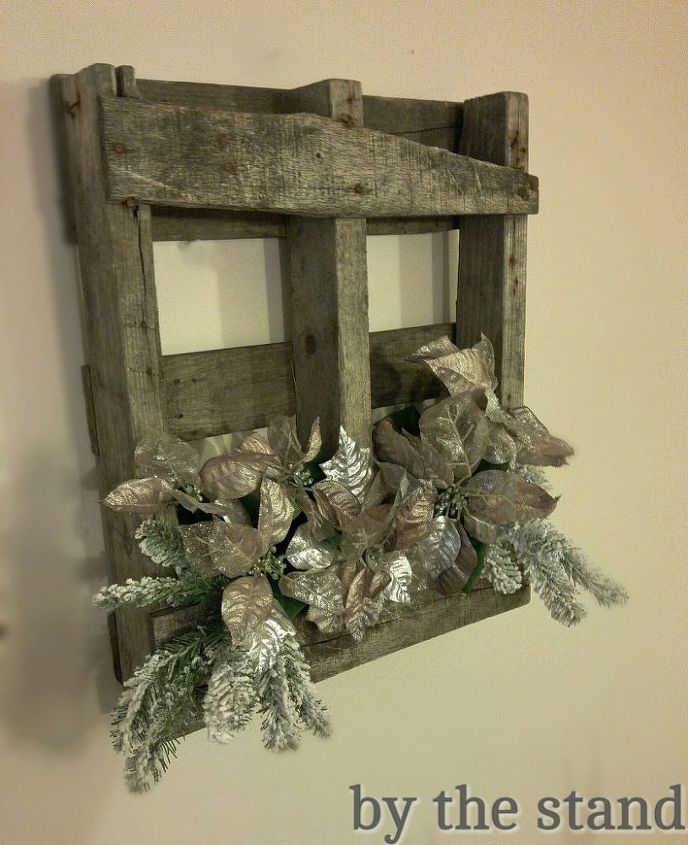
I picked this up off the side of the road… I didn’t do anything to it other than add the poinsettias and snowy greens. Isn’t it wonderful?
Cute, right?
Want more details about this and other DIY projects? Check out my blog post!


Frequently asked questions
Have a question about this project?