


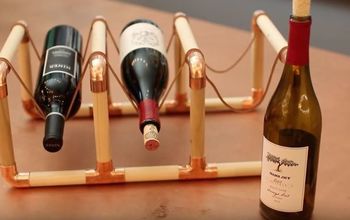
DIY Industrial Wall- Mounted Wine Rack

by
Zest it Up
9 Materials
$20
1 Hour
Easy
Projects like this feel like such a victory. Seriously. Sam and I had been hunting for the perfect wall mounted wine rack for weeks. We knew we wanted wall-mounted…and that majorly limited our options at all the local shops. I am going to call it a light bulb moment. That moment when I realized I had enough scrap wood and hardware from all of my random projects at ZQ (Zest Quarters), that I could easily make a custom rack in a cinch! Thank goodness for lightbulb moments, they can be so darn rewarding! I also love how this can be used as Kitchen Storage and keep my wine bottles organized!
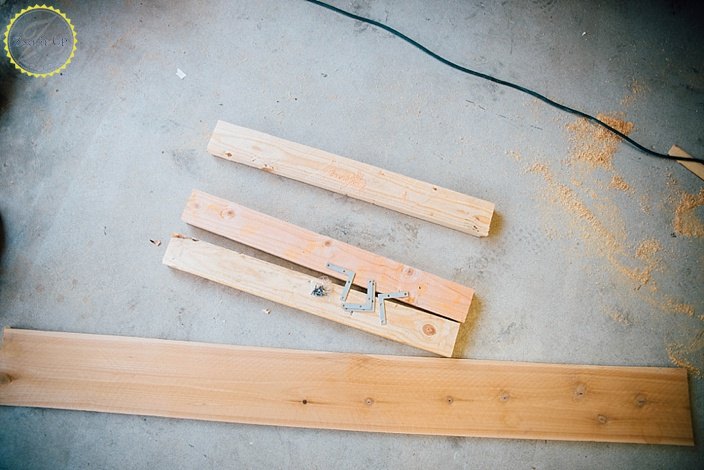
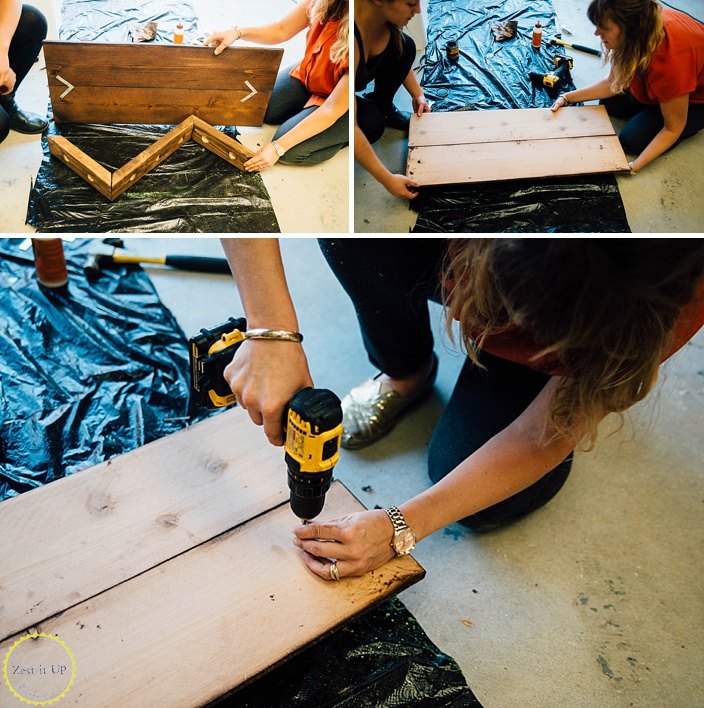
After gathering your supplies and tools the first step is cutting the wood.
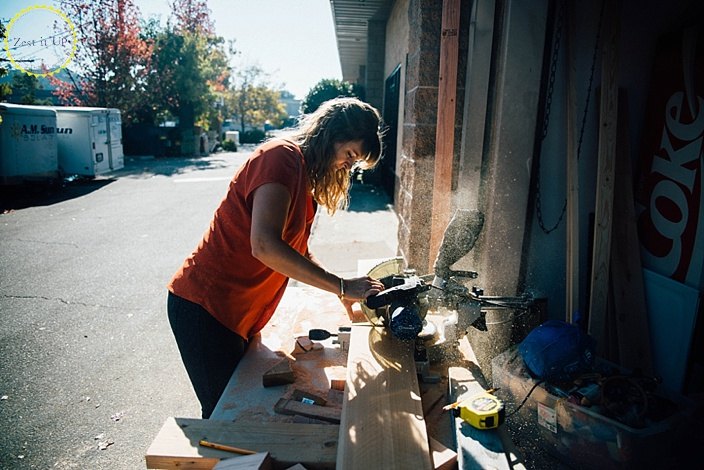

The cut for the 1″ x 10″ is easy. All I did was cleanly cut it in half with my chop-saw. However, with the 2″ x 4″‘s, you will want to swivel your chop-saw to a 45 degree for an angled cut. I cut one piece longer than the other two, measuring 20″ long and with parallel cuts (basically the ends looked like this: \\ ). The two shorter pieces I cut at 12″ and let the angles go against each other (looking like this: /\ ).
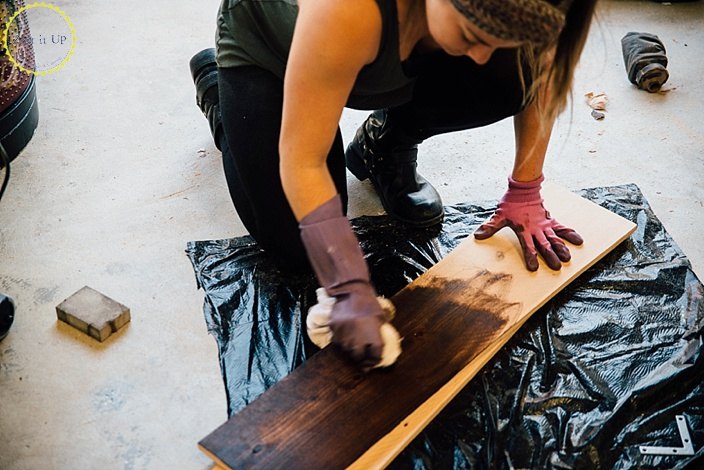
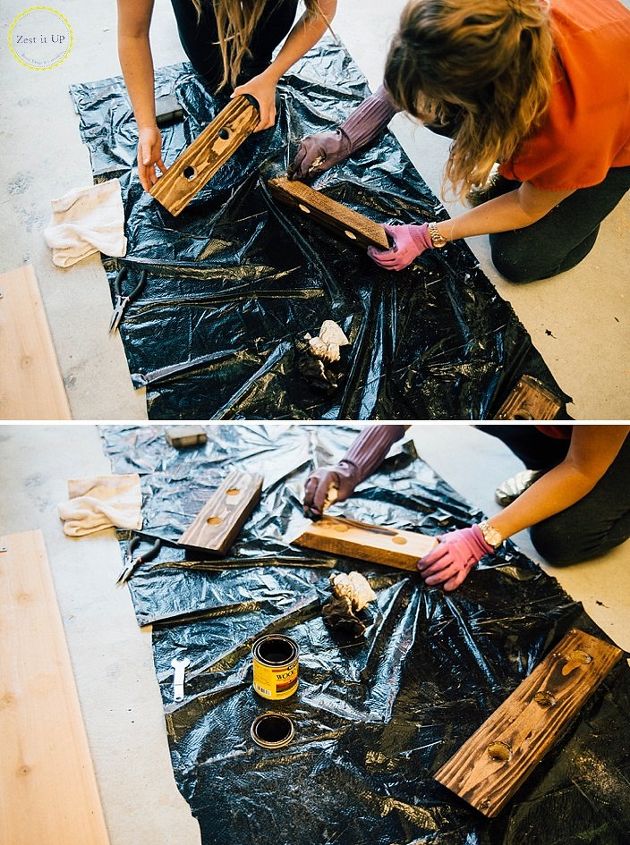
With all the cuts done, it was time to stain the wood. I chose a black walnut stain in order to tie it in with the rest of our decor.
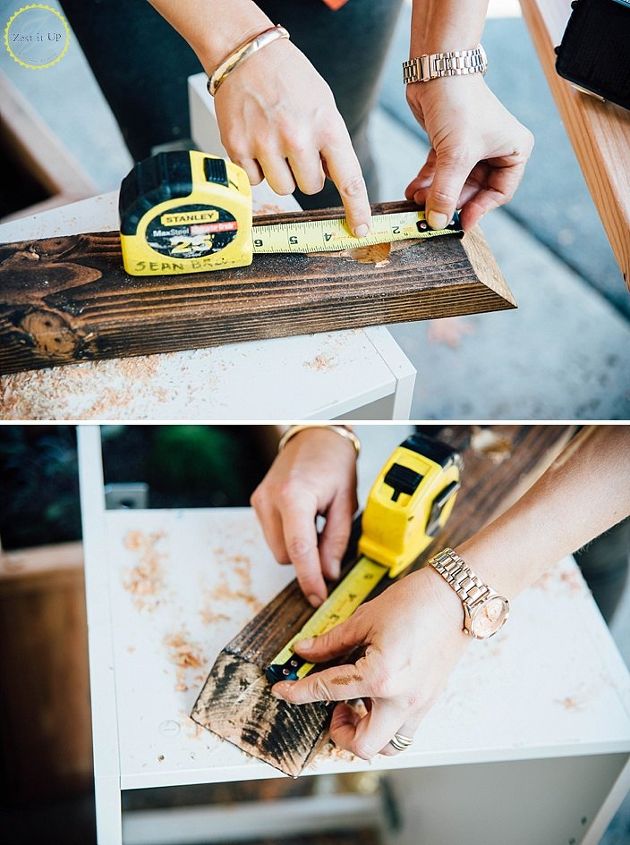
Now to make these boards turn into an actual wine rack. Measuring 3″ from the end, I used a 1 1/4″ paddle drill bit to make evenly spaced holes for my wine bottle necks
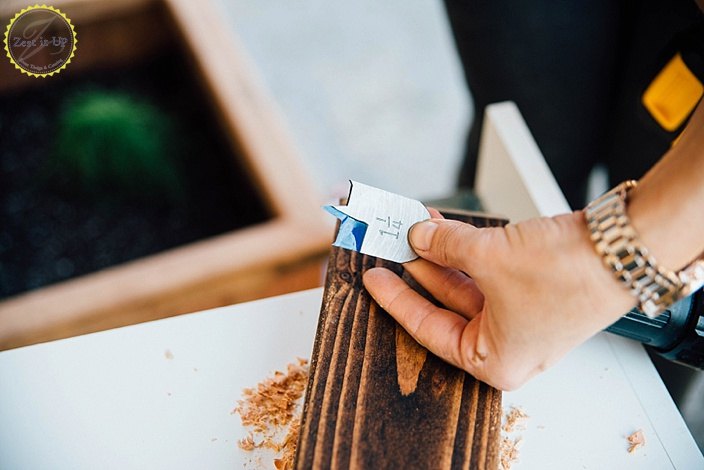
. I love how fast this bit tears through the wood. Instant gratification!
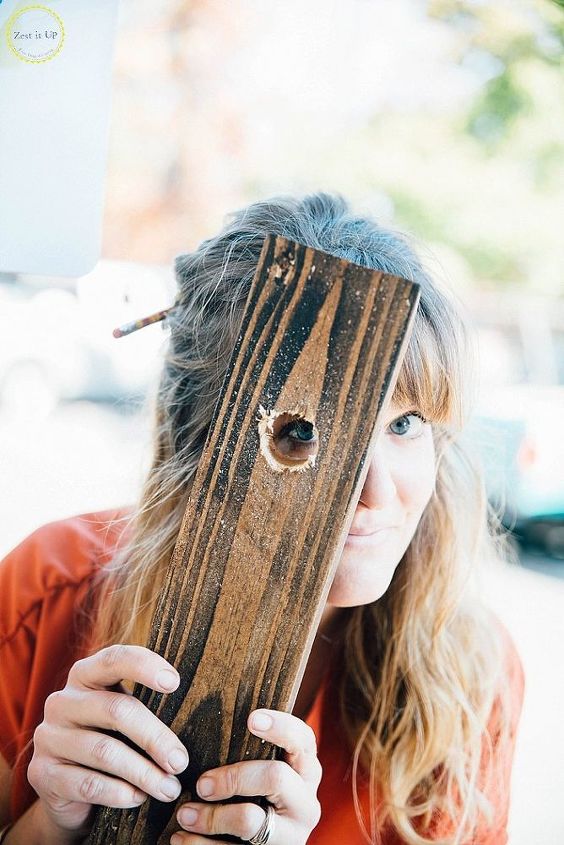
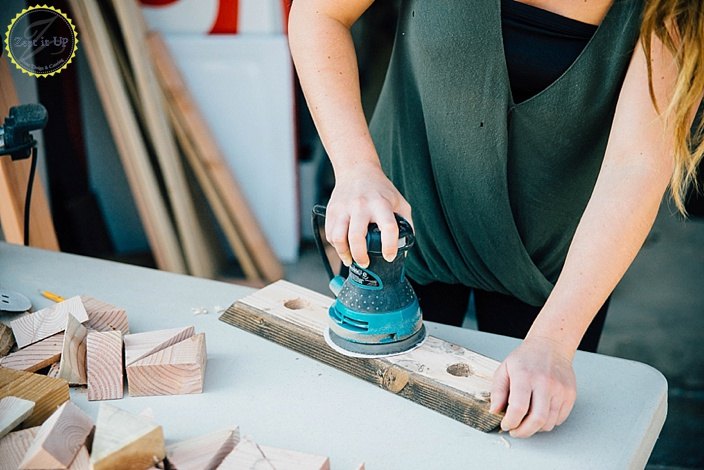
Learn from my lesson. The drill was so good at tearing through the wood that it left it a bit haggard looking, making it necessary to sand. All was good, but next time I would recommend drilling, then sanding, and then staining. Ah well, live and learn. Gotta sand and the stain, again!
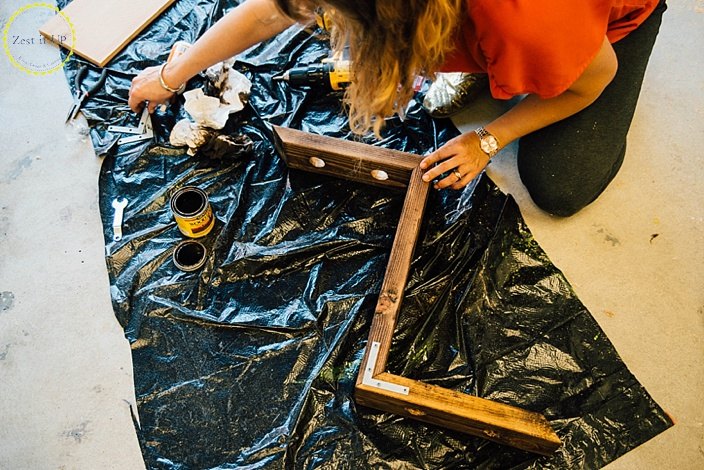
After restaining, it was time to put the piece together. Using wood glue, I glued the ends together before using the L-shaped brackets to hold it together.
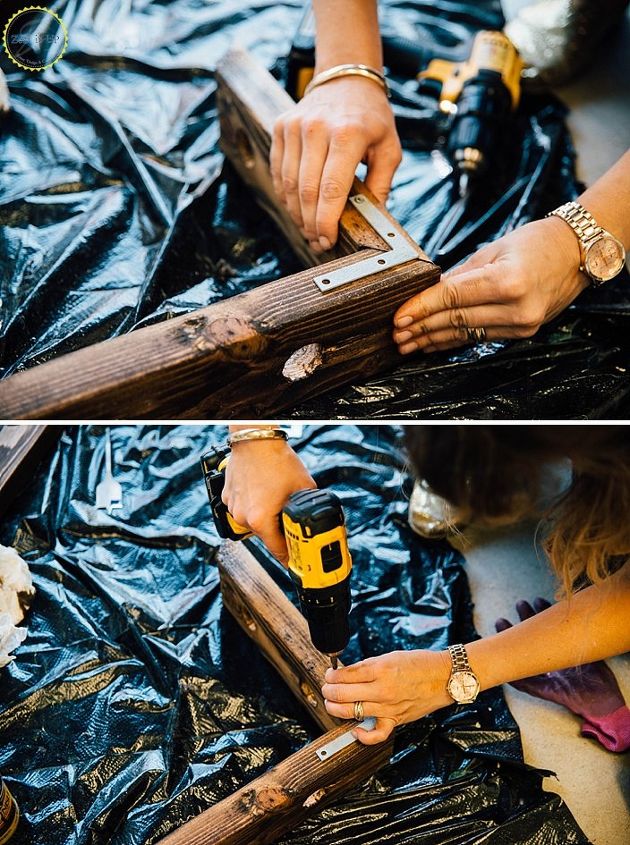
Gotta admit, I am loving the lazy Z shape of this creation. Perfect for some Zesty girls!
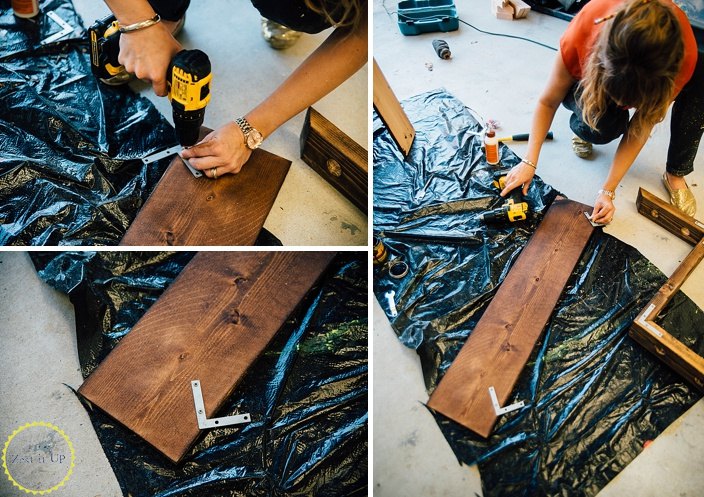
Now taking the larger 1″x10″ boards, I used my last two L-brackets to hold them together. If I had more brackets, I probably would have used more. I just love their shape! They give the sense of arrows pointing you onward.
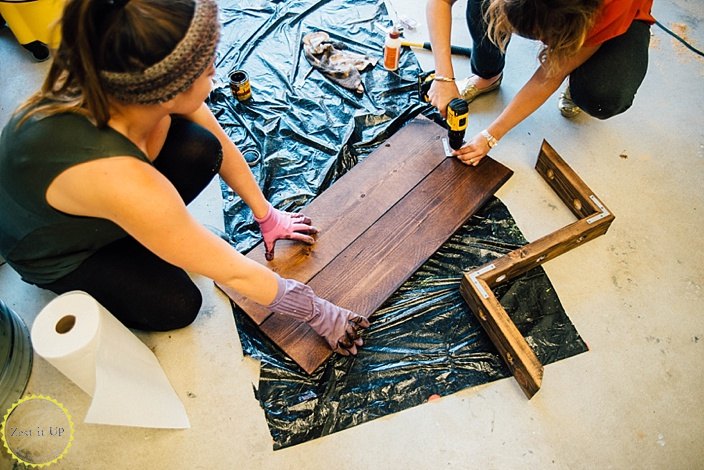
With the backdrop assembled, it was time to flip it upside down over the back of the lazy Z. Centering, I simply used wood screws to secure the Z to the backboard by screwing down through the backboard into the Z.
Last step was to use a level and mount it to the wall. I took the easy route and just screwed straight through the backdrop into the wall. It felt so secure! I used about five screws to attach it to the wall.
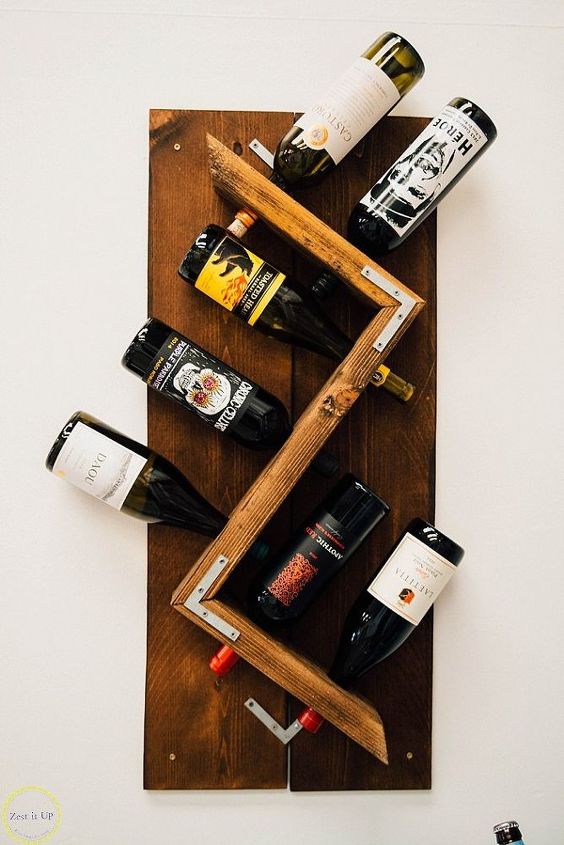
Last step was to use a level and mount it to the wall. I took the easy route and just screwed straight through the backdrop into the wall. It felt so secure! I used about five screws to attach it to the wall. Then the final, final step-stabbing those bottle necks into the 2″ x 4″‘s was the best very last step. Sexy!
Want more details about this and other DIY projects? Check out my blog post!
Comments
Join the conversation
2 of 7 comments
-
Very impressed! Love your design as well. No wonder you made it yourself because I have never seen one like it! Great job. Love it.
-
Beautiful! Perhaps for outdoor deco, use empty bottles?


Frequently asked questions
Have a question about this project?
LOVE THIS!!!❤️❤️