


Total Nightstand Makeover and Organization DIYs

by
Holly Grace
In the spirit of the new year, I have one resolution that I intend to keep! My nightstand tends to be a bit of a dump heap. It is a lot like some people’s junk drawers — I just toss stuff in there when I am tidying up, but I am sick of having to dig through it every time I need something. I have come up with a couple of DIYs to help keep my nightstand clean and organized. I have also made over an old nightstand so I have “brand new” nightstand to keep clean this year.
Take a look and see what I did! Hopefully these little DIYs can help you, too!
Take a look and see what I did! Hopefully these little DIYs can help you, too!
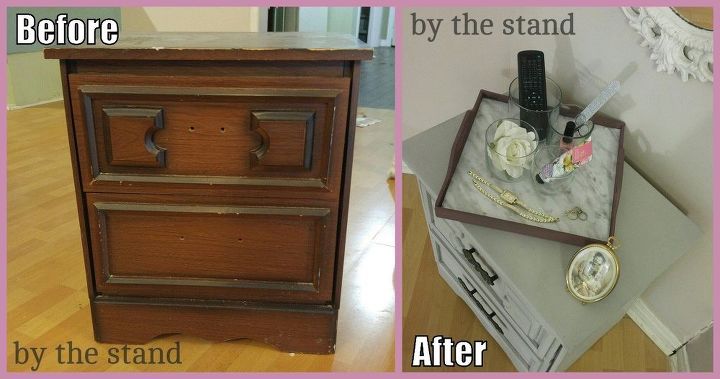
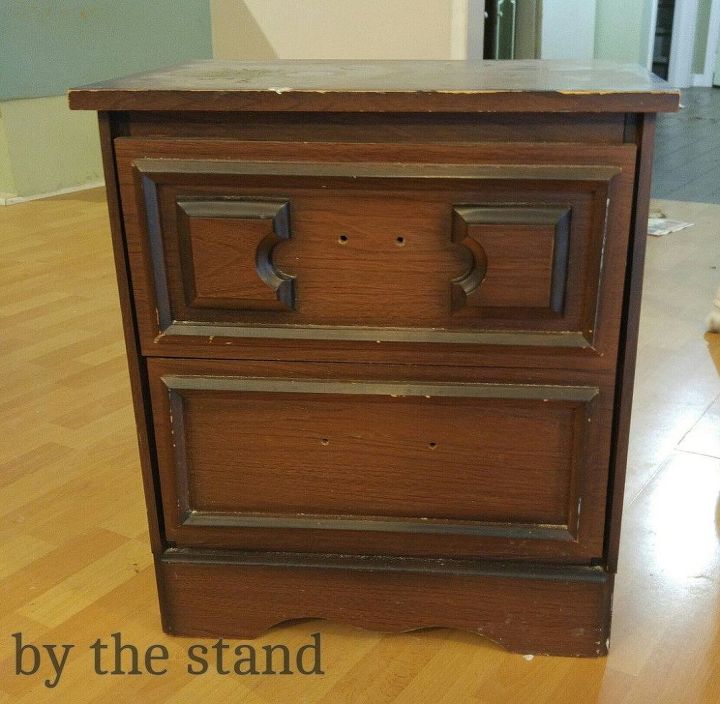
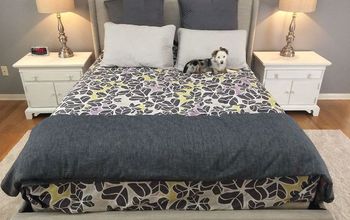
Nightstand Before. I picked this little beauty up by the side of the road. I have had it for a while and have been waiting to give it a bit of a makeover.
I got this Milk Paint from FolkArt on clearout from Micheal’s. These were a dollar each.
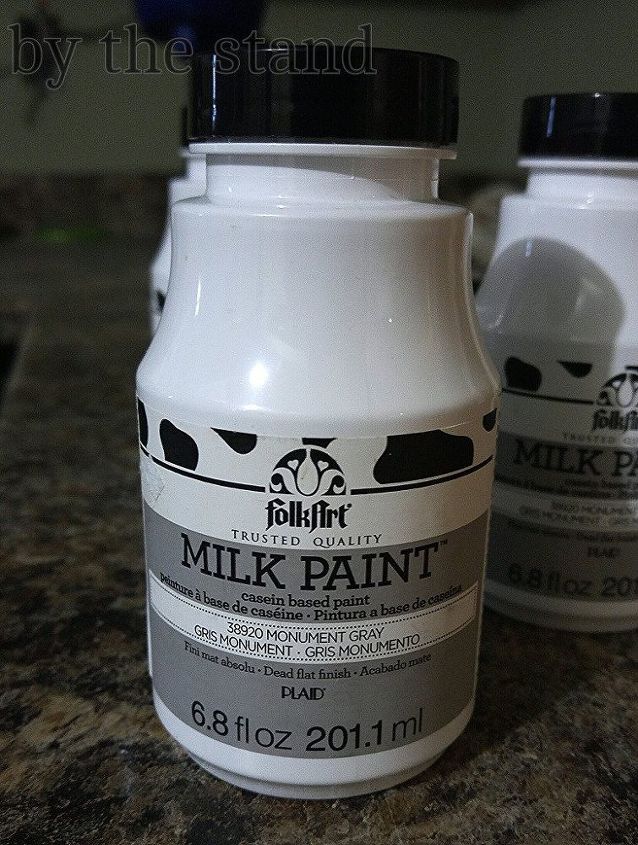
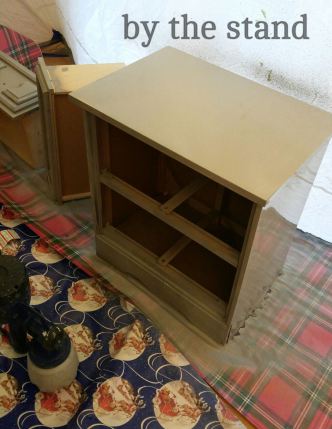
These paints were easy to work with and I love the finish it left on my nightstand. I also love any opportunity to use my Finish Max Paint Sprayer from HomeRight. This is the first time I used my spray shelter inside, though. It is cold and there is snow everywhere so there was no way I was painting outside.
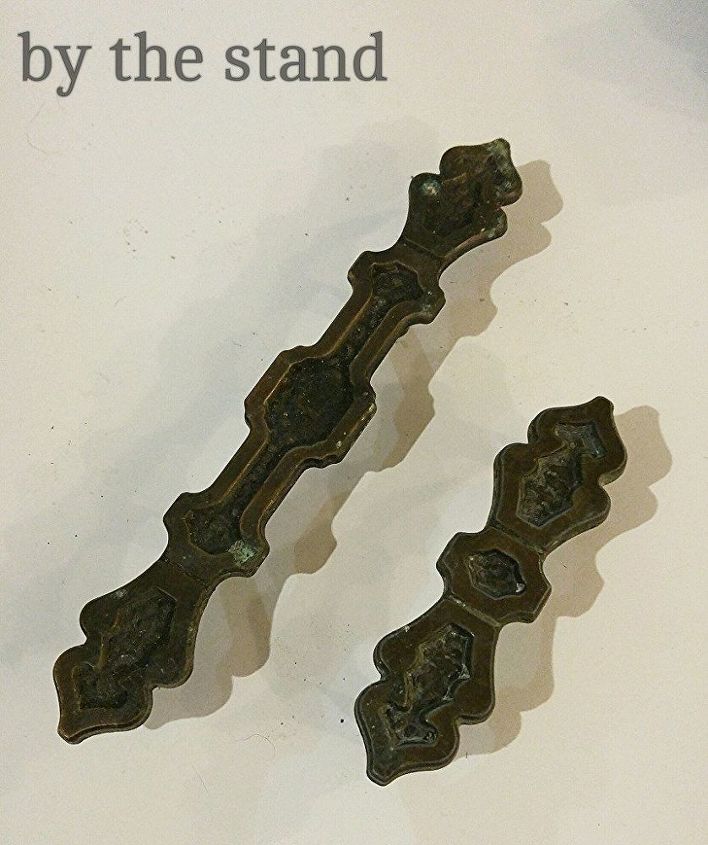
Since my nightstand was sans drawer pulls, I had to add some. I had a bucket full of these beauties and they were a perfect fit.
In order to ensure that I can keep my nightstand clean and organized, I wanted to do something to break up the drawer. I had thought about buying dividers and organizers but they are so expensive. Surely, I could make my own… and I was right, I could!
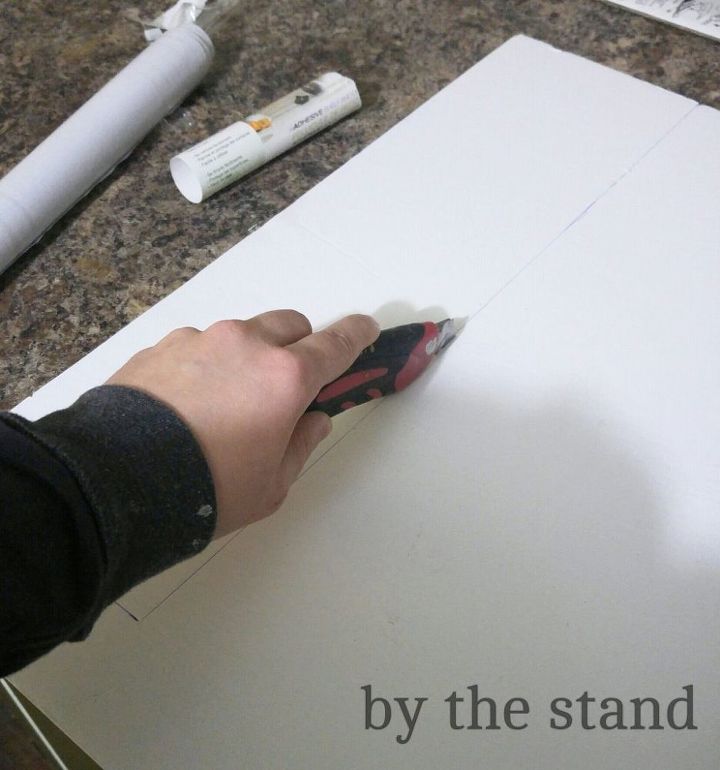
Here is the design that I came up with.
I thought that the poster board looked a little plain so I jazzed it up with some glitter tape from the dollar store.
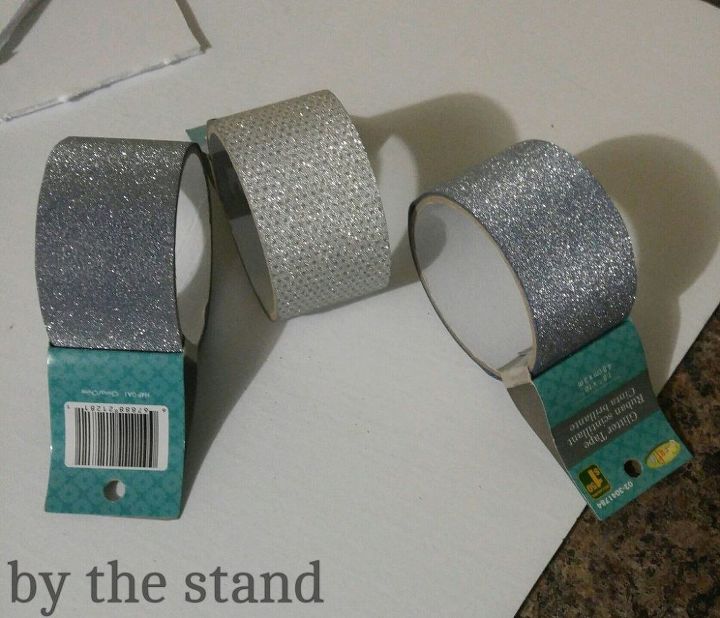
All I did was wrap the glitter tape around the poster board.
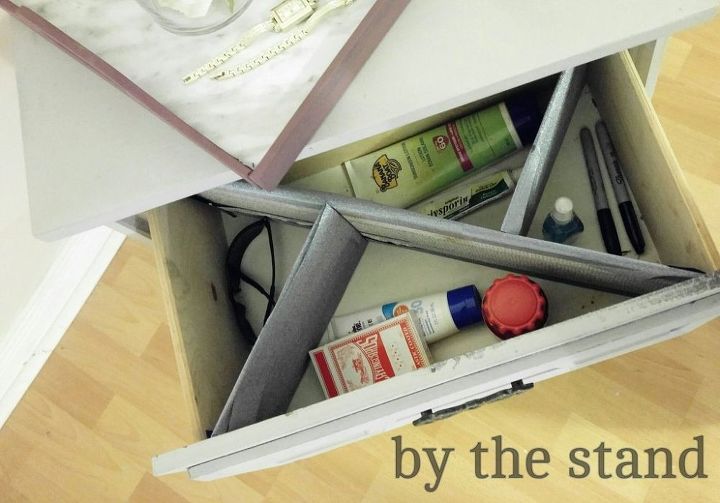
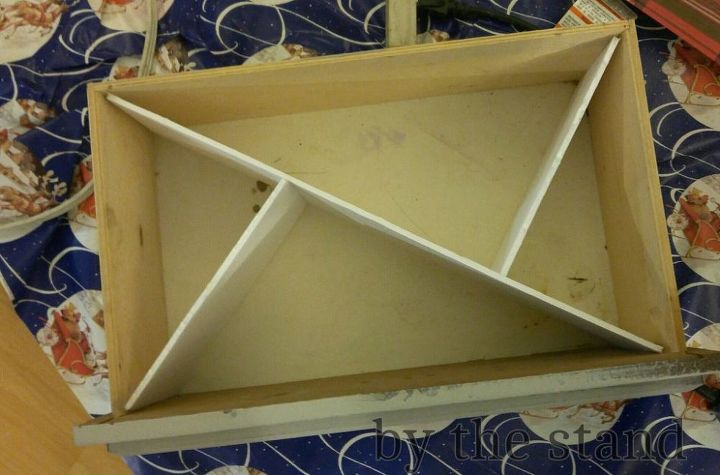
I love how my dividers keep everything from just becoming a giant pile.
I found this old tray that I have also been hanging on to. This was a thrift store score.
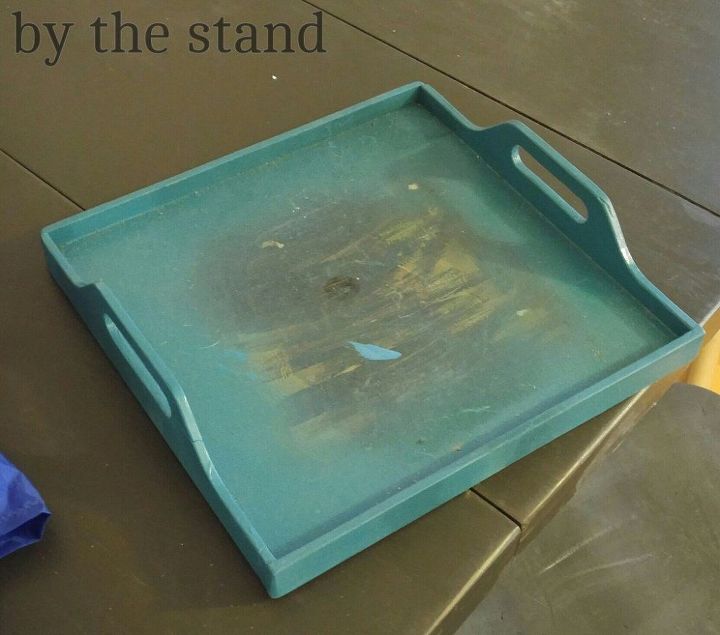
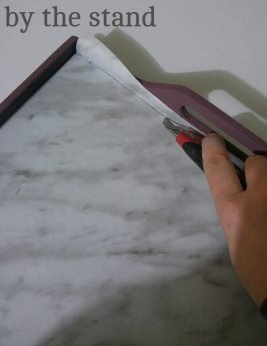
Once I had the tray all painted I lined the bottom of the inside with marble adhesive drawer liner which I got from the dollar store. I cut a piece that was roughly the size of the bottom and then use an exacto knife to trim the access.
I heard that marble is going to be one of the go-to looks for 2017🙂
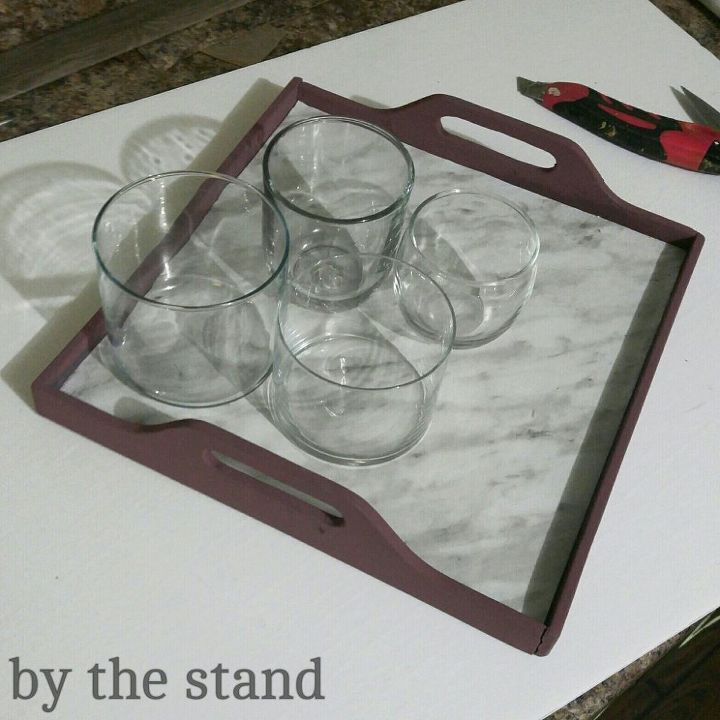
Looks kind of silly just like this, but when you put it all together….
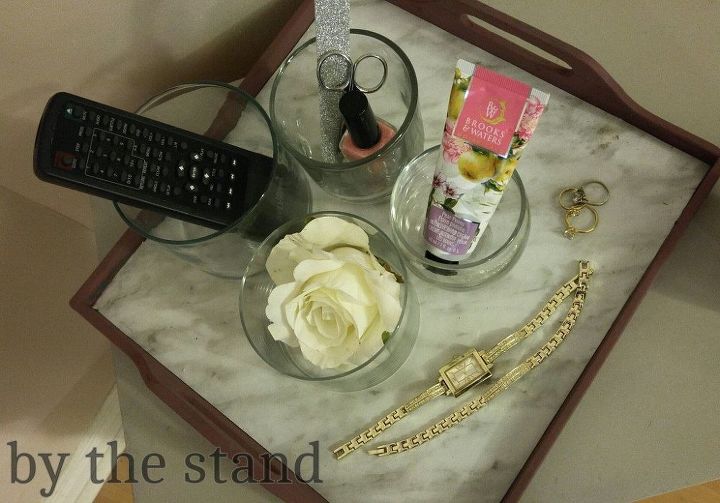
I now have separated little cubbies for all my little things that would normally just be piled up on the top of my nightstand.
{
"id": "3677695",
"alt": "",
"title": "",
"video_link": "https://www.youtube.com/embed/Mliox1nxMk0",
"youtube_video_id": "Mliox1nxMk0"
}
{
"width": 634,
"height": 357,
"showRelated": true
}
Want more details about this and other DIY projects? Check out my blog post!
Comments
Join the conversation
3 of 54 comments
-
excellent just right
-
Nice Job. Tray looks fantastic. I am going home after work today and using your fab idea on my nightstand drawer.


Frequently asked questions
Have a question about this project?