


Industrial Styled Air Plant Living Wall

by
Zest it Up
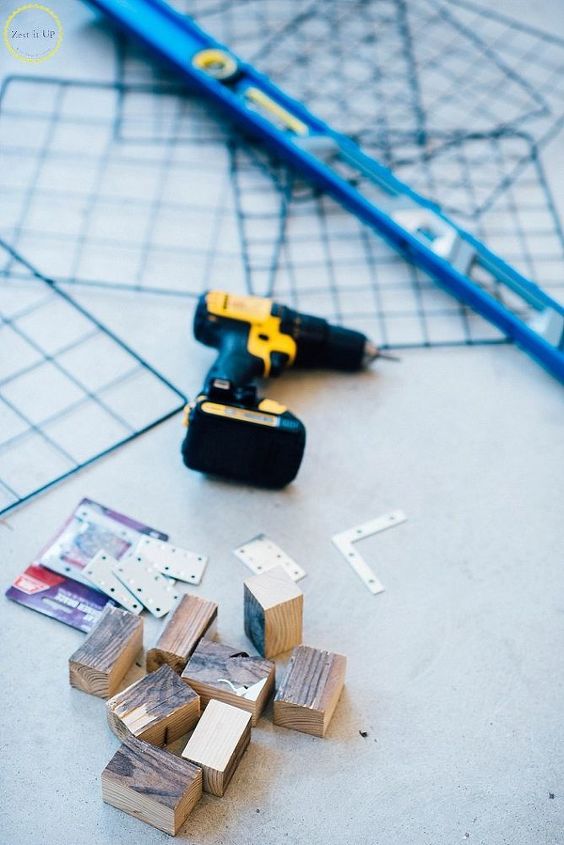
6 Materials
It seems like we have been slowing down here at Zest, right? I mean, last week we inadvertently took multiple days off. At least that is what it seems like when you look at the blog. My favorite was getting an email from my mom, alerting me that something must be wrong with the blog. Apparently, she gets a once a week feed via email and she thought that something MUST be wrong, since there were only two measly postings. What the heck right? There must be a tech error! Nope, afraid not folks. While last week was all quiet on the blog, it was all mayhem and busy-ness over here at Zest. You know what happens when you go about life juggling 3 balls, and then you get that bright idea to throw another 2 balls into the mix? Well, that is what Sam and I decided to do. I mean, if ya can juggle 3, how much harder can 5 be??? I am here to report that it isn’t too much more difficult….once you get your flow and jive. I guess last week was our moment of going “AHHHHHHH” as the balls tumbled into the mix, but those are always the greatest moments of rising to the challenge and realizing new excitement, capabilities, and limitations. So, hey there….we’re ba-ack!
Here is a little Zest from our new Zest Headquarters. Us little plant lovers were excited to upcycle some old grids from a broken bookshelf into a living wall for the beginnings of our air-plant collection. It’s pretty simple, just a lot of measuring and leveling 😉 I had quite a few of the grids, which was good since they were pretty small on their own. If you source a larger grid, then the project will go wayyyyy faster because there is less piecing together necessary.
Here is a little Zest from our new Zest Headquarters. Us little plant lovers were excited to upcycle some old grids from a broken bookshelf into a living wall for the beginnings of our air-plant collection. It’s pretty simple, just a lot of measuring and leveling 😉 I had quite a few of the grids, which was good since they were pretty small on their own. If you source a larger grid, then the project will go wayyyyy faster because there is less piecing together necessary.
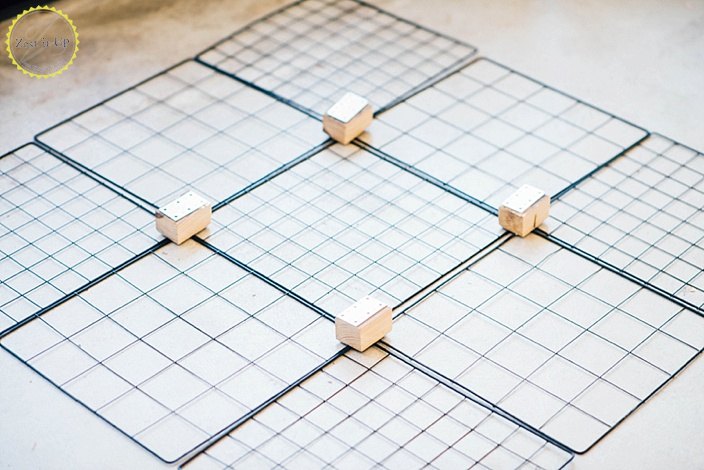
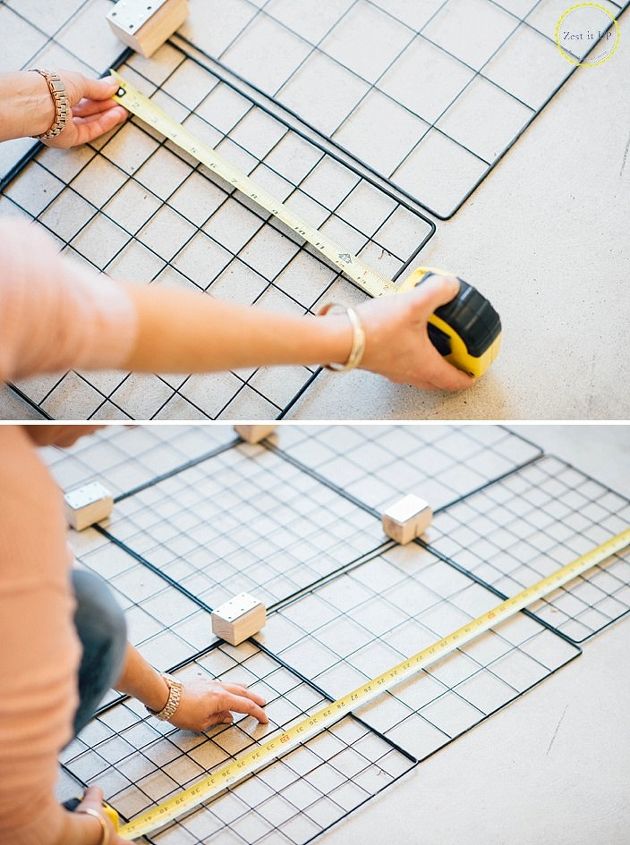
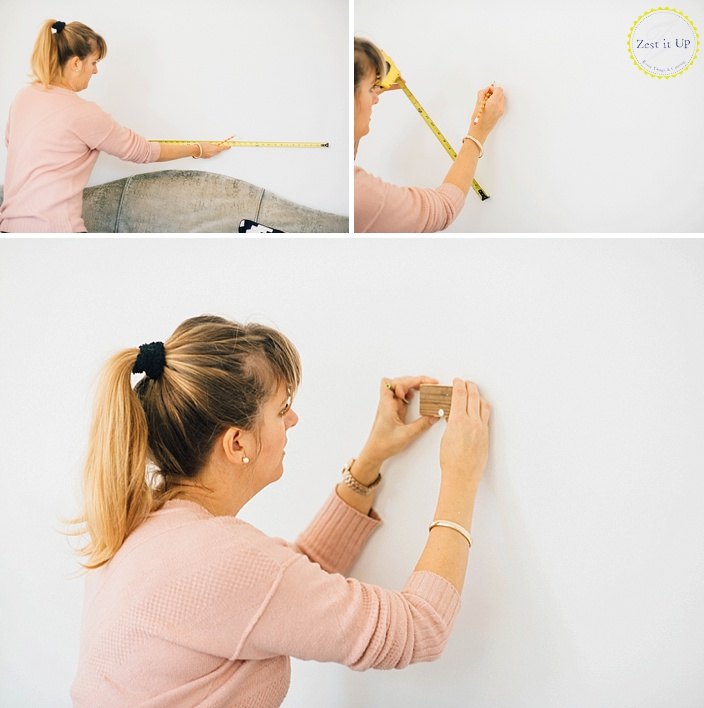
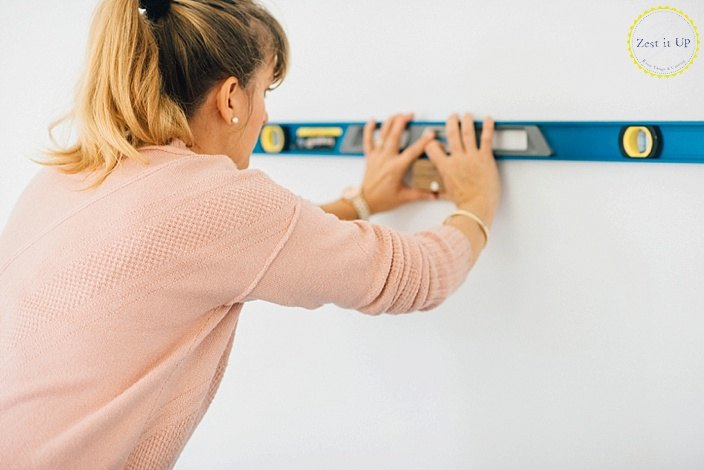
First step is to measure out the total size of your piece, so that you can determine the true center. I wanted it to be rather large because of the space on my wall, so I layed down 9 grids…making a 3×3 bride. Once you have the center and the height of the piece, you can plan on where you want to install the display on the wall.
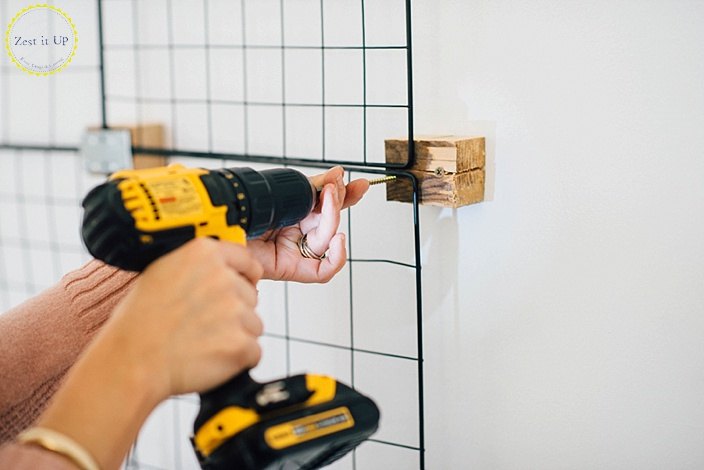
Start by screwing one piece of 2″x4″ into the direct center. This will be your initial anchor for the piece.

Check and recheck y’all! If you are not level in the beginning, the whole install will go wonky in the end
I visualized where to attach the grids by dividing the anchor into quadrants or quarters. Now, place once of those flat rectangular metal joiners/braces over the grid and screw it into place. Repeat the process with all four grids, connecting them in the center.
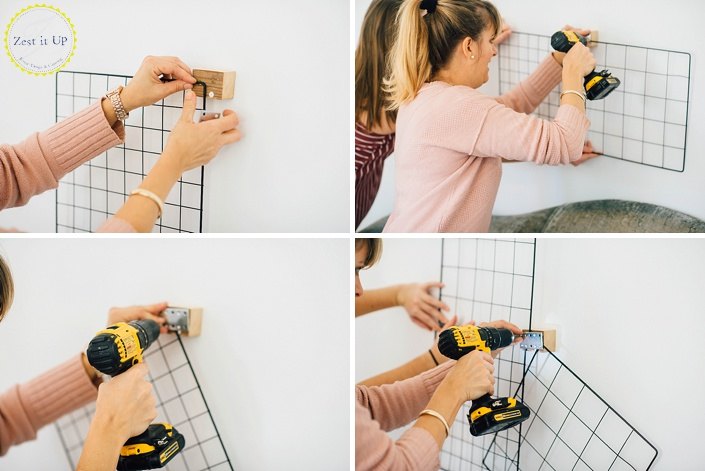
It may feel a bit haphazard as you try to get them all aligned, but a quick check with the level will keep ya on the right path.
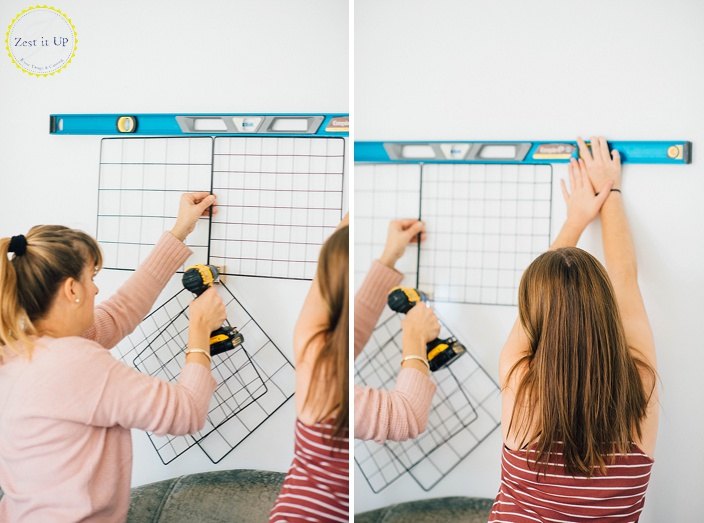
Some extra hands make this project more doable…unless you hail from an octopus clan!
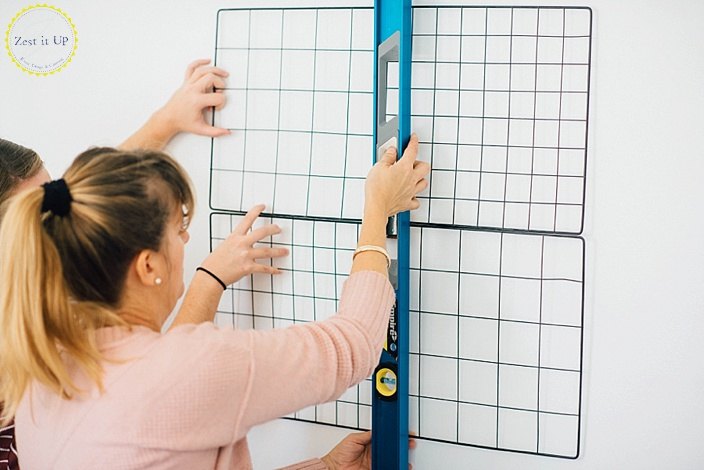
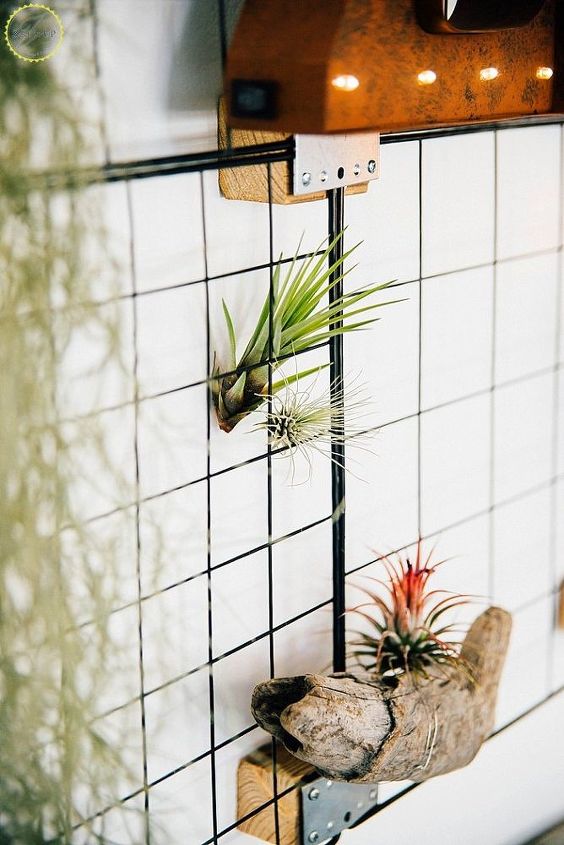
Now, building outward, shimmy a block under each space that the grids meet. Drill the wood block into the wall and then cover the grid with a flat metal joiner and anchor it down with screws once again. Repeat this at every intersection until all the grids a firmly anchored. Then dress it up with driftwood and air plants to your hearts content!
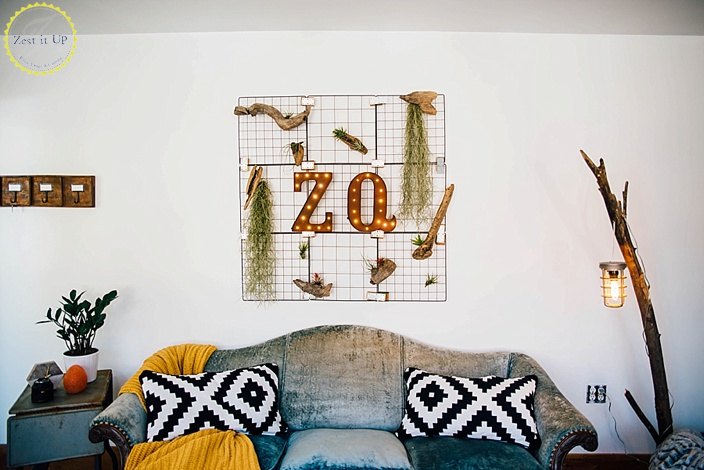
I cannot wait to fill in even more space with plants! I love all the texture.
Want more details about this and other DIY projects? Check out my blog post!
Comments
Join the conversation
2 of 3 comments
-
This is so cool!
-
I'm excited I have metal racks needing purpose thanks lady. "Inspired!"


Frequently asked questions
Have a question about this project?