


Fix Leaky Recessed Lighting Cans
1 Material
$7
15 Minutes
Easy
Those things are like air sieves, aren't they? What if you have no access above them?
In this day and age, saving energy and keeping your home comfortable year around is very important.
Do you have recessed light fixtures? Do you find you get a lot of air leaking in (therefore out)? Plenty of people have these fixtures and luckily for many people, they have access to them from above.
But what if you don't? Seems like there are no options out there when you search online.
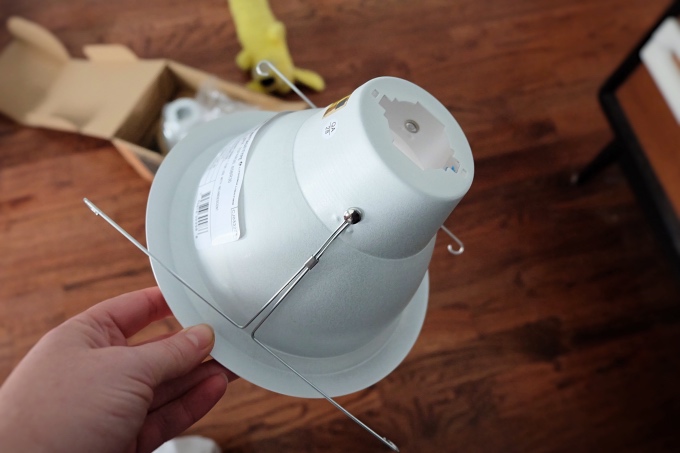
Pick yourself some of these. They're recessed can trims but they're fully enclosed. This one ran about $7.
Be sure to come by my blog for all sorts of great energy saving tips, fun projects, and so much more at Flipping the Flip!
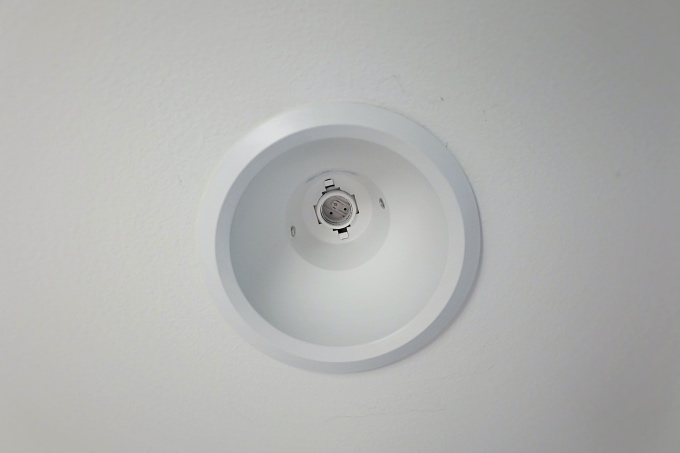
If your recessed can lights are anything like ours, it takes a couple steps. I understand this type of recessed fixture is pretty common.
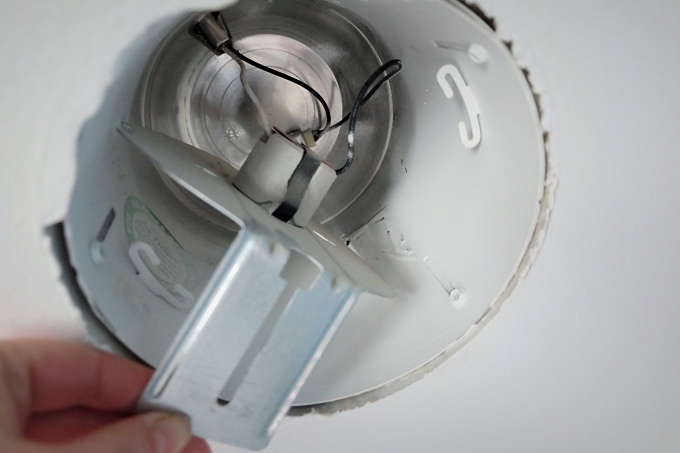
First you'll see the socket within a metal bracket of sorts. Loosen the wing nut holding the bracket and pull it out.
Remove the socket by squeezing the side metal bars and pull it out. Then insert it into the new recessed can trim the same way, squeeze then release.
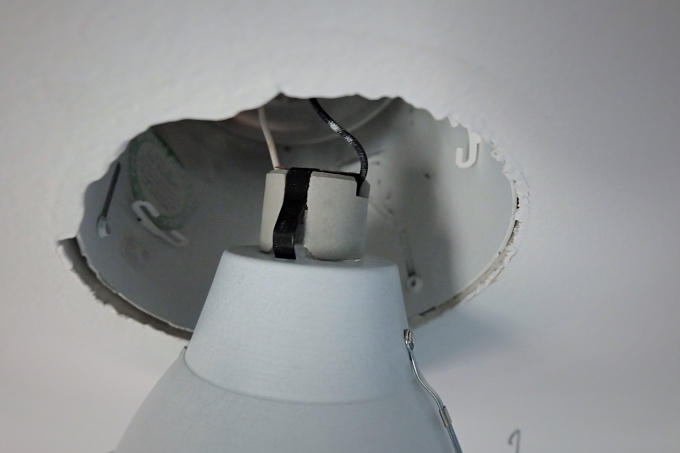
The next part is tricky and I have no photos as it was a two handed job, but next you squeeze the metal hanging wire pieces and get them into the C-shaped metal bits sticking out inside the can fixture.
Like I said, it's a bit tricky, but once you get it, it stays up there.
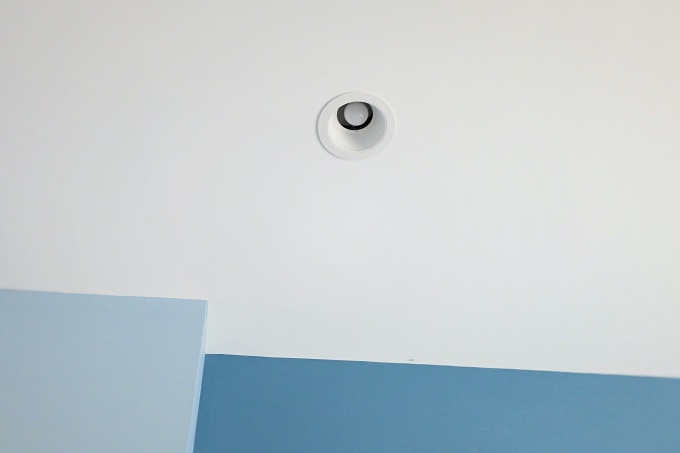
As you can see, all the air is now blocked!
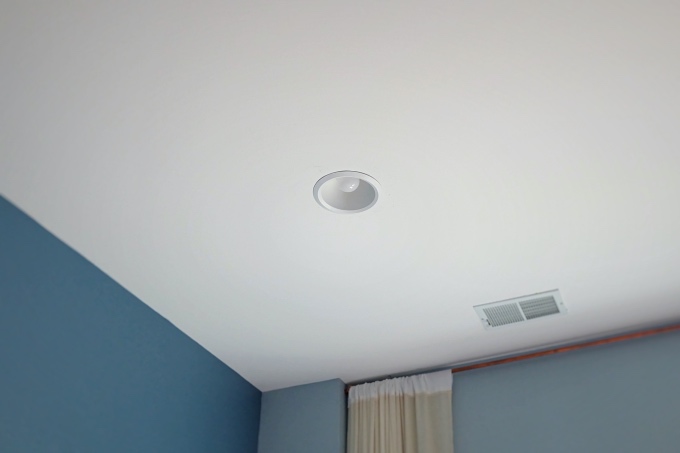
When you're done, just add back your bulb and watch the energy savings grow!
Be sure to click the link below to read about this and many more projects over on my blog!

Want more details about this and other DIY projects? Check out my blog post!


Frequently asked questions
Have a question about this project?