


Give Your Cabinets Under the Sink a Little Face Lift!

by
ThriftDee
2 Materials
Grab some Peel N Stick tiles to spruce up the area under your sink!
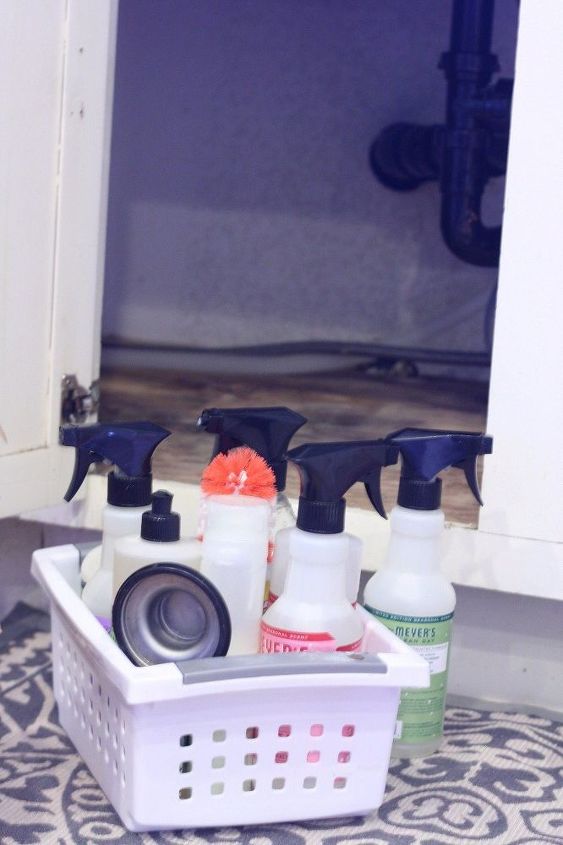
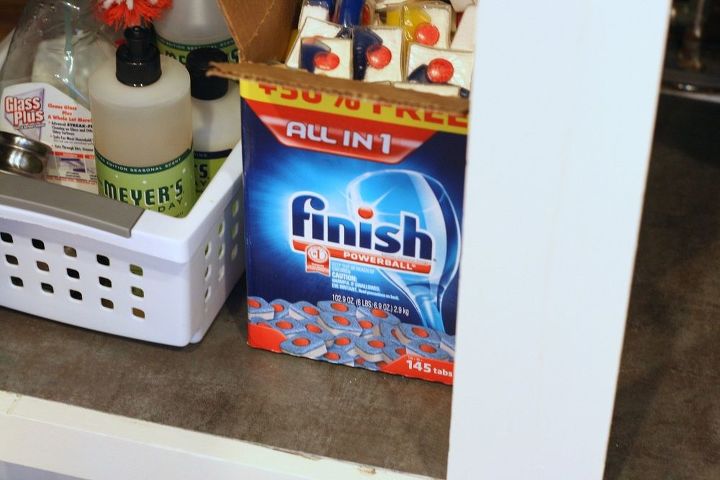
Have you looked under your kitchen sink lately? It might be time for some Spring Cleaning!

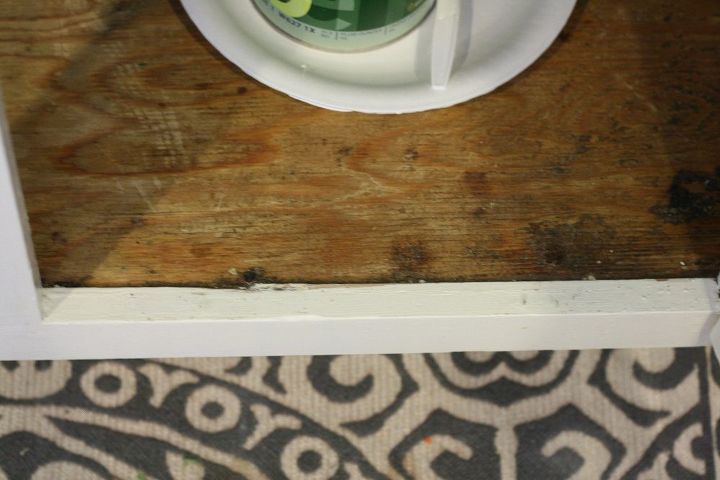
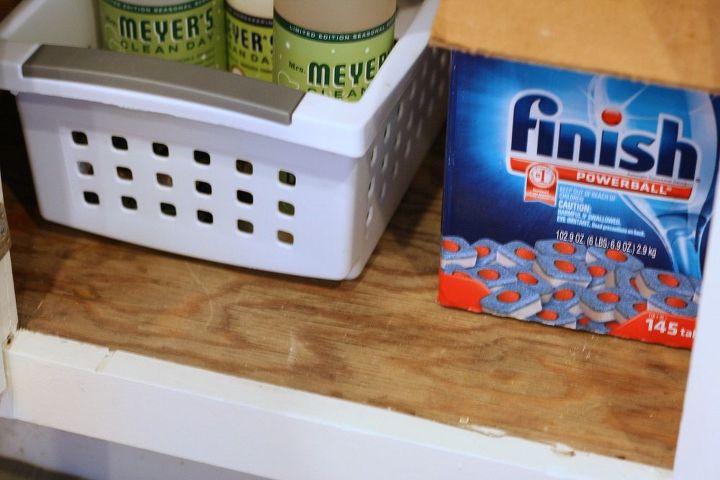
This is the original builder sub flooring. ICK
First things first, clean that area up with some cleaner. I used a mild one because I didn't want to breath in fumes while I was stuck under my sink!
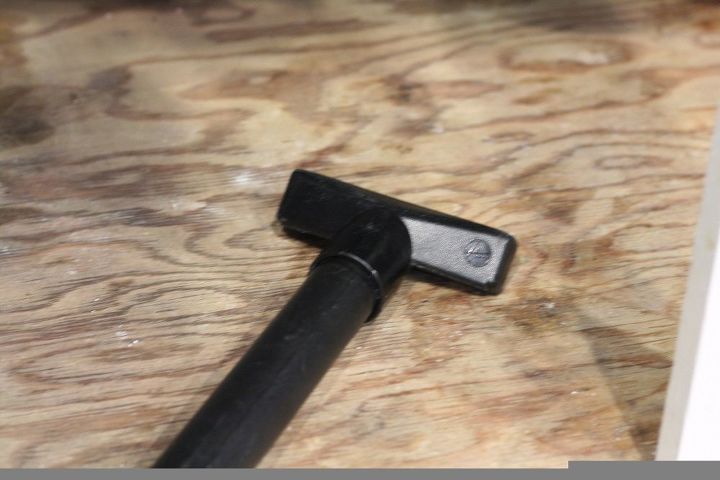
Vacuum up all of the crumbs and who knows what else I had under there.
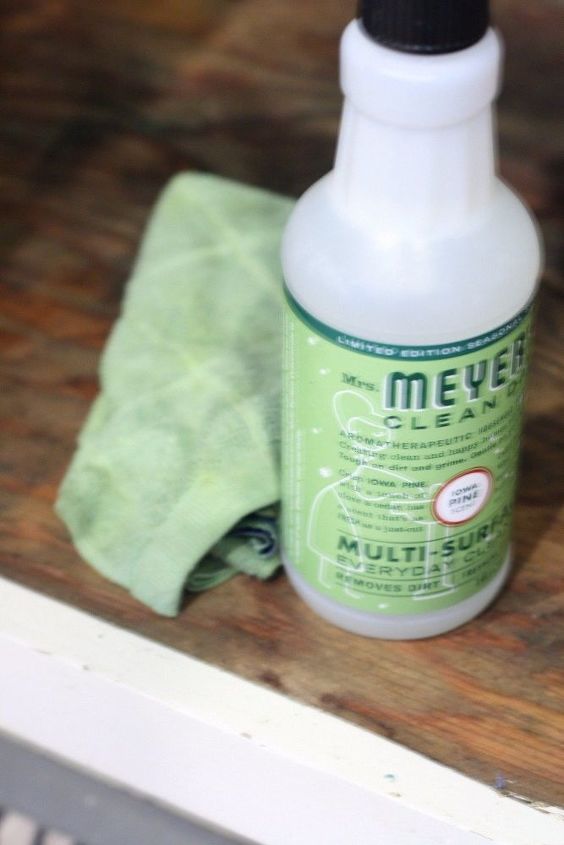
I used a gentle cleaner because I was stuck under the sink and didn't want to breathe in scary fumes!

I did a little measuring so I would know how many tiles that I would need.
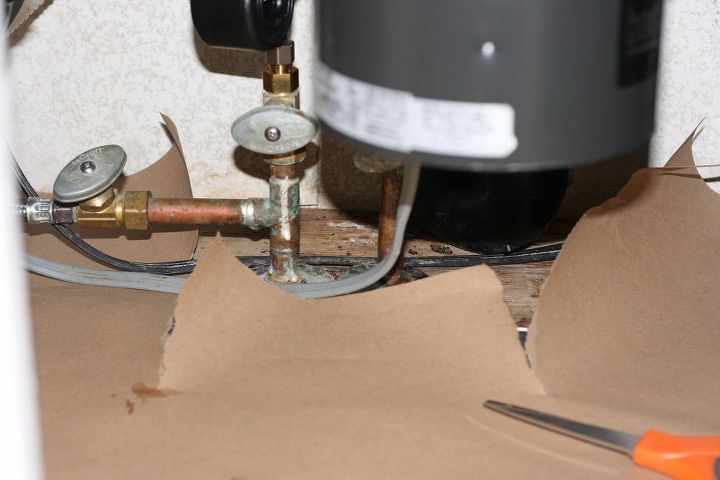
I used some brown postal wrap to make a simple template.
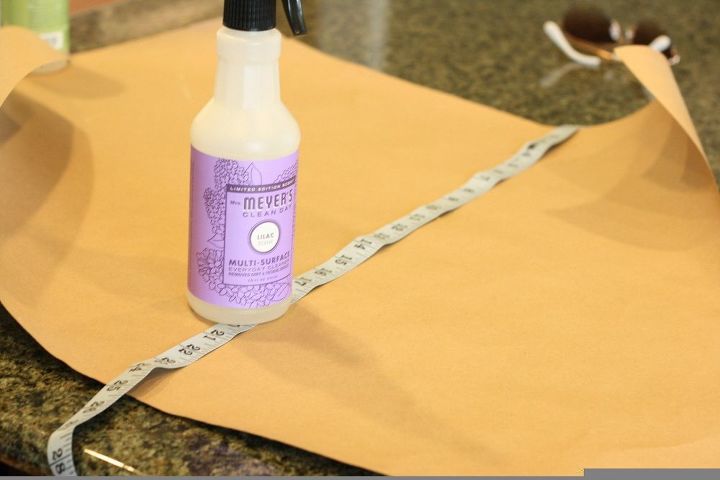
I remeasured to be sure that everything would fit.
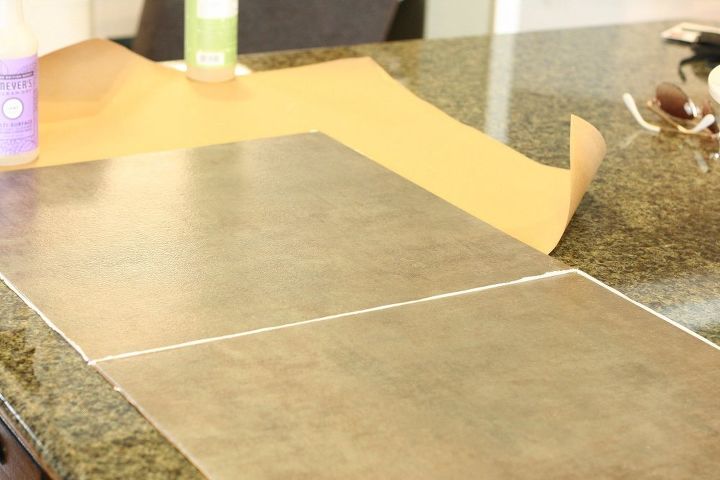
I picked up some inexpensive Peel N Stick tiles and laid them on the template so that I could score and cut more easily.
Then I realized that I needed to paint the front opening so that it looked nicer. That's what happens when you start a project!

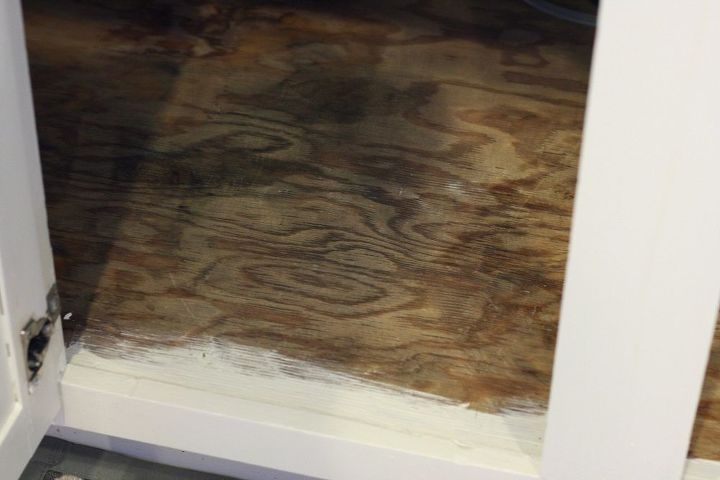
You can see that I just painted the floor with the cabinet color so that when I lay the tile it will look nice on the seam.
BEFORE
The tiles look like stained concrete so they blend in. It is nice and clean and now I can wipe the surface easily!
{
"id": "3763360",
"alt": "",
"title": "",
"video_link": "https://www.youtube.com/embed/oRXtYXpm75E",
"youtube_video_id": "oRXtYXpm75E"
}
{
"width": 634,
"height": 357,
"showRelated": true
}
Want more details about this and other DIY projects? Check out my blog post!
Comments
Join the conversation
2 of 3 comments
-
Previous owners did this under the sink , when I had a leak I had to tear it all out it was a mess. I cleaned it repainted wth kilz then put a boot tray in to hold the baskets etc under sink
-
Great idea! I have an extra boot tray! Thanks for the tip!


Frequently asked questions
Have a question about this project?