


Easter Egg Design DIY.

by
Irina
5 Materials
I would like to share my easter egg design idea which I really love. The technique is decoupage. It's safe for boiled eggs (just use egg white as adhesive). Also you can decorate fake eggs the same way using another adhesive (white craft glue mixed with some water).
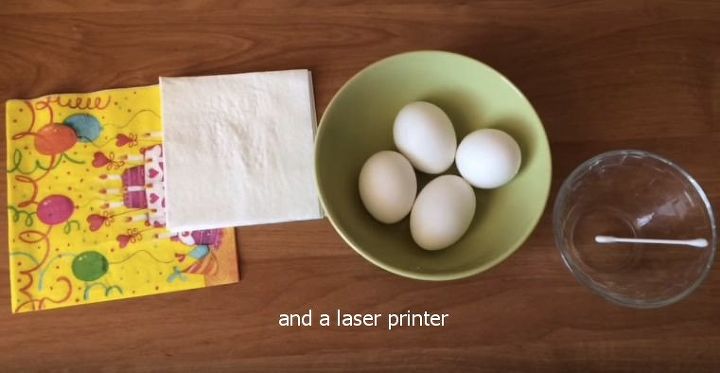
Materials are pretty simple - eggs and napkins (you will necessarily need white napkins and optionally color).
Also laser printer should be at hand.
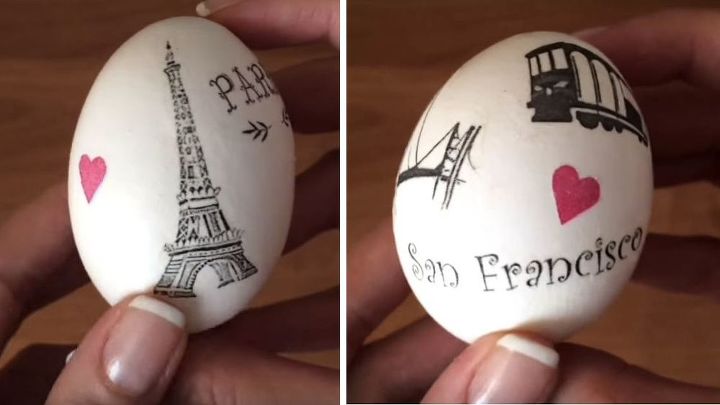
There is one thing you need to prepare beforehand. It's the design you will use. It's not that difficult and basic skills in Photoshop or Gimp will do the job. You can simply use ready images from the Internet (resize them to fit the egg and make a white background) or just write greetings using nice fonts. Or if you like, you may download my patterns, the link is at the end of the post. As I love traveling, my design idea was about big cities. Christians celebrate Easter all over the world and it doesn't matter where we are, we all love this day, that was the concept I followed.
Step 1:
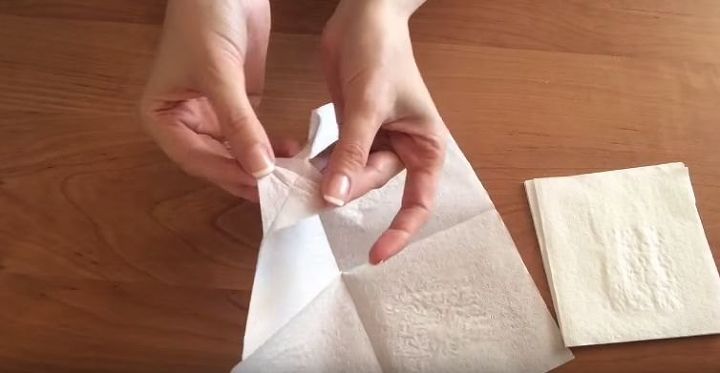
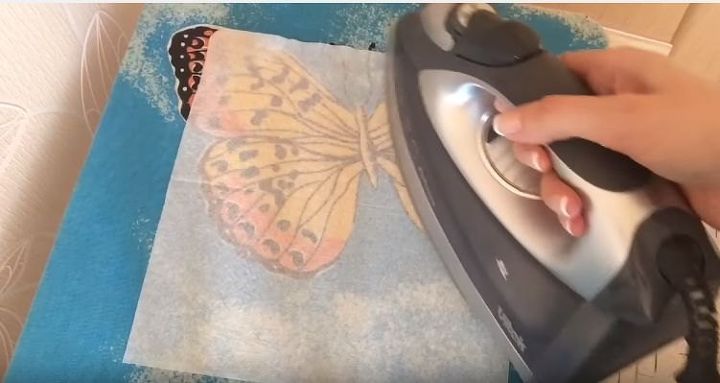
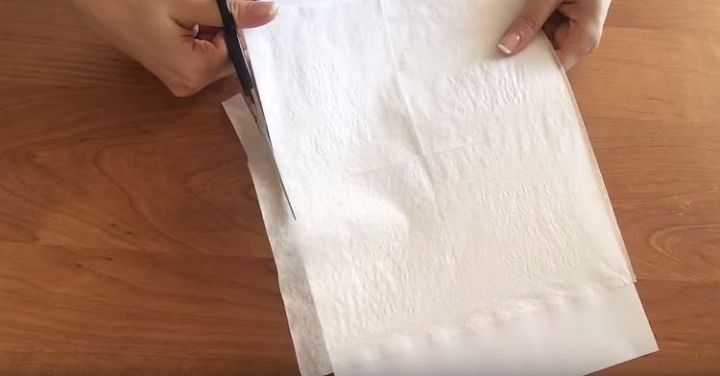
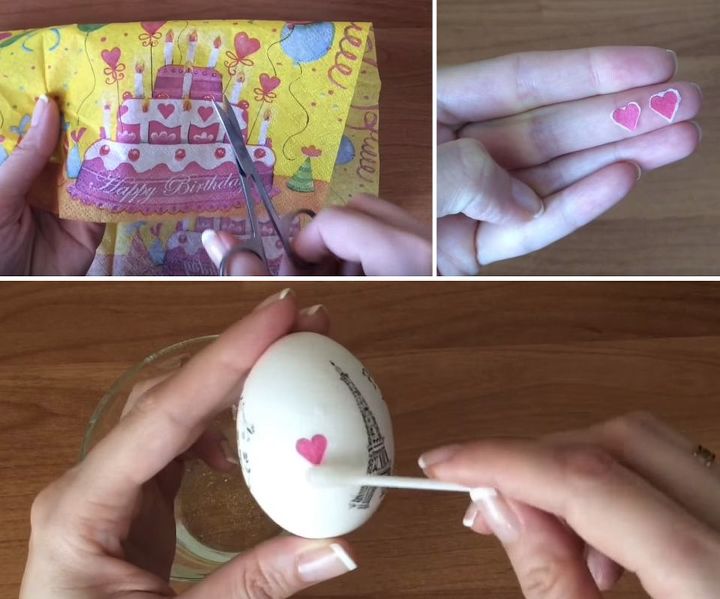
Take a white napkin and separate it into layers. We need only one napkin layer. Iron it to remove any wrinkles.
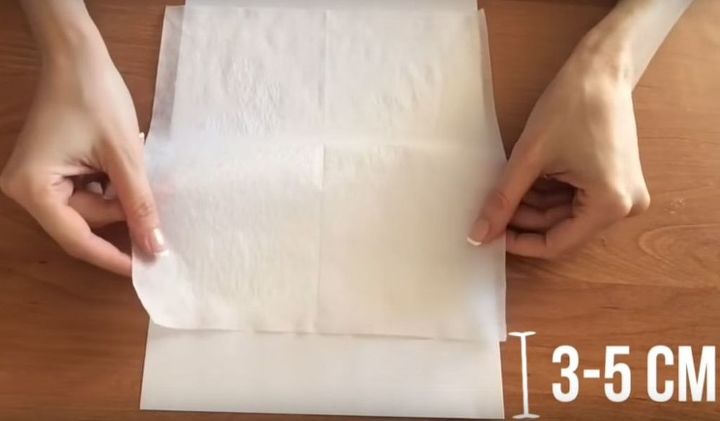
Step 2: Take a copy paper and glue the upper part of a napkin to it. I recommend to glue the napkin leaving 3-5 cm down from the top of a copy paper so that your printer didn't tear the napkin when grabbing paper. Cut the excess of the napkin.
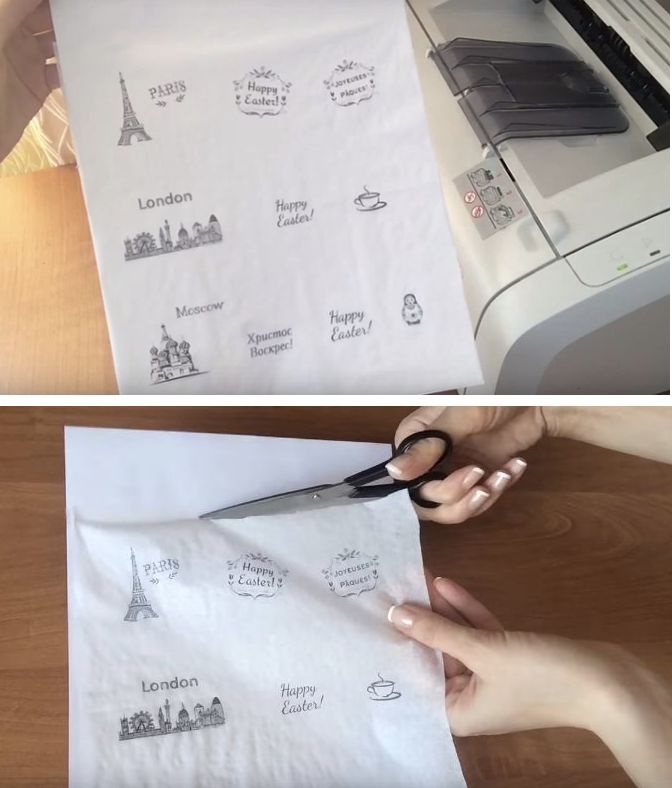
Step 3: Print out the design using a laser printer.
Separate the napkin from paper.
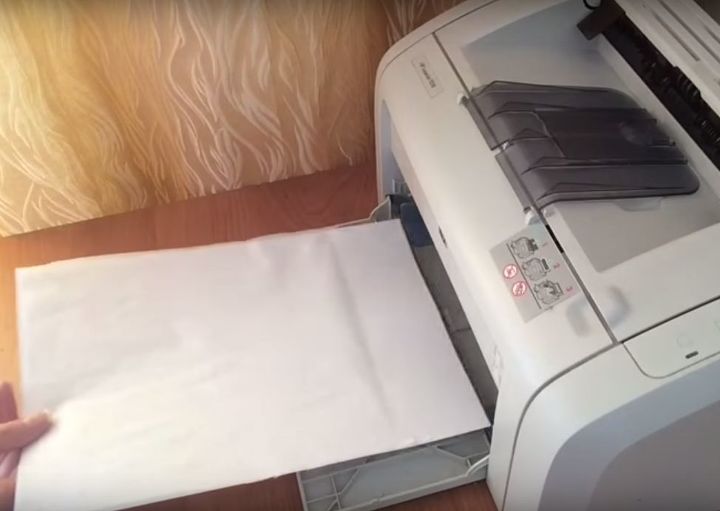
It's necessary to use a laser printer not an inkjet one.
As I mentioned already, you can create any design to your liking in a photo editor. I made patterns with such cities as Paris, London, New York, San Francisco, Berlin, Amsterdam, Moscow, Barcelona and Rome.
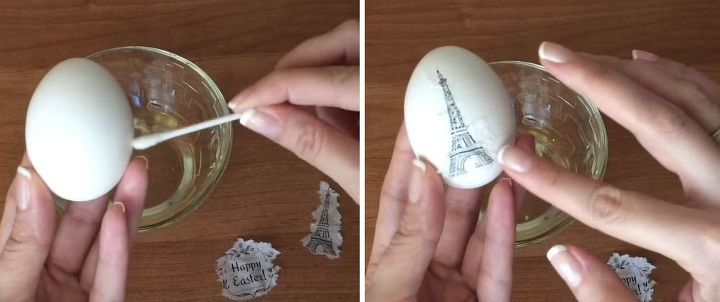
Step 4: Separate the egg white.

Step 5: Tear the design elements from the napkin. The napkin layer is very thin, be careful not to break the design.

Step 6: Apply some egg white to the boiled egg with a cotton bud or clean paint brush and smooth the design with your finger. Don't apply too much egg white, it can make the egg very slippy and the drying time will be longer.
Step 7: Take a color napkin with patterns. Cut out one or several bright elements and glue them to the egg with egg white.
Step 8: Let the egg dry (around 5 hours) at room tempreture.
I dry decoupaged eggs on two toothpicks.
And done!
Once the eggs are dry, you can put them in the fridge and keep there till Easter.
As I've mentioned above, the same method can be used to decorate fake eggs or empty eggs. Just use white craft glue (PVA) mixed with some water as adhesive and for a better result cover the dry egg with acrylic varnish (not necessary but it will add nice shine).
Here is my video tutorial with all details of my Easter egg design. Click on the video link and you'll find a link to my patterns in the description box below the video.
{
"id": "3785804",
"alt": "",
"title": "",
"video_link": "https://www.youtube.com/embed/yslkzCHBiUk",
"youtube_video_id": "yslkzCHBiUk"
}
{
"width": 634,
"height": 357,
"showRelated": true
}
Thank you and welcome to my youtube channel for more DIY tutorials.
Comments
Join the conversation
2 of 82 comments
-
Those eggs are precious! What a cool idea that is!
-
Oh Boy! Just look what you got started! I can't wait to do this. Thanks for a great and fun idea!


Frequently asked questions
Have a question about this project?
My question is why use raw egg that can be contaminated (although rare) with salmonella to put the napkin on. Why not use a watered down solution of elmers glue that is non toxic and does NOT contain the possibility of salmonella. Elmers is safe for kids that EAT it and lick their fingers while using it.