


Faux Marble Stool - A Thrift Store Upcycle
11 Materials
$25.00
8 Hours
Medium
I've upcycled lots of things -except furniture.
So in my never-ending journey to stretch outside my comfort zone, I decided it was time to tackle a furniture project.
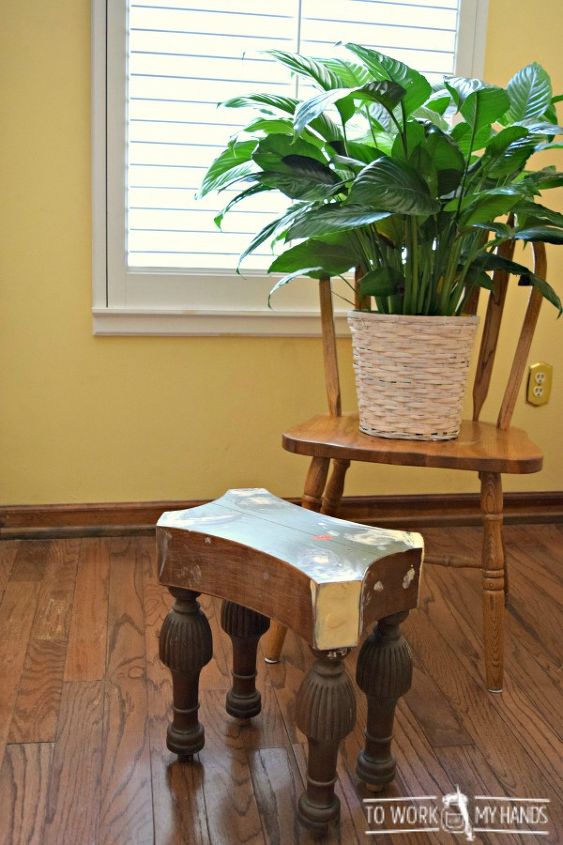
When I found a small stool at my favorite thrift store, I knew it was the perfect piece to start with. I had no idea how I'd spruce it up, but one thing was certain - it definitely needed some help.
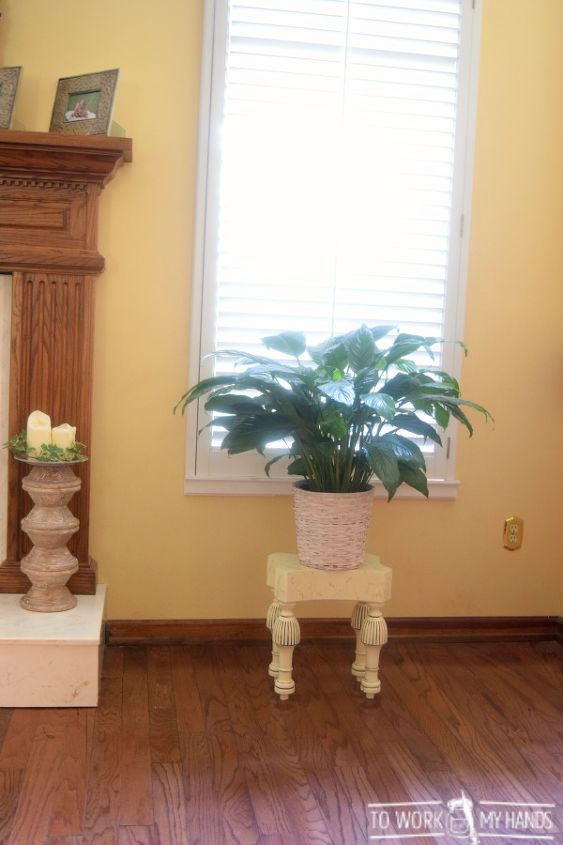
I had no idea how I'd dress her up, but I did have a plan for where to put her.
It was past time to get a nicer plant stand, and I'd been keeping my eyes open for a while for something that would do the job in a bit more style than an extra kitchen chair.
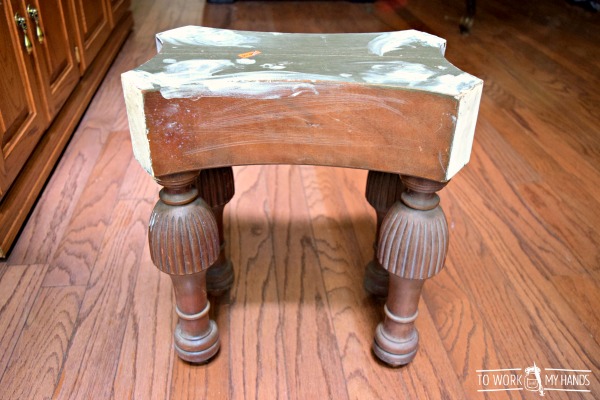
Obviously she had had some efforts put into her at one time. I'm not sure what the plan was, but apparently it was abandoned. Poor thing.
But...good for me! I picked her up for just $10.
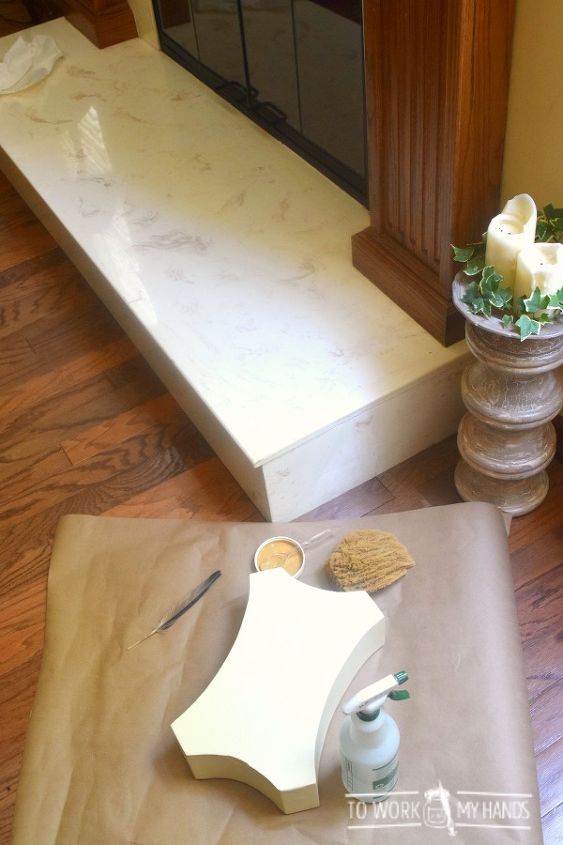
Since I planned to use my new plant stand near our hearth, I decided to update it to match and give it a faux marble finish.
I started by taking the legs off and giving the top a good sanding with an electric sander. After it was smooth, I gave it a coat of Kilz primer, followed by two coats of the base coat - Sugar and Cream by Valspar.
By the way, a sample container was more than enough for this little project.
I also painted the legs with the same color, and set them aside.
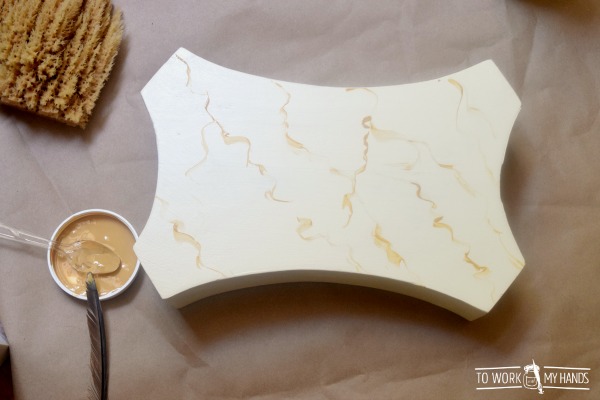
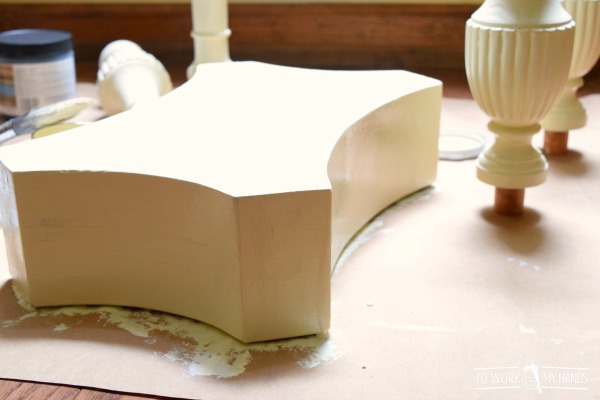
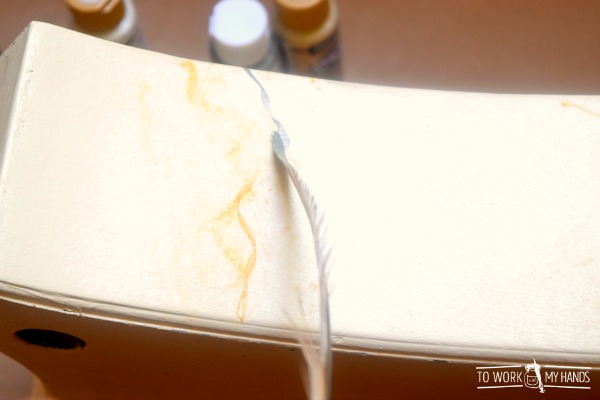
Next, it was time to add the veins to produce a faux marble effect. I mixed a bit of paint with some water in a 3:1 ratio, then using the tip of a feather, painted some random diagonal streaks.
I also added some gray veins and extended both down the sides and on the bottom.
An important thing to remember when adding veins is to keep your hand light. Let the feather roll and turn as you apply the paint. Having a piece of marble to reference while you work is helpful.
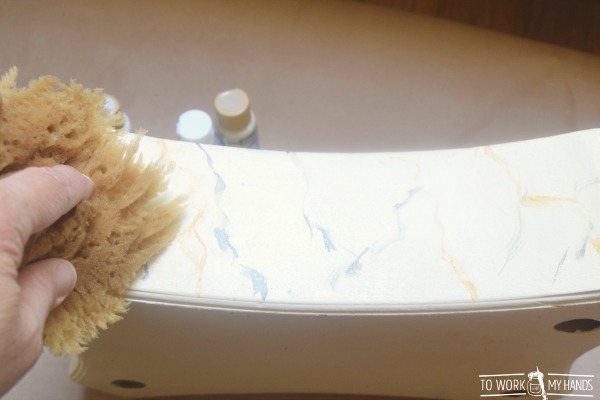
After adding each color, I used a damp sea sponge to soften and smear the veins a little. This really makes it look like it's a part of the wood and not just painted on top.
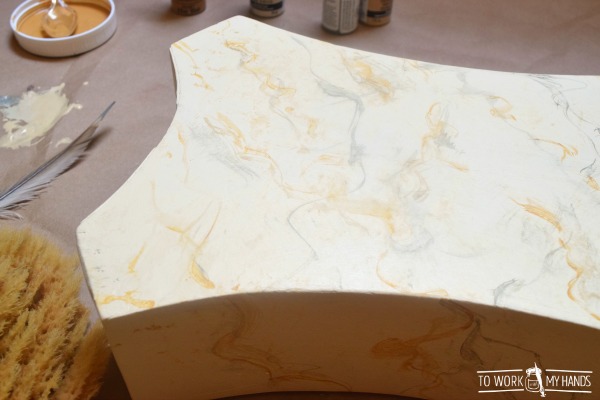
To add more depth, I also added a third color - using the same technique, and finished up by pouncing on an off-white paint in random spots and softening with the sponge again.

To finish off the top, I gave it a light sanding with a fine-grit sandpaper, then applied two coats of wipe-on poly sealer.
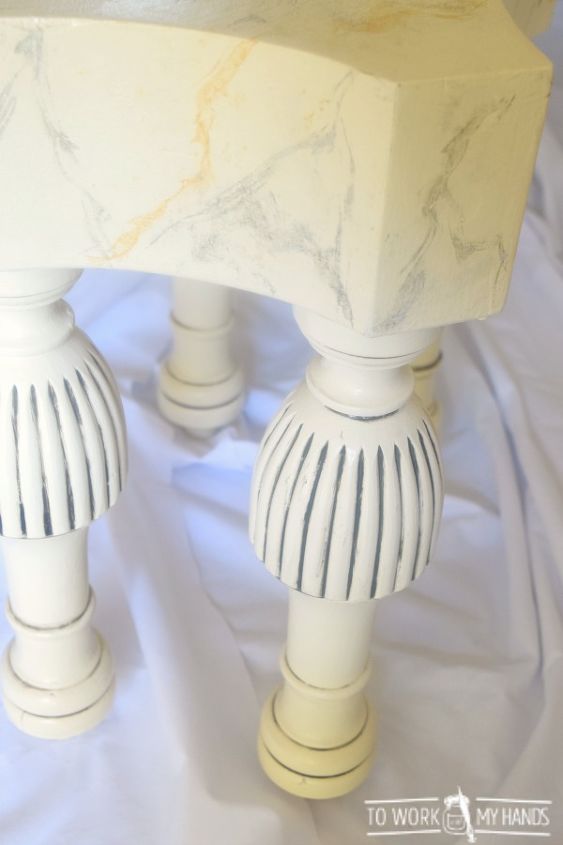
I decided to give the legs a coat of antiquing glaze, letting the color settle in the cracks to accentuate their details.
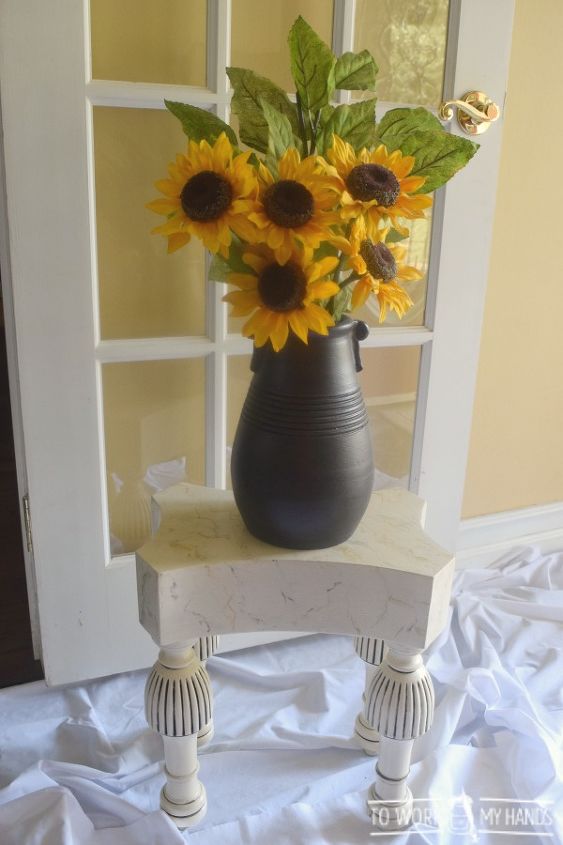
After putting the legs back on, she was ready to get to work!
Perfect!
I love how she turned out and I think I have a new upcycle addiction now. 
There's lots more pictures on the blog (22 to be exact!) if you'd like more details about this project.

Want more details about this and other DIY projects? Check out my blog post!
Comments
Join the conversation
2 of 86 comments
-
Wow, you did an amazing job with this makeover!!!
-
Thank you, Maryellen! I had lots of fun with this one.


Frequently asked questions
Have a question about this project?
Just a comment. This looks absolutely great. When I looked at the piece before you started the legs looked waaaay too big for this stool but when I looked at the finished project the legs somehow seemed to shrink in size. The now look to be the perfect size. Great job.