


Planking a DIY Dresser Going Storage and Bench
2 Hours
Easy
DIY Storage and Bench
DIY Storage and Bench from old Dresser – Part II
Hi everyone! Last night we left part I of our post showing you the old dresser we would take to a new DIY Storage and Bench. Well tonight we will show you part II – planking the back of our dresser to prep for the next step.
The addition of planking to the back of the dresser will help build out decor focal point for our living room. You can purchase planking in almost any size width you like. I used a combination of 4 sizes because I wanted that wow factor when I move to the next part of my project.
Before I cut and attached the planking I did a washed paint technique of all the grey and white paint colors we have used in our decor. I simply took a couple tablespoons of each paint, added water, and wiped on each board to create the finish I wanted for my room. Experiment to find what you like – you can even use various stains.
Here’s what we used:
4 –.25” x 2” x 36” Plank
4 - .25” x 2.5” x 36” Plank
4 - .25” x 3.5” x 36” plank
4 - .25” x 5.5” x 36” Plank
Ryobi Nail gun (I use battery)
.5” nails
Liquid nails – white – extra hold power
Saw (radial or miter will do the trick)
Pencil
Dime for spacing
Your choice of paint or stain colors
Now let’s get to work!
First, I mixed all my paint and set the water amount.
Next, I painted the planks, laying them on a flat surface to help avoid drips, and checking them to make sure they were the perfect color for my project.
After the planks dried, I cut them all too different sizes (this allows you to adjust your staggering lines so all the lines do not match up, giving that perfect overlap).
Then, I started installing the planks with the largest to the bottom. I added liquid nails to the back, then secured with my Ryobi Nail gun, making sure to leave expansion cracks which allows the wood to expand and contract with the room’s humidity.
As you finish each row you will have to cut the boards on the end where you stop to make it nice and even down each side before you nail and glue.
Remember this is a fun project, so it does not have to be perfect. Well, that’s the second half of our DIY Storage and Bench project. I will see you all back tomorrow with what I hope will be the final project!
Part I of Post: http://helloilivehere.com/diy-storage-bench-from-old-dresser/
Until then – happy planking!!
Linda
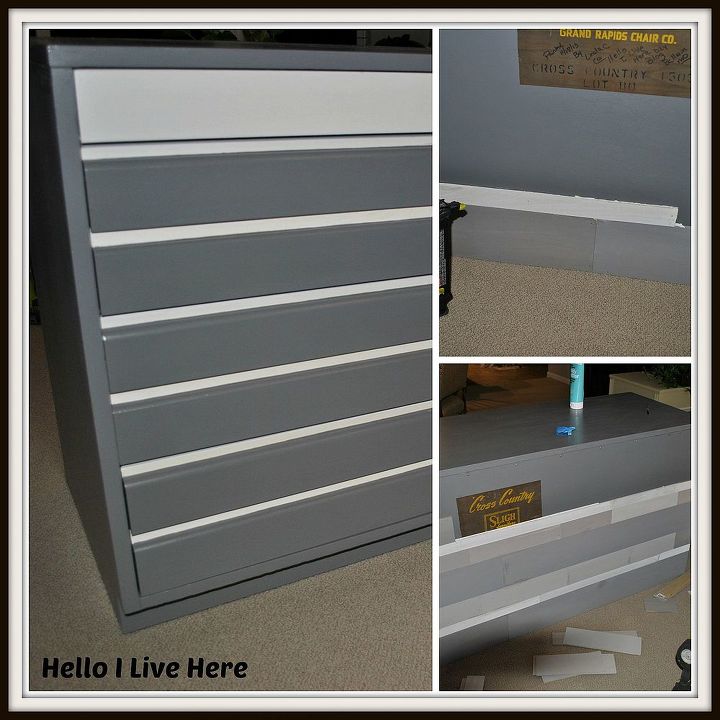
Planking the back of a dresser to start the transformation of turning it into a combo storage and bench.
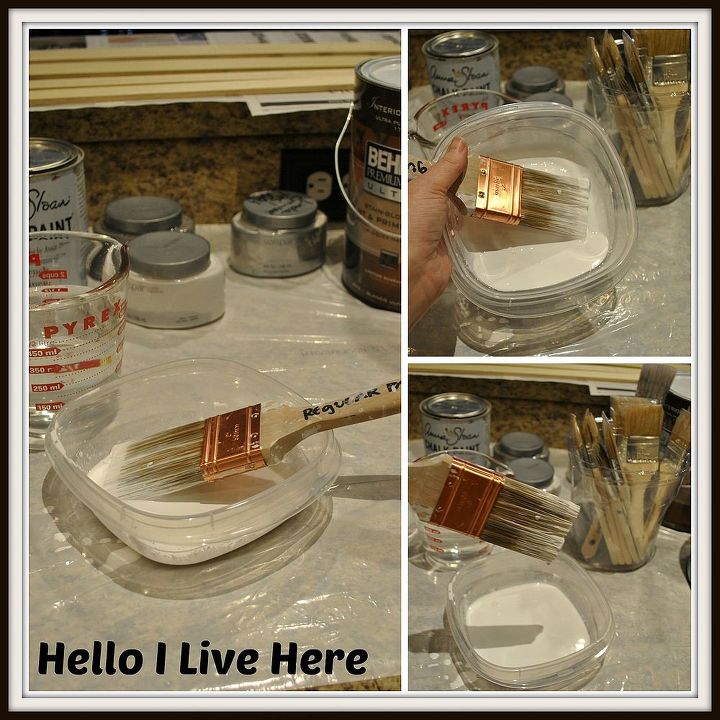
Mixing the paint with water to create a wash.
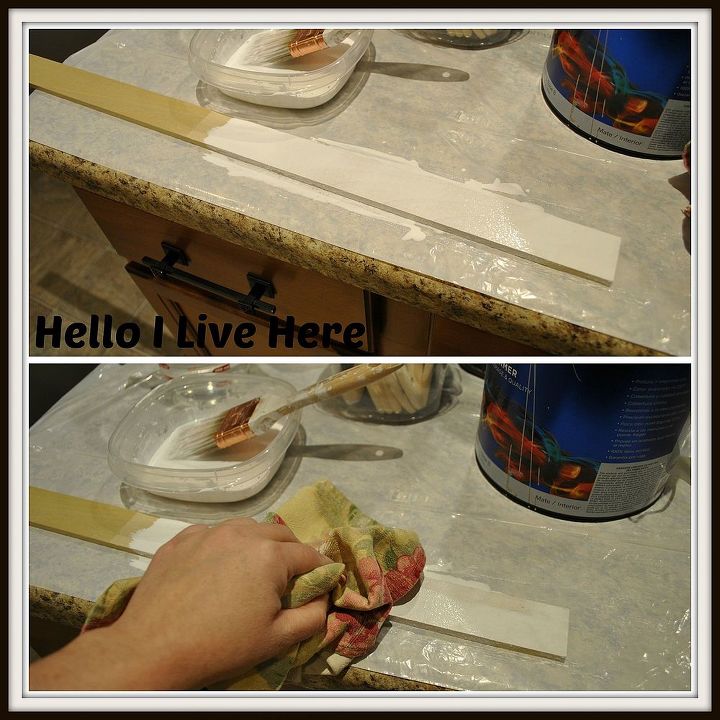
Washing the paint into the wood
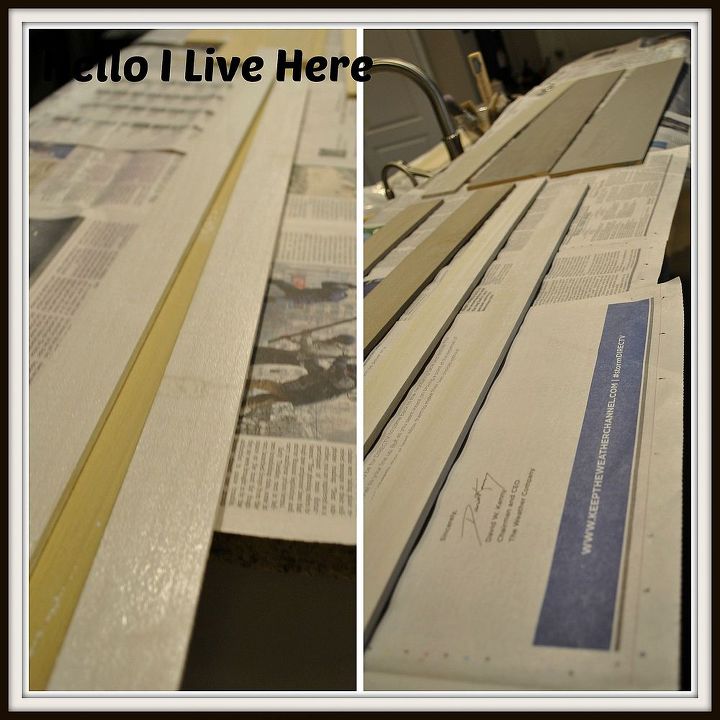
Planks drying.
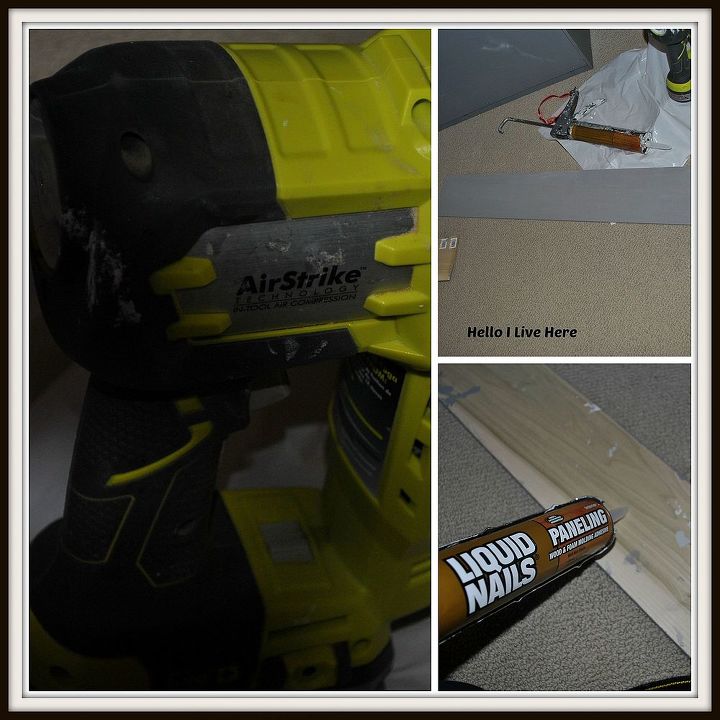
Tools we used.
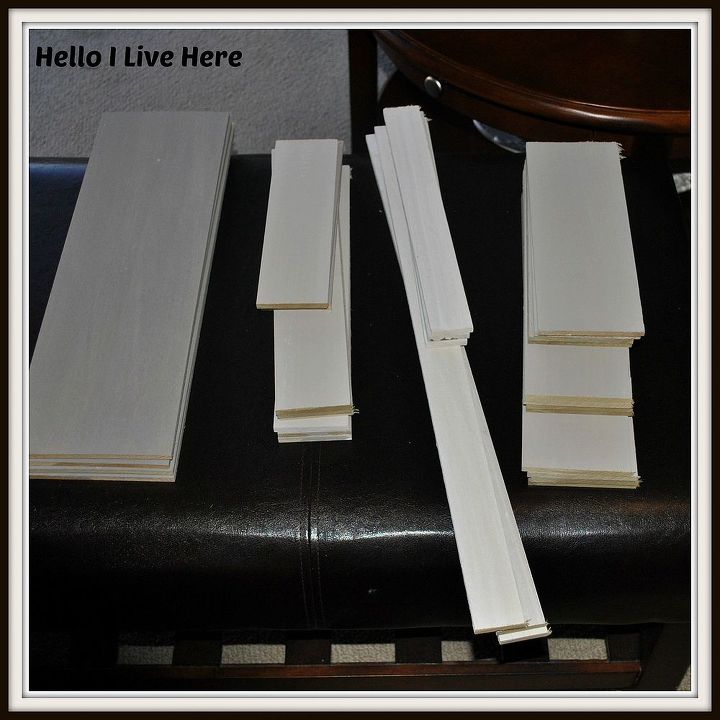
Plank cut to different sizes.
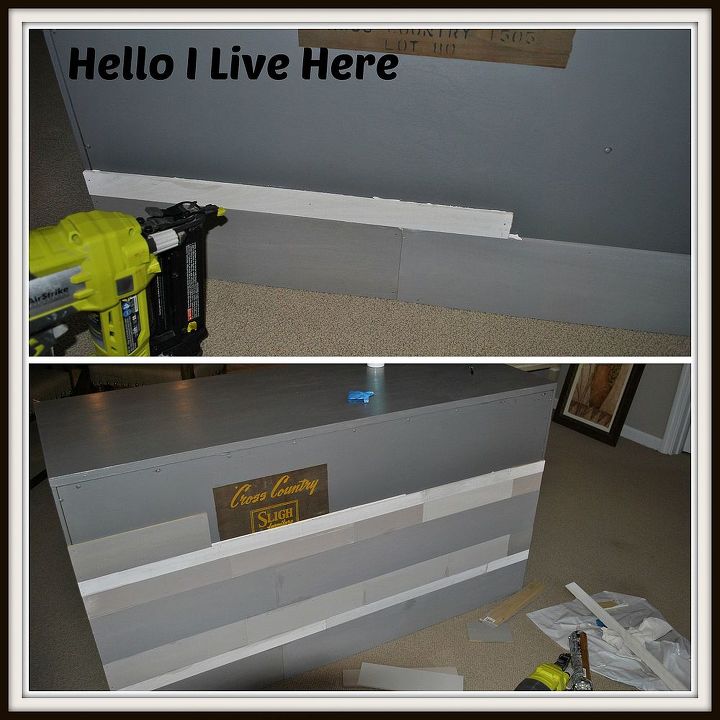
Adding the planking
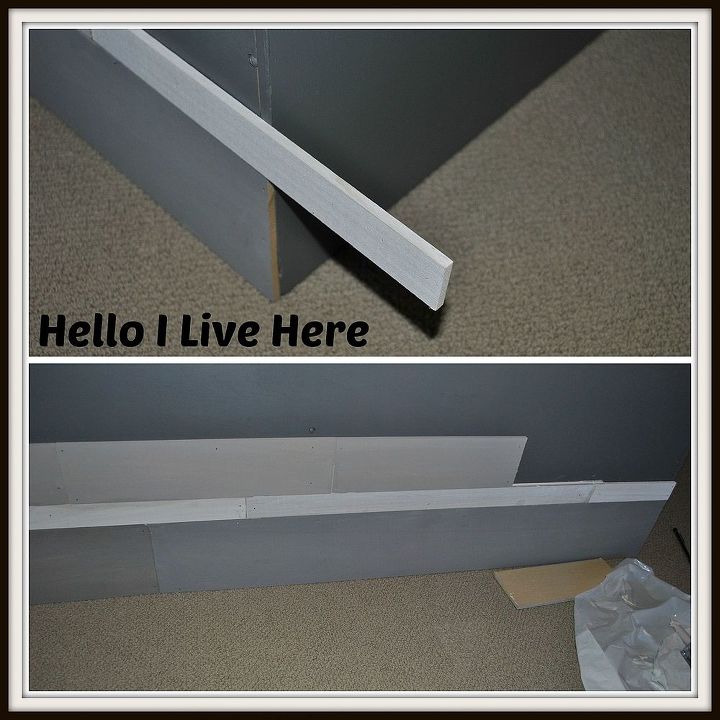
Adding and trimming the plank
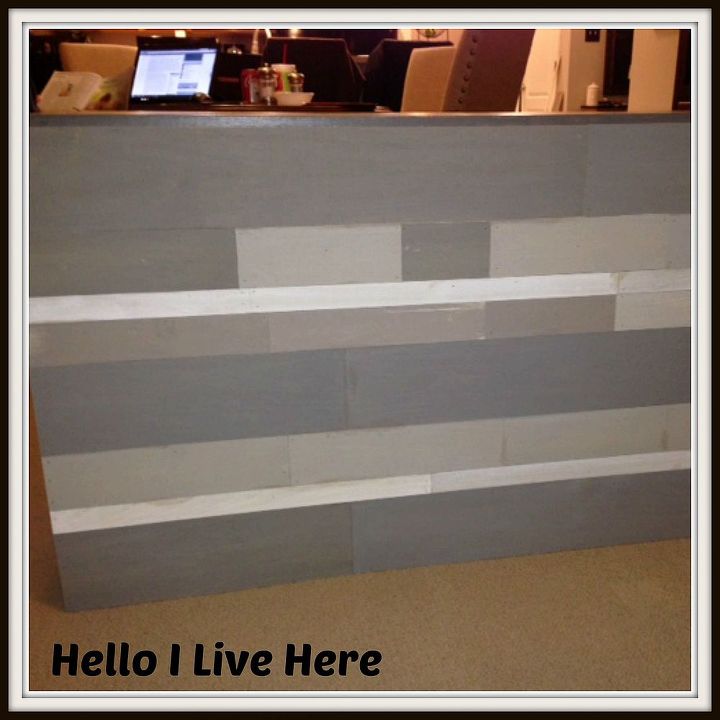
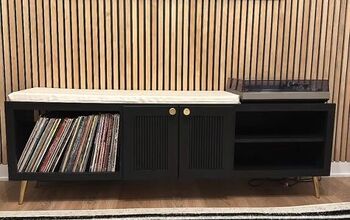
The finished plank of the back of the dresser, Part II of a 3 part post.

Want more details about this and other DIY projects? Check out my blog post!


Frequently asked questions
Have a question about this project?