


Revamp a Wood Box

by
Choyce
2 Materials
$2
4 Hours
Easy
This wood box was very nice, but after years of using it to store vegetables, I decided it was due for a face lift!
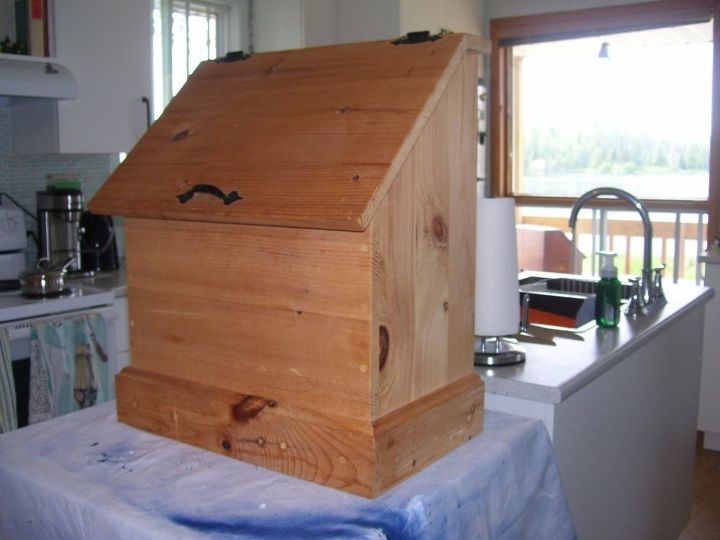
In its virgin state.
I wiped down the wood box with a damp cloth. This box had never been finished with anything -it was just the bare wood.
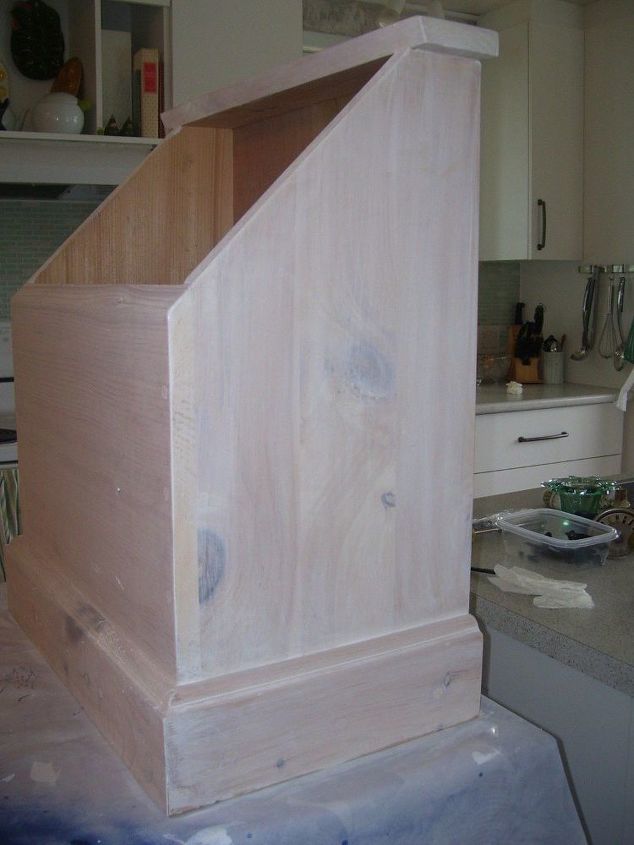
I stained it with solid white wood stain, using a paint on- wipe off technique.
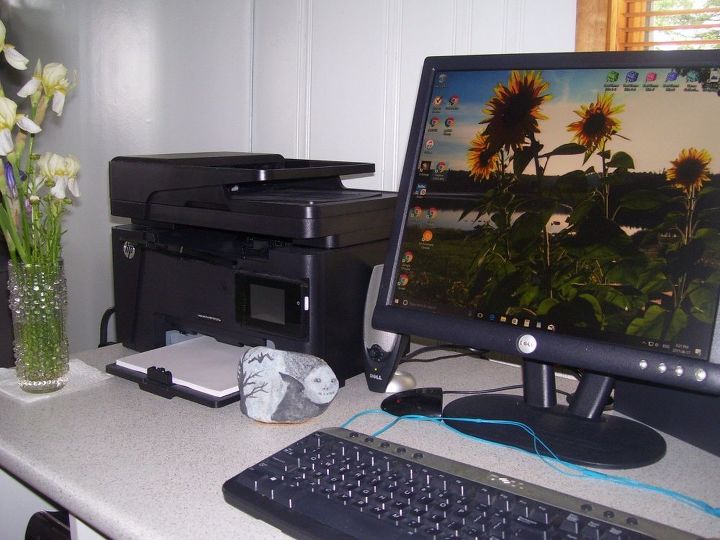
Using my computer, I created the words I wanted to put on the lid of the box. I made each word from a different font, use the largest font size, then enlarged the words on my printer - copier.
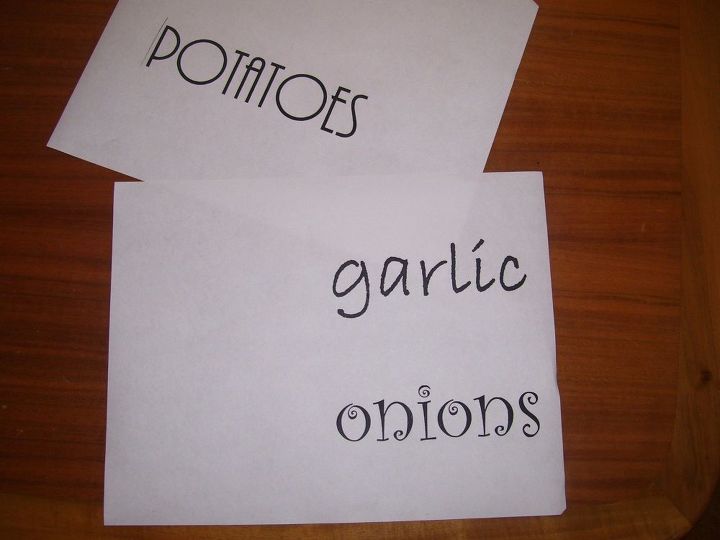
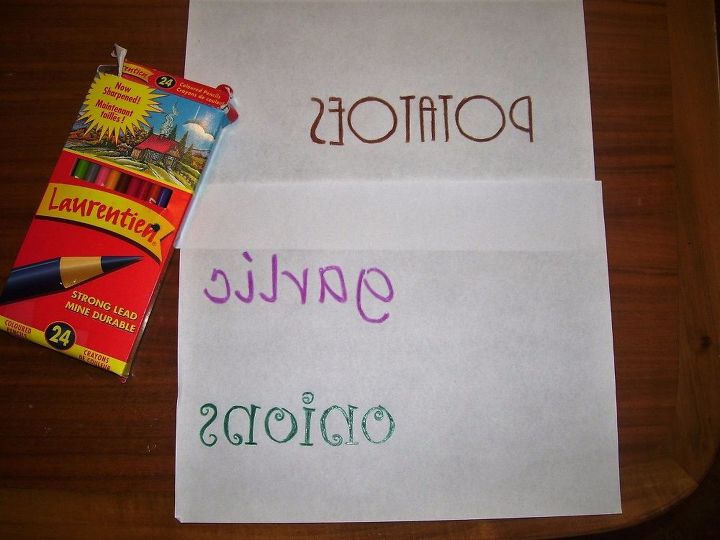
I turned the words over, and coloured them in with colour pencils.
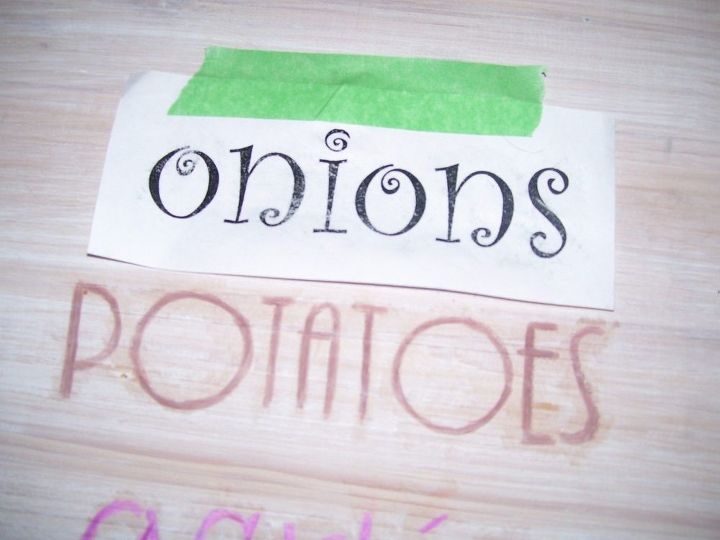
I taped the words onto the surface. Now that the back of the letters are coloured, they will transfer like carbon paper, onto the wood. But what tool to use?
I tried using my clothes iron - too faint. Then I tried my woodburning tool - well that was nasty. Finally I used the old-fashioned method of rubbing, and with a nickle I was able to transfer the images onto the wood.
The transfer was pretty faint, so I just went over the words with the same coloured pencils to make them stand out.
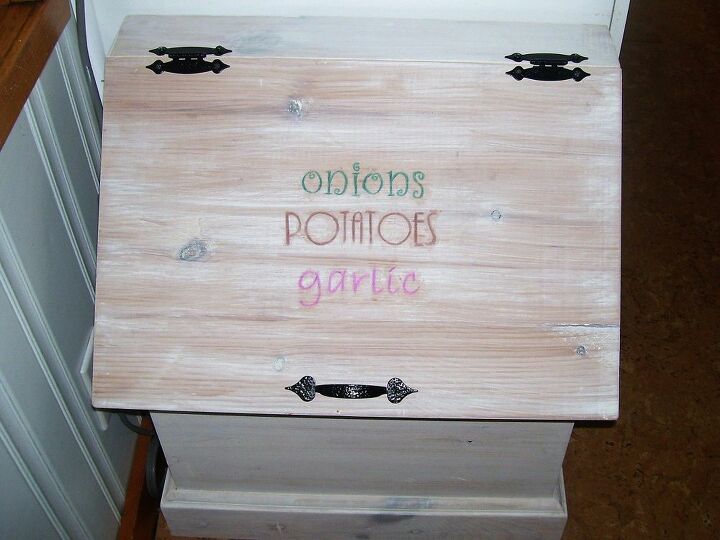
I put the lid back on and here is the finished box. Not sure how I will protect it, probably with a satin clear poly finish, or maybe a wax finish.
I really do keep these veggies in that box. The lid stays slightly ajar for air flow.


Frequently asked questions
Have a question about this project?