


Transfer a Printed Photo to Wood The Easy Way
3 Materials
$8
1 Day
Easy
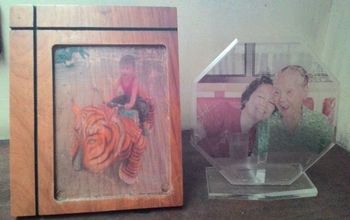
There’s a great photo tutorial on Pinterest about how to transfer a picture onto unfinished wood. It seemed too easy to be as awesome looking as it was, so I had to give it a try. Guess what?! It turned out great!
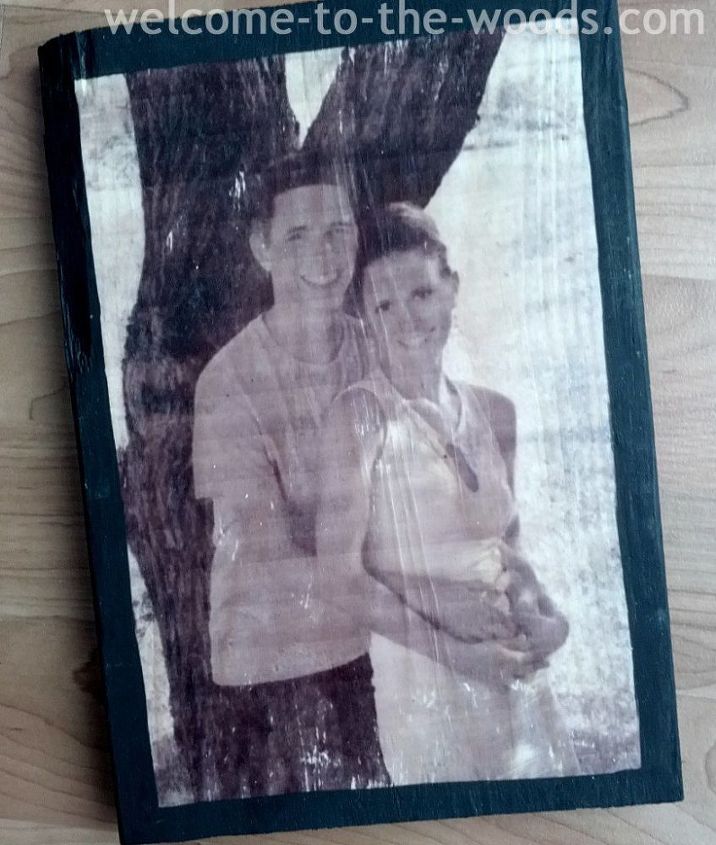
So after doing the project, I thought I would run through the instructions and give you a couple pointers that helped me!
1. Cover an unfinished piece of wood with acrylic gel medium. This costs around $8-$10 if you don’t already own it. It is a useful crafting tool so it might be worth your investment.
2. Print your picture with an inkjet printer on normal paper to the correct size ahead of time. In this step, you lay your paper picture face down on the layer of acrylic gel medium.
3. Firmly smooth out bubbles.Work from the middle outwards.
4. LET IT DRY OVERNIGHT. Really let it dry at least 12 hours.
5. Use a rag and lightly wet the surface.Basically, the acrylic medium pulls the ink off the paper and stains it on the wood. If you add too much water, it will take away too much of the stain. If you add too little, you won’t be able to do step 6. So add light layer by light layer of water.
6. Gently rub the wet paper off. This is kind of an art. Again, go slowly so you don’t take off more of the picture than you wish to.
7. Gently wipe the picture with your rag to clean off all remaining paper residue.
8. Cover it with mod podge. You can really use any favorite sealant.
9. Let it dry and then you’re done!
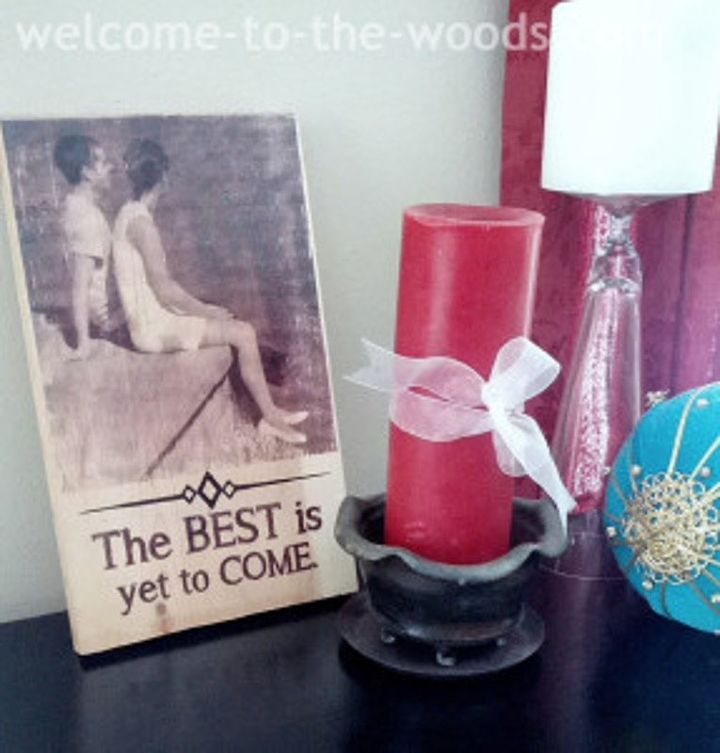
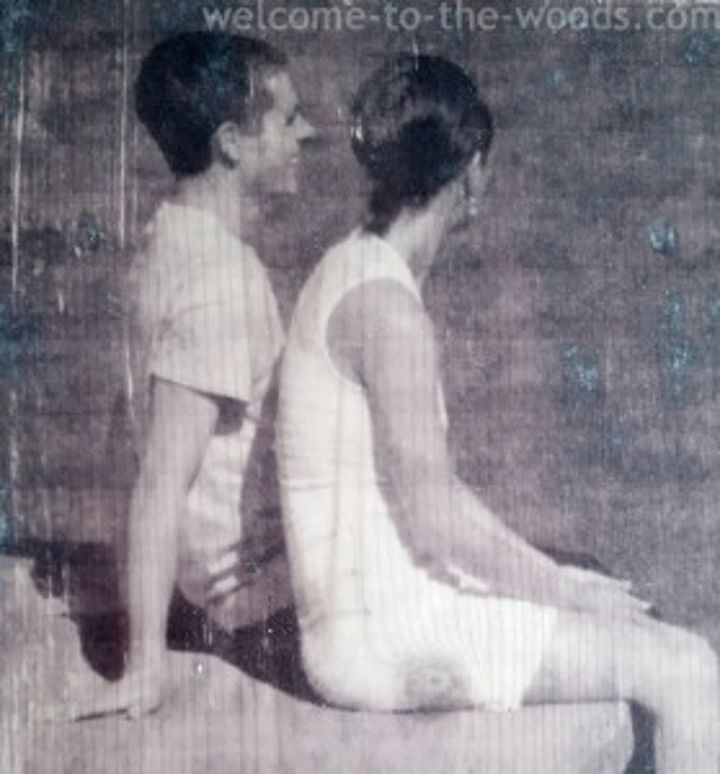
What a cute and fun project! I think it would make a really great gift, too! It’s customizable, personal, and easy to decorate with. Mine just sits in my living room all adorable and I get a lot of compliments on it. Try it for yourself or to give as a Christmas gift this year!
I also have another method for transferring photos to wood using just mod podge that is just as easy! Come see on my blog!
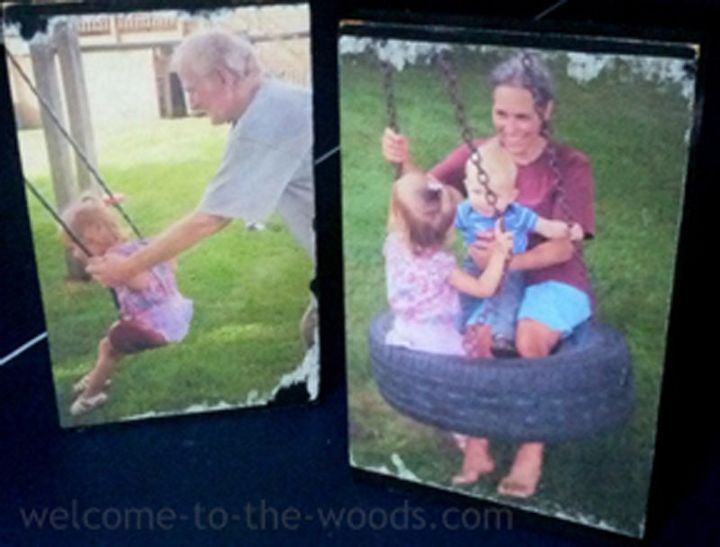
These ideas make perfect handmade Christmas gifts to give to everyone on your list!

Want more details about this and other DIY projects? Check out my blog post!
Comments
Join the conversation
6 of 8 comments
-
Well done it looks great, Have you ever tried the tattoo paper transfer. Works perfect every time if instructions are followed, super cheap, no rubbing and loosing bits of image or ink, and no waiting. I only mention this because not many people seem to know about it.
- See 3 previous
-
i am so in love with this beautiful project.


Frequently asked questions
Have a question about this project?
I would like to try this but I don't have a printer to print the pictures. The pictures I have are printed on photo paper. Can they be used or does it have to be on regular paper for it to work.
Can this be done on a canvas painting?