


Old Window Turns Into a Shadow Box

by
Shelley
6 Materials
2 Hours
Medium
I have a cabin that had an addition added to an existing structure; the result was an ugly shell where the window used to be. I used the following steps to make it look pretty good with a little bit of effort and recycling paint and products I already had at home.
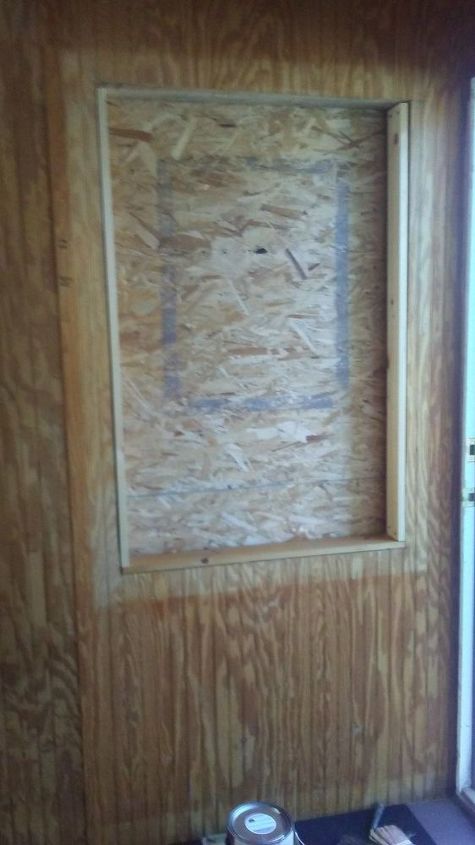
Old Window "Before"
1. Here is the "before" prior to the project, I assembled all tools to be used which included paint, nails, hammer, saw, measuring tape, fun pictures and map to place in completed Shadow Box.
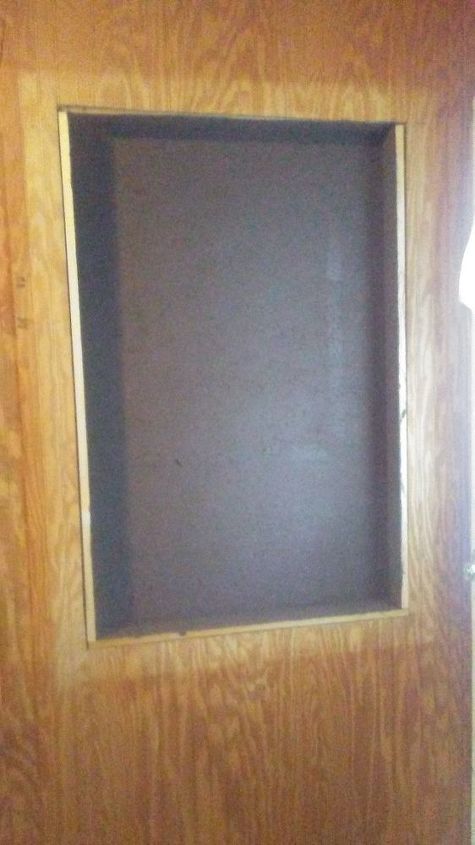
Paint background
2. You can choose a darker color to make a more dramatic effect for your Shadow Box mementos stand out.
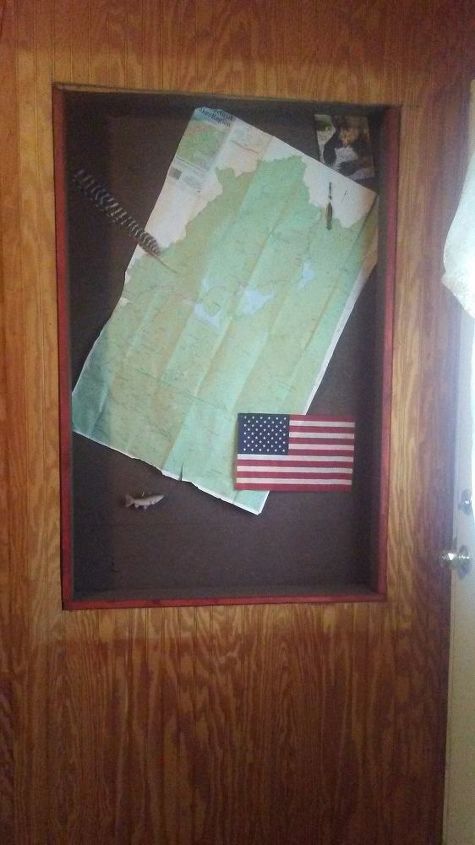
Paint an accent color if exposed wood
3. I decided to leave an unfinished edge showing and painted it red; you can always place the frame around any rough or uncovered areas.
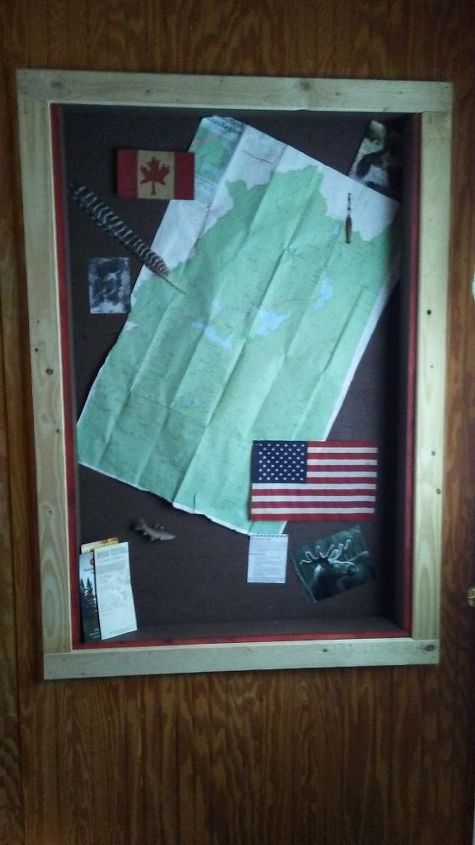
Have fun adding peices for a theme
4. The Shadow Box was finished off with plain, bare pine that was cut to fit. I didn't even do a 45 degree angle cut; each piece is straight on the frame but be careful with measuring so they line up correctly on all sides.
5. It was really neat adding a map and some souvenirs to finish off the look and give it some visual interest. You could go an extra step with putting in Plexiglas but I just left it open since I would like to change it out from time to time.


Frequently asked questions
Have a question about this project?