


Decked Out!
7 Materials
$1000
4 Months
Advanced
When we purchased our 1933 home, 2 years ago, we fell in love with the large deck and hot tub. However, within a few months rot started rearing its ugly head and we realized our deck was in worse shape than we ever could have imagined.
So began the process or rebuilding the deck...
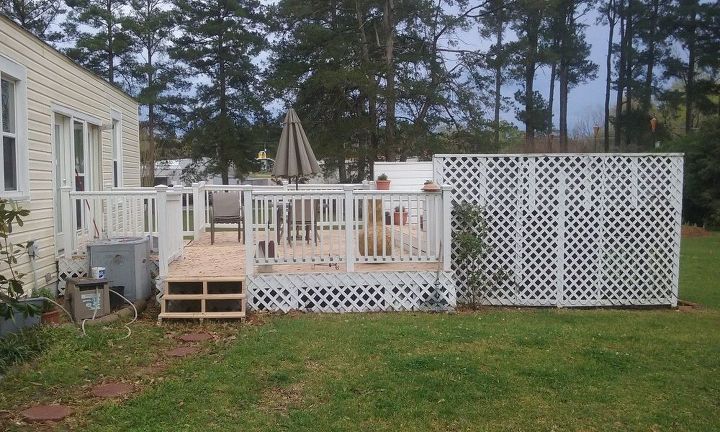
Original deck side 1
This is the main entrance point of the deck. As you can see, high lattice walls enclosed the hot tub area.
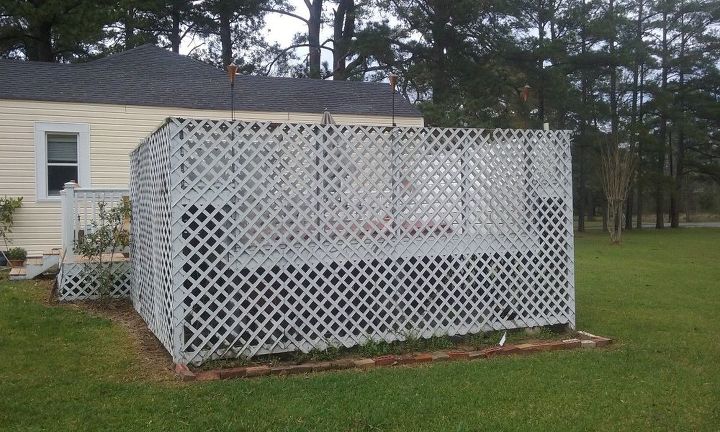
Back of original deck
This is the hot tub area. If you look closely you can see built-in benches on the left and right. However, there was no floor under the benches.
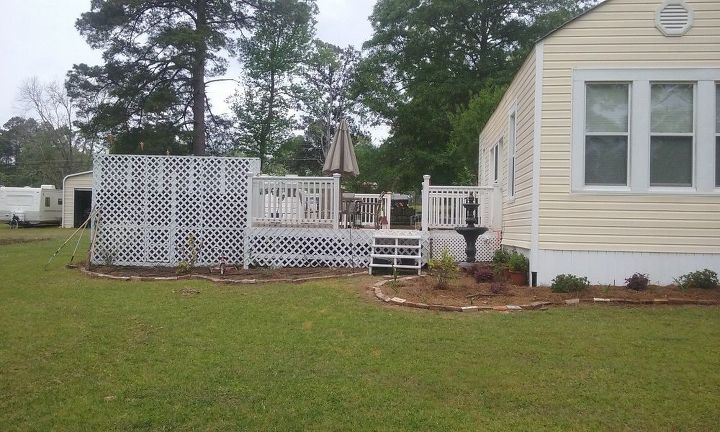
Original deck side 2
This is located at the front of the house. There was no entry onto the deck from this side so we added those when we moved in.

After sides and floor was removed
We removed all of the original flooring, skirting, and railing.
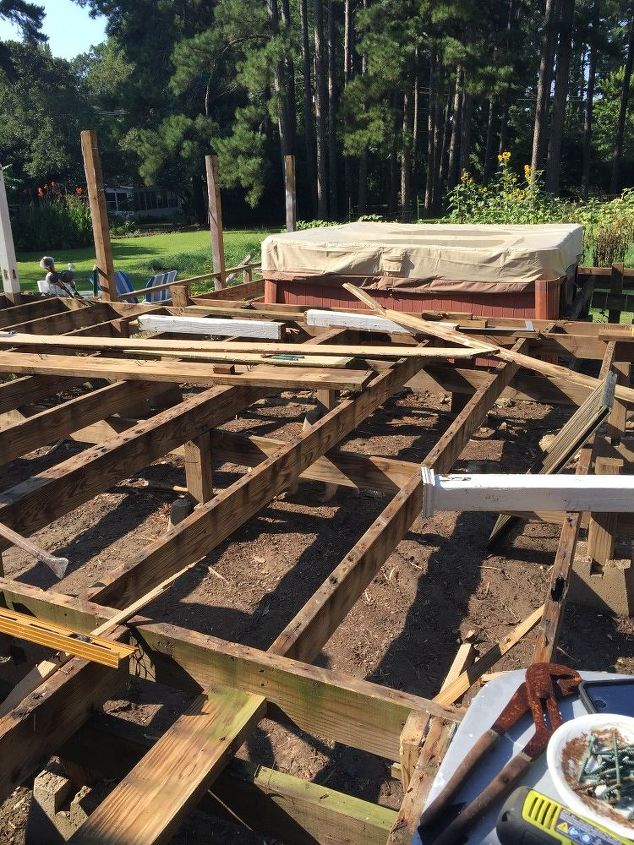
DEMO!!!
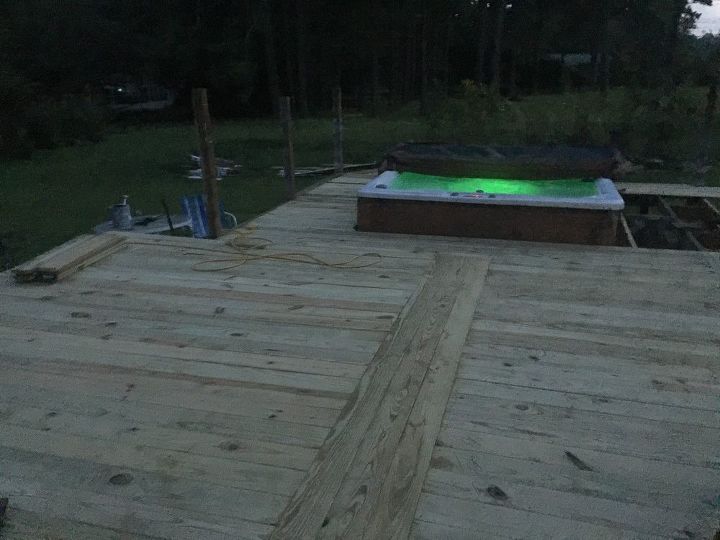
The original deck floor was elevated around the hot tub which made it difficult to get in and out. We decided to drop the floor to the same height as the main deck.
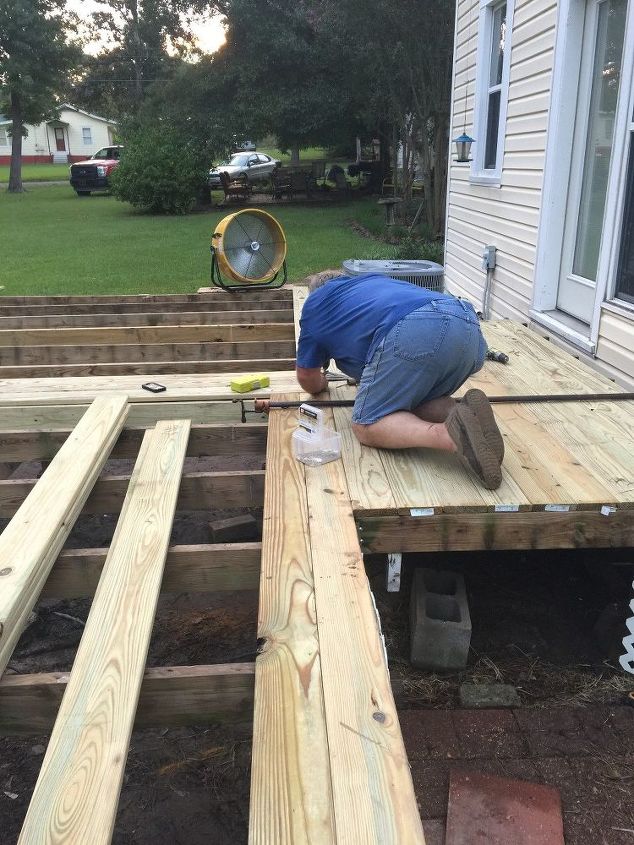
Here we go!
After replacing damaged and rotten joists, we installed joist hangers and squared up the frame as much as possible.
Long Days!
Many days worked until dark; slowing adding new deck boards. (note the fan; it was hot hot hot)
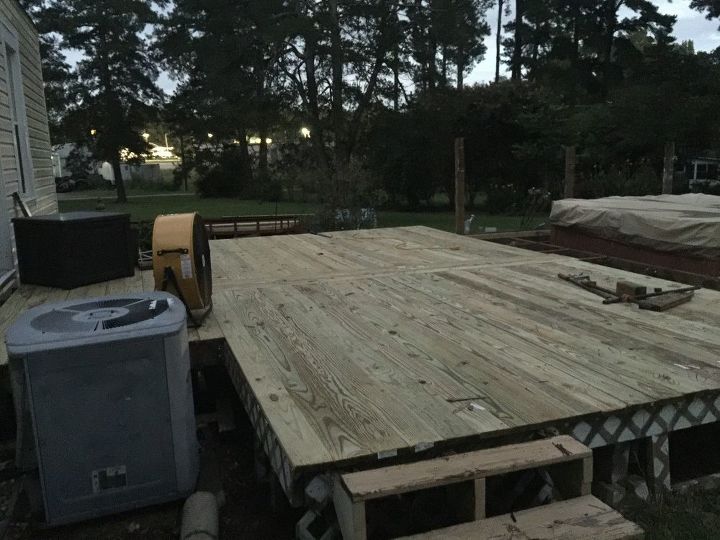
Getting there!
The original deck flooring was installed on a diagonal (which we hated) so we decided to run 3 boards up the middle so we could keep the same footprint.
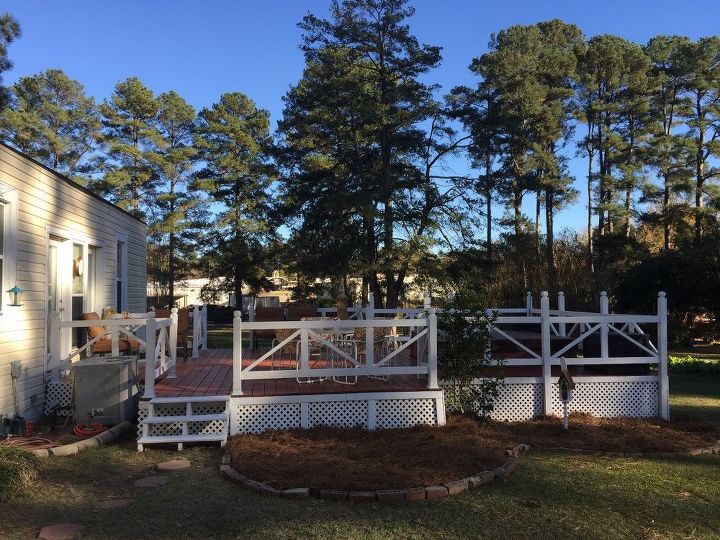
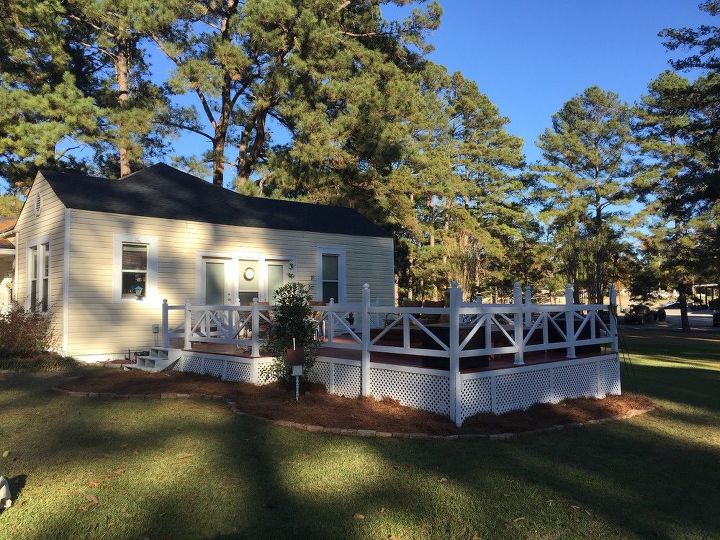
Deck side 1
Finally! We added new railing, stained the floor, and added new skirting.
Deck back.
We also added a new flowerbed. (there were no beds when we moved in 2 1/2 years ago)

Deck side 2.
I love the open feel of the deck now.

View from the hot tub area.
The deck looks so much bigger now and I just love the red stain.

I love that you can look into the yard and enjoy the flowers. (we still have a lot of work to do on the flowerbeds)
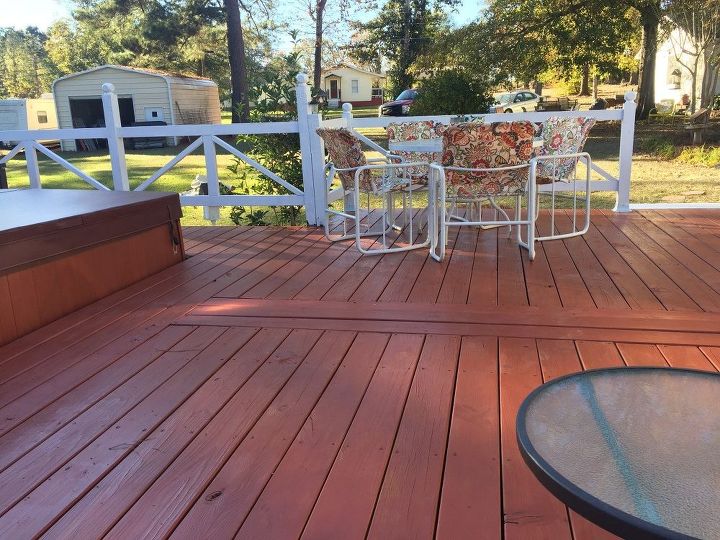
I recovered this vintage patio set my mother-in-law gifted us and it looks great with the red stain.

View from the house landing area.
We added pavers to the deck so we can use the chiminea. We still have a bit of tweaking to do (add skiriting around the A/C area and finish out the door to the crawlspace but I am beyond thrilled with the end result.
Resources for this project:
See all materials


Any price and availability information displayed on [relevant Amazon Site(s), as applicable] at the time of purchase will apply to the purchase of this product.
Hometalk may collect a small share of sales from the links on this page.More info

Want more details about this and other DIY projects? Check out my blog post!


Frequently asked questions
Have a question about this project?