


Ornaments Old Style!

6 Materials
1 Hour
Easy
I was cleaning out my Christmas items and reorganizing my containers. I came across a bag of gold ornaments. They were left over when I decided to change the colors on my Christmas Tree. Since I change my mind often (as many of us crafters do) I had kept them 'just in case'. I did need 'something' else for my tree. You see I have a brand new lighted tree this year (my old one was over 20 yrs old! I have to have a fake tree because I'm allergic to real and I was excited to get this new one that was just a tad bit bigger than my old one). Since it was bigger, I had more space to fill. YAY me!! More projects!! I had just finished all of the other items I wanted to complete and was hankerin' (yes that's a word according to my southern hubby..) for another fun , easy and quick project... this is what I came up with.
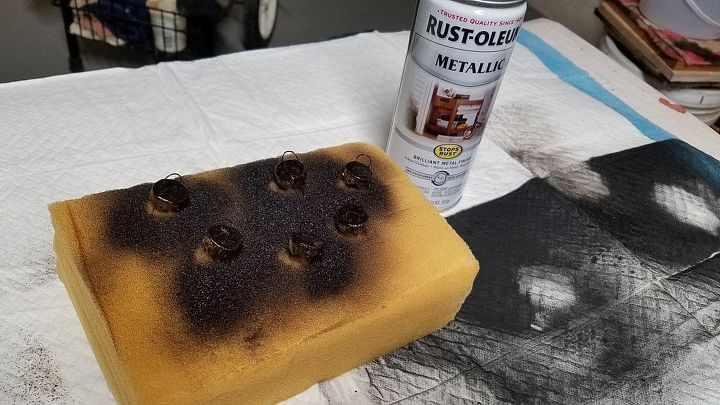
First thing I did was take the tops off of the balls and spray paint them a bonze color. What I had in mind was an 'old fashion' look and they were gold, it just didn't fit the look I was after.
Things I used for this project:
1. Spray Paint in Bronze
2. Left over Scraps of Material
3. Regular sized Christmas bulbs (although you could use any size)
4. Hot glue gun / glue
5. Ribbon
6. Buttons
6. Hemp string (to hang them with)
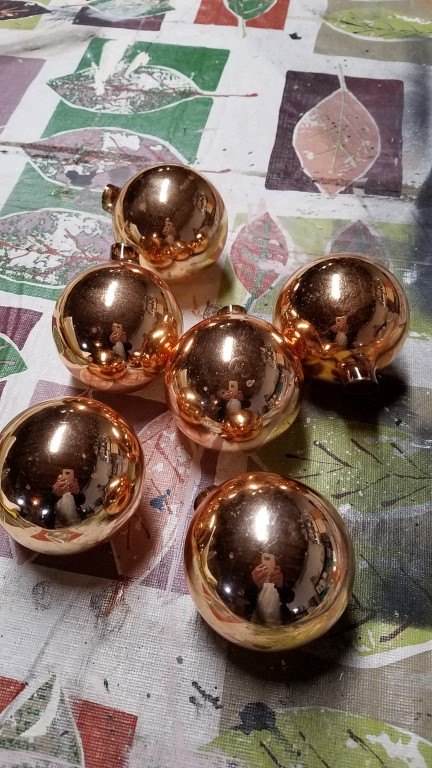
Here are the ornaments. Just plain jane. : )
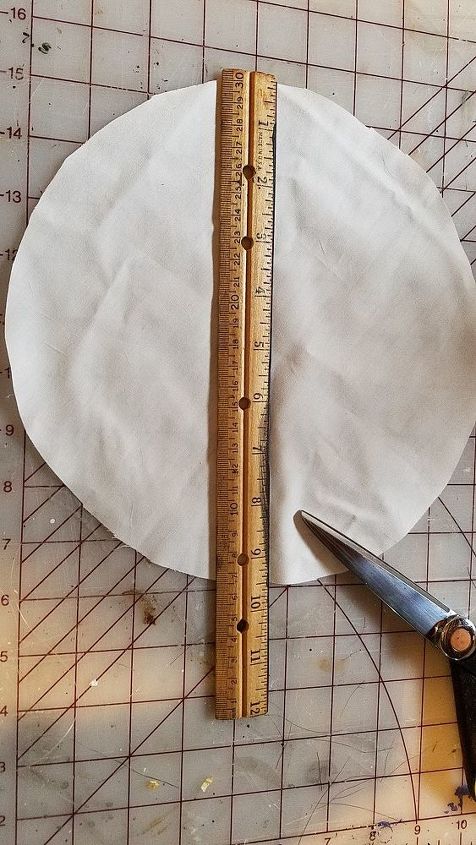
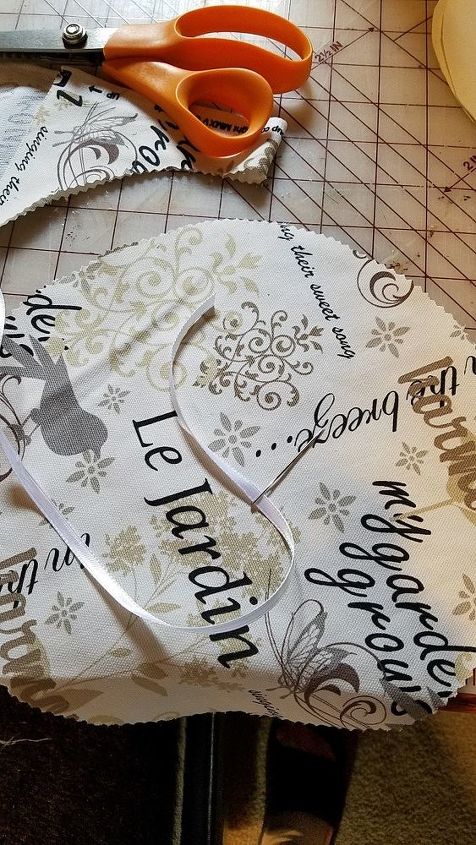
I cut out a couple of circles to figure out the size I'd need. The pattern was just cut out of a scrap of material. What worked best for me was 9.5" across for a normal just regular size ornament.
I folded it in half and placed the fold on the fold of my material. That was to assure that (hopefully) both sides of the circle would match. : ) I used pinking shears to cut out the circle. I liked the zig zag effect and it served a purpose since the materials I chose, tended to ravel.
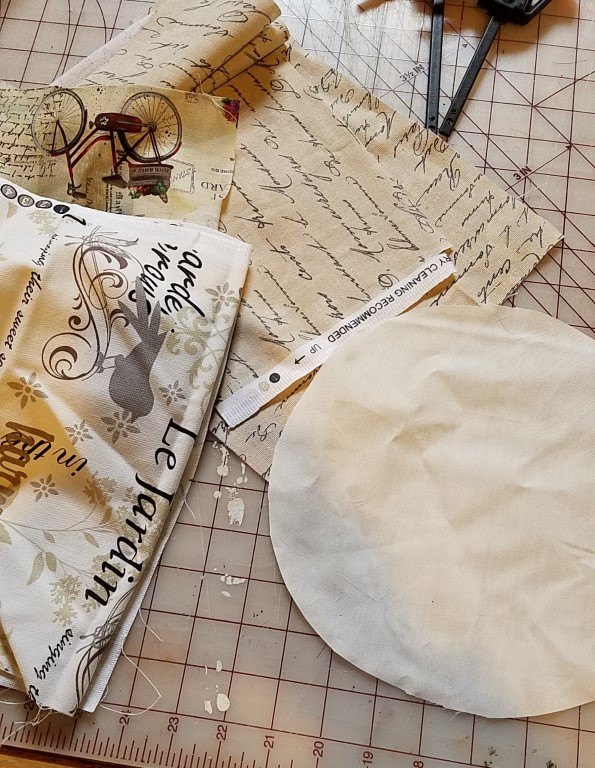
Here are the materials I chose to work with . These were just in my 'left over' material bin. (love that bin, so many cool and forgotten goodies in there lol).
I have a very wide 'eyed' needle (that I've have forever). I believe that it was originally purchased to sew embroidery. I used that to thread my ribbon through my material. I sewed about 1/2 to 3/4 from the edge and the stiches were approx. 1/2 in wide. No I did not measure and no, it's probably not perfect! Ha Quick and easy , remember? You're never going to be able to tell in the end, so do not stress over perfection. Handmade is all about the imperfections and personality : )
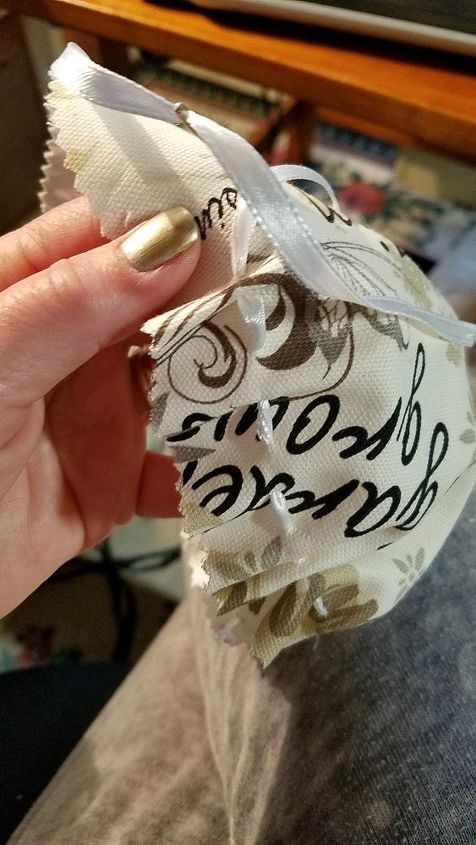
Showing the stitches.
Done and ready to put in the ornament bulb.
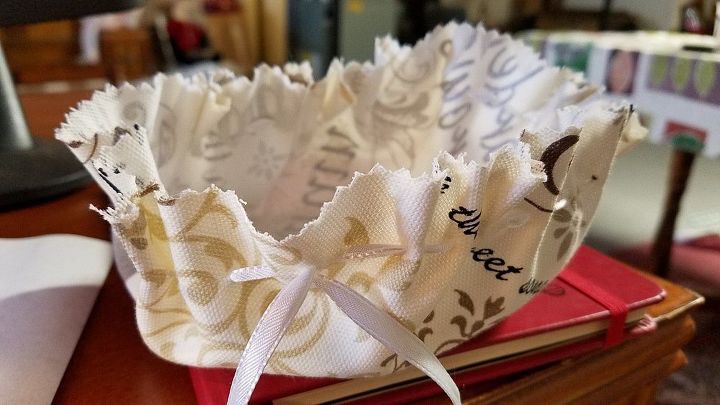
This is where you put the tops back on the bulbs (after they are dry), and then just set the bulb into the 'cup' you have now made out of your material, and then pull both sides of the ribbon and close it up over the bulb. Easy peasy!!
Pull it snug but don't go all Rambo on it , you need a little wiggle room to 'flower' out , or smash down a bit, the "collar" that you have made around the top of the bulb.
Tie the ribbon in a pretty bow and add whatever embellishments you want. I choose a couple cute buttons I had on hand.
Then I added hemp rope to the top as a tie and VOILA! All done!
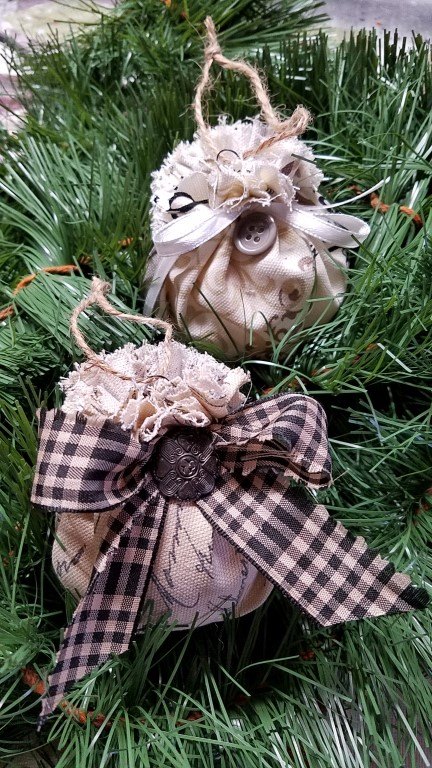
Here are two of them all complete : )
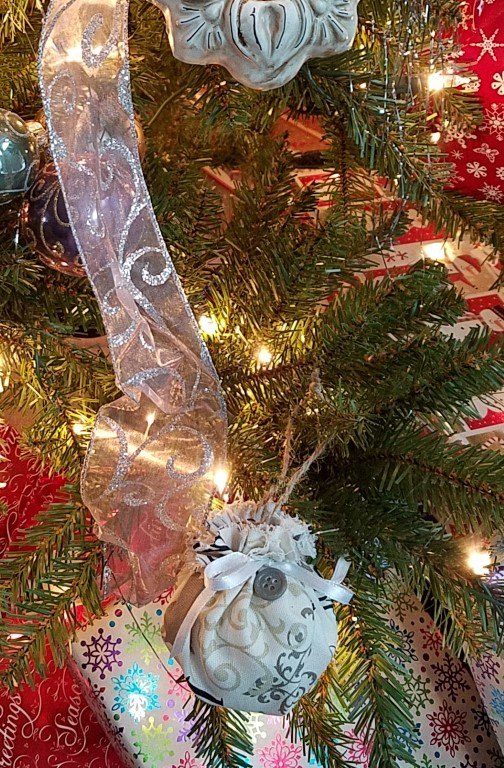
And here is one on the tree...
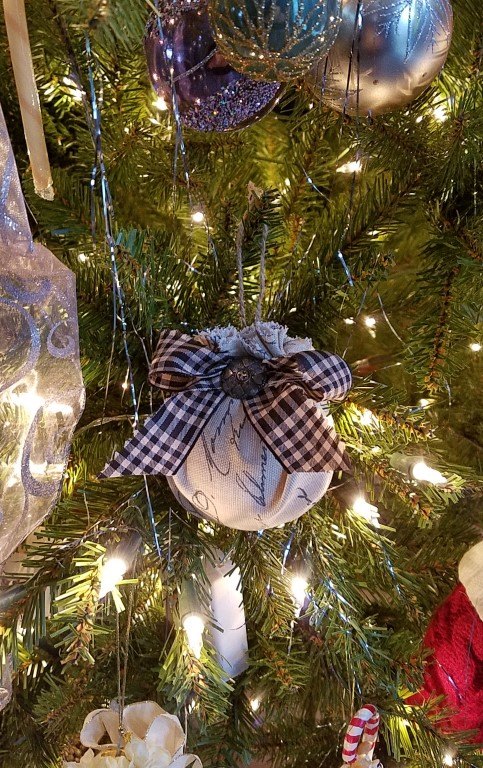
and here is the other one!!
I just love them!! They are perfect for me and so simple. Gotta go finish the rest... may just give a few as gifts this year!!
Happy crafting everyone and HAPPY HOLIDAYS TO ALL !!


Any price and availability information displayed on [relevant Amazon Site(s), as applicable] at the time of purchase will apply to the purchase of this product.
Hometalk may collect a small share of sales from the links on this page.More info
Comments
Join the conversation
4 comments
-
I love these! So shabby chic!
-
Really cute! :)


Frequently asked questions
Have a question about this project?