


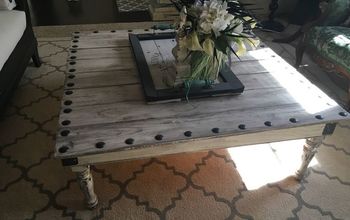
DIY Coffee Table With Storage
Upcycle a storage cube bookcase into a coffee table with wheels.
Please take a minute to click here to sign up for the Mother Daughter Projects weekly newsletter. You'll get notification about our new projects and what is up and coming.
She came up with an idea to make a coffee table starting with a bookcase. She had specific requirements for it including portability (it needed to be on wheels) and it needed to have covered storage. You can see our blog post here.
Watch the video!
Want to see our latest projects? Sign-up for our weekly newsletter here!
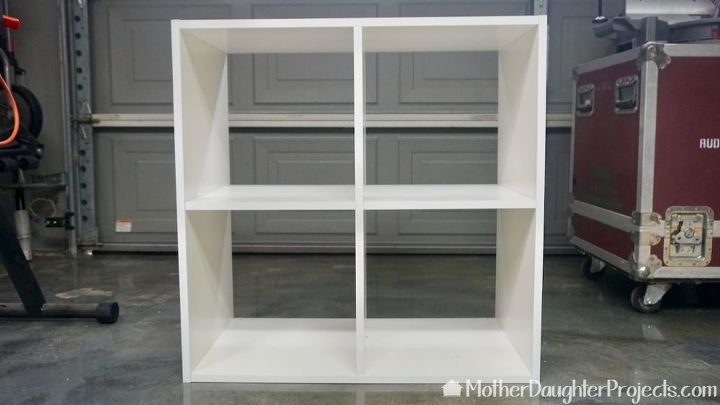
Before. This project all started with an Ikea bookcase as the shell.
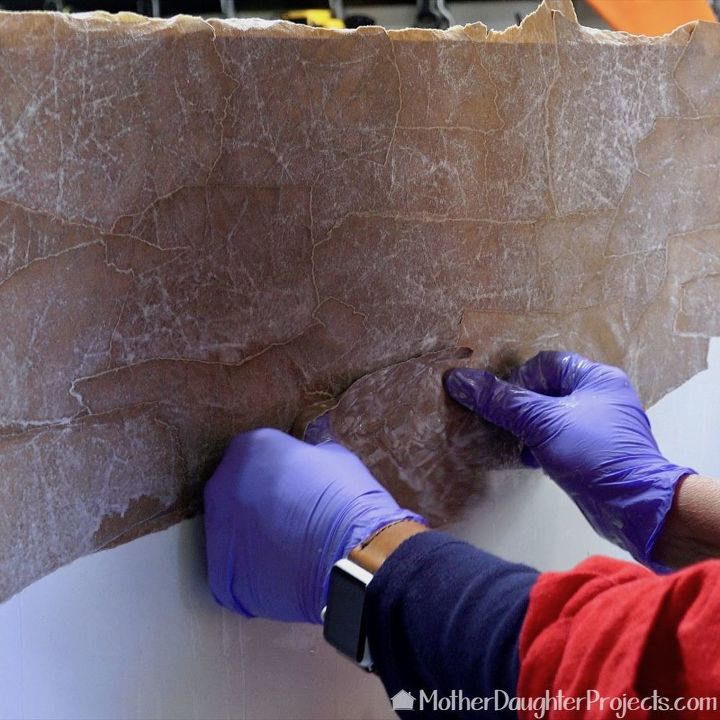
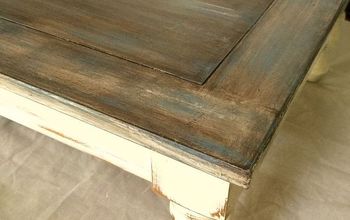
We used a faux leather finish on the sides using crumpled up brown paper and glue. Paper was torn into small pieces, crumpled, dipped in watered down wood glue, then smoothed onto the sides.
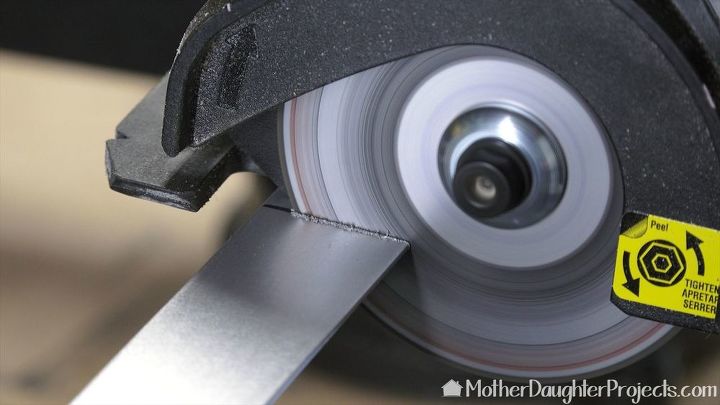
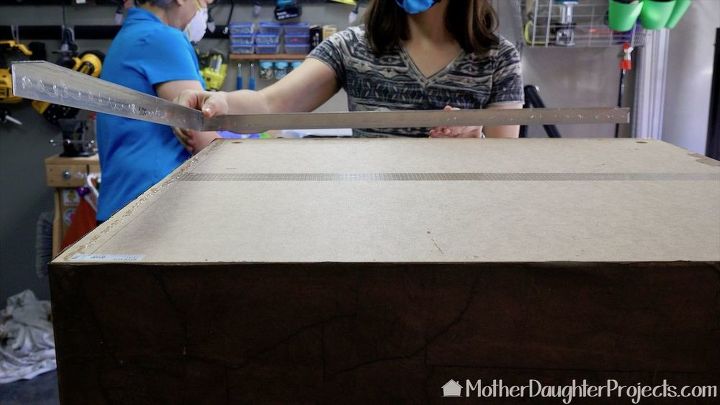
The aluminum trim was cut to length with the Dremel Saw-Max.
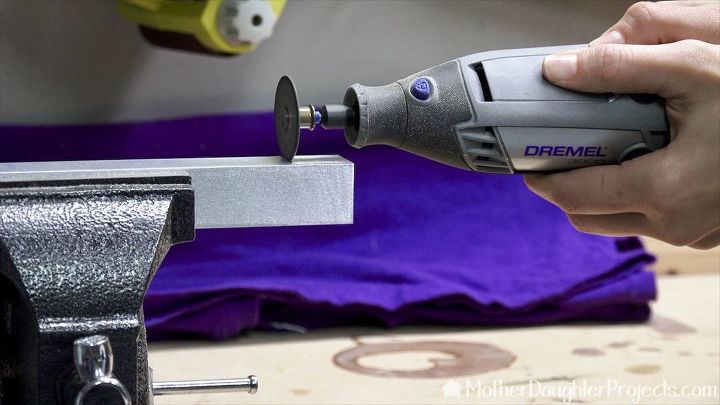
We wanted the metal to lay flat on top so we marked where we needed to cut out the corner. We put a cutting wheel on the rotary tool to make the corner cut.
The metal was glued into place. Wheels were added to the bottom.
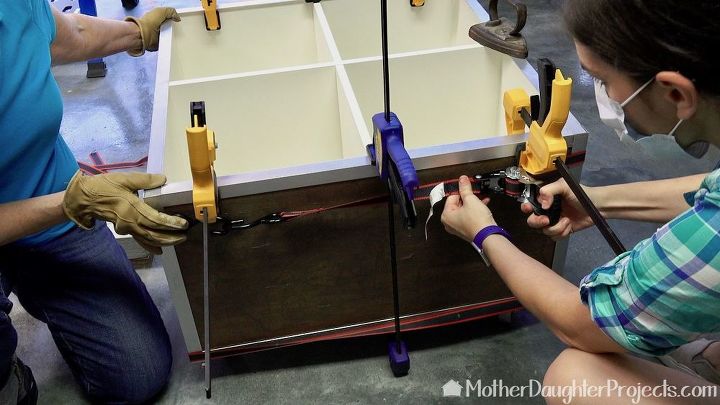
The side corner pieces were glued into place as well. We found the Husky Ratcheting Tie-Downs to be the perfect tool to "clamp" the side corners in place while they dried.
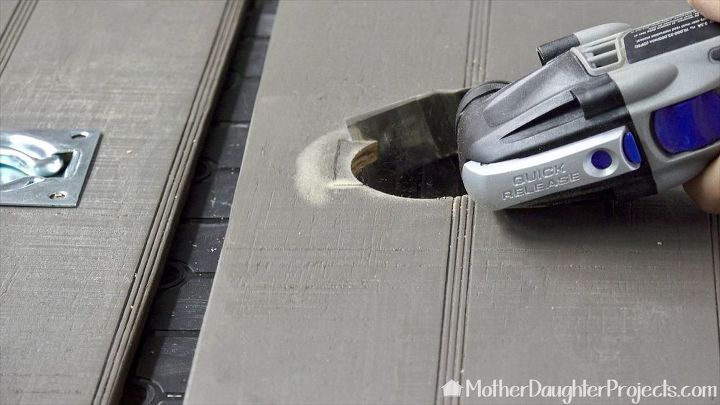
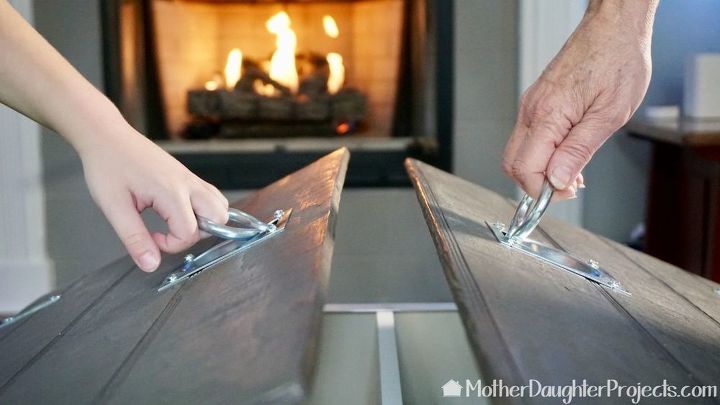
The top was made from a scrap of plywood siding. It was cut to size with a circular saw. To attach the recessed handles, we used a hole saw to create the right size hole. We then used the Multi-max to finish getting the correct size hole for the handle to sit in. The handles were screwed into place on the top of the table.
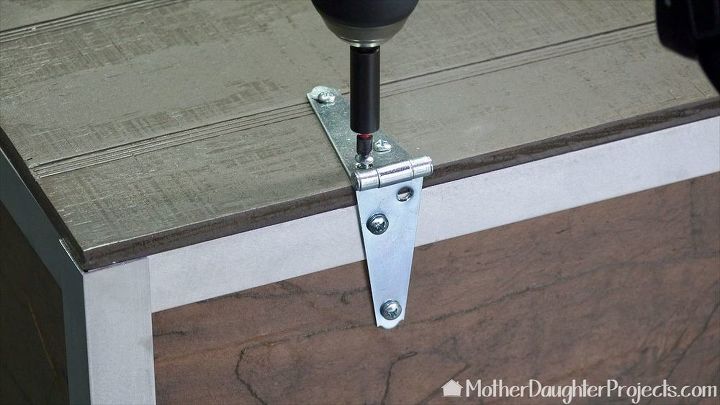
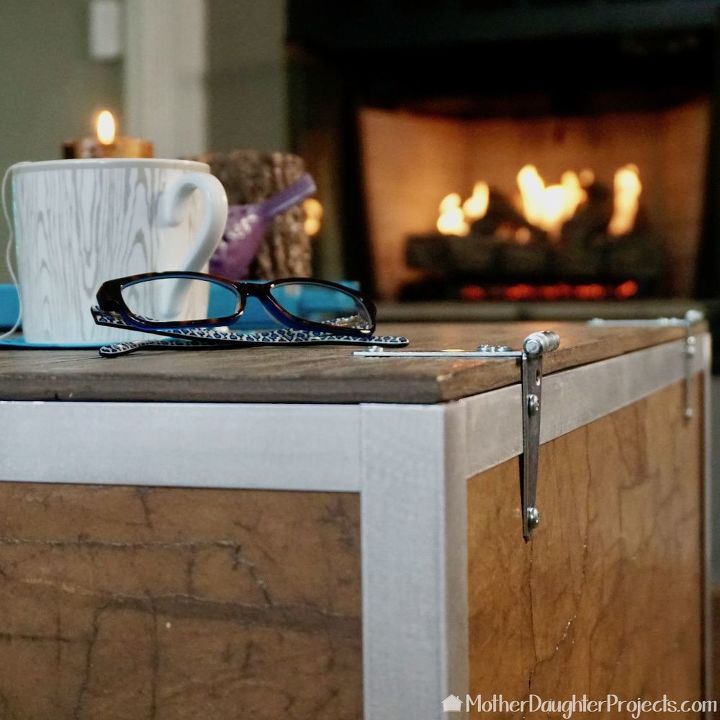
Two hinges were added to each side.
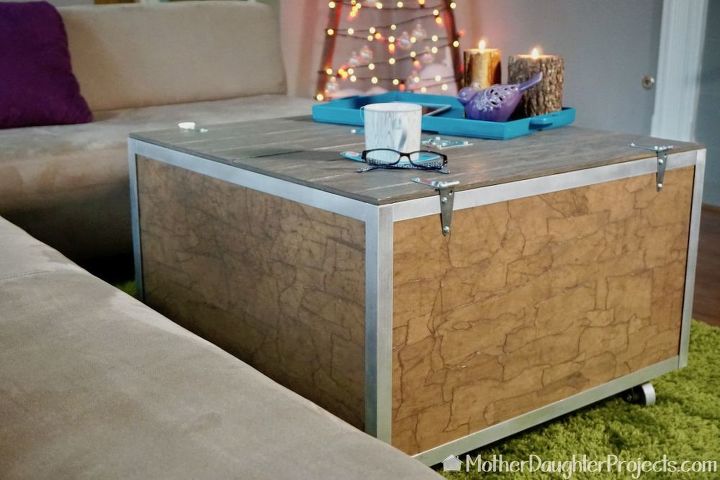
We really liked the way the table came together. The recessed handles were a late addition to the plan and are perfect as they keep the top clear allowing feet and stuff to be put on the top! Steph frequently needs to be able to move her coffee table out of the way so the addition of wheels makes this easy. The large interior allows for lots of storage of electronics, pillows and blankets and the large surface is a great play space for the nephews and niece!
For more detail please visit our website!
Resources for this project:
See all materials


Comments
Join the conversation
-
Ditto on the WOW ~ truly a remarkable and impressive IKEA hack. And love the use of torn paper bag pieces to create texture and interest. Truly cool and clever. Kudos for an impressive and functional piece, and a transformation well done.
Thank you for sharing and inspiring! 🌟 🌟 🌟 🌟 🌟
-
Wow wow


Frequently asked questions
Have a question about this project?
How did you bend the metal to an el-shape?
I saw how with the aluminum you did butt ends around the top and bottom.
I would suggest taking a triangle cut out of one edge then you can score the inside of the other edge so you can bend giving you a mittered look and less raw metel edges to file down
Loved the idea of the paper bags and your technique. I don’t mean to be critical why did you use those hinges and not more upgraded ones? Overall it’s beautiful